Discover easy methods of baking cabinet organization for efficient storage and joyful baking. Revamp your space now!
Are you battling with a super messy baking cabinet? Are you in need of some baking cabinet organization ideas? You're not alone!
As part of my kitchen organization sweep, I wanted to make a central location for all of my baking supplies. I already had a cabinet designated as "the baking zone," but in reality, it was basically just a jumbled heap.
So, why not embark on this journey with me? Let's roll up our sleeves and transform our cluttered baking cabinets together.
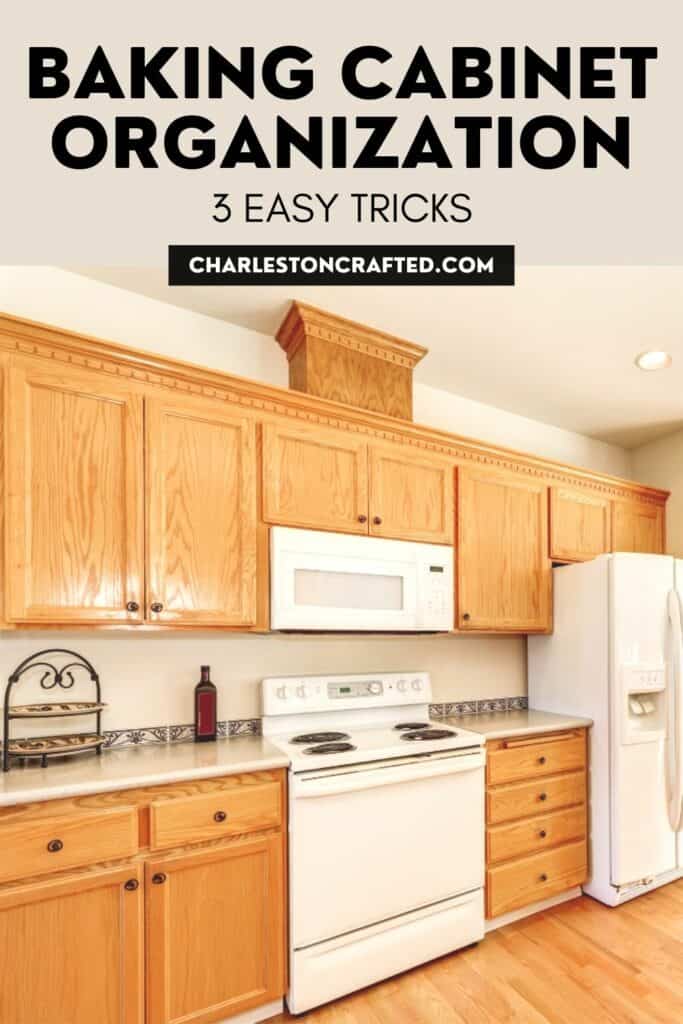
3 Easy Ways of Baking Cabinet Organization
Have a look at these easy ways of organizing baking supplies:
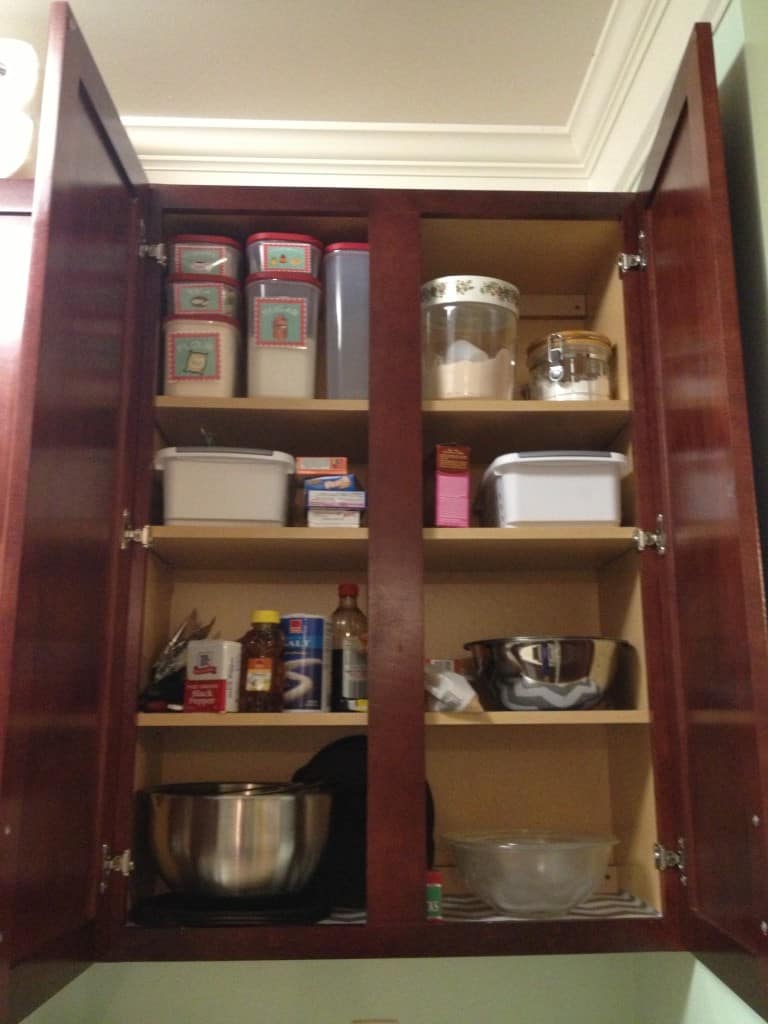
1. Organize Your Baking Cabinet
Transform your baking storage cabinet with these simple, efficient baking storage ideas:
- Top Shelf: Storing Bulk Baking Ingredients
- Utilize the top shelf for bulk items like flour, sugar, and protein powder.
- Invest in modular canisters (like Rubbermaid) for these ingredients. They make great containers for baking supplies.
- Create and apply laminated labels for easy identification – this is especially useful for items stored high up.
- Second Shelf: Mixing Bowls Storage
- Dedicate the second shelf to mixing bowls. If space allows, include a variety of types, like metal for general use and glass for microwave compatibility.
- Also, use this section for larger baking equipment storage.
- Third Shelf: Organizing Loose Baking Items
- Use baskets (affordable options can be found at stores like Dollar Tree) to organize smaller baking accessories.
- One basket can hold decorative items like sprinkles, and another for organizing accessories such as jello packets, protein powder sachets, and spice packets.
- Repurpose an old candle jar for storing cupcake wrappers.
- Bottom Shelf: Additional Bowls and Cookbooks
- Store extra bowls on the left side of the bottom shelf.
- Arrange cookbooks on the right side. For taller books, lay them horizontally to fit and prevent them from toppling over.
Following this systematic approach will not only bring order to your baking stuff but also make it a source of joy every time you open it!
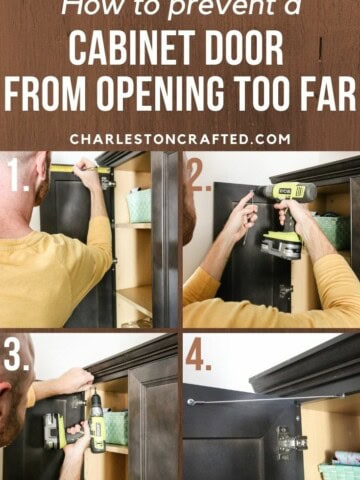
2. Maximize Baking Cabinet Door Space
Let's start with the doors, often overlooked but prime real estate for bonus storage.
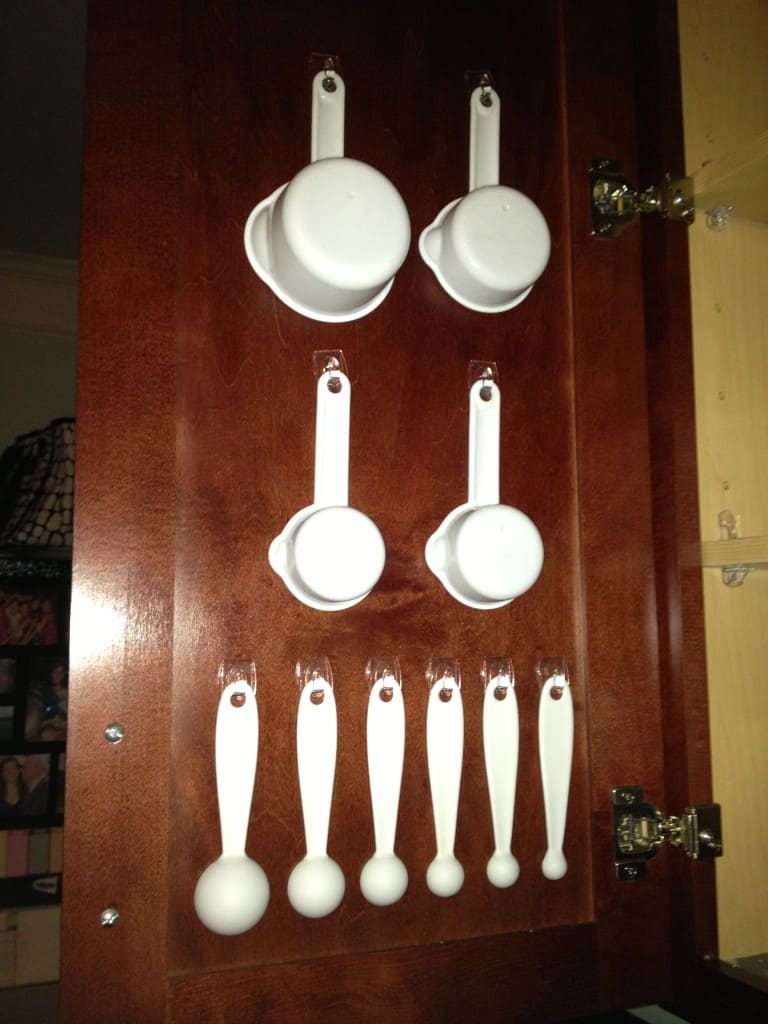
Organize Measuring Spoons on the Left Door
Install clear command hooks on the left door. This simple addition serves as the perfect place to hang measuring spoons.
You can then arrange the spoons in size order for easy access. While you can add labels, they're not essential if you're already familiar with all the sizes.
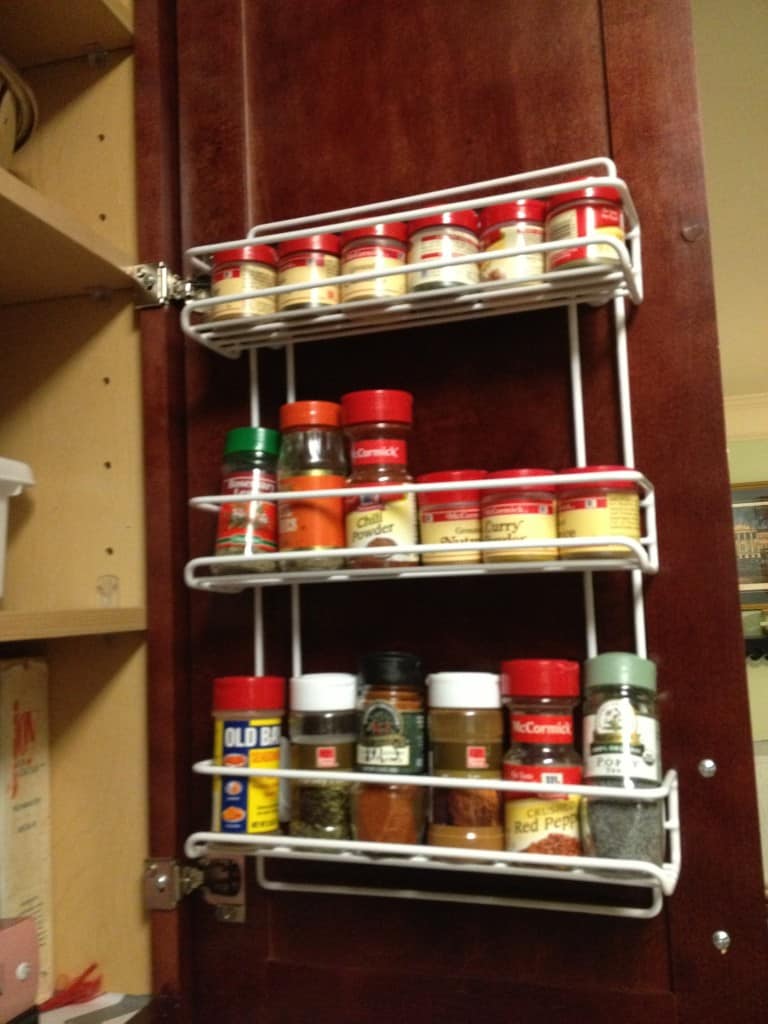
Set Up a Spice Rack on the Right Door
Attach jumbo command hooks to the right door. These hooks are sturdy enough to support a spice rack.
Use this rack to stick all of the small jars of spices that you rarely use. It’s a convenient way to keep them accessible without taking up valuable baking cabinet space.
A cheaper spice rack is fine. I just used an old one I had from Walmart.
It’s a useful place to keep seldom-used spices, instead of throwing them out. It’s sure saved me from plenty of last-minute trips to the store.
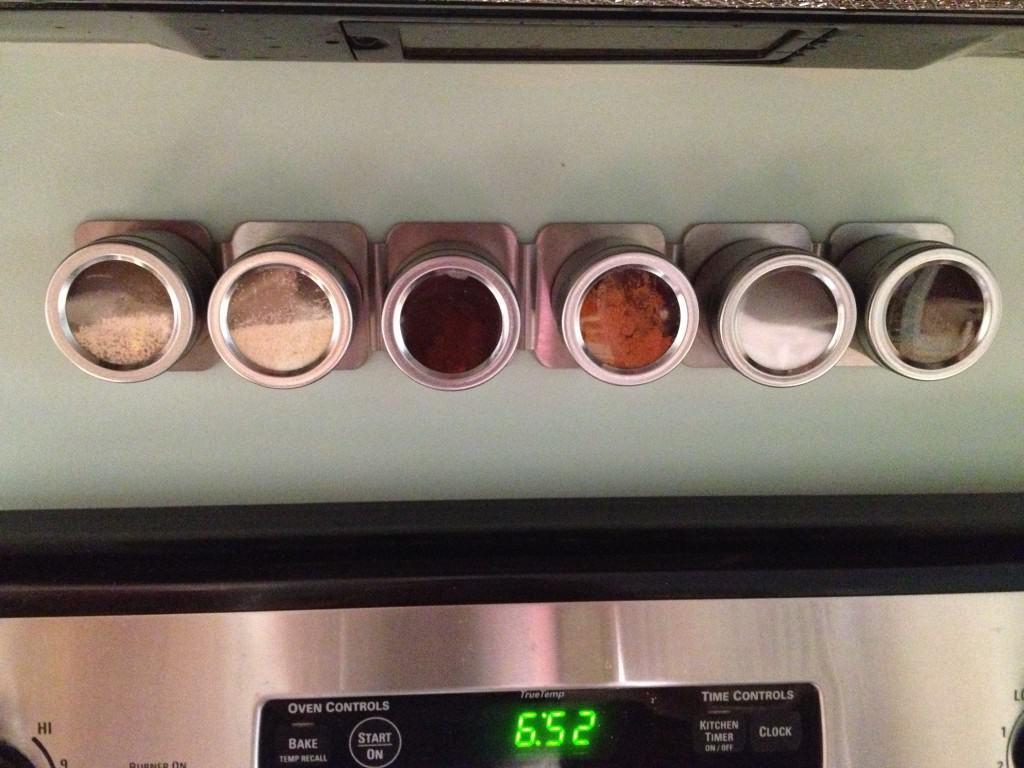
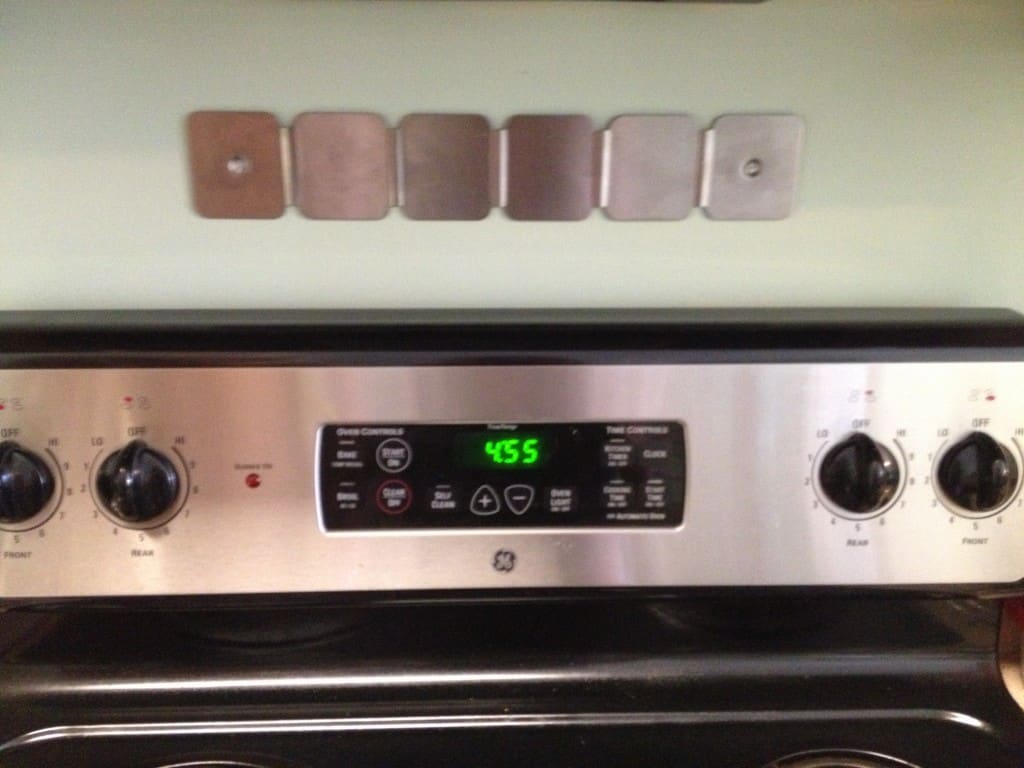
3. Use Magnetic Spice Racks for Easy Organization
For those spices that you use very regularly – like garlic powder, salt, and pepper – it's nice to have them close at hand.
A good way to do this is to use a magnetic spice rack. This lets you easily attach and display your spices on a metal surface, such as a refrigerator or a specially mounted panel, so they're always within reach while you cook.
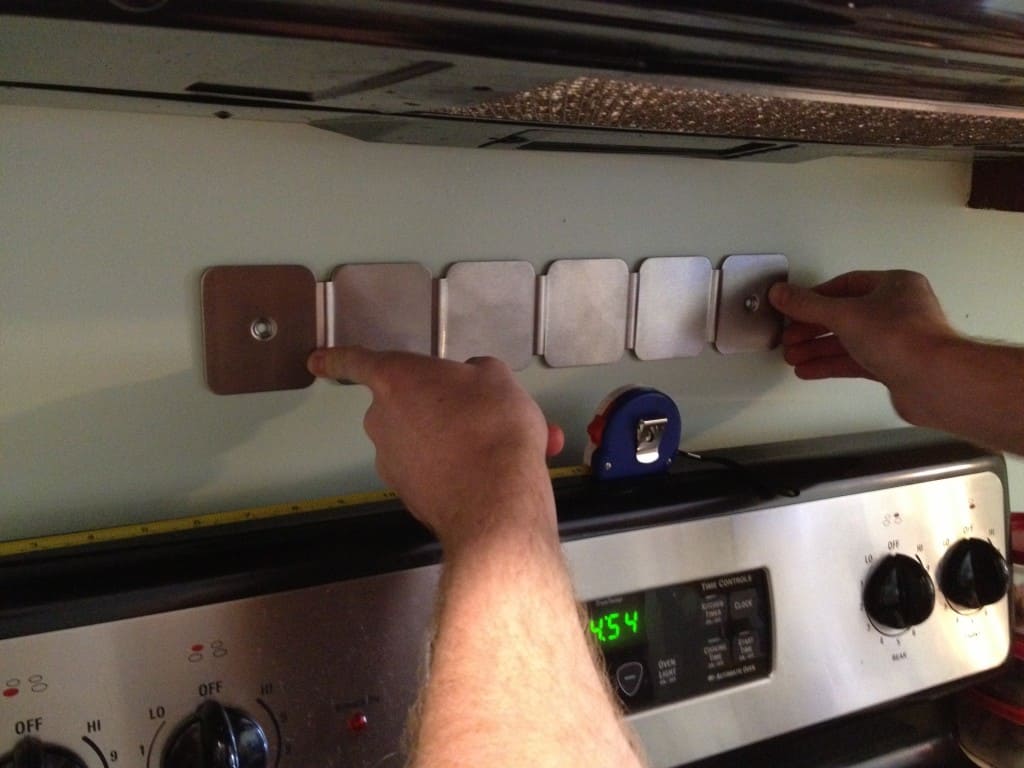
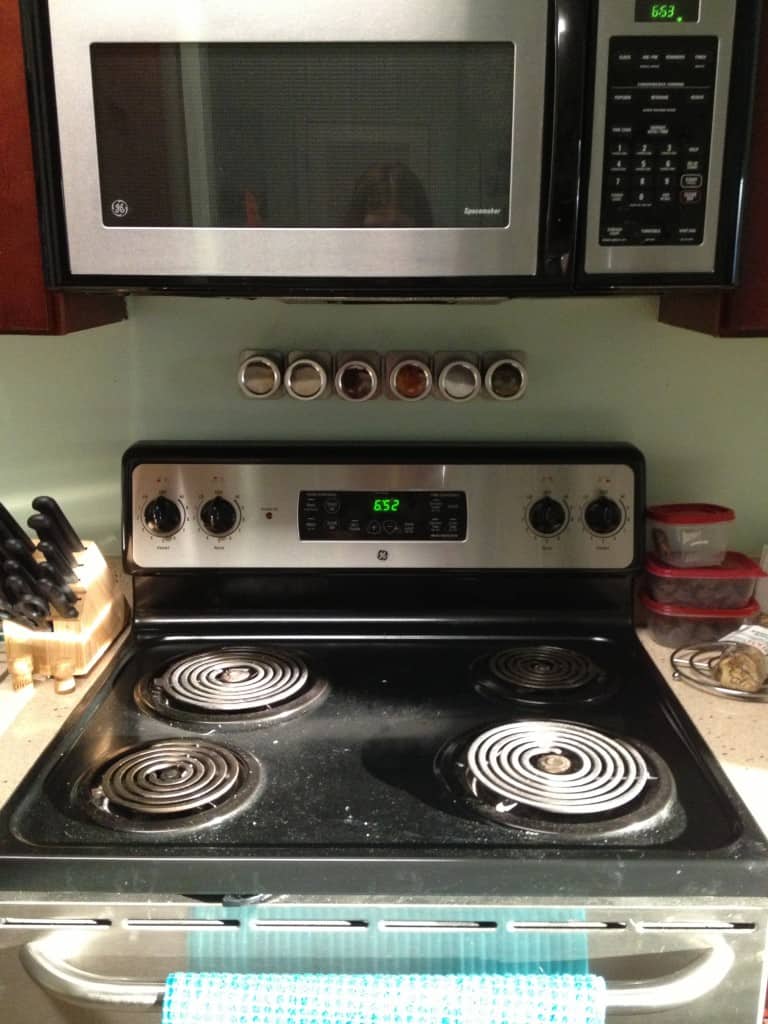
You should select a spot for the spice rack that's easily accessible while cooking. A great place is just above the stove – this is what we chose.
Just make sure you have the right tools. In our case, regular screws were all we needed to mount the rack securely to the wall.
Once installed, organize your most-used spices in a logical order. For example, from left to right, you could arrange garlic powder, onion powder, paprika, taco seasoning, salt, and pepper.
Want More Kitchen Guides?
Explore our collection of handy kitchen guides:
- DIY Kitchen Drawer Dividers: A Step-by-Step Guide
- Creative Kitchen Backsplash Ideas
- Four Cabinet Extensions to Enhance Your Kitchen
- Simplifying Kitchen Organization: Easy Open Shelving

Looking for something?
We've been doing this since 2012 so we have a LOT of blog posts!
Search stuff like: Ceiling Projects | DIY Plant Stands | Thrift Flips

Hello, I'm Morgan, half of the creative force behind CharlestonCrafted.com! With a passion for DIY that dates back to 2012, I've transformed three homes and now I'm dedicated to helping others craft their dream spaces. Let's turn your house into a home together!