I've been dreaming for a while of a long window seat in the bedroom. It's the perfect place for the pets to sit and look outside, or to lay out outfits for the next day. I even posted this post of window seat inspiration! However, everywhere that I looked, I couldn't find anything right. Anything I really liked was super expensive- hundreds of dollars! I stalked the discount stores (TJ Maxx, Homegoods) but really couldn't find anything.
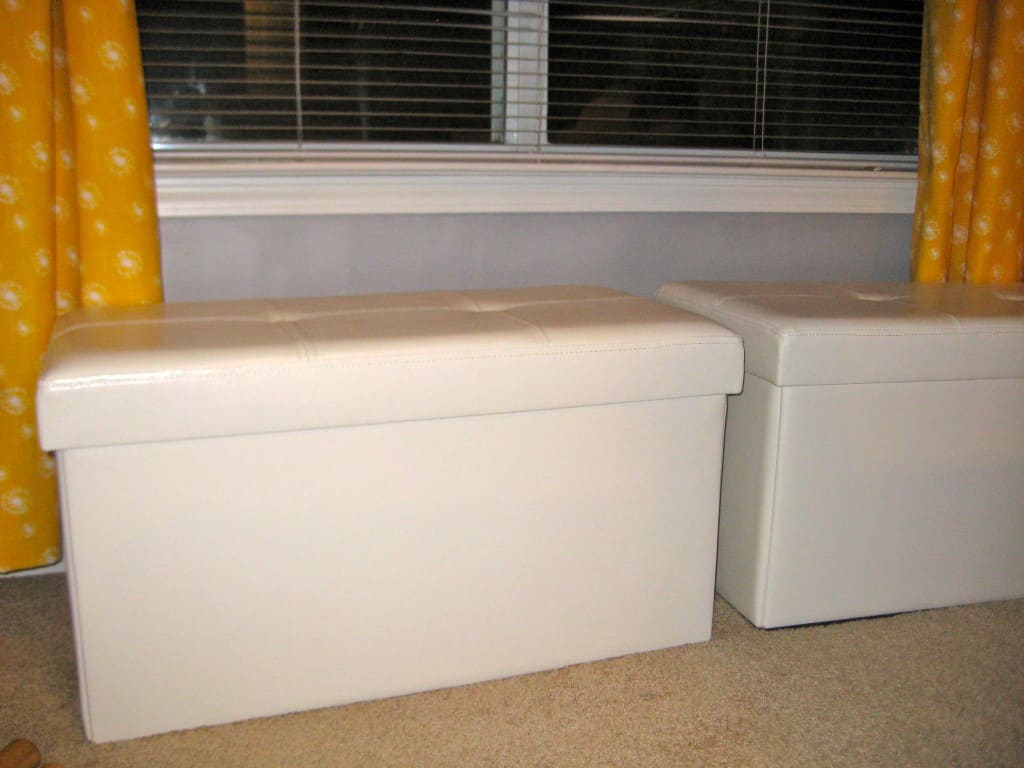
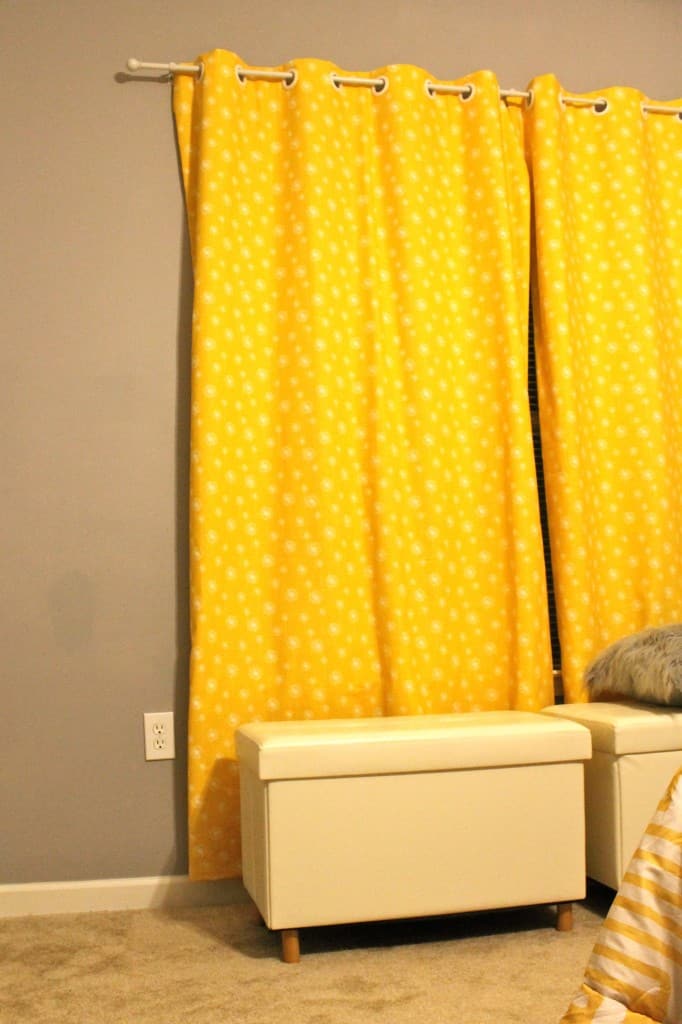
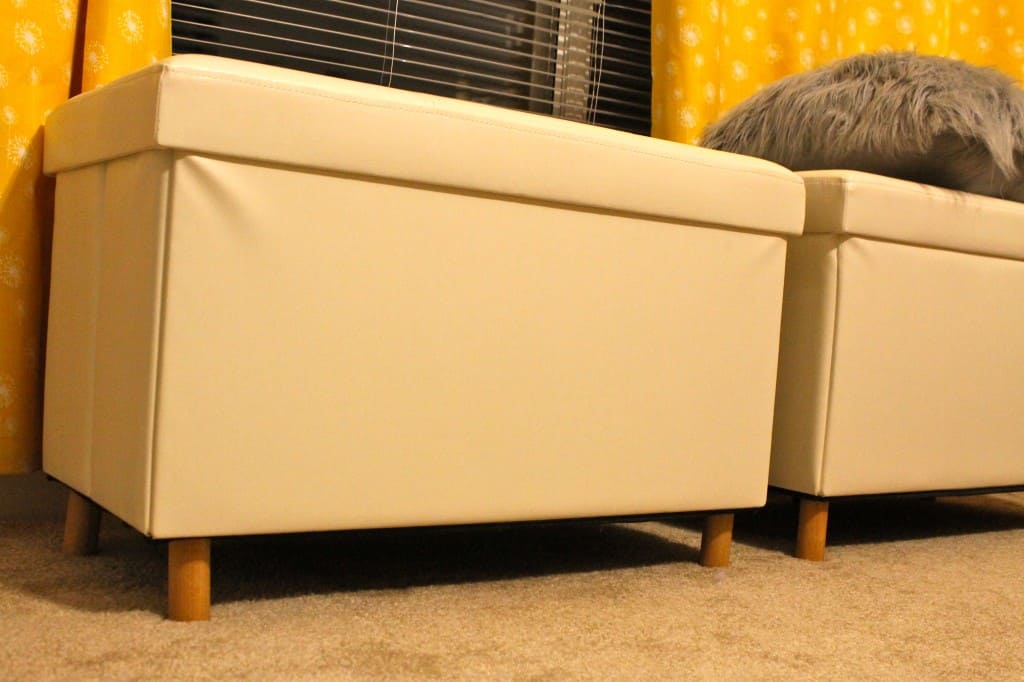
Then, on a quick trip to Marshalls for sunglasses, I spotted a huge stack of these collapsible storage benches. They weren't exactly what I had been looking for, but I was truly inspired. I loved the cream color, the faux leather material, AND the bonus storage! For only $30 each, I ended up grabbing 2 of them for a perfect fit under the window.
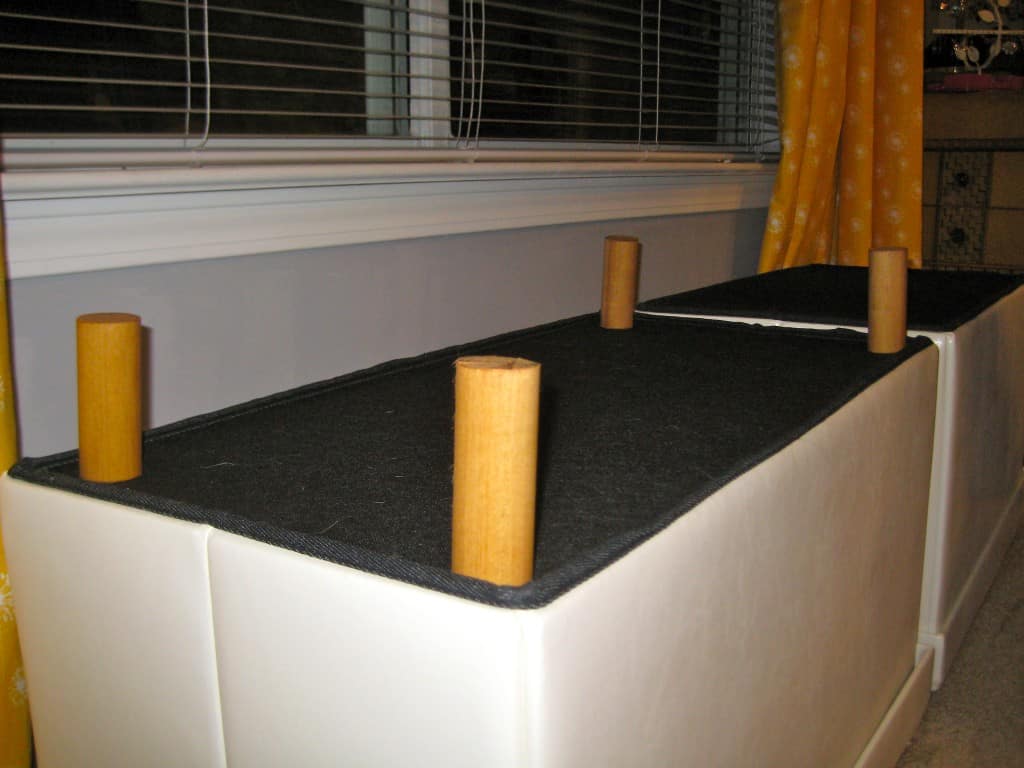
However, I was really pet-peeved by the height of the benches. They were about 4 inches shorter than I wanted- they didn't hit the bottom of the molding under the window. So, I figured that I'd have Sean throw some feet on the bottom to give them that extra bump of height.
I first looked at pre-made feet. Unfortunately, everything that I found was over $10 a foot. Multiply that times 8 and we were quickly exceeding the cost of the actual benches. So, we headed to Lowes to see what Sean could come up with.
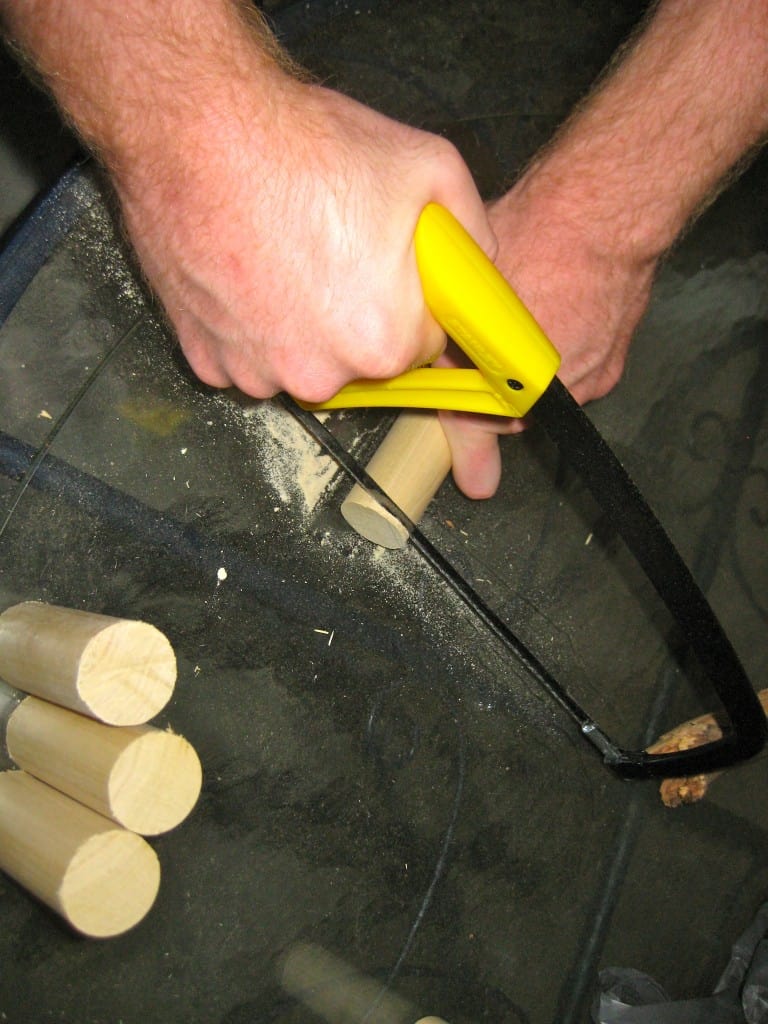
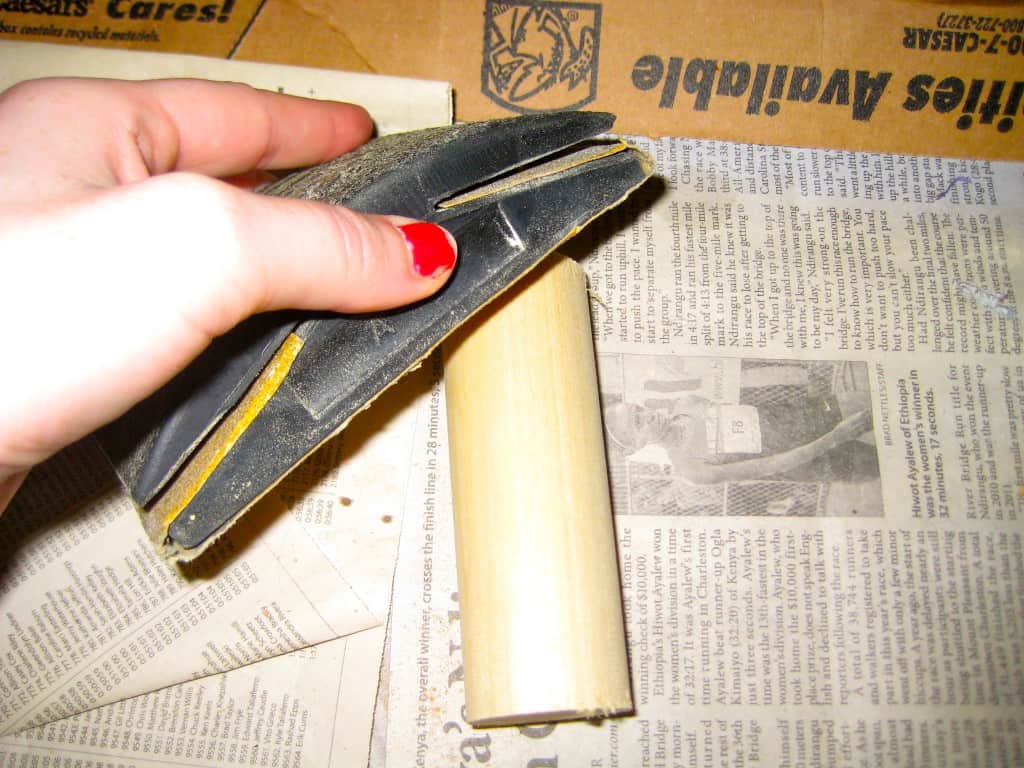
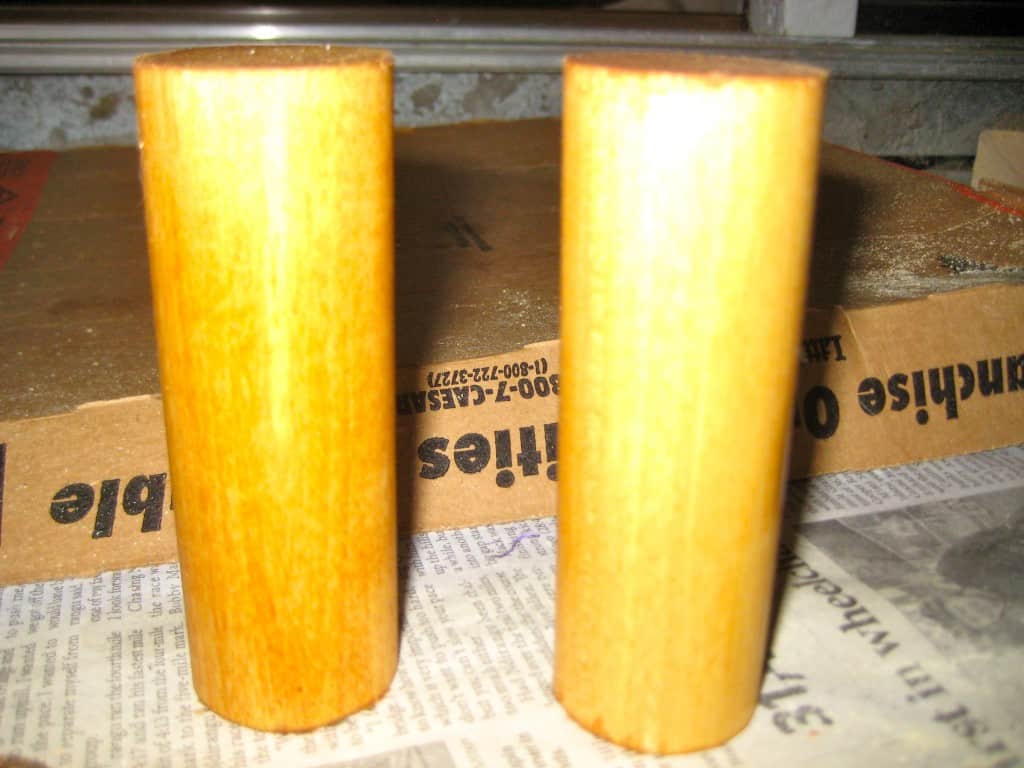
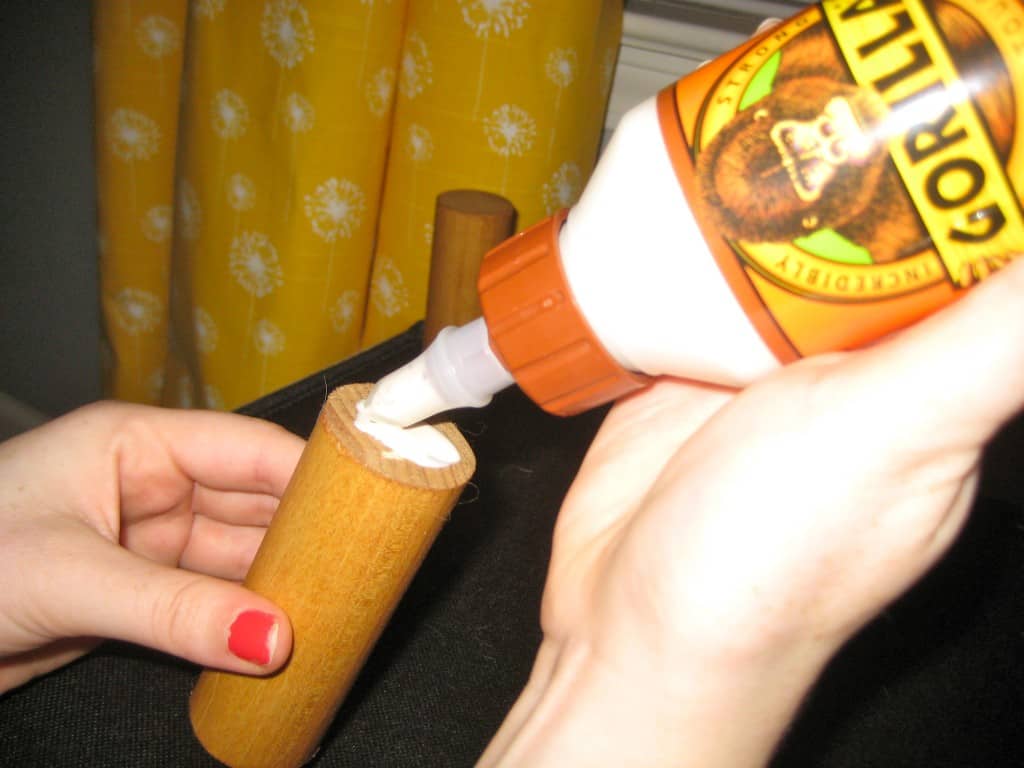
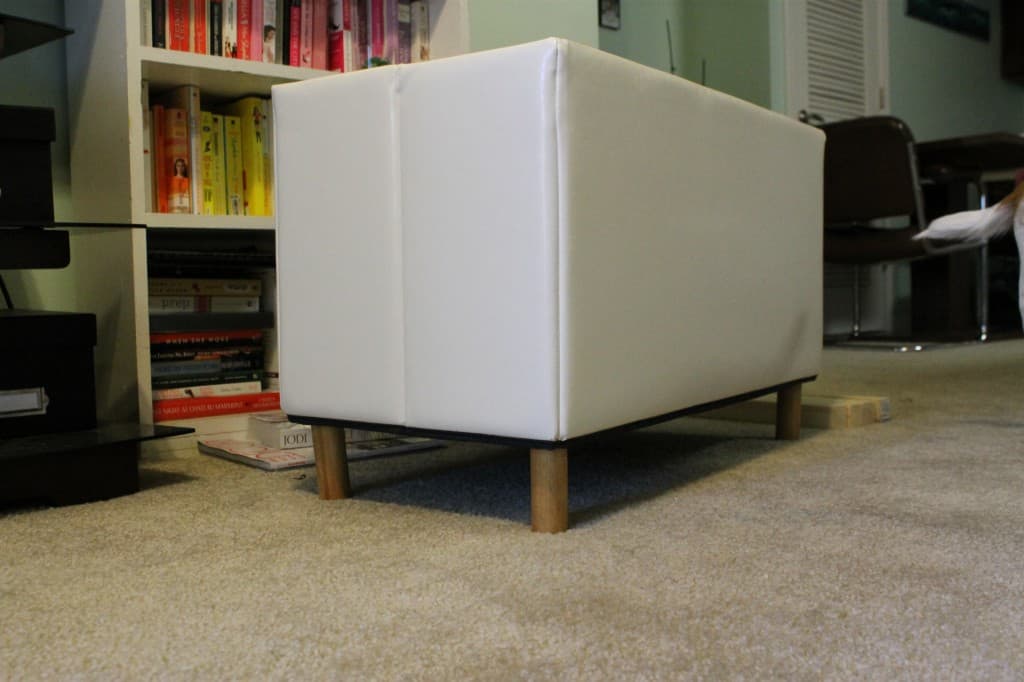
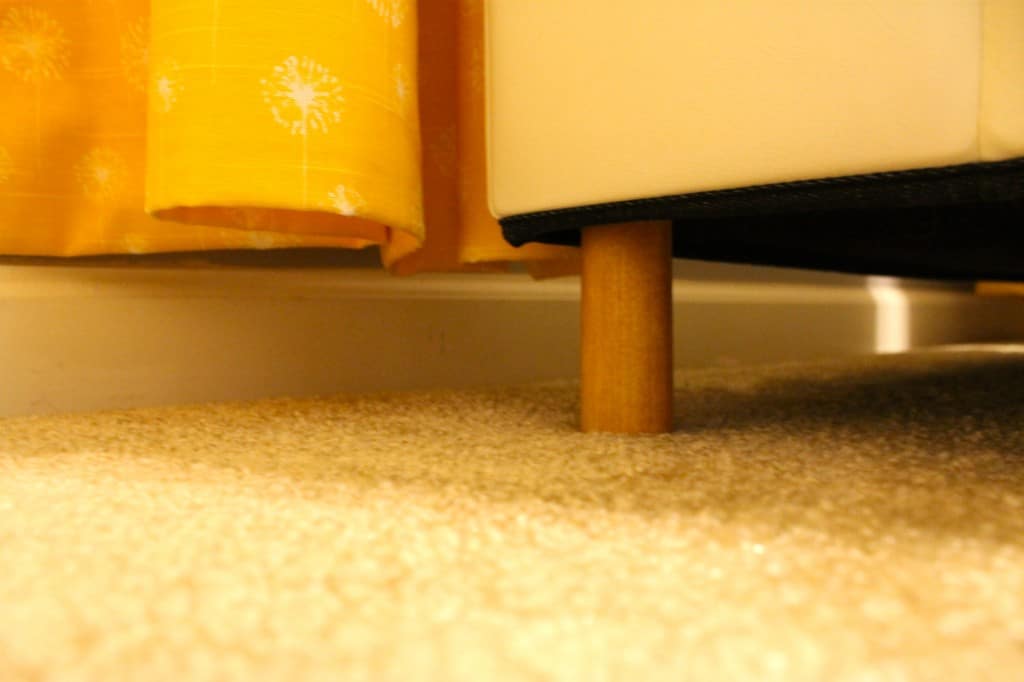
We ended up grabbing a 2 inch dowel. Sean sawed it into 4 inch chunks which we then sanded and stained.
We used wood glue and then nails to attach them to the bottom of the stools.
Hooray! I was so happy! Until we sat on it.... and it collapsed.
Apparently, adding feet put the weight of the entire bench onto the fabric base of the bench and didn't provide any support at all.
Honestly, we got really annoyed and upset and kicked the benches over and left them sitting there for a few weeks. Finally, we had a new idea- but we agreed that if this idea didn't work, we'd peel the feet off and revert them to their manufacturer-intended height.
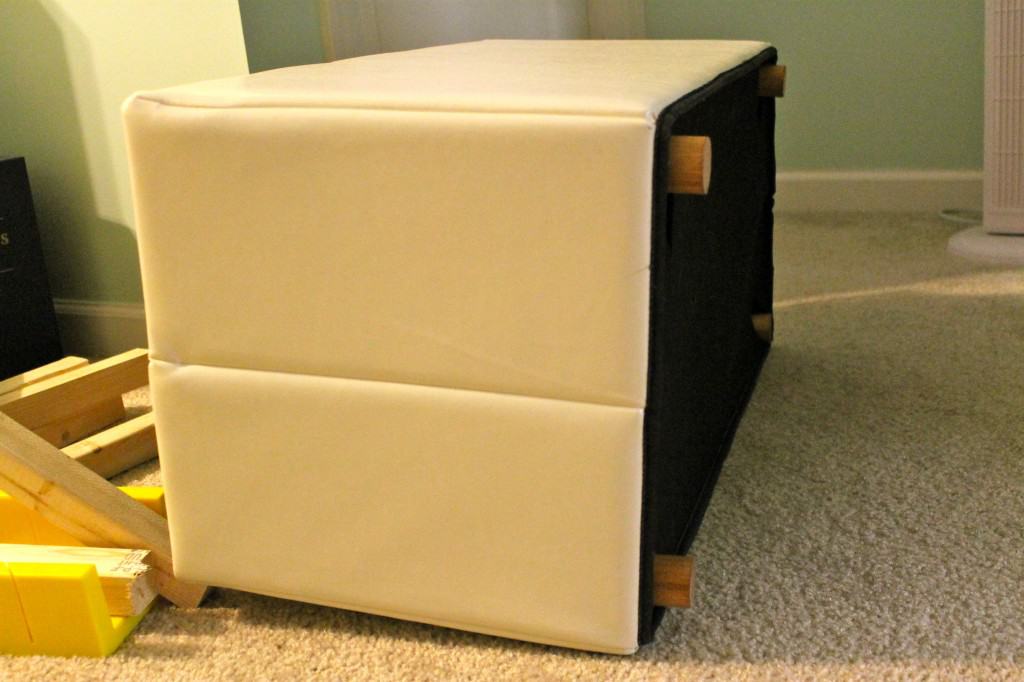
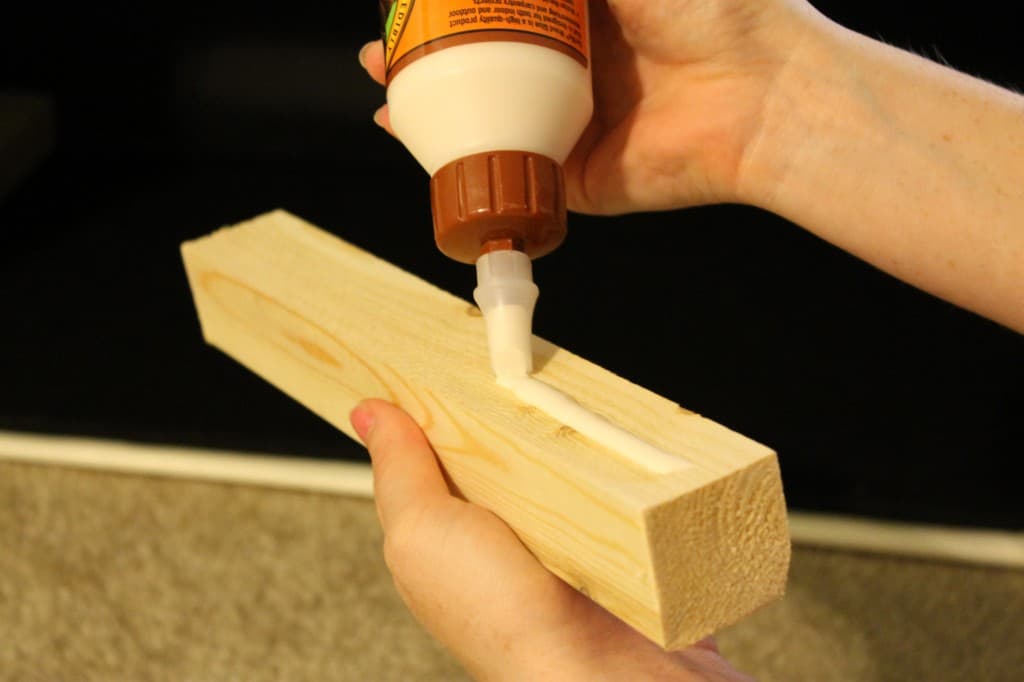
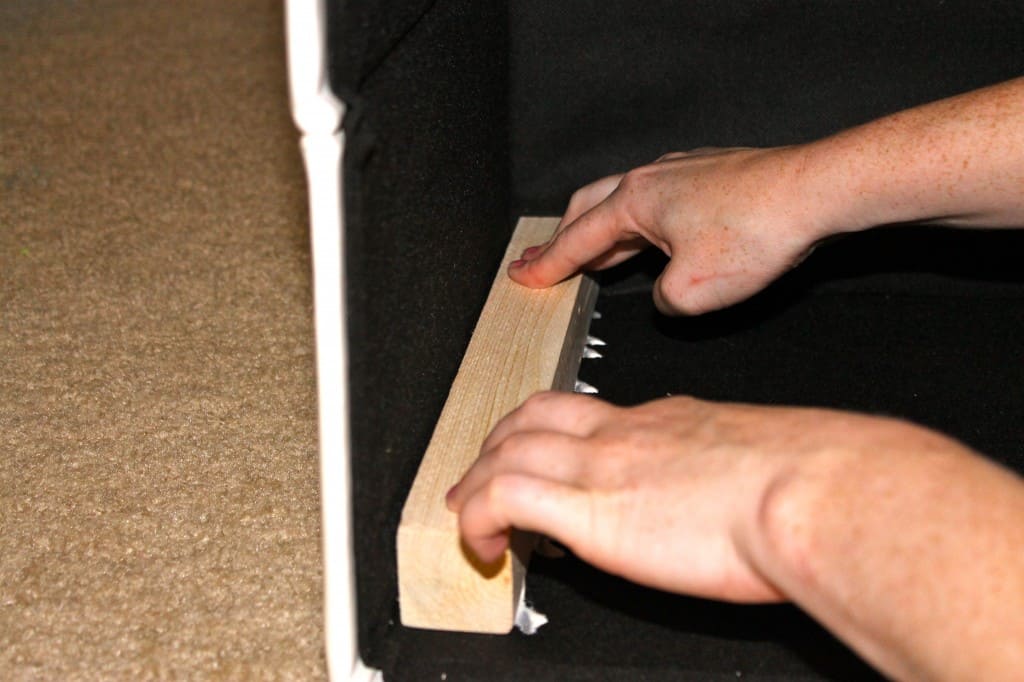
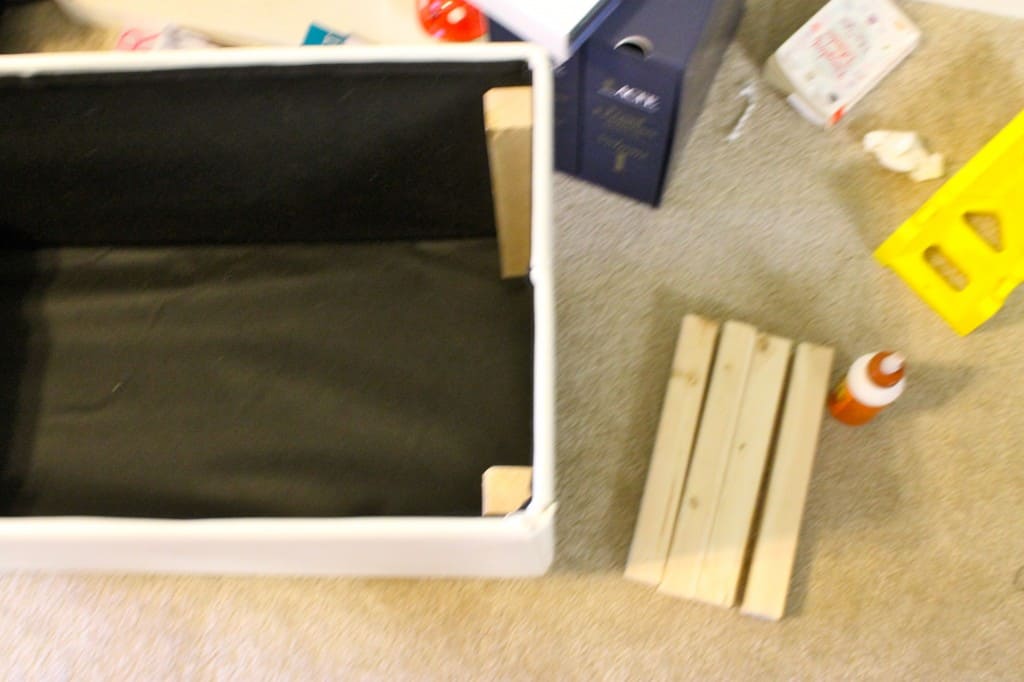
Sean bought an 8 foot 2x2 board (for less than $2) and had it cut into 8 equal pieces. We then glued them into the inner corner of each bench, using wood glue. This way, when you sit on the bench, the feet push up into the 2x2, which is glued into place, and therefore doesn't collapse.
It miraculously worked! We can sit on them and nothing happens... though we won't be standing or jumping on them any time soon. They're definitely going to mostly for storage and the pets.
So, in the end, this project ended up being way more difficult than the "just throw some legs on it" that I anticipated. That being said, we spent less than $10 total on the rod and the 2x2, and we already owned everything else (glue, stain, nails). So, for that price, I would say that it was totally worth it to get the pieces to the height that I wanted.
Have you ever had a project get way more complicated than you anticipated? What did you do?
 |
|||
 |
 |
 |
 |

Hello, I'm Morgan, half of the creative force behind CharlestonCrafted.com! With a passion for DIY that dates back to 2012, I've transformed three homes and now I'm dedicated to helping others craft their dream spaces. Let's turn your house into a home together!

