As part of the quick & cheap upgrades to our guest bath, I wanted to update the standard light fixture above the mirror. It is a builder-grade fixture with 3 bulbs and glass bulb covers.
Though I considered swapping out the bulb covers for a more modern set, I was instead inspired by the new Young House Love book (#83!) to instead upgrade the existing set.
Upgrading a Standard Bathroom Light Fixture with a Dip of Paint
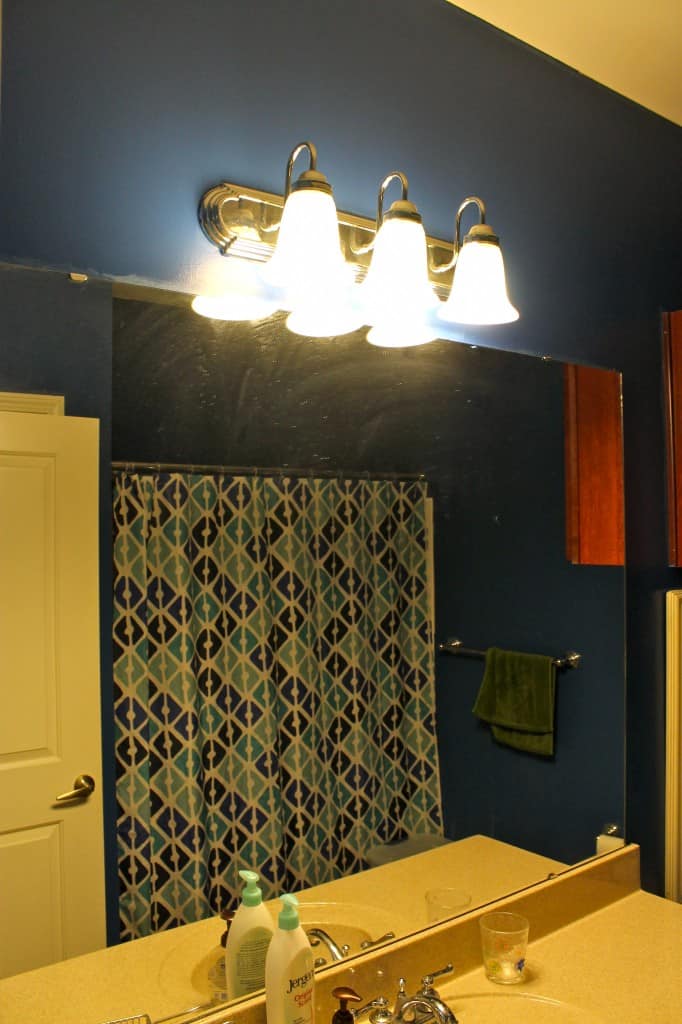
All in all, this project cost $0. That's F-R-E-E folks, aka my favorite price.
Click here for more easy and cheap DIY projects!
Supplies needed:
- Light fixture
- Can of paint
- Parchment paper (to dry on)
Steps to dip a light fixture in paint:
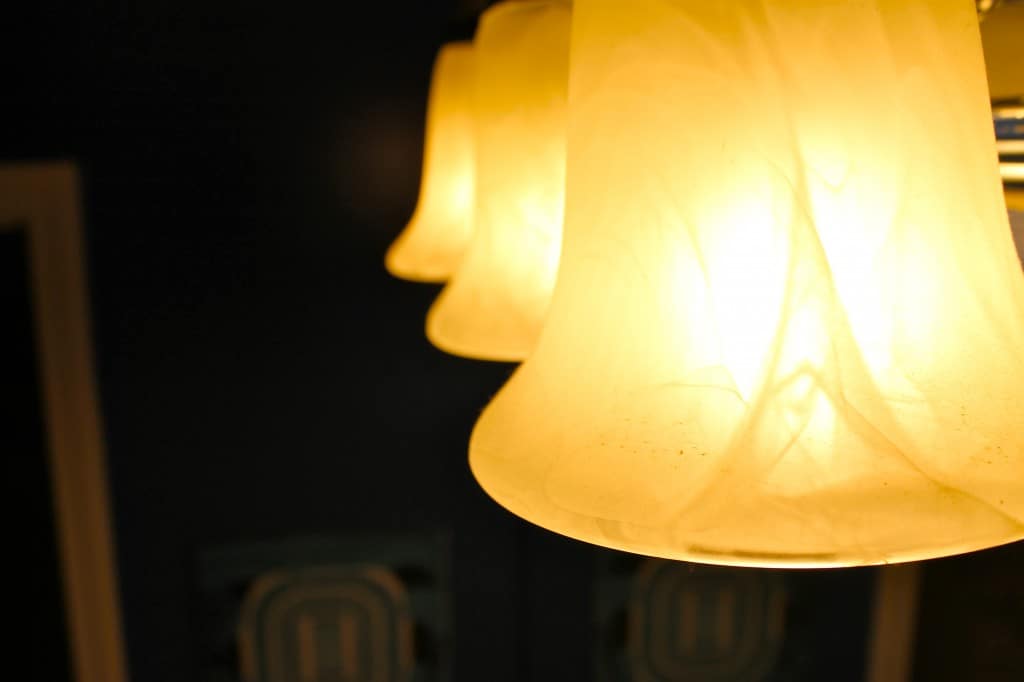
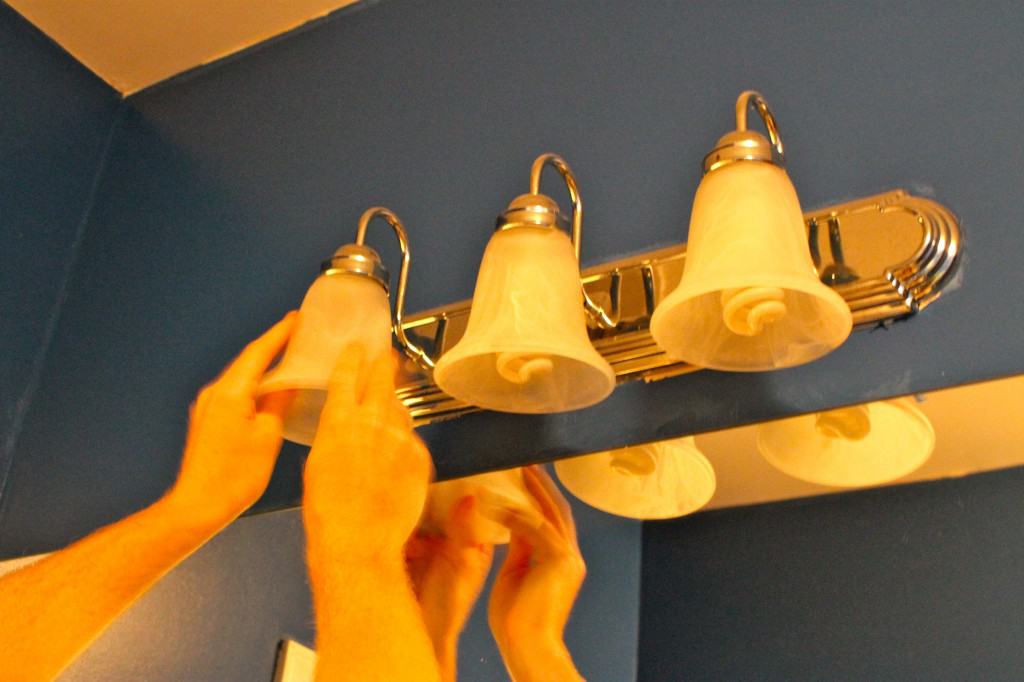
Remove the lights from the fixture. For us, that meant unscrewing the bulbs & then popping off the shade.
Some shades might have small screws holding them in. It's good to check before you just yank it out.
Meanwhile, I opened up the gallon sized can of paint.
It's the same color that we used on the walls- Teeny Bikini by Olympic in a semi-gloss.
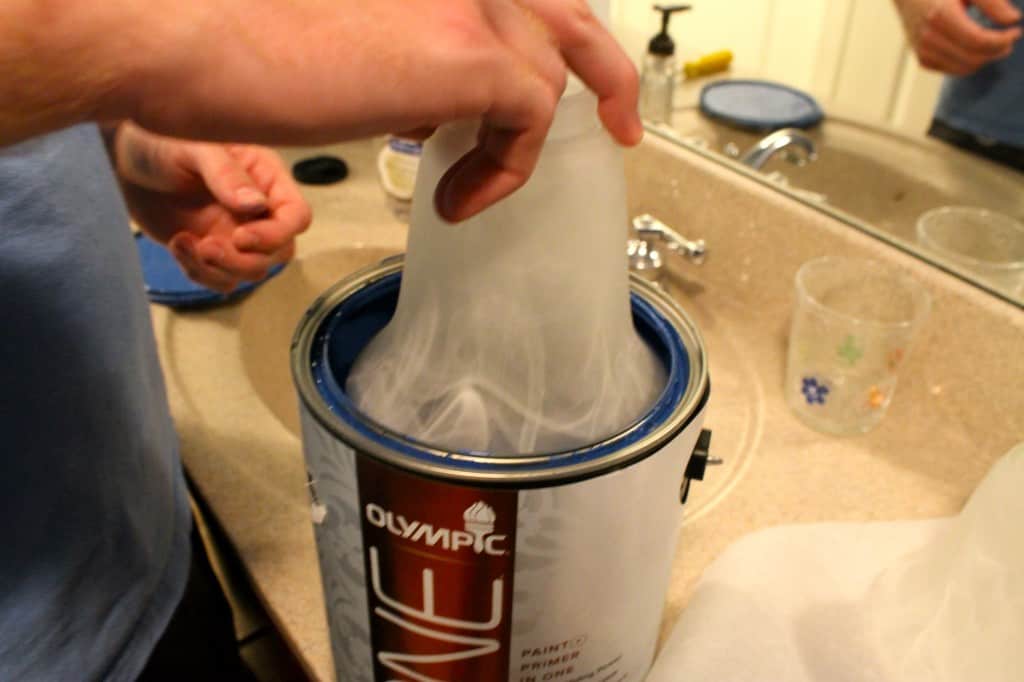
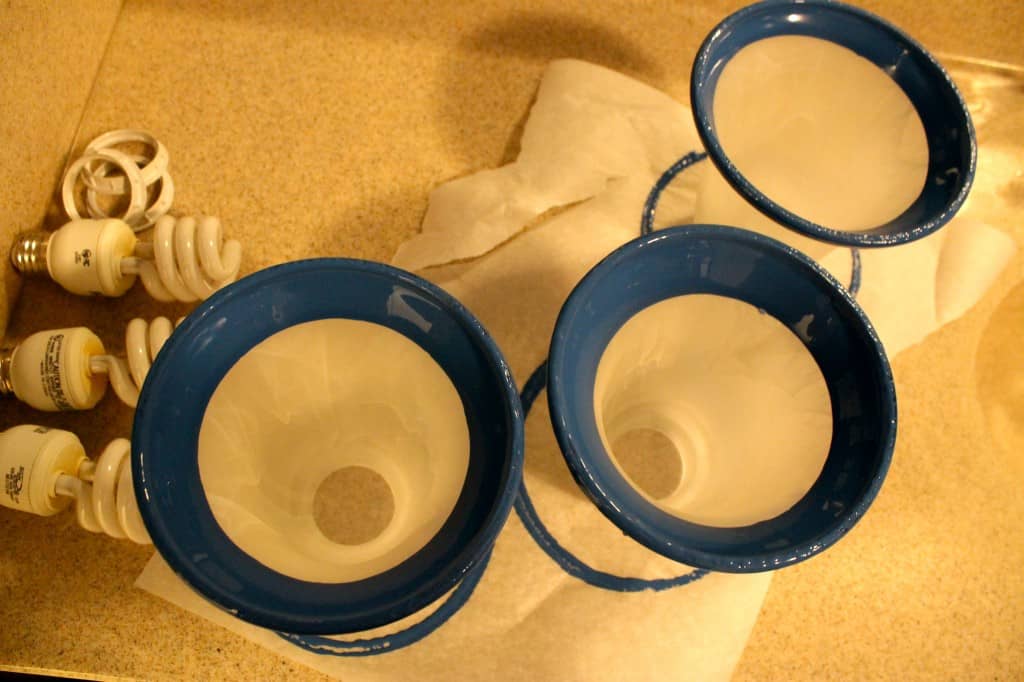
Since the shade fit perfectly into the can, we just dipped it about 1 inch deep in the paint.
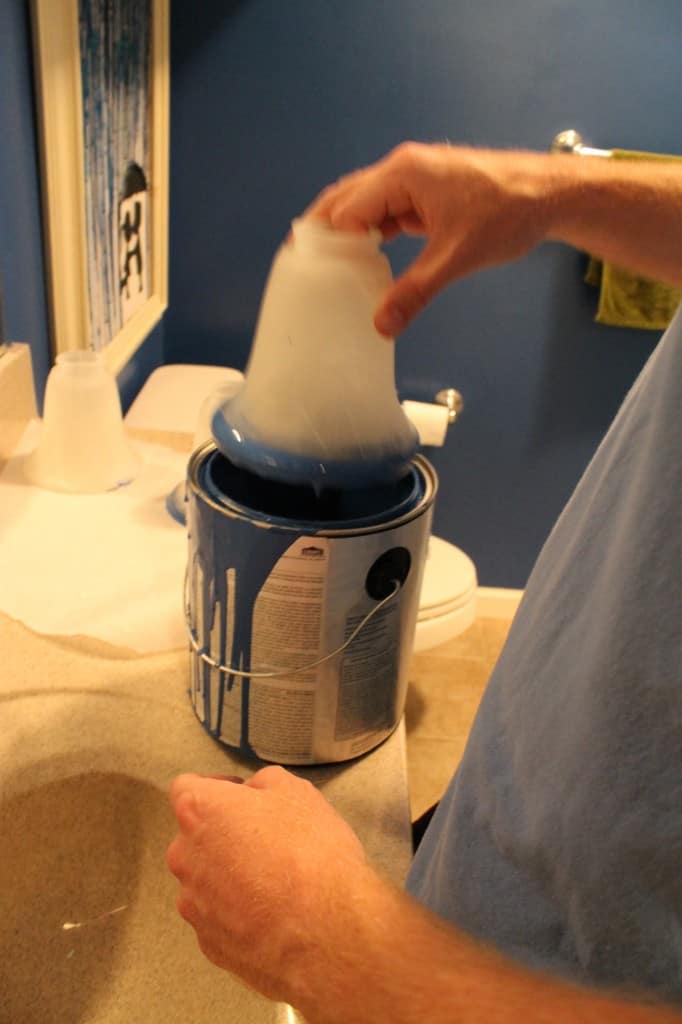
Hold it up and let some drips drip back into the can.
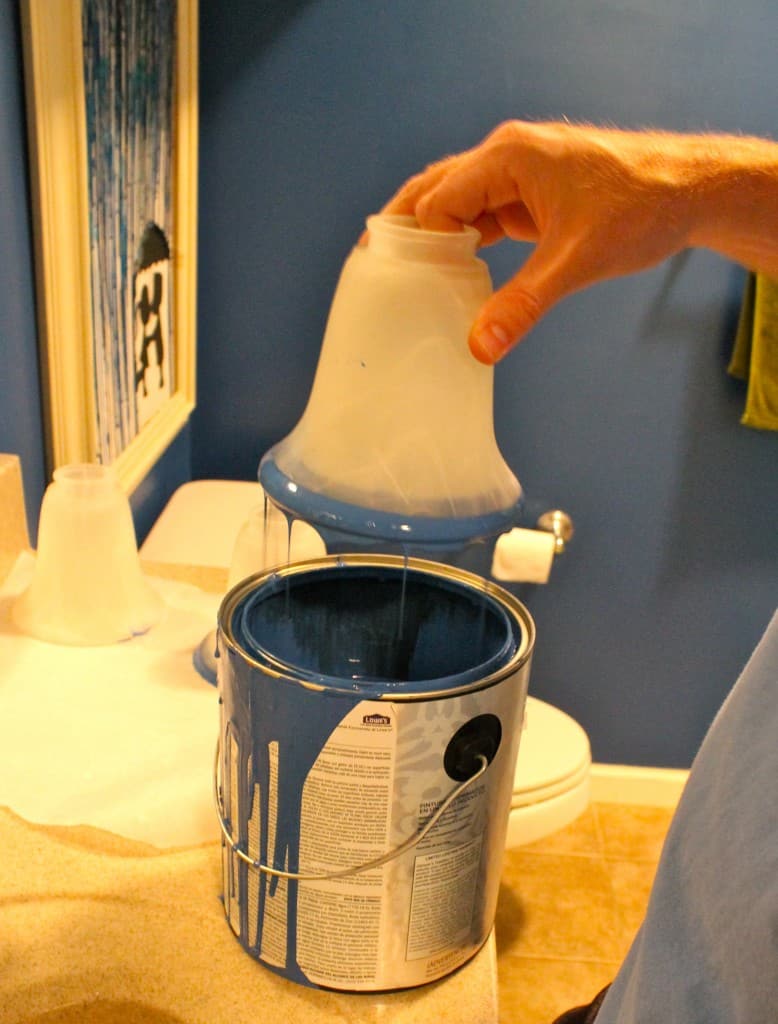
Then, we set the shades paint side down on parchment paper.
This way, they wouldn't drip onto themselves.
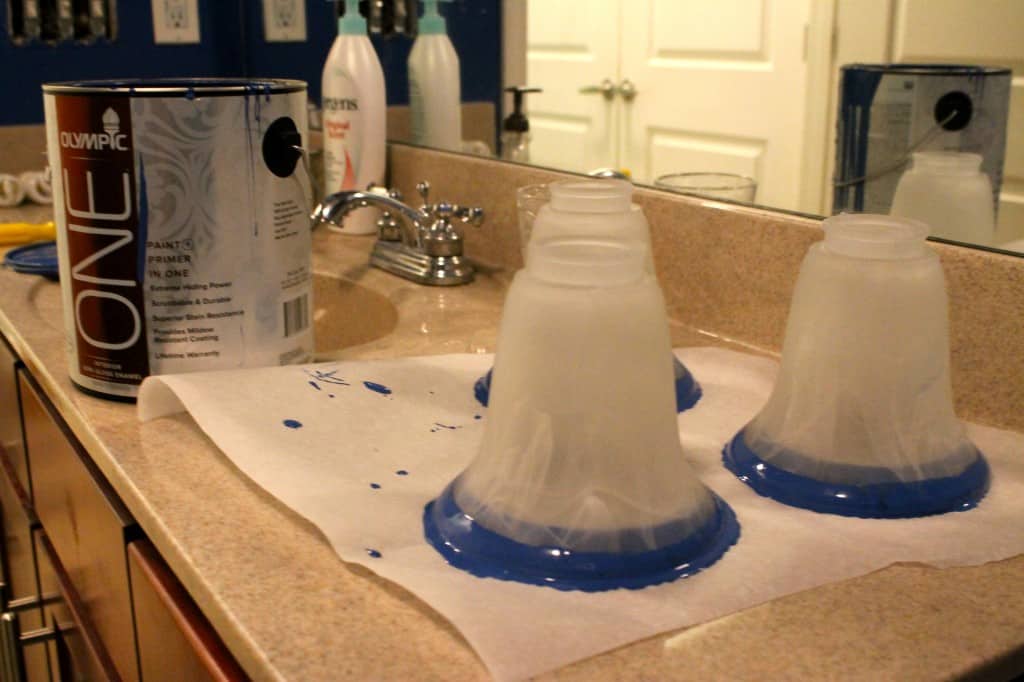
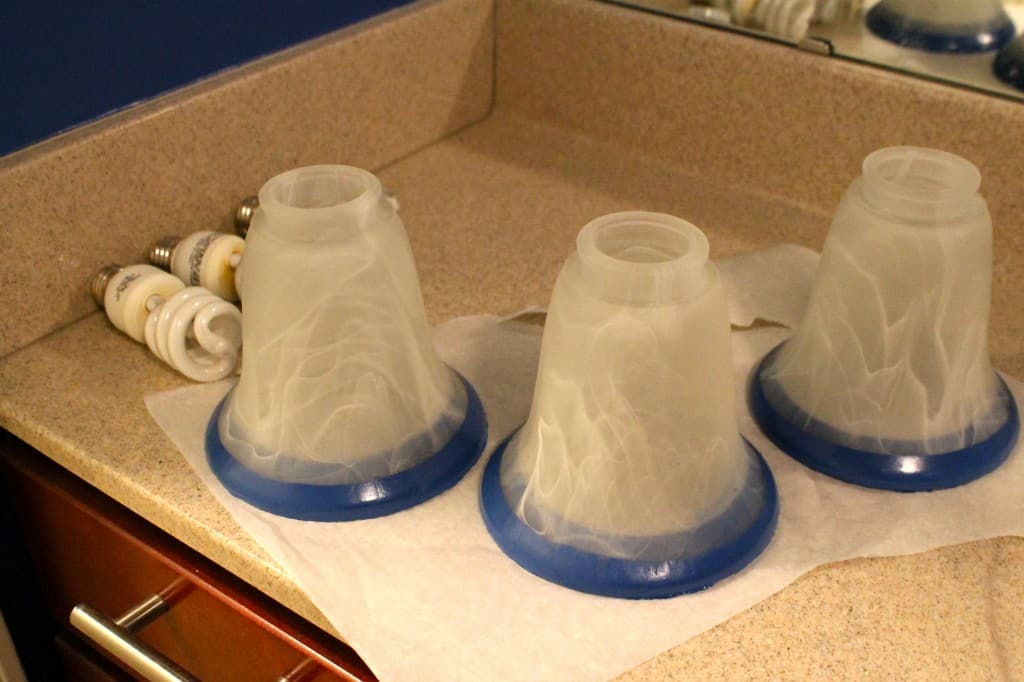
After about 1 hour, the paint was tacky-to-the-touch. It was about 75 percent dry.
At this point, we flipped the shades upside down and let them dry overnight, so they didn't stick to the paper.
It turned out awesome! Sean screwed them back into place and we ended up with a really cool, custom look!
Love this project? Follow us on Instagram for more DIY!
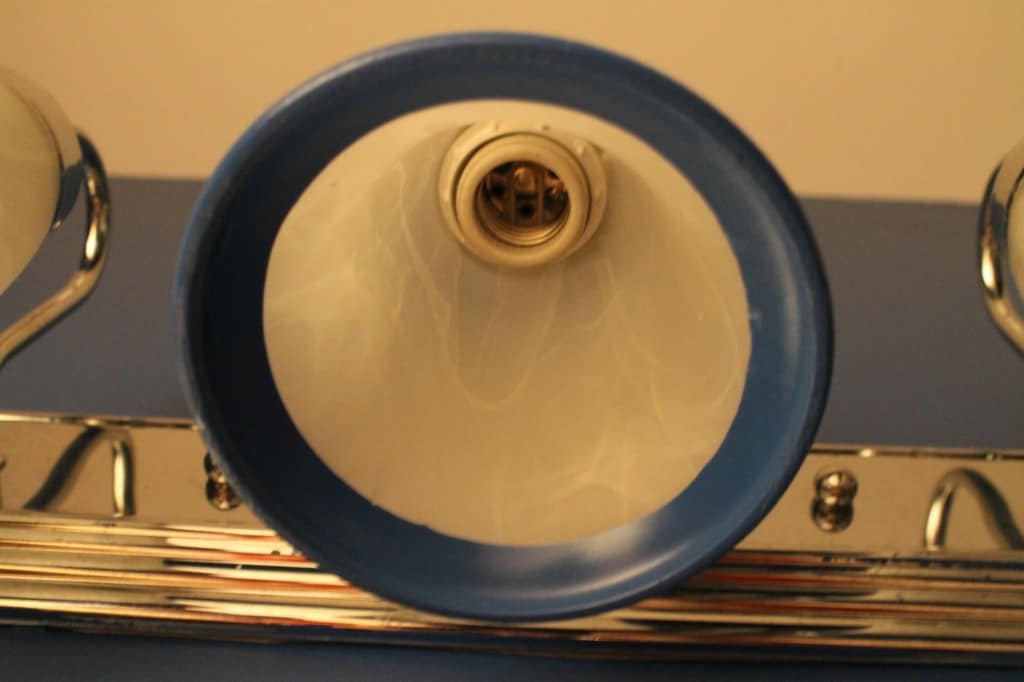
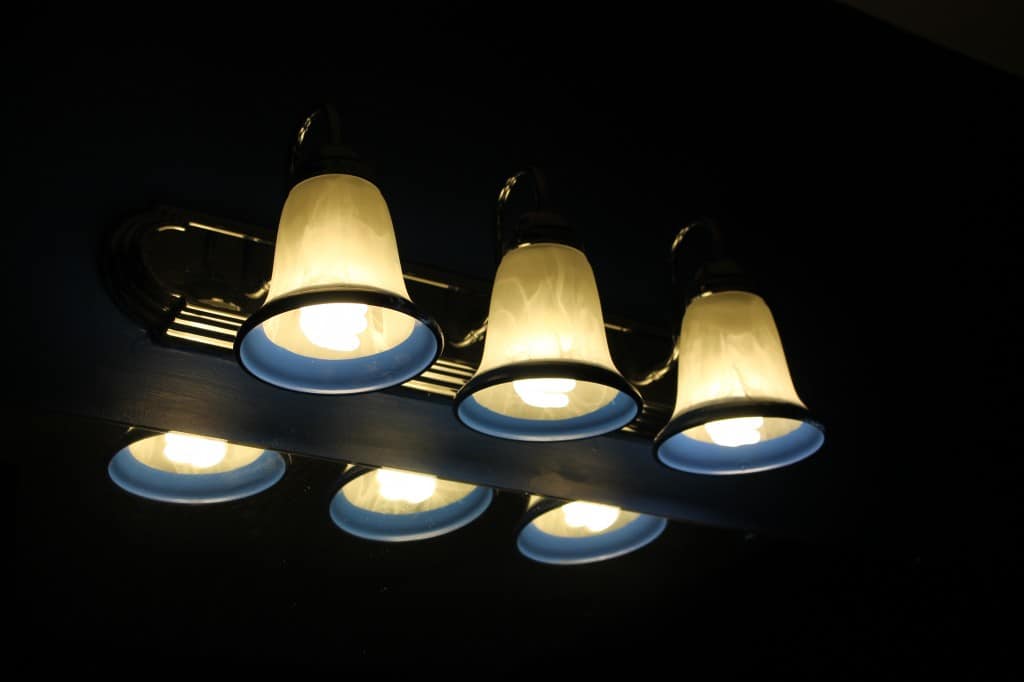
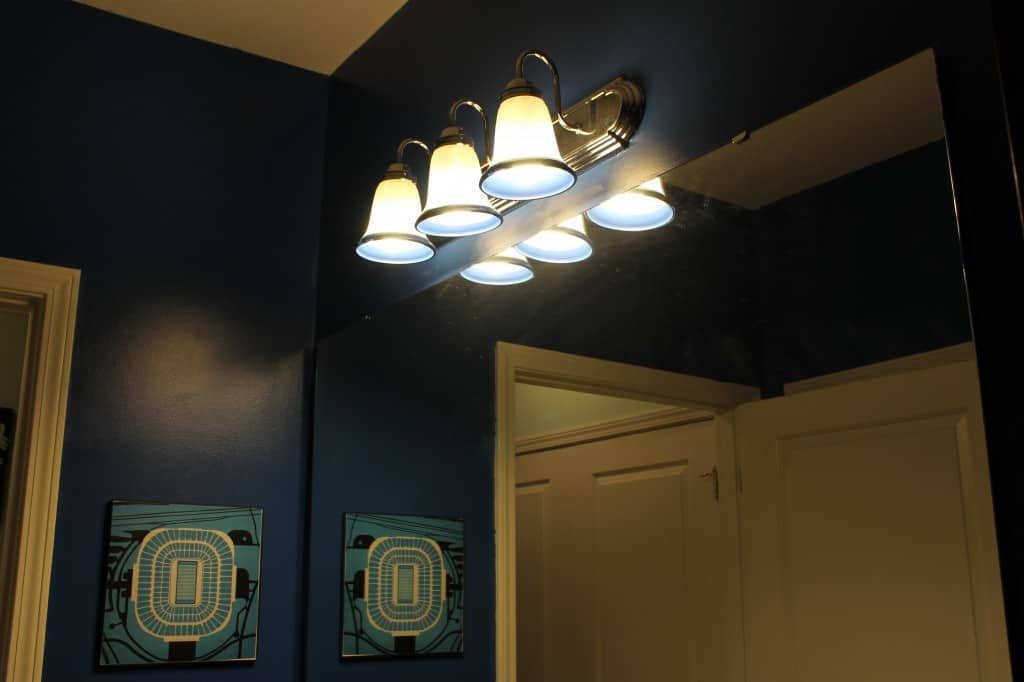
However, we decided that the blue might pop more with a white background.
Check back in later this week to see how we achieved that!
Have you done any free upgrades lately?
Looking for something?
We've been doing this since 2012 so we have a LOT of blog posts!
Search stuff like: Ceiling Projects | DIY Plant Stands | Thrift Flips


Hello, I'm Morgan, half of the creative force behind CharlestonCrafted.com! With a passion for DIY that dates back to 2012, I've transformed three homes and now I'm dedicated to helping others craft their dream spaces. Let's turn your house into a home together!




Dana Jackson says
i love this idea. i just have a couple of questions before i try it. Was this Ok/sustainable with the high heat of the lights? I'm looking to try this technique on some pendant lights that would be on for many hours per day (over a bar in a restaurant). Would the heat cause the paint to melt? stay tacky? Smell strongly of paint fumes (indefinitely)? Looking forward to your response! thanks.
CharlestonCrafted says
Hey Dana thanks for stopping by! It's been a year since we did this and no melting, stickiness, etc. to be fair - they are not on unless someone is in the bathroom, so I can't vouch for all day use. Make sure the bulb is not too close to the shade, for sure. Hope it works out for you!
dana jackson says
Fair enough. Looking forward to trying it. Thanks for the quick response.
Jenny says
Also if you are using low wat lights like LED or fluorescent like in her pictures, the heat is significantly less than incondesent or halogen. I wouldn't use anything Warner than fluorescent personally. Once the paint fully cures and finishes off gassing (smelly fumes) you shouldn't smell it at all.
Lauren Dahl says
Hi! I came across your blog this morning while searching for an inexpensive way to update my bathroom lighting. You mentioned in this post that you may add white to help the blue pop, and I was wondering if you have done that? If so, do you happen to have a photo or blog update about it? I would love to see the finished result, I'm really considering painting mine!
Lauren
Morgan says
We just stuck with the blue - and we love it!