I have always loved having a vanity to do my hair and make up and jewelry. Growing up, my bedroom set had one that matched the bed and desk. When I was moving into my first apartment my sophomore year of college, my #2 top priority purchase (after a bed of course) was another vanity.
My sister actually found the perfect one in the basement of an antique store in Boone, North Carolina. It was love at first sight & I have dragged it around ever since, even going so far as moving it into my furnished bedroom in the sorority house.
Even in the eight months in the condo, it's played musical rooms- alternating between the guest and master bedrooms and rotating from wall to wall. Now, the vanity sits in the far corner of the master bedroom.
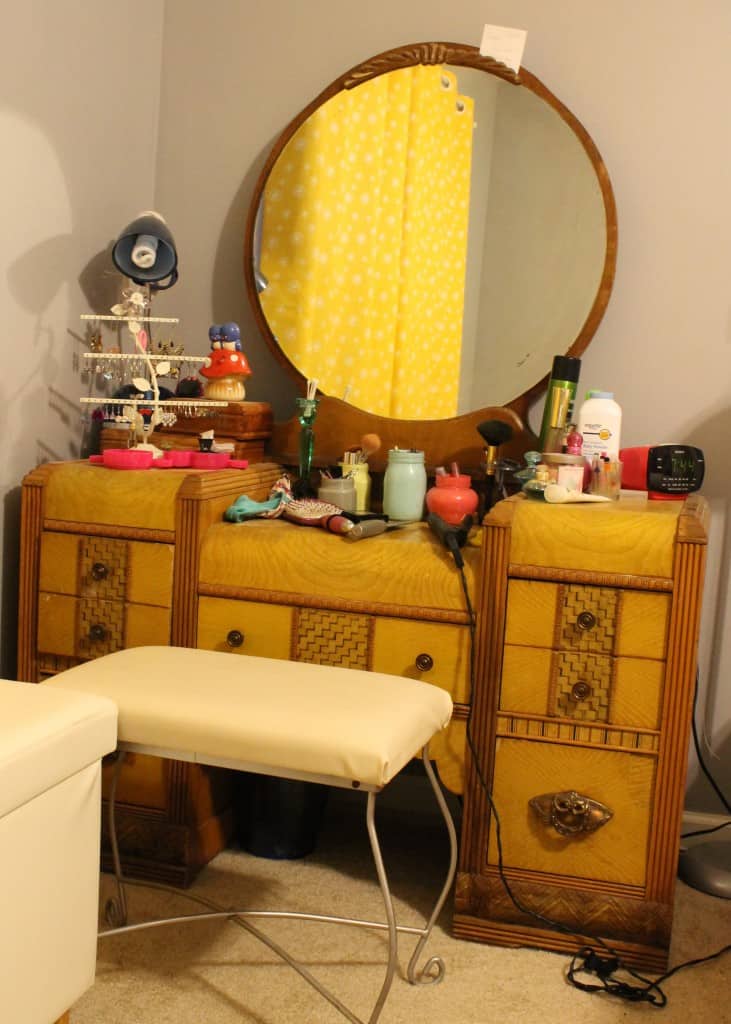
But, the stools all wrong and the finish is looking sad and the drawers need a makeover.
So here it goes.
The biggest delay in my vanity makeover has been my (surprise!) inability to make a decision as to what to do. Part of me wanted to paint it- maybe a glossy glossy white, perhaps accents on different sections of the wood. Another part of me wanted to stain it dark walnut to match the side table and string art. A third part of me loved it as it is and didn't want it to change.
After doing some research (and oogling this post by, my idols, Sherry & John Petersik) I decided to go with option 3. My plan became to embrace the old fashioned look of the piece and just let it shine a bit more. No pun intended.
So, I ran out to Home Depot (I'm usually a Lowe's girl, for location purposes, but didn't see these guys on Lowes.com and didn't want to run the risk) and grabbed Howard's Restore a Finish (in Golden Oak) and Feed N Wax. They came in at about $15 total and we did not use but about ⅓ of each. So this was a $5 restoration project- pretty low risk to me!
Next, I came home and cleared off the vanity. We pulled it out from the wall, laid down newspaper, and pulled out the drawers.
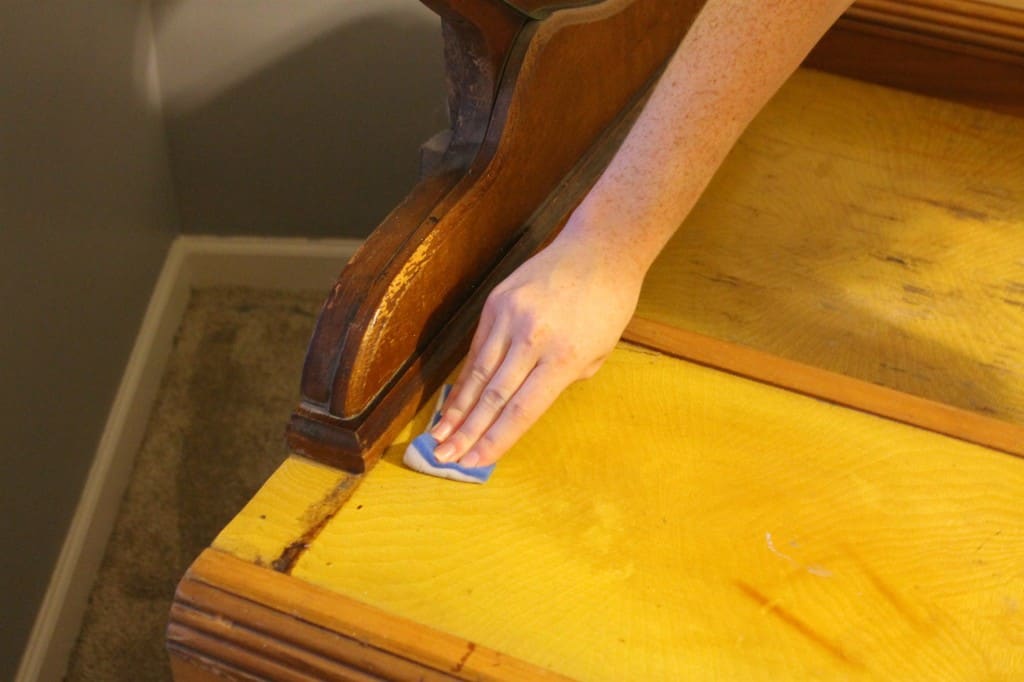
Next, I used magic erasers to give it a good scrub.
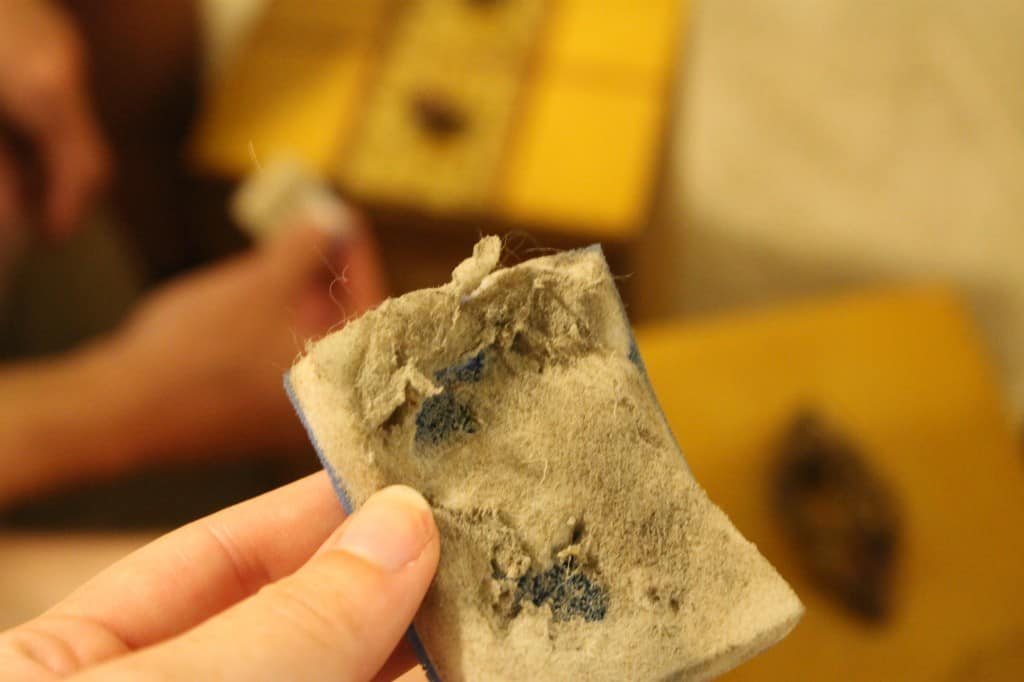
I was pretty grossed out at what I found!
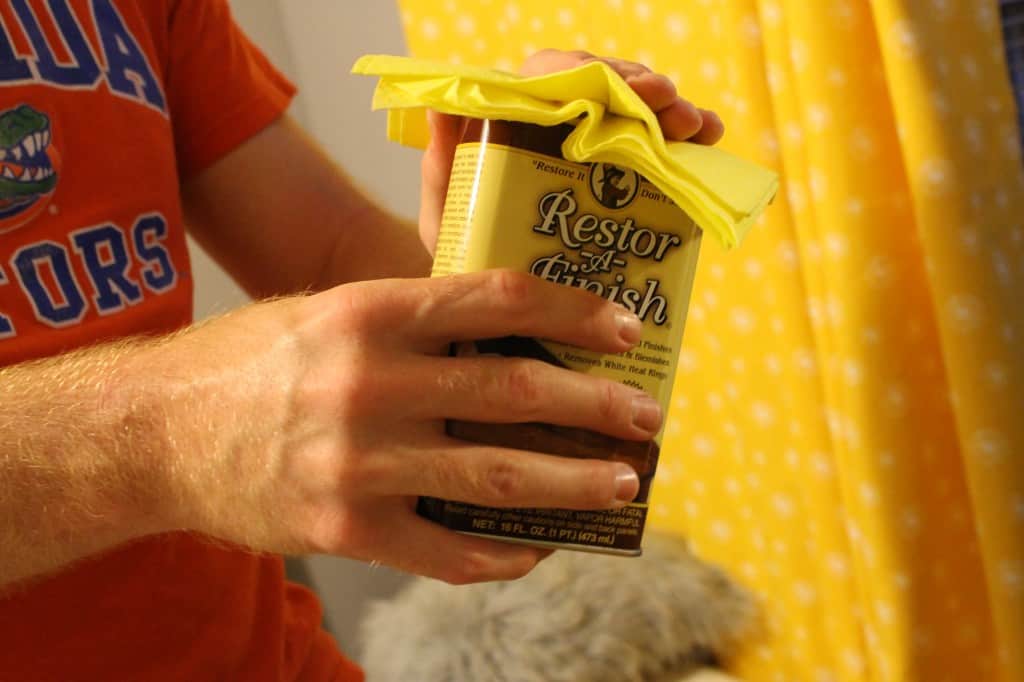
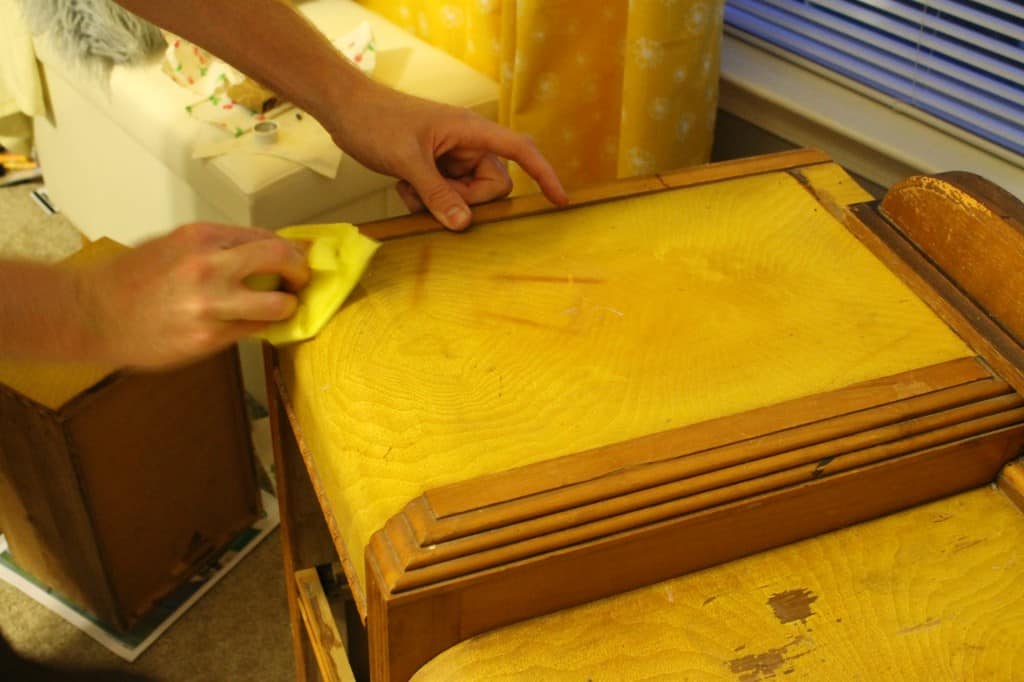
Next came the time too restore this sucker. The Restore a Finish is liquid and looks kind of like a stain. You pour it onto a rag (a lot) and rub it into the wood. Warning- it smells bad. Open a LOT of windows if you are inside. Rub it on really good & then let it sit for at least 30 minutes.
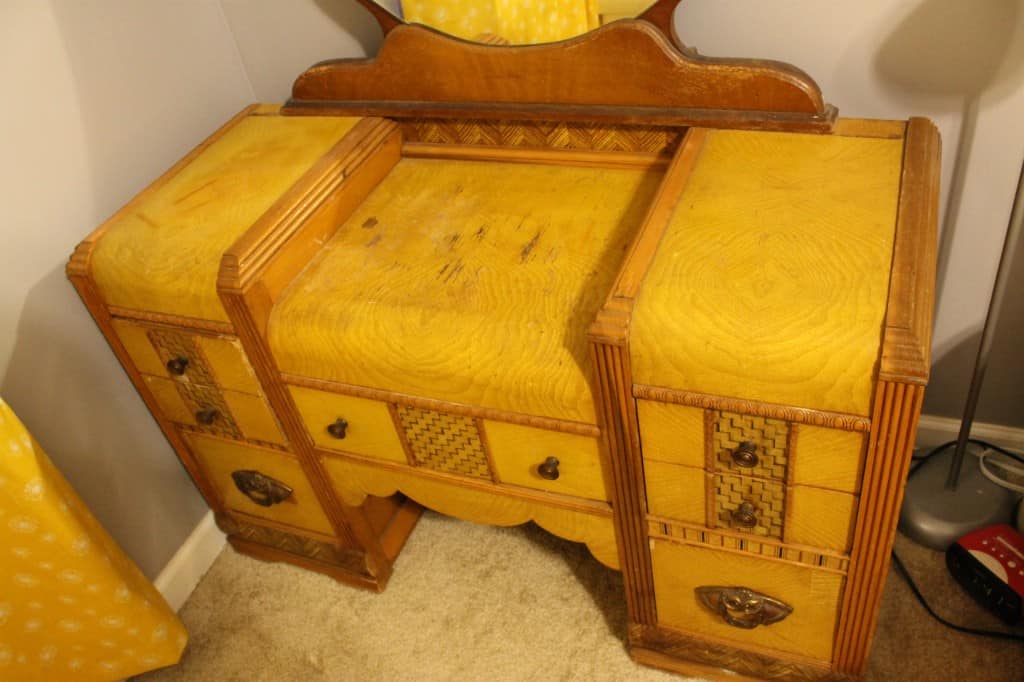
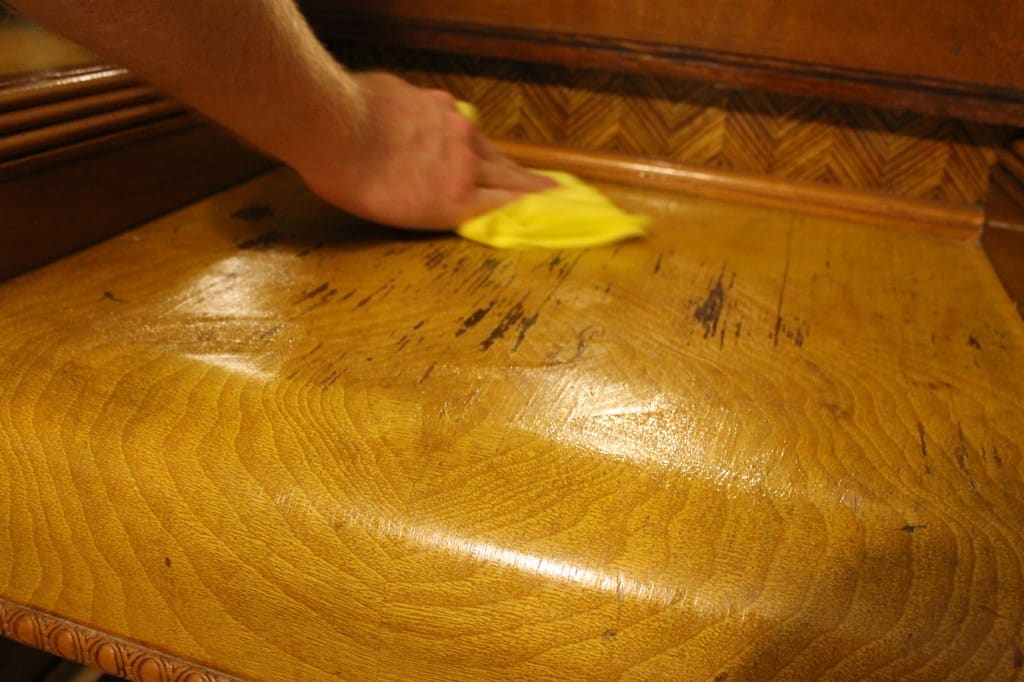
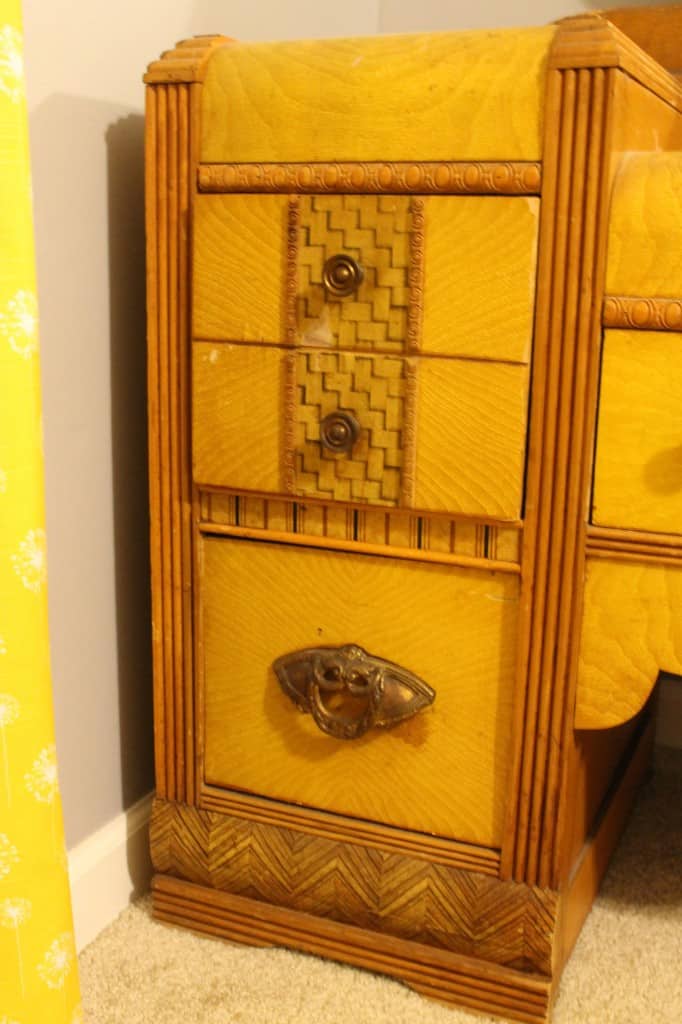
Our biggest problem was (and we thought of this before but decided, what the heck let's try anyways) the vanity is mostly veneer. That's the thin wood that goes over this wood. I didn't want to remove it because it has awesome grain & design & is thew whole reason I didn't paint the thing. However, though Howard's is safe for veneer, it really didn't soak in much or make a huge difference.
It did, however, restore it's shine and made the non-veneer parts (around the mirror & the "trim") look AMAZING! The color is so much richer and so sexy looking.
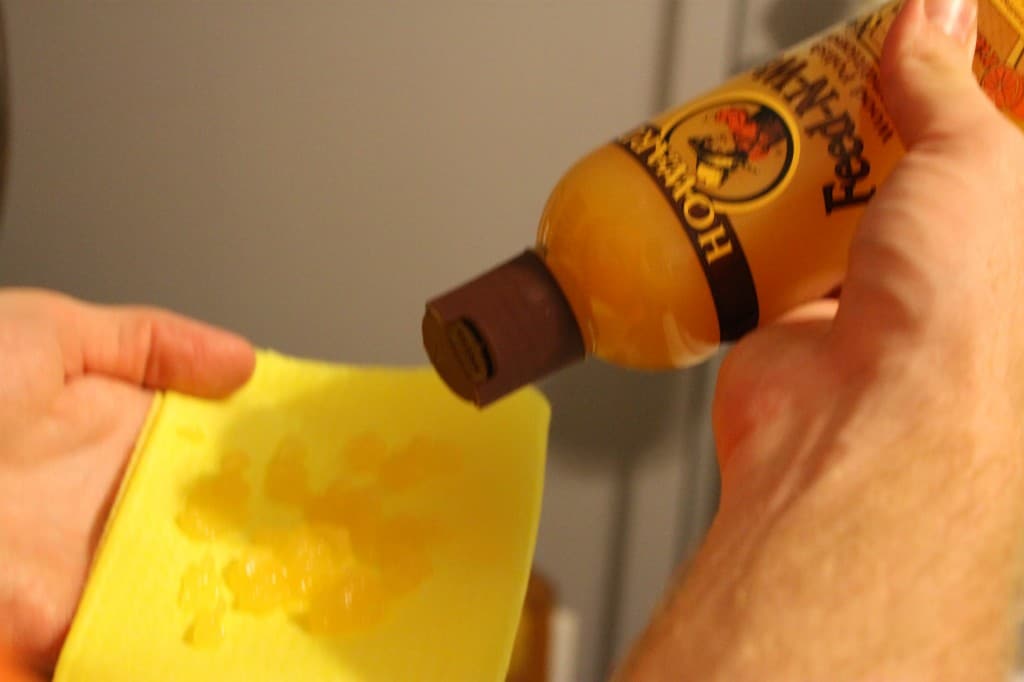
After 30 minutes, you can rub on the wax. Do it the same way- squirt a lot on a rag & buff into the wood. Th wood will take a lot of this stuff & it basically acts as lotion to the furniture.
An hour later, I used a dry cloth to wipe off any excess.
Wham bam. not a huge, shocking difference. There's still plenty of flaws in the finish, but it looks so much healthier!
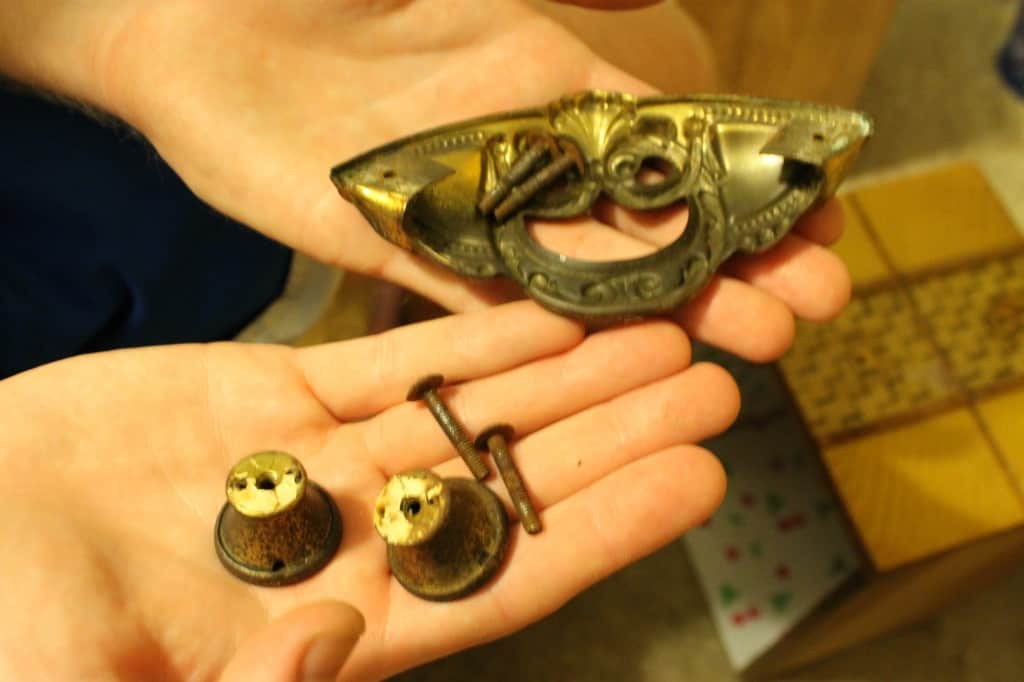
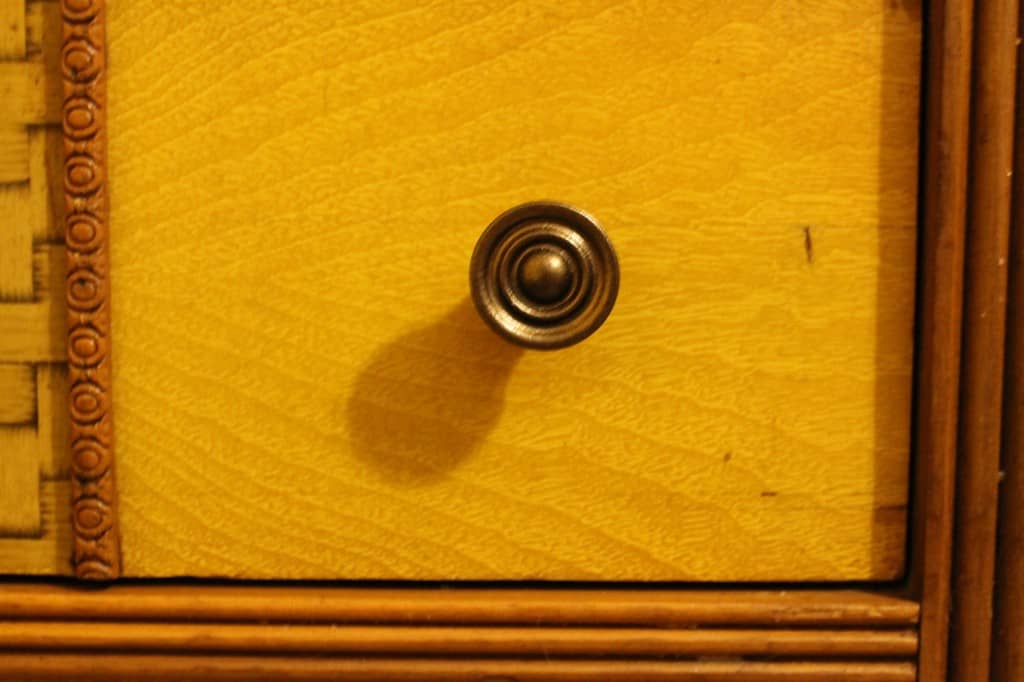
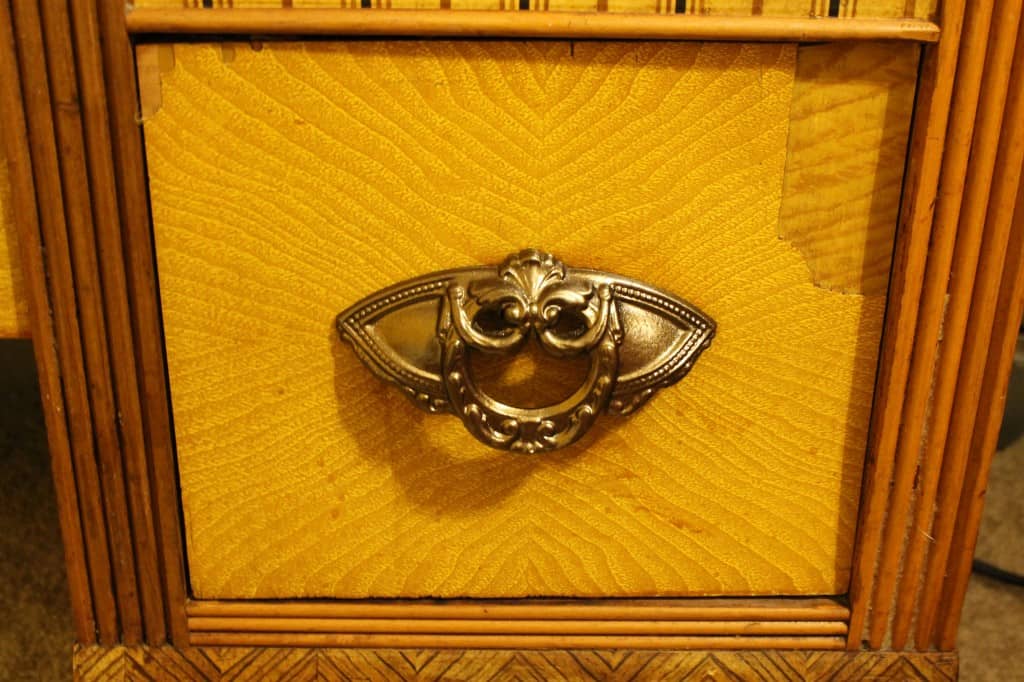
Next came the knobs. I love the classic brass knobs on the piece, but they were rusted and gross. Unfortunately, as they are brass plated and not solid brass (how can I tell? They're magnetic!) you can't really sand off the rust without revealing the steel underneath. So, I decided to paint them instead.
All I did was unscrew them and spray paint them. I gave them each a coat of rustoleum rust reformer and then two coats of antique gold. They look SO much better but still have the old vintage feeling that I was trying to preserve.
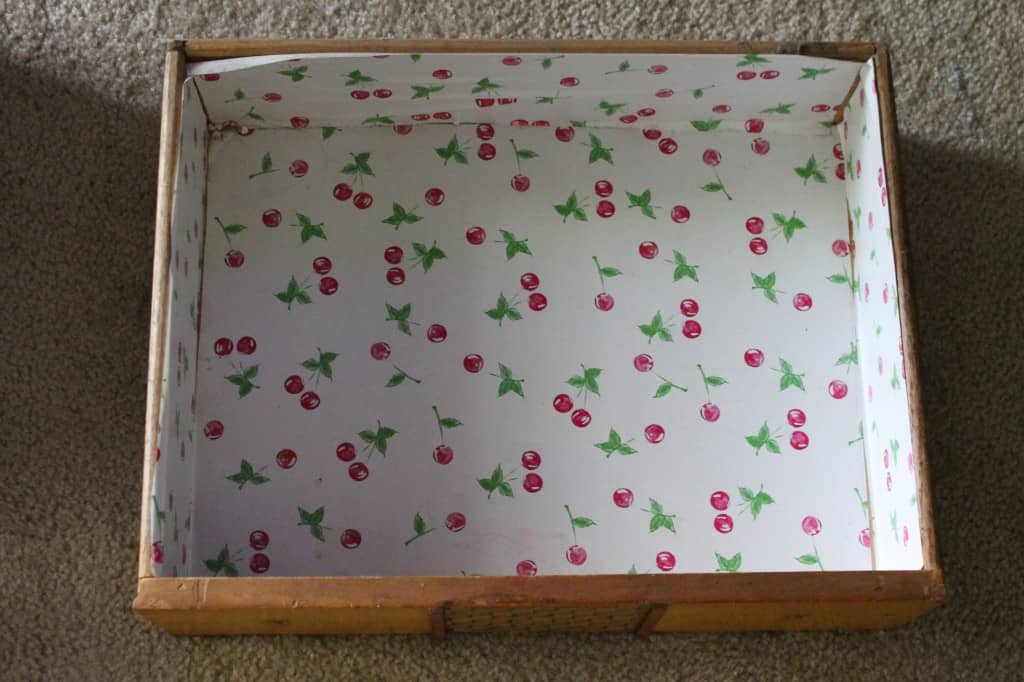
Next came the inside of the drawers. I removed the old lining & upgraded it to new vinyl.
When I put everything back together, at one glance, you might not see a huge difference. However, upon closer inspection, you'll see that it's got a glossier coat, crisp clean drawers, and shiny new knobs.
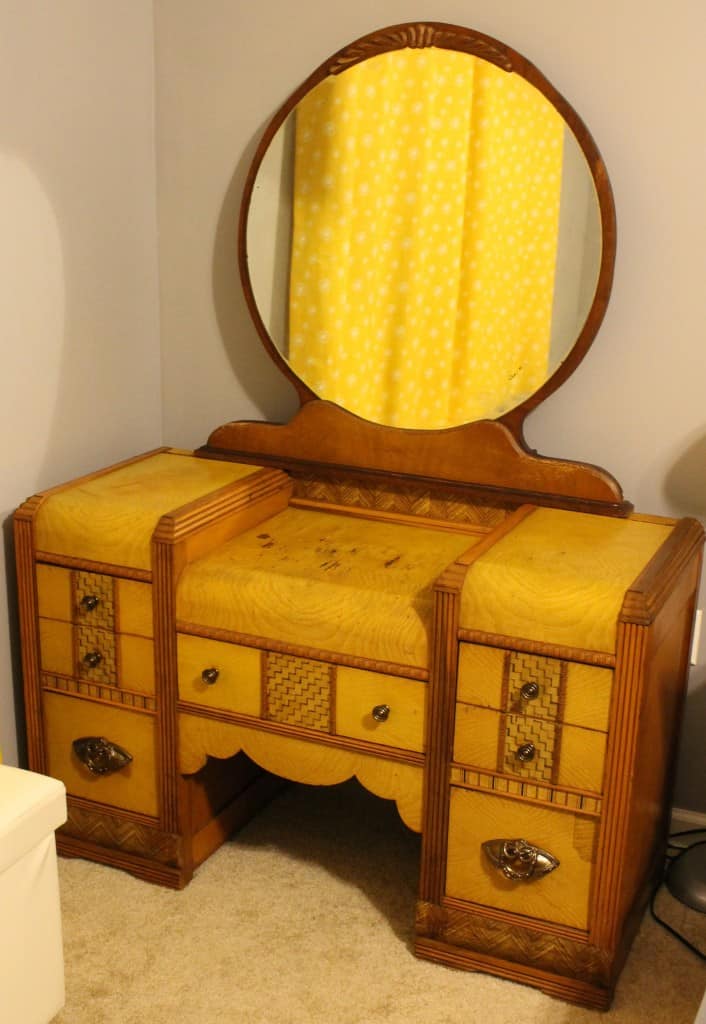
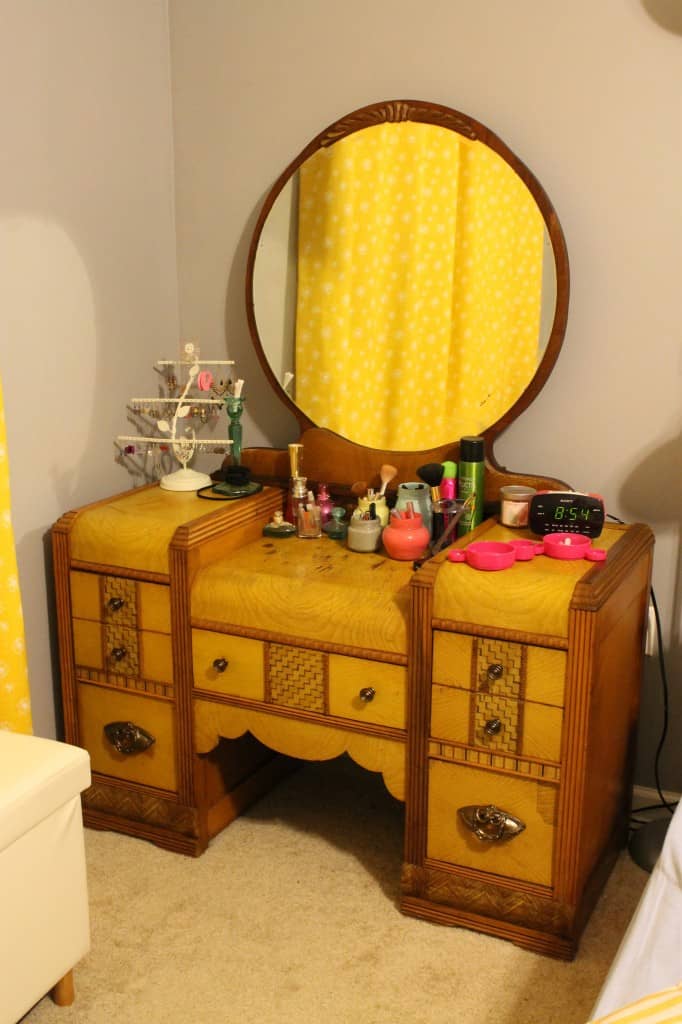
This is by no means the end of the line for this vanity. I see several more makeovers in it's future. But, for now, I'm much happier with it.
Have you given any furniture a mini makeover lately?
 |
|||
| |
|
|
|

Hello, I'm Morgan, half of the creative force behind CharlestonCrafted.com! With a passion for DIY that dates back to 2012, I've transformed three homes and now I'm dedicated to helping others craft their dream spaces. Let's turn your house into a home together!


