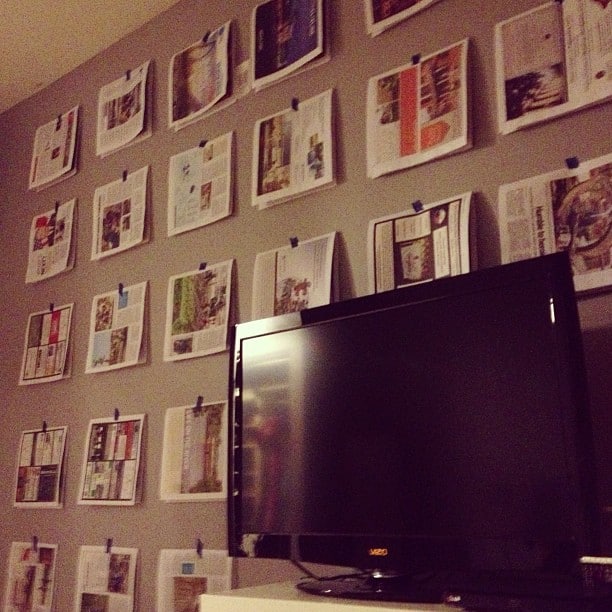
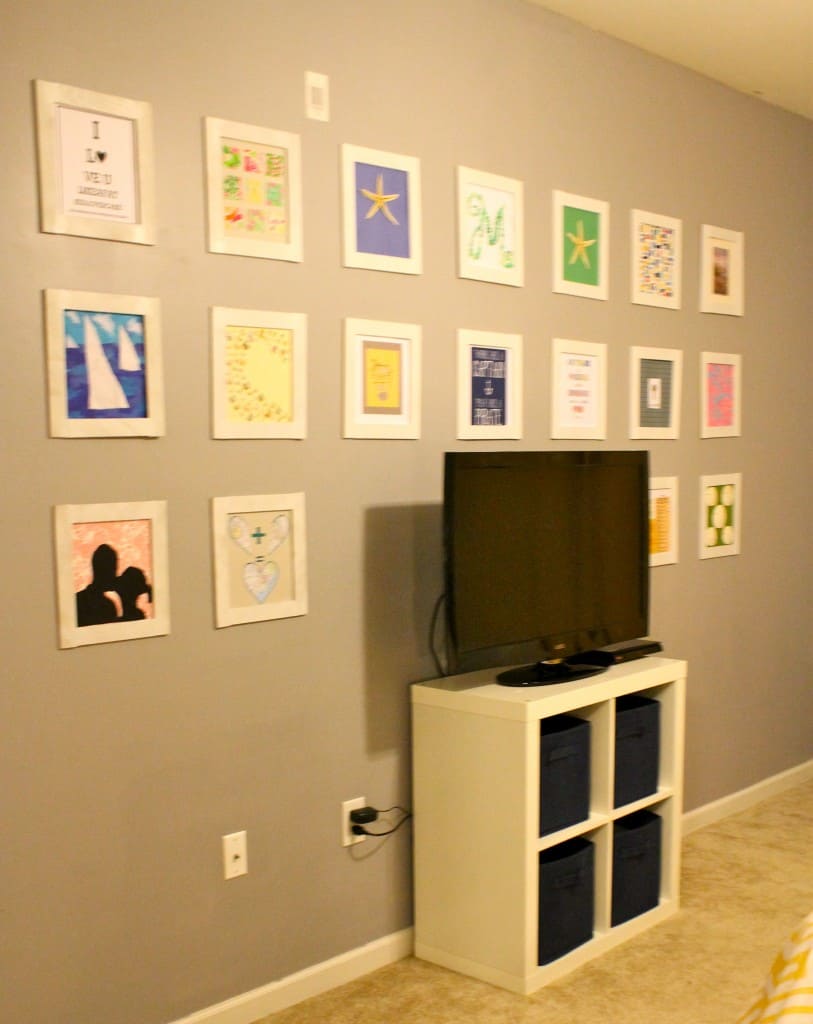
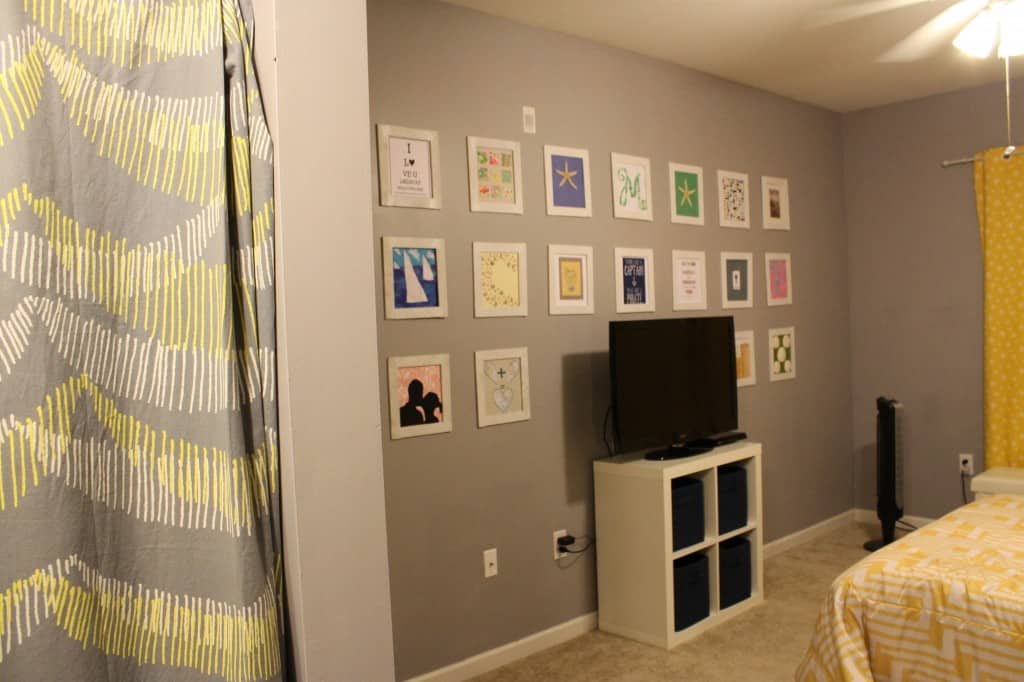
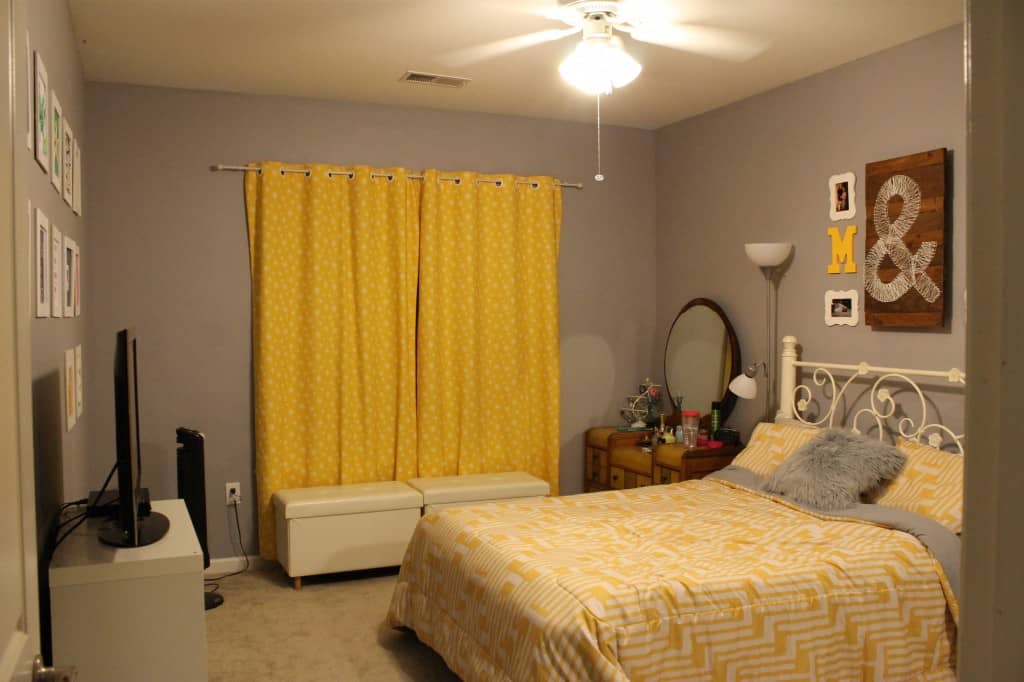
I’ve been itching for a gallery wall in the bedroom for a long time. I wasn’t sure what I wanted to display or frame, but I knew that the big wall behind the TV (opposite the bed) needed a major piece to make it feel finished. Though the color scheme in the room tends towards grey & yellow, I wanted white frames & colorful pieces to contrast the big, black TV.
I searched loads of places for frames: Walmart, Target, Ikea.com (come to Charleston, Ikea!), and lots of thrift stores. I considered buying mismatched frames and spraying them all a satin white.
However, one night I was bored and decided to bust out some newspaper and painting tape and play with some frame layouts. In the end, I was surprised that I (quirky & creative & so not type-A) was most attracted to a grid layout.
Sean (who is much more type-A and loves everything in it’s place) was quick to jump on board. He was slightly concerned with finding enough things to frame, but I convinced him that my pinterest boards ran deep enough to fill a dozen gallery walls.
Next came the decision of what frames to use. I knew that I wanted matching frames, and white frames to boot. However, with a vision of 18 frames, even the $8 Walmart version (with cheapo black plastic frames) would rack up a bill of over $100. Considering that I was hoping to frame free art, that was not in the budget.
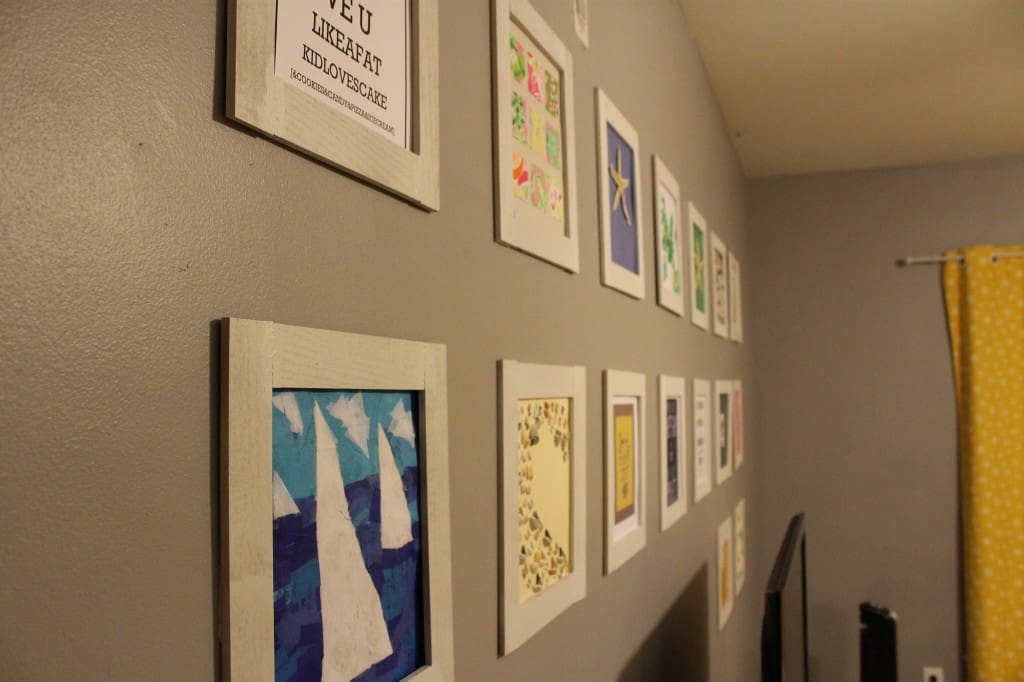
So, I decided to consider option 2- making frames. Kind of kooky, perhaps. But something really attracted me to the idea of handmade, rustic looking wooden frames. Also, since I planned on framing several things with textures (like fabric & sea shells) I was interested in frames without glass.
So, we headed to our trusty Lowe’s to see what they might have in for us.
After investigating the lumber department, I decided to pick up a handful of ¼ inch x 2 inch x 4 foot poplar craft board ($1.97 a board). These are the same boards that we used for the board and batten in the guest bathroom, so I knew that they were cheap and cut easily.
I knew that I wanted the frame to be the approximate size of a 8 ½ x 11 inch sheet of paper. This would make framing printouts really easy and make it easy for me to size my art by just mounting it on a sheet of cardstock.
The final measurements of these frames are:
External: 12” x 12”
Internal (use this for art): 8” x 8”
So, each frame was composed of 4 boards- two 8 inch boards and two 12 inch boards.
Since each plank was 4 feet long, you could get six 8 inch pieces or four 12 inch pieces out of one plank. It takes a little math, but for example if you wanted:
| How many frames? | Total # of boards | # cut into 4 12” pieces | # cut into 6 8” pieces | Cost of boards |
| 12 frames | 10 boards | 6 boards | 4 boards | $19.70 |
| 24 frames | 20 boards | 12 boards | 8 boards | $39.40 |
So, you get the idea. Way cheaper than buying frames. Of course, you will also need to factor in the cost of other supplies. To make these rustic frames, you will need:
- ¼ inch x 2 inch x 4 foot poplar craft board (see above to calculate how many)
- Wood glue
- Sandpaper
- White spray paint, satin finish. I recommend using a paint & primer in one.
- Mounting supplies- I use command strips
So, here’s how you make them:
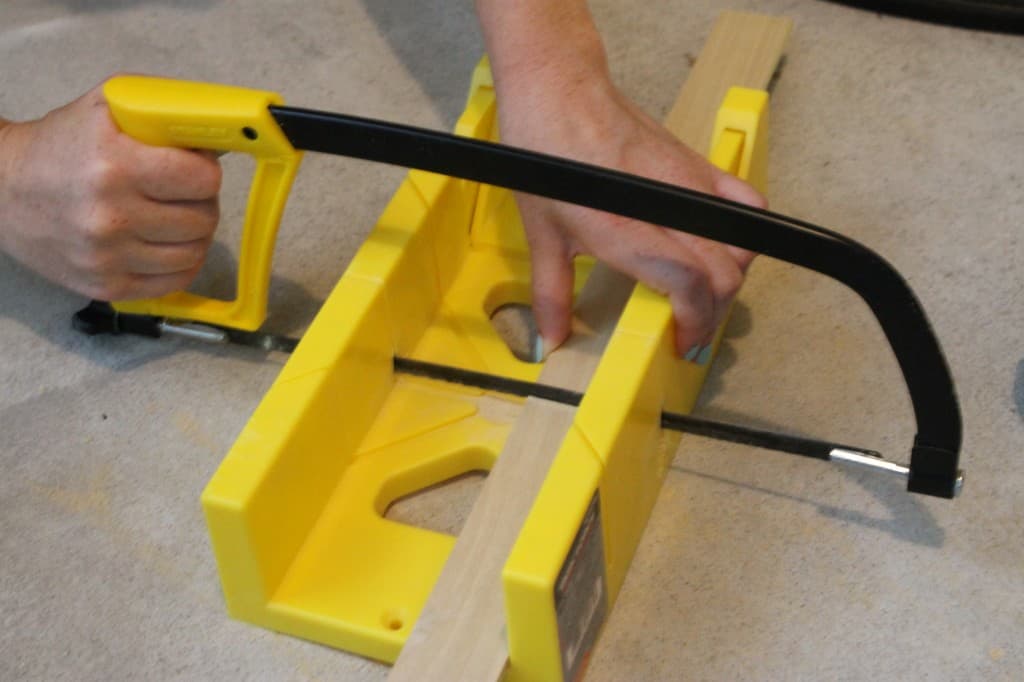
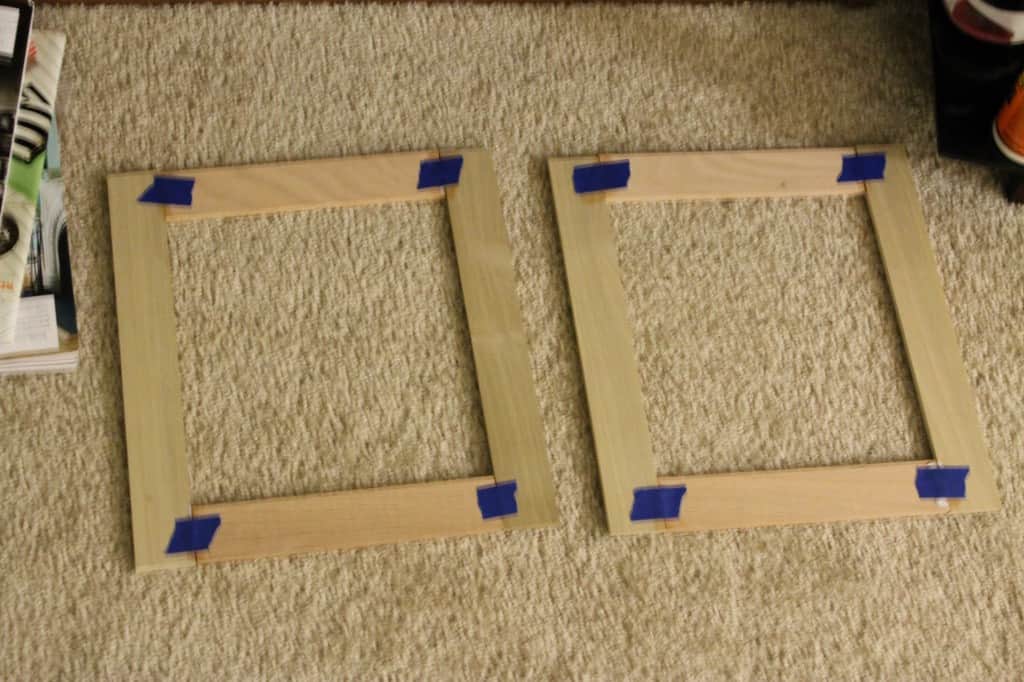
- Cut your wood. You need 2 short pieces and 2 long pieces to make a frame.
- Sand your cuts so you have a flat & smooth edge.
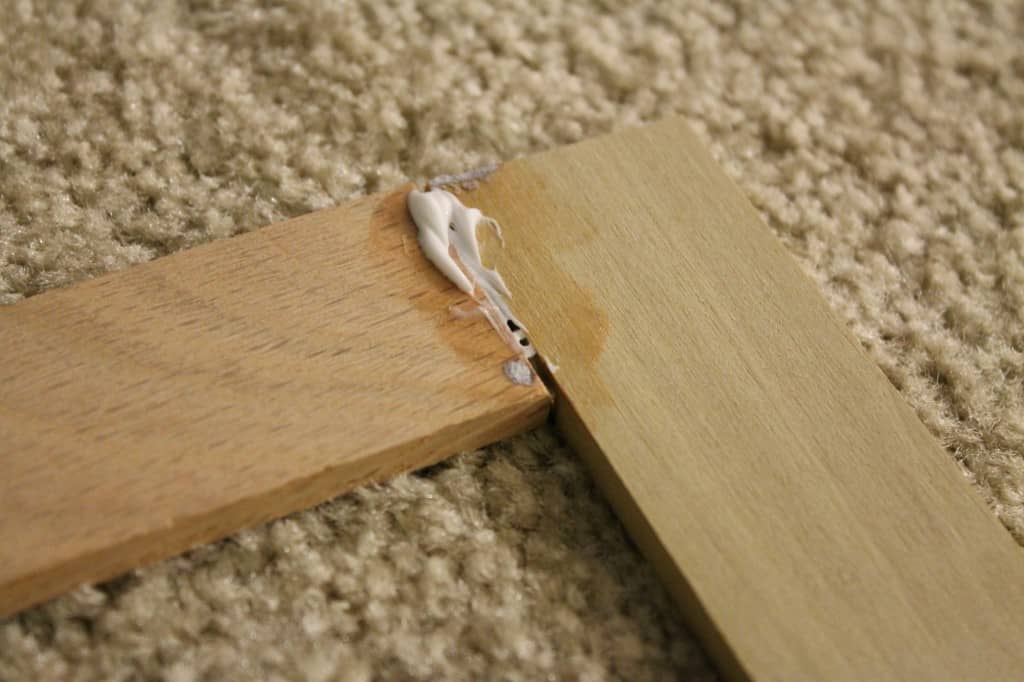
- Use wood glue to attach the boards together at the seams. Don’t use too much or it will seep out the joint. I used painting tape to hold the frame together until it’s dry.
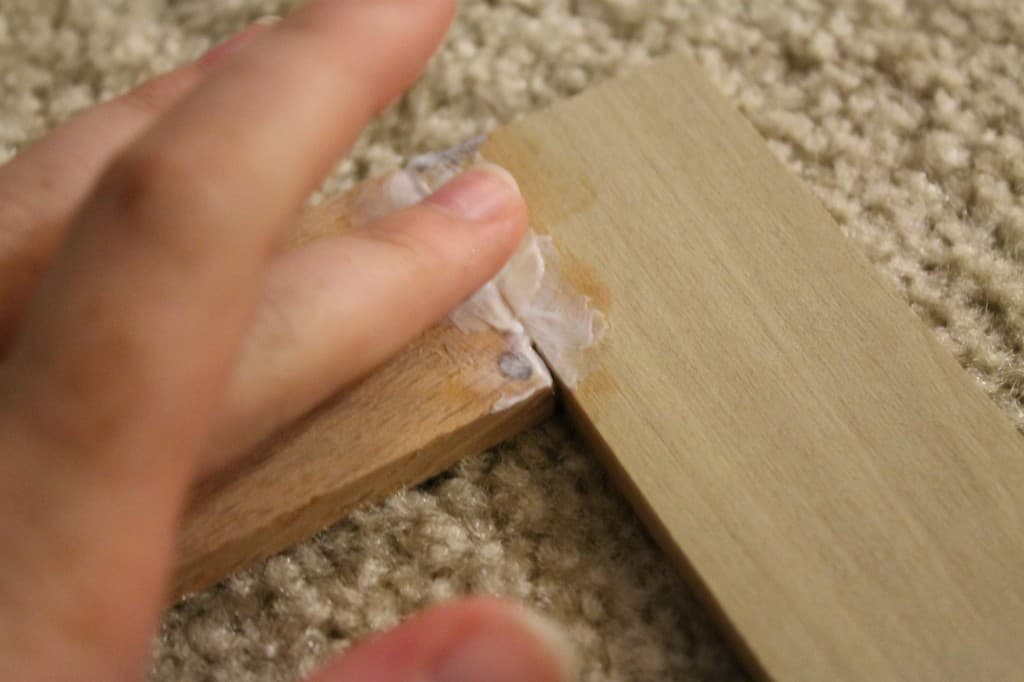
- This step is optional and depends on how “rustic” you want them to look. I wanted them to look sort of shabby chic, but wanted to fill in the crack between the boards a little bit. So, I used a (very small amount of) clear caulk to fill it in. Smooth it flat with your finger.
- Next, paint the frames. I used a white satin paint. Anything glossier will draw a lot of attention to any flaws in the wood. I prefer to use paint and primer in one spray paint and applied a few thin coats.
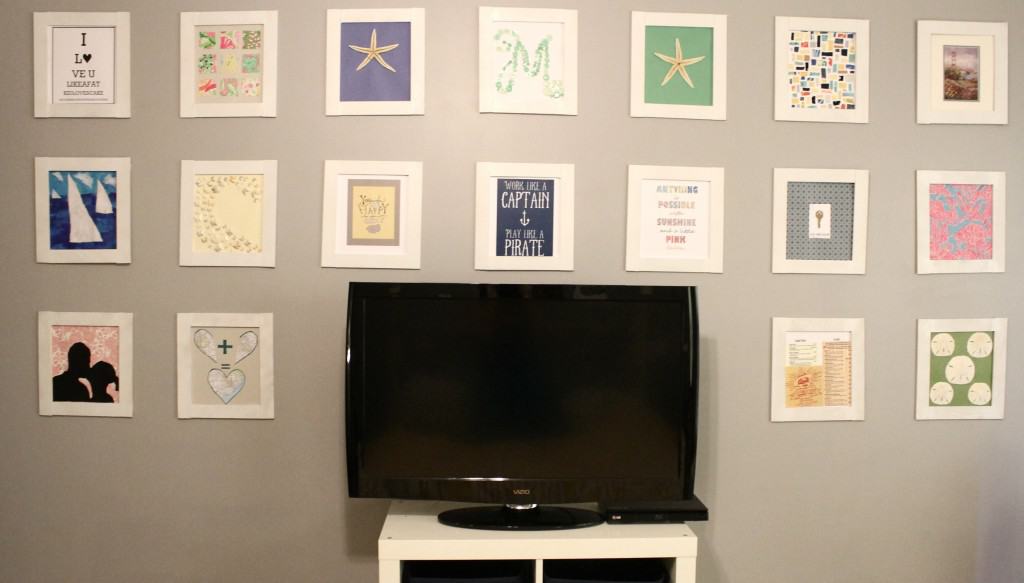
Let them dry & you are done! I used tape to attach art to the back of the frames and mounted them using command strips.
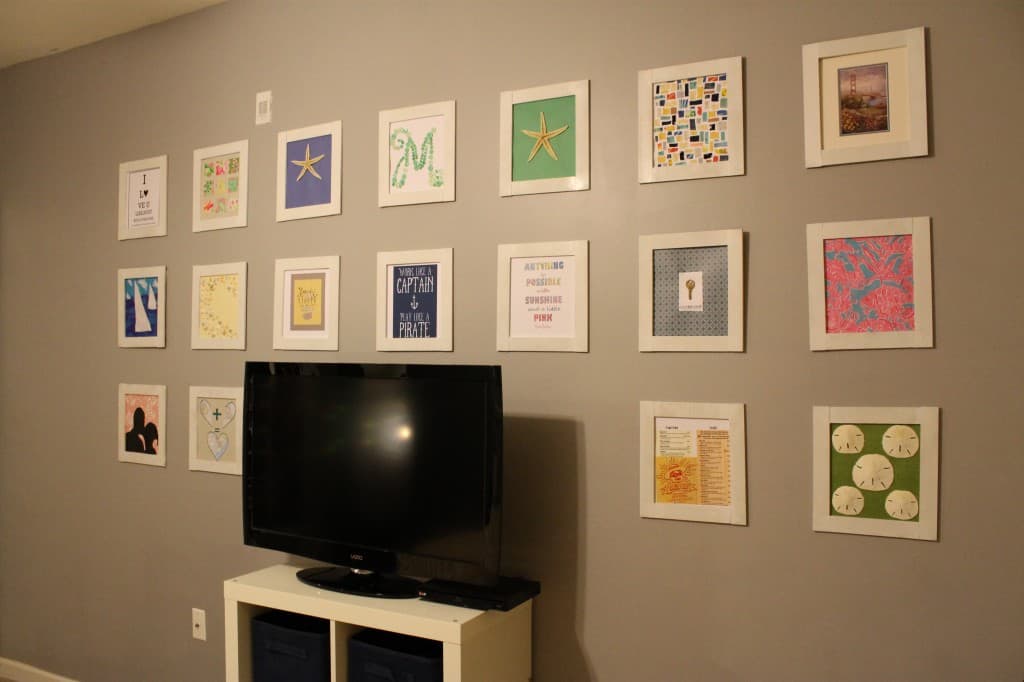
Ready for a reveal of how it looked in the end?

Art sources (starting in top left corner):
Top Row
San Francisco print (purchased on vacation)
2nd Row:
3rd Row:
I am very pleased with it! I never thought that I could get a whole gallery wall’s worth of frames for less than $50. Also, I didn’t spend anything on the art, so all in all this was a very cost effective project! And I think that it adds a ton to the room!
Do you have a gallery wall? Please share!

Hello, I'm Morgan, half of the creative force behind CharlestonCrafted.com! With a passion for DIY that dates back to 2012, I've transformed three homes and now I'm dedicated to helping others craft their dream spaces. Let's turn your house into a home together!


Allison says
Love the pattern of the frames. I'm drawn towards geometric prints and I love the grid.
Morgan says
Thanks! I like it too and think it lets you have a big gallery without it seeming too crazy/the only focal point in a room!
Sammi @ Every Home is a Castle says
I love gallery walls (I have 2 in my home) but I've never seen one using DIY frames - they look great and what a fantastic cost saving idea!