Want to upgrade an unframed mirror? How about adding some tile! Here is a simple tutorial on how to frame a mirror with tile!
Our condo has super generic, unframed mirrors in the bathrooms. They're fine - technically, there is nothing wrong with them. But, it's a bit boring.
We opted to add a simple wood frame around the mirror in our guest bathroom. But, I wanted to add something with a bit more pizzaz in the other bathroom.
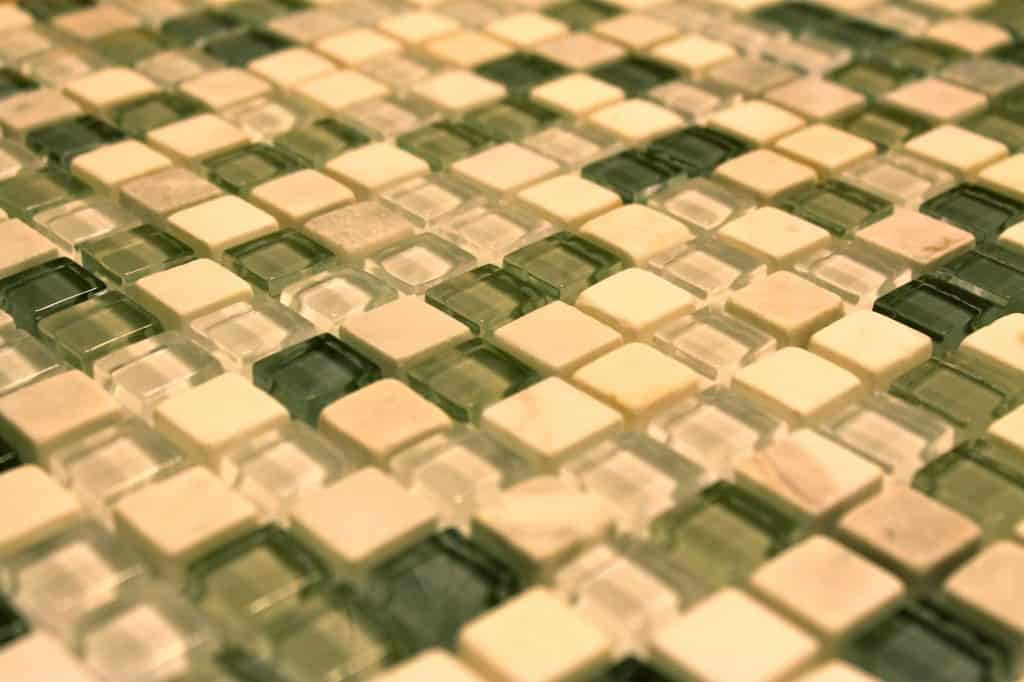
I was moseying up and down the aisles of Lowes when I spotted this mosaic tile. I was instantly inspired to use that tile to frame the mirror!
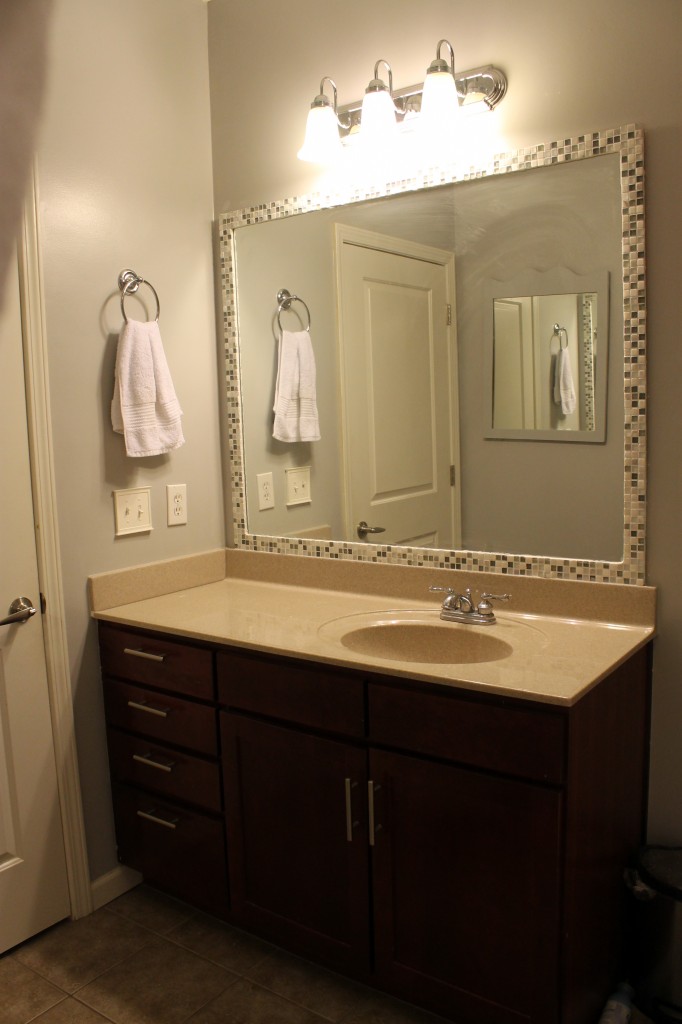
I actually saved this project for when Sean was traveling out of town for a bachelor party. I figured that I could work on it a bit every night and if it went wrong, abandon and wait for him to get home and fix it.
It turned out to be a super easy project, and one that just takes the bathroom up a notch. You can do this project!
How to frame a mirror with tile
It is super easy to add a tile frame to a wall mirror.
So here's what I picked up at Lowes:
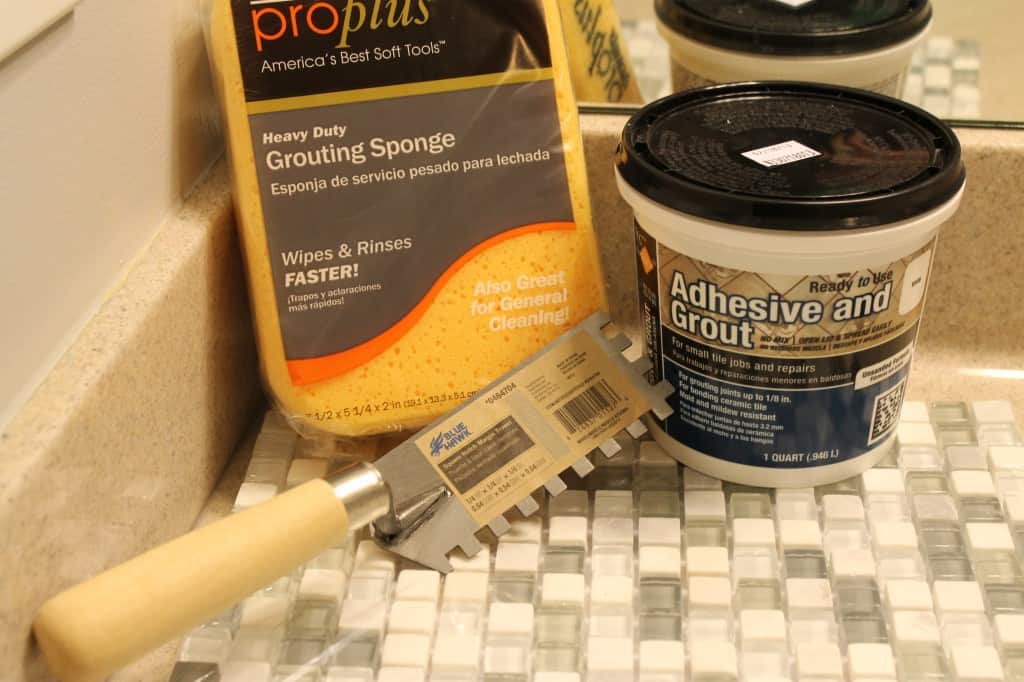
Supplies needed to tile a mirror:
- 3 sheets of tile (read about how to know how much tile to get below)
- Adhesive & Grout in one (I used white)
- Trowel
- Sponge
- Caulk in white (or to match grout)
How to determine how much tile you need
First, measure the sides of your frame. Your total perimeter is length + length + width + width. That's how many inches of tile that you need.
Now, decide how wide you want it to be. This tile was a bit thinner, so I went with 3 rows wide.
Since each sheet was 12 inches and had 18 rows, I could get 6 rows of 3 rows out of each tile.
6 rows at 12 inches makes 72 inches of frame per tile sheet.
Divide this into your total inches needed and that's how many sheets of tile to buy!
How to tile around a mirror: step by step
Here are the steps for framing a bathroom mirror with tile.
STEP 1: cut up your tile
I cut my sheet into strips of 3. The tiles are connected by this plastic-y mesh. It can be easily cut by hand with normal scissors.
Make sure that you cut as much of the mesh off as possible so it's not visible.
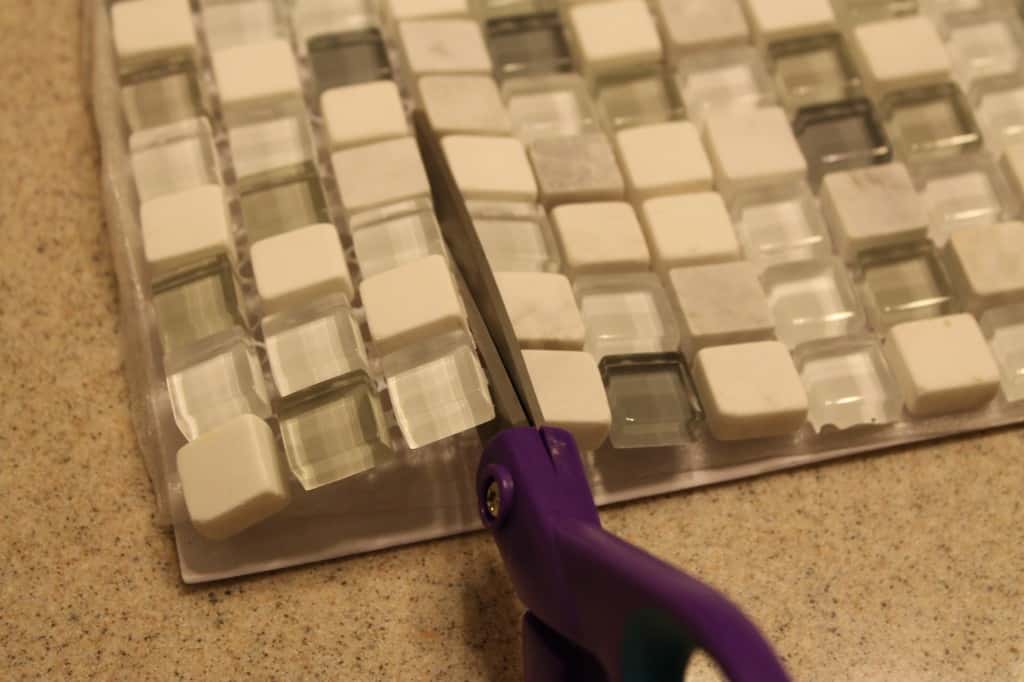
See the plastic poking up? Cut it off!
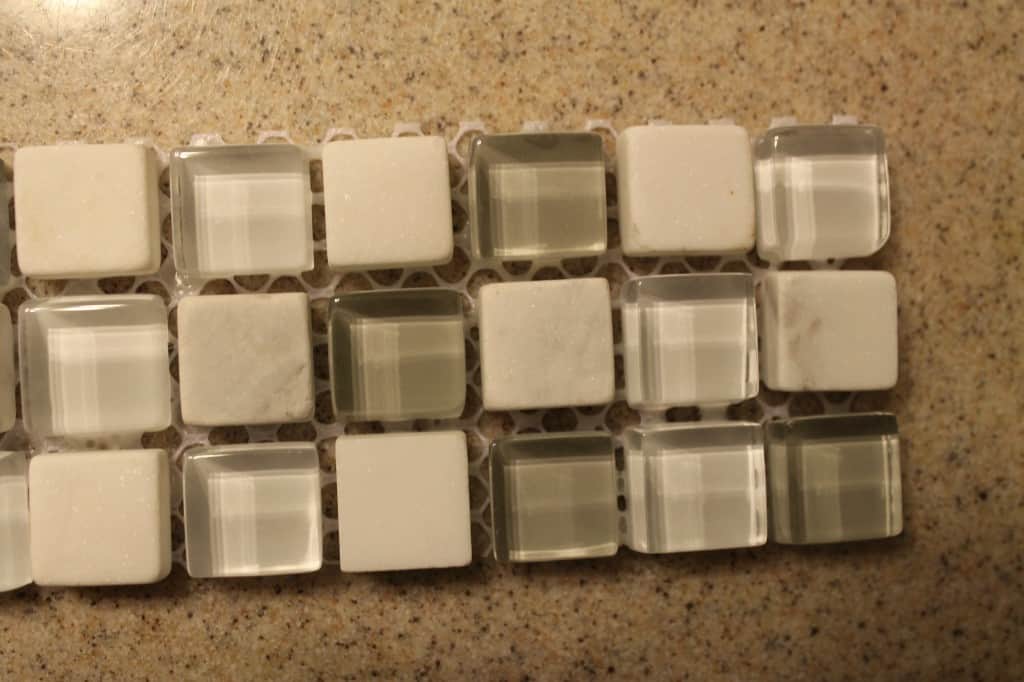
STEP 2: Lay it out
I suggest laying out your tile to be sure you feel comfortable with the design and layout and that you have enough. You can just do this on the floor.
STEP 3: Add adhesive to the mirror
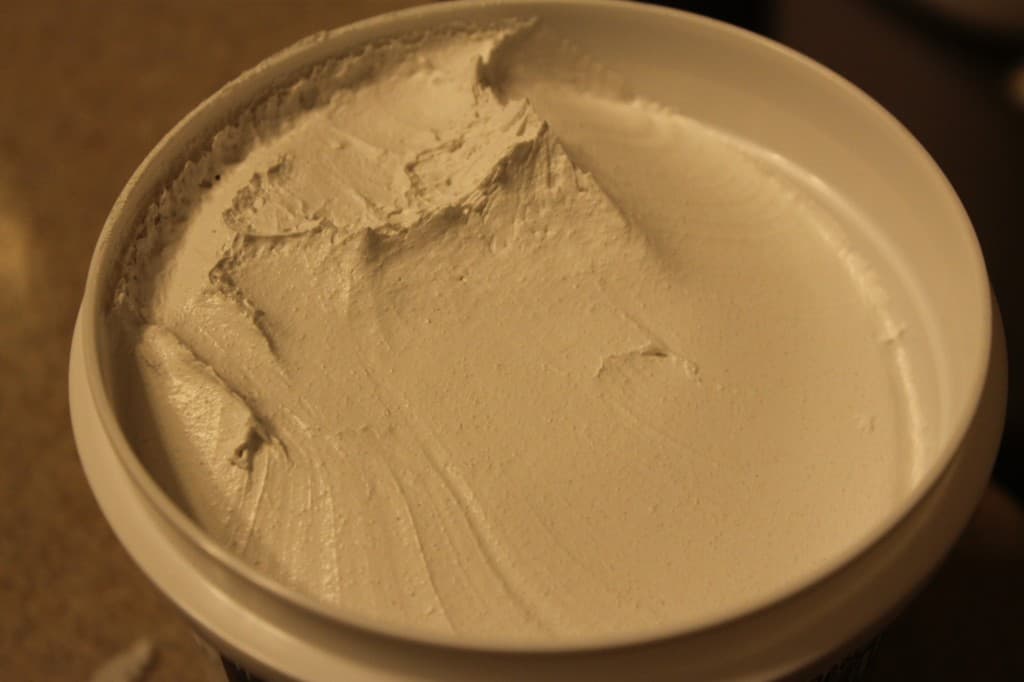
Now comes the time to attach it to the mirror. Bust open your adhesive. I sort of think it looks like frosting.... yummy.
Now, here's a good time to note the difference between me & Sean. Sean is very a neat, organized, perfectionist. I'm a bit more quick, sloppy, and haphazard. It's hilarious to me because his job and career path is creative while mine is mathematical and exact. Hey, maybe we just swap personalities when we get home 😉
So, here's where I was going with that: Sean would have watched youtube videos on how to tile. Read tutorials. Investigated. Considered. I skimmed the back of the jar and just went with it.
So, if you are a professional tile man, this tutorial might make you cringe. Sorry in advance. All I know is, it was easy and it worked.
Scoop out some adhesive and blob it on the mirror. I didn't know how thick to make it, I just eyeballed it (shocker, I know).
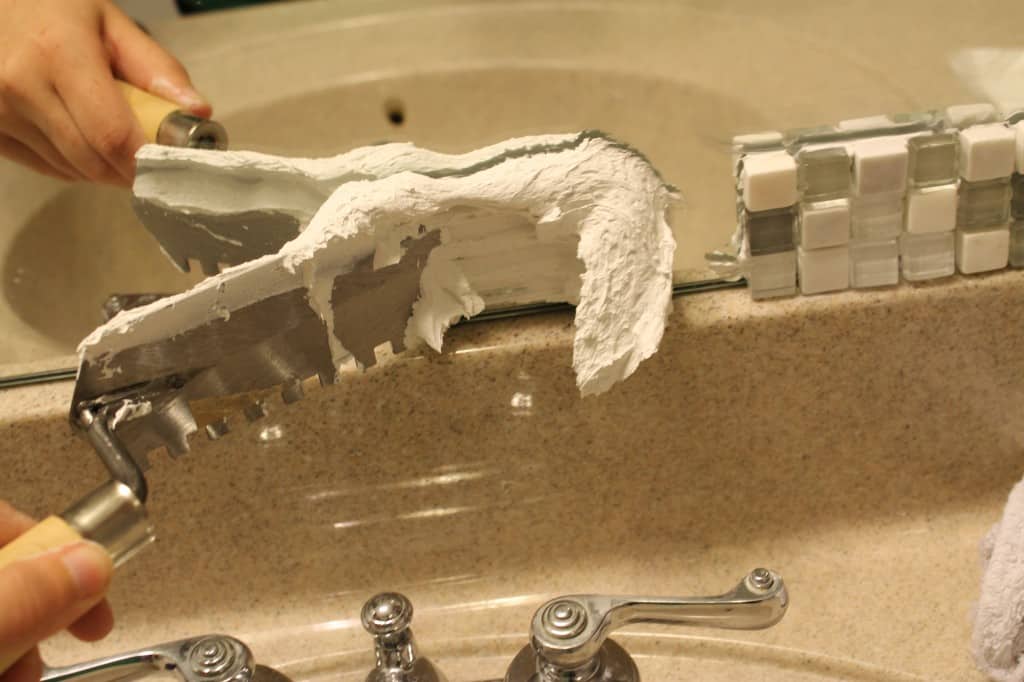
Then use the forked end of the trowel to make little lines in the paste. Not sure what this does. I might have forgotten to do it a few times. None of them have fallen off the wall so far.
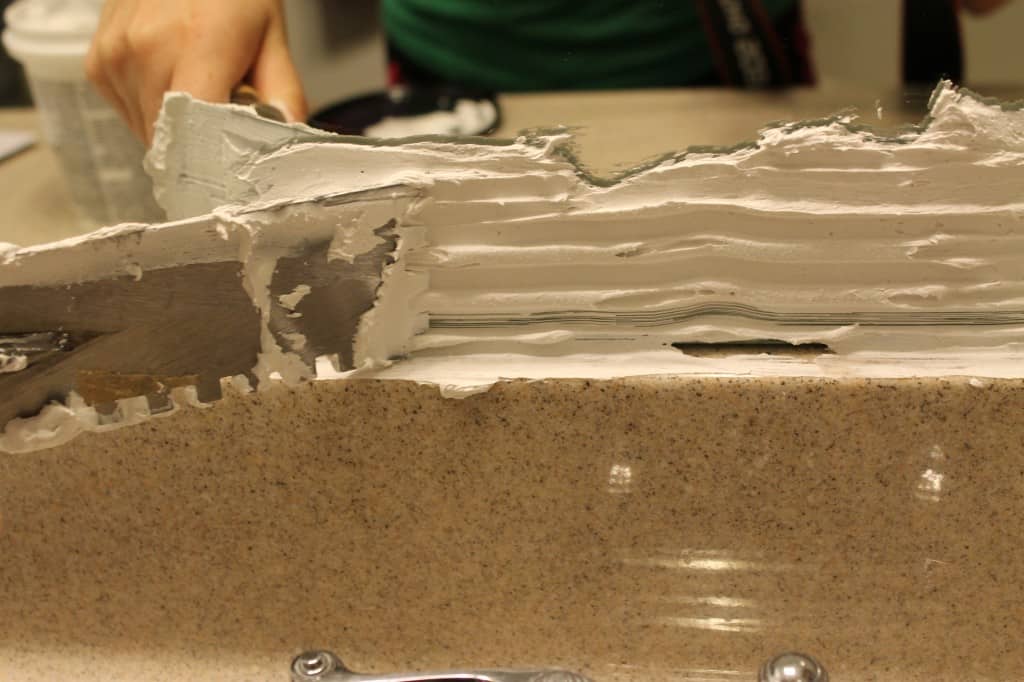
STEP 4: Add the tile
Now, place on the tile. Try to make them all even- line it up with the last mirror carefully. Push the tile in pretty firmly.
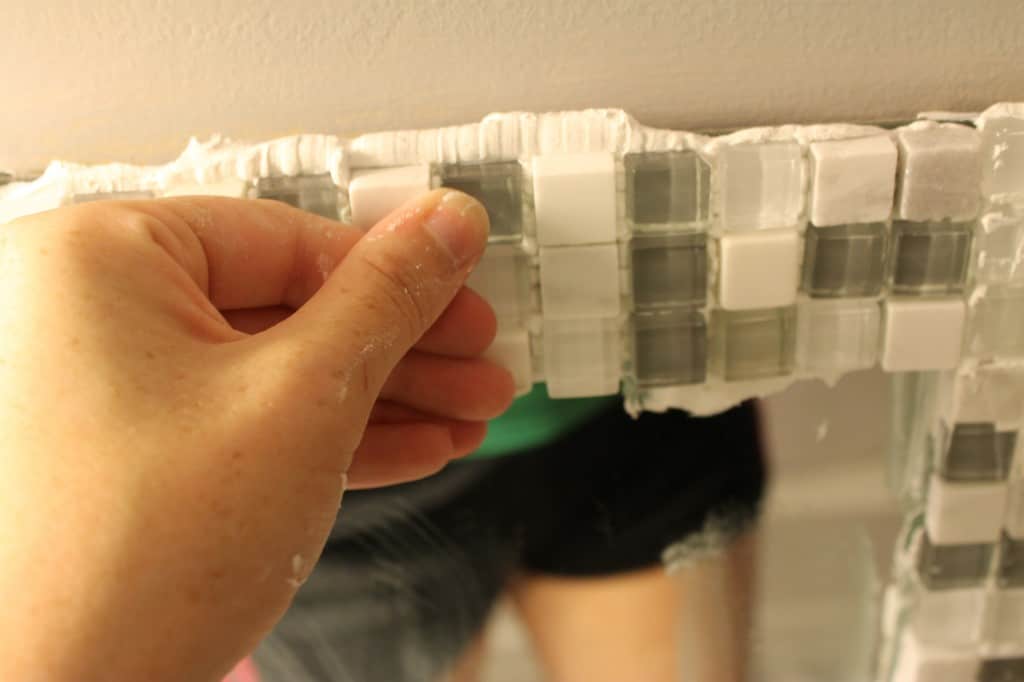
Now, I pushed so hard that adhesive squirted out. Uh oh. No problemo, stick your finger in there, and scrape the excess adhesive off. Then plop it back in your container - it will come in handy later!
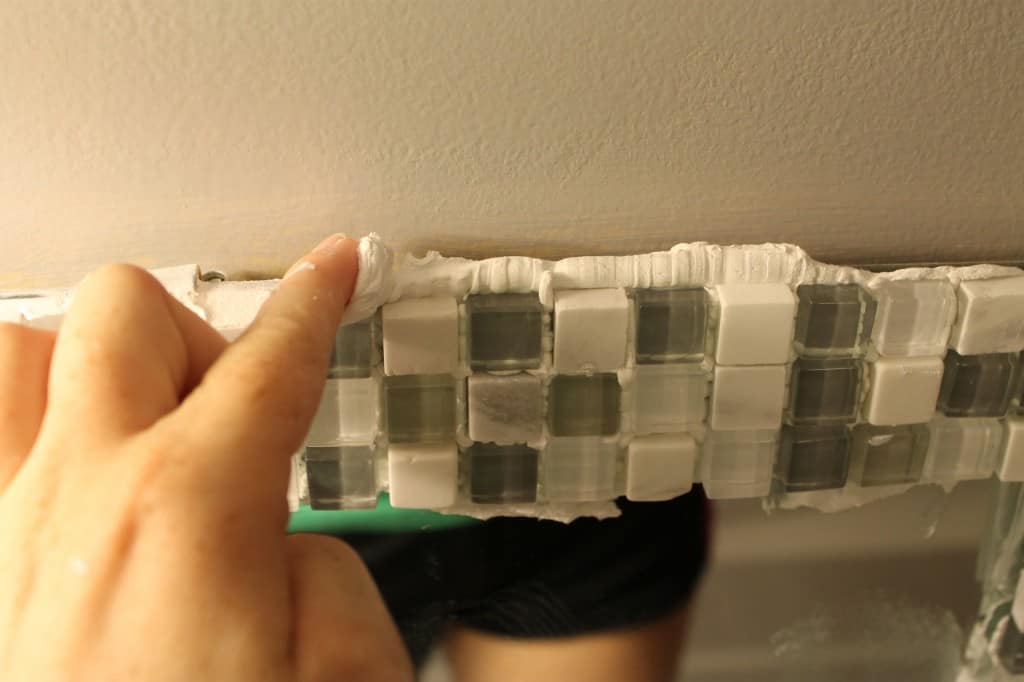
STEP 5: Repeat
Repeat, over, over, and over again until your mirror is totally framed.
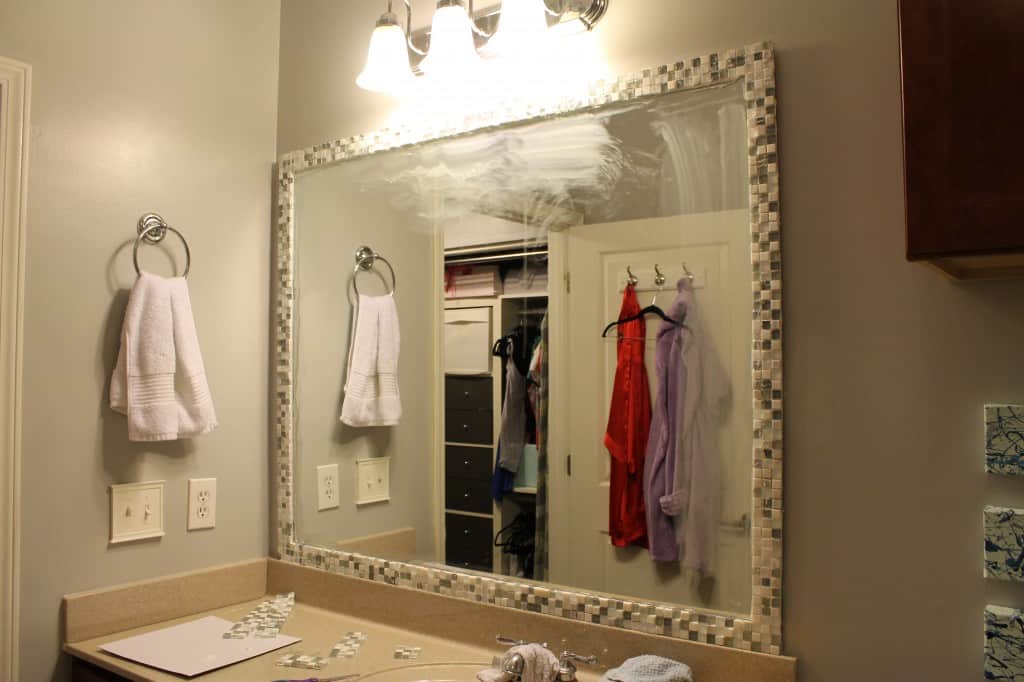
Here's how it looks. Leave it like this overnight, the bottle says 24 hours.
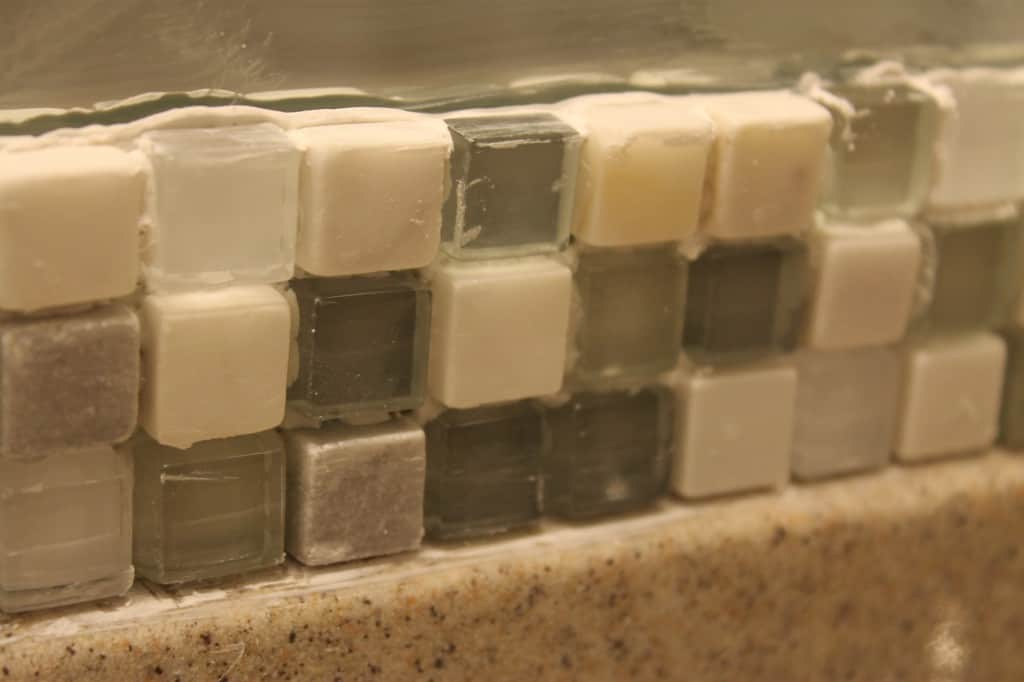
STEP 6: Apply Grout
Day 2 (or 3, if a friend invites you to dinner on day 2 and you forget all about this project) is grout day! Luckily, you bought the 2 in 1 adhesive-grout, right? So reopen your same jar.
I suppose you could spread it on with the trowel. I was afraid that the metal would scrape my glass tiles, so I used.... cardboard. Actually, scrap pieces of the cardboard pack that the tiles came on.
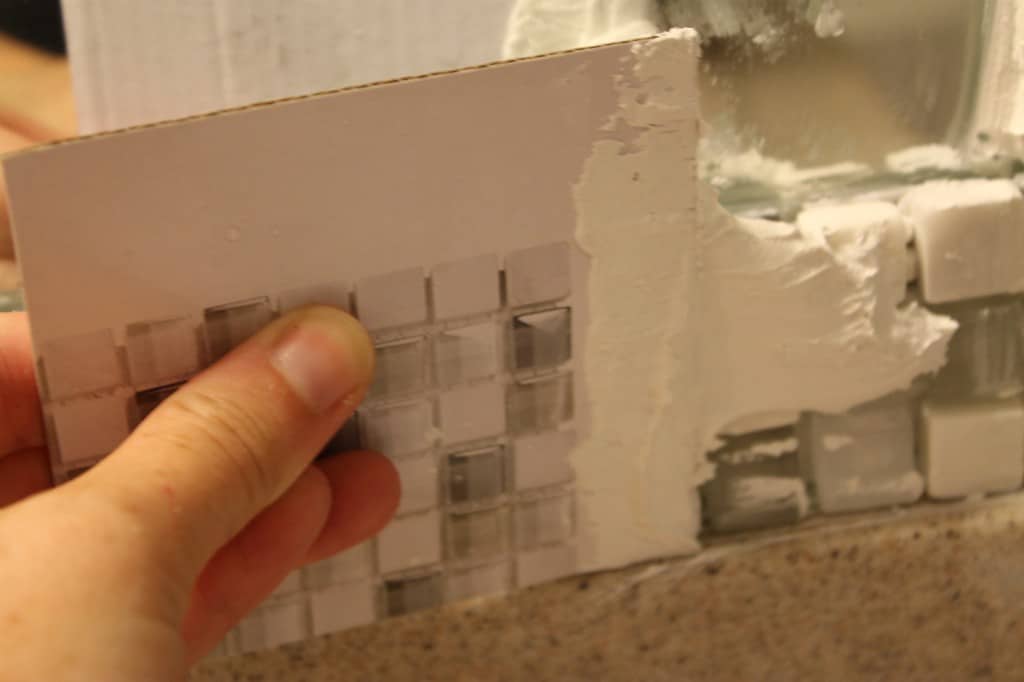
Smooth it on top of the tiles. Make sure the cracks are filled but try not to have it too thick over the top of the tiles, as that all has to be wiped away.
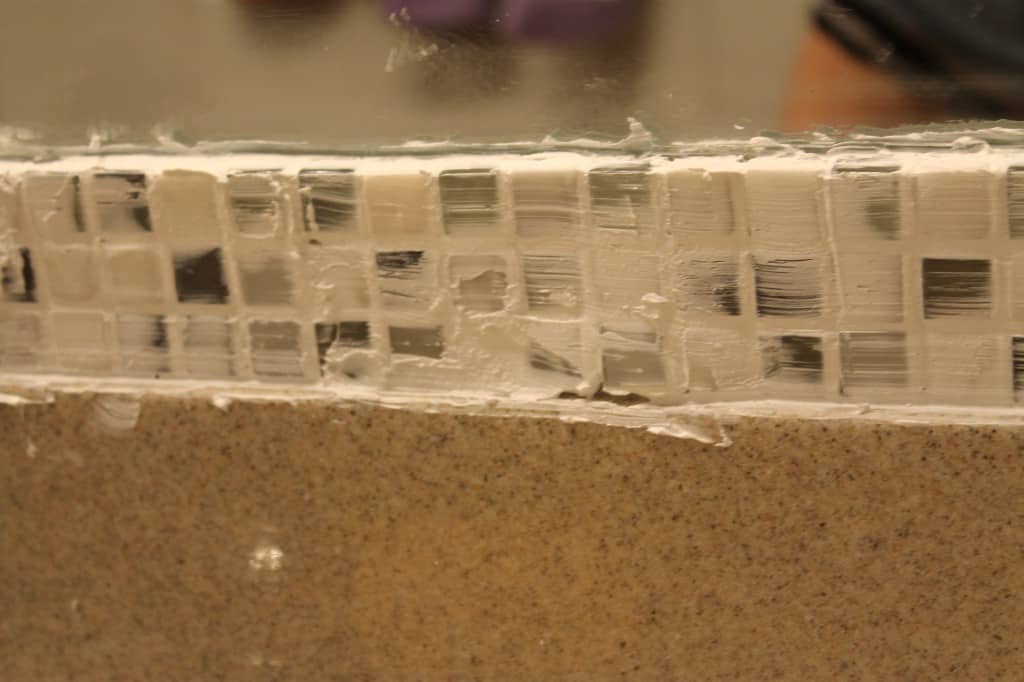
STEP 7: Wipe
Now, wet your sponge and wipe. I found that sort of making circles works better than lines. Rinse frequently so you aren't just smearing your own filth but actually cleaning 🙂
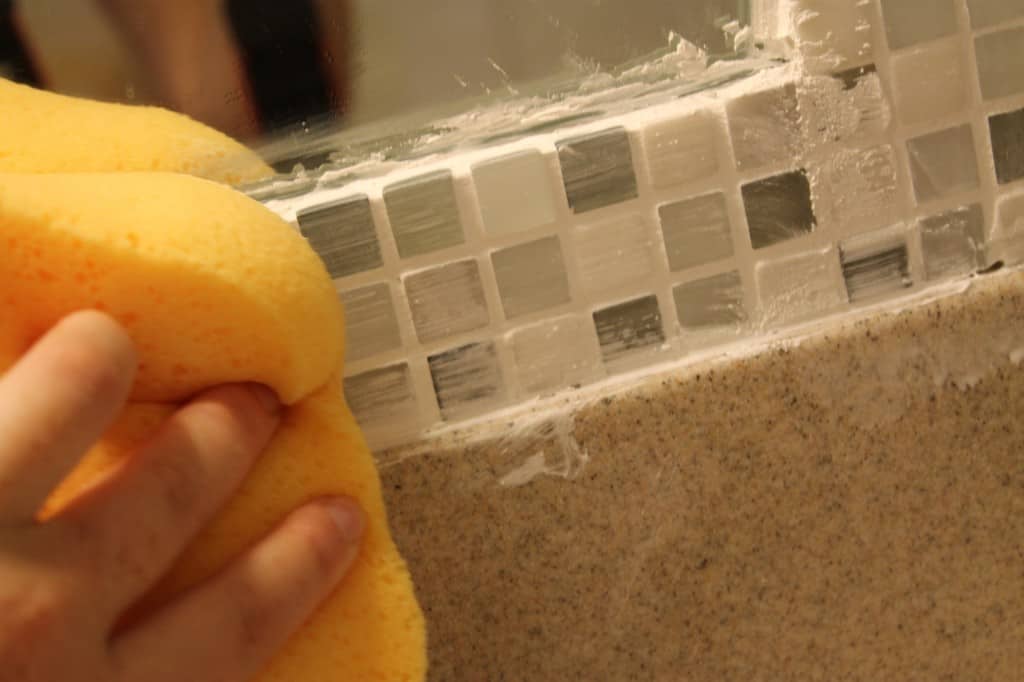
Now came the time to do a little clean up duty. While I used my finger to scrape up most of the excess grout, I found that I couldn't get it all. Furthermore, wiping it with a paper towel just mostly smeared it all over the place. So, I made the executive decision to just let it dry and scrape it off later
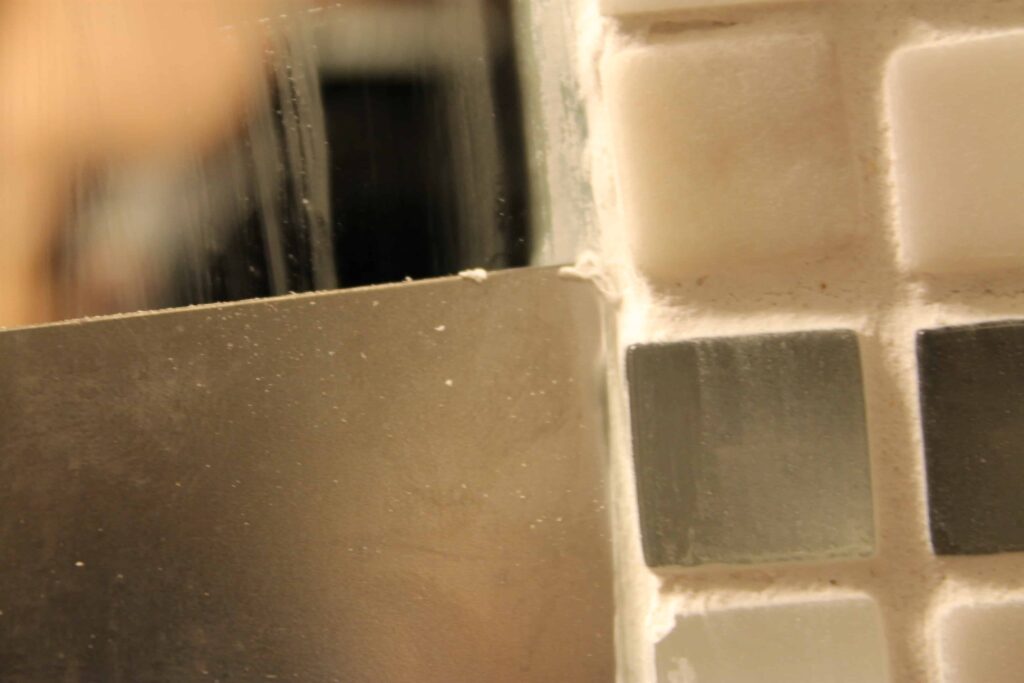
All I did was gently scratch at the dried grout & it peeled right off. I did the whole frame in less than five minutes.
It made a slight mess but that wiped away and I think the mirror looked much more crisp.
STEP 8: Caulk
Finally came the time to caulk. I decided to use white caulk for a crisp white edge. I simply ran a line on the seam (I find that I get a better line if I "push" the caulk gun away from me rather than "pull" the line of caulk towards me… if that makes sense.)
Then, just use your finger to smooth it out.
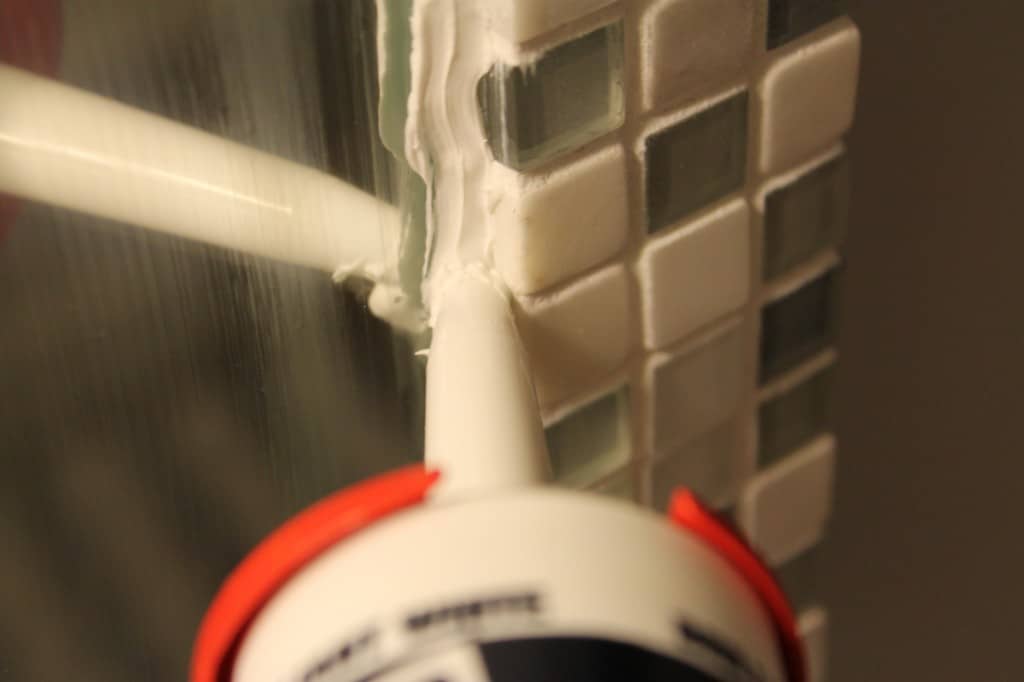
A little more clean up and I was like DANG Y'ALL sending pics to everybody I know.
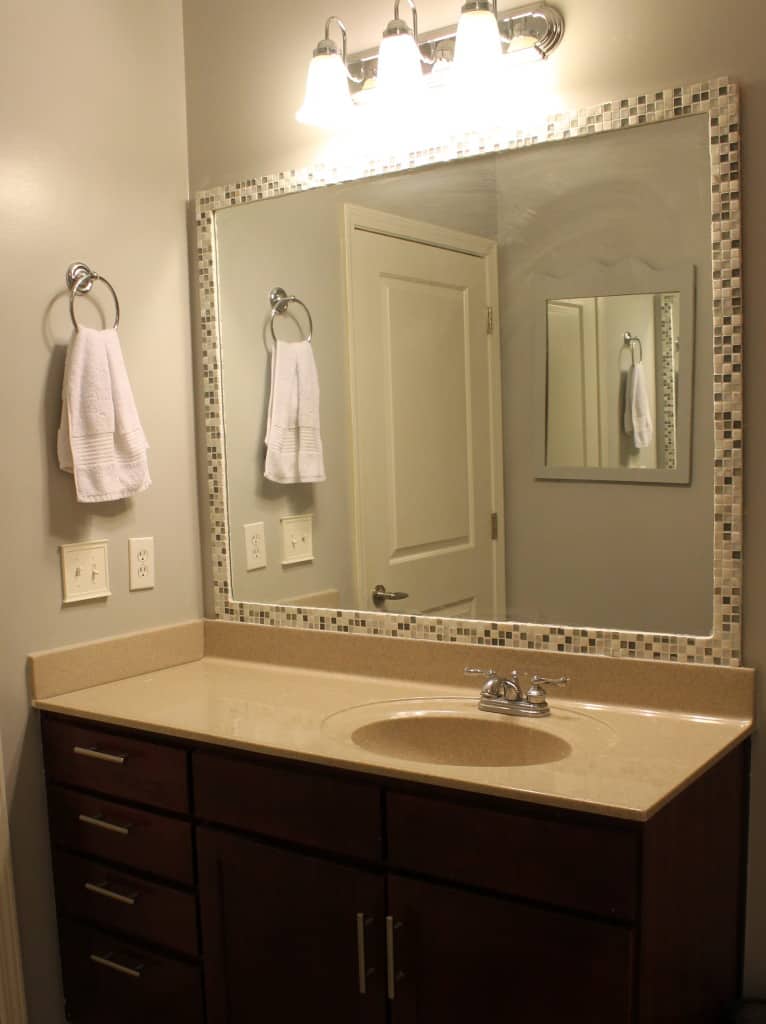
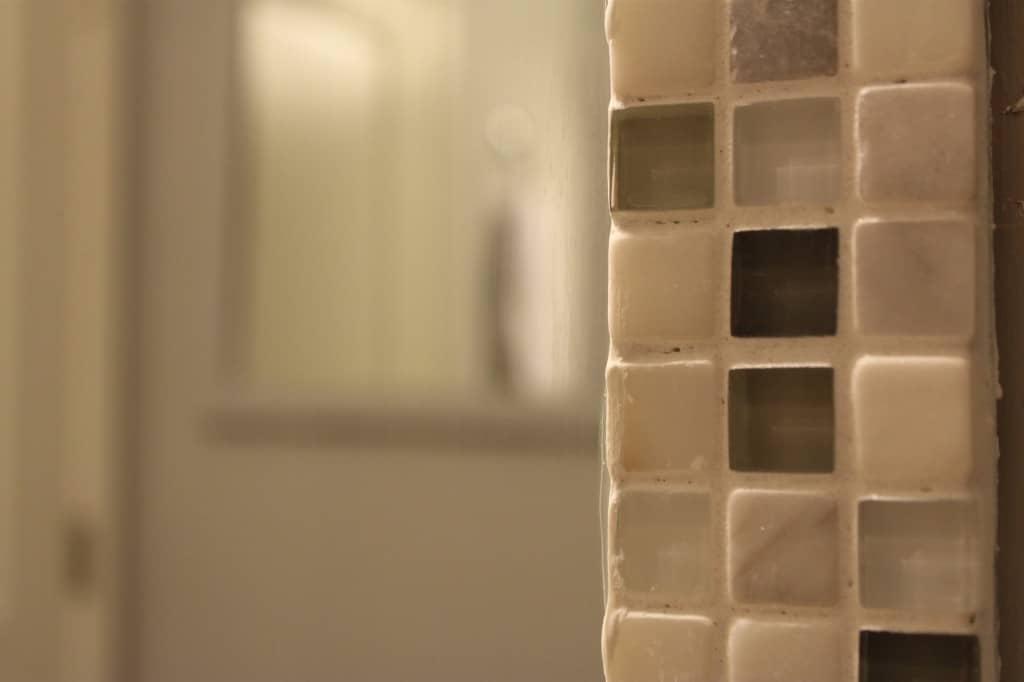
I think it looks SO GOOD and even though this was a long post, it was SO easy, relatively cheap (even cheaper if you used cheaper tile, this was not the cheapest but I loved the colors and glass/tile combo) and totally a 1 girl, glass of wine in hand kinda project.
Sort of messy, but super easy.
You HAVE to give it a go if you are thinking about it! You won't regret it
Have you ever framed a mirror? What did you use?
Looking for something?
We've been doing this since 2012 so we have a LOT of blog posts!
Search stuff like: Ceiling Projects | DIY Plant Stands | Thrift Flips


Hello, I'm Morgan, half of the creative force behind CharlestonCrafted.com! With a passion for DIY that dates back to 2012, I've transformed three homes and now I'm dedicated to helping others craft their dream spaces. Let's turn your house into a home together!



Jackie says
How did you do the tile where the clips that hold the mirror are?
Morgan says
Hi Jackie! I just tiled over the clips just like the rest.
K K says
Hey there. I ordered up (different sized) sample blue tiles from a tile store ..peeled each one off the sample pack, and hot glued them around a wood framed mirror. I had also glued on silver sprayed sea shells I picked up from the beach. Friends have threatened to steal this mirror, it is awesome...the different sized tiles are delicious blue colors ... !!!
Sean says
That sounds SO pretty! I love it! You should make them for all your friends!!
Katherine says
Way to go! Lol
Val says
I have a wood framed mirror that needs a remake.Should I hot glue the tiles on or try the grout method?
Sean says
Hot glue might not stand up to the weight of the tiles over time. You would probably be better to go traditional, because you have to grout in between the tiles anyways.
Therese says
Have you ever heard of or tried Gorilla mounting tape or Simple mat to apply the glass tiles?
Morgan says
I have not. Problem is then you would have gaps between tiles, since you didn't grout them.
THERESE says
I could still grout the tile. In fact, it needs to be grouted within 24 hours according to the Simplemat instructions. But, you would advise using mortar?
Allie says
Thank you for such great tips! I will definitely try this on my bathroom mirror.
Morgan says
Good luck! Take a pic and tag us on Instagram when you're done!
Amanda says
I want to do this on a clipped on mirror. Will the clips get in the way much? Make the tile stick out?
Morgan says
Our mirror had clips and I just tiled right over it.
Peggy says
@Morgan, Where did you buy the title you put around your mirror.???? I really like that pattern and would like to buy some. Haven't found it anyplace that I have looked.
Sean says
Thanks Peggy! This was from Lowes but it's been quite a few years so they might not carry it any more.