I love quick little updates that add a blast of color to a room. However, I really don't consider my condo a long-time home, and am always cautious of every project's effect on the resale value.
I've seen several people online who've painted the inside of their front doors. I was so inspired by Meredith's pink door! However, I had a feeling that the hot pink would not fly with Sean or future buyers/renters. So, I considered painting just the rectangular detail. However, I ended up chickening out, for the sake of "resale value."
Click here to pin this project to your pinterest boards!
Recently, I was wandering up & down the aisles of Target (one of my favorite past times), actually looking for patterned contact paper for another project, when I spotted Scotch Expressions masking tape. It's basically teal masking tape. I grabbed 2 rolls & skipped home with a smile on my face and a DIY idea in my head (I'm sure Sean got shivers up his spine, subconsciously sensing my newest "great idea")!
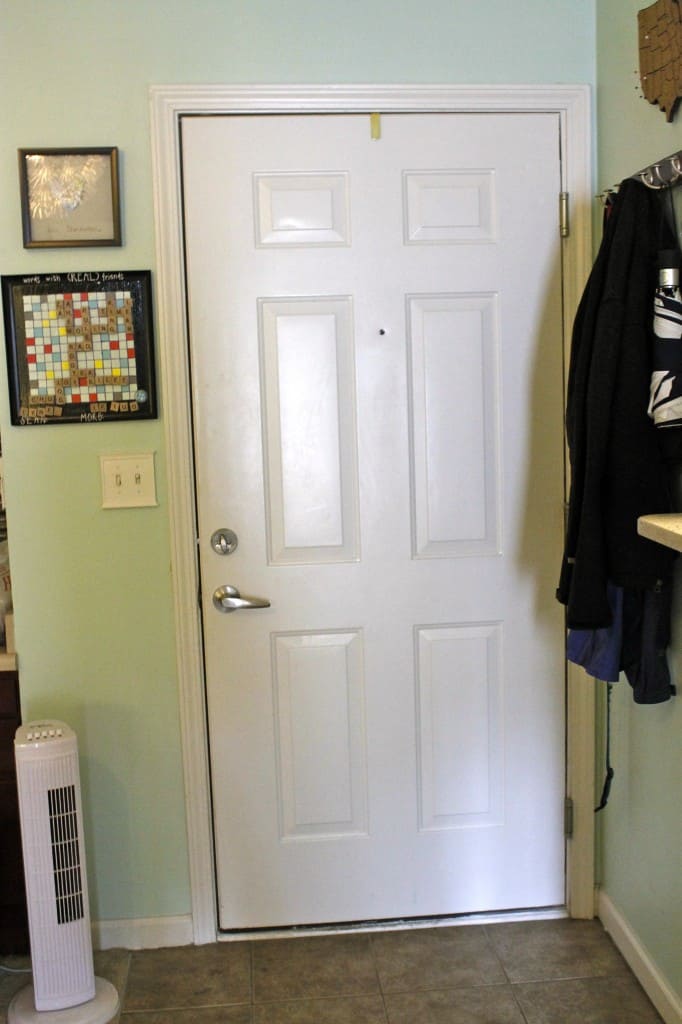
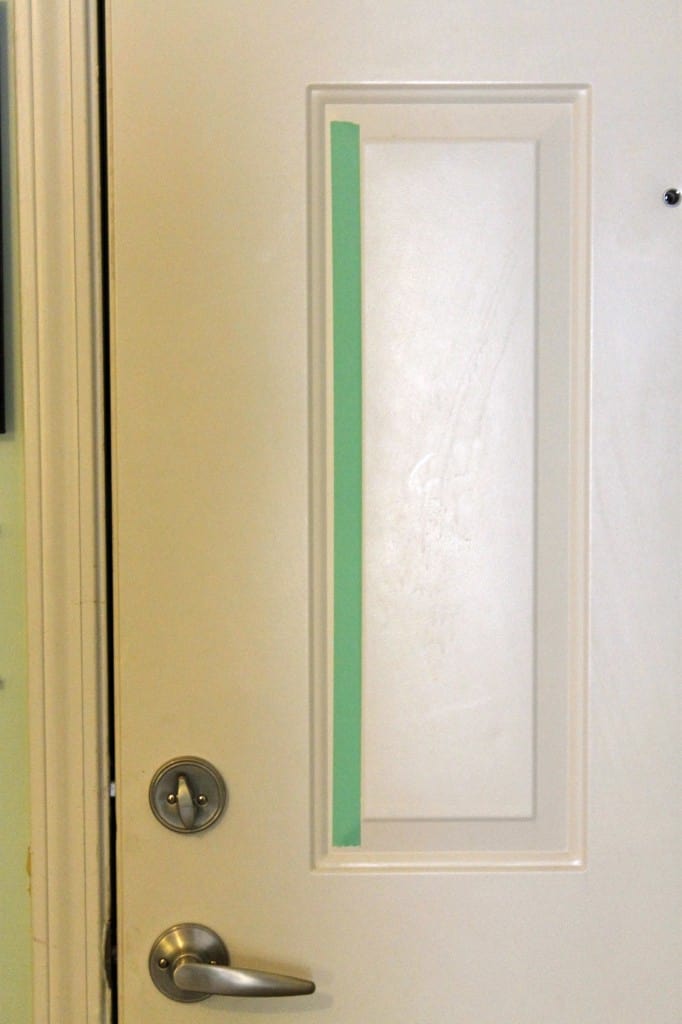
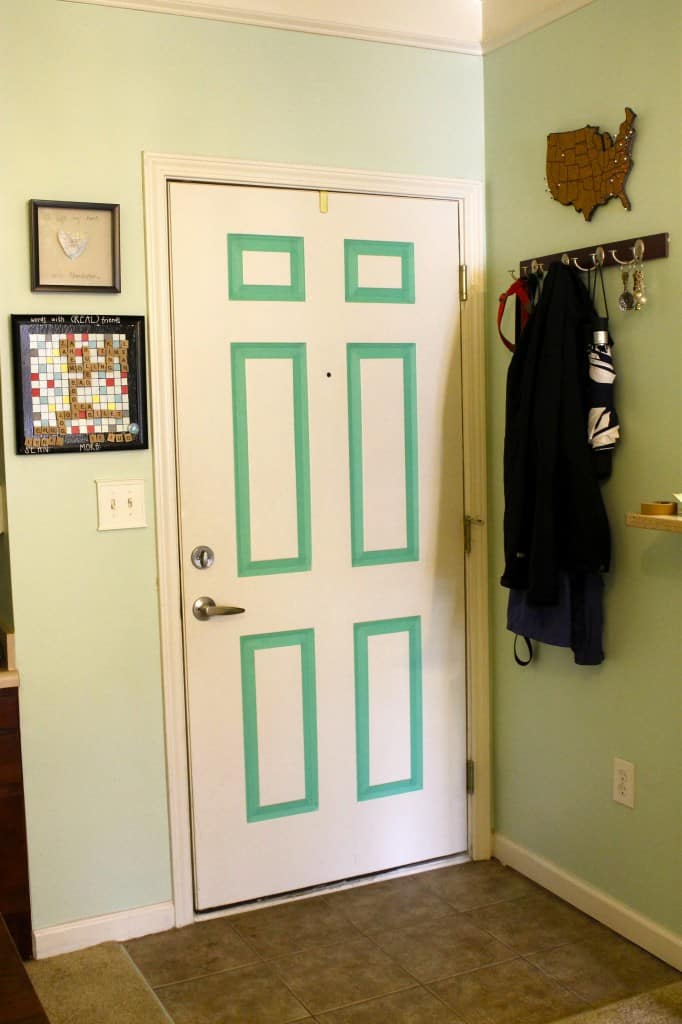
So, here's what our front door looked like (from the inside) before:
So, all I did was slap the tape up there in the rectangular grooves.
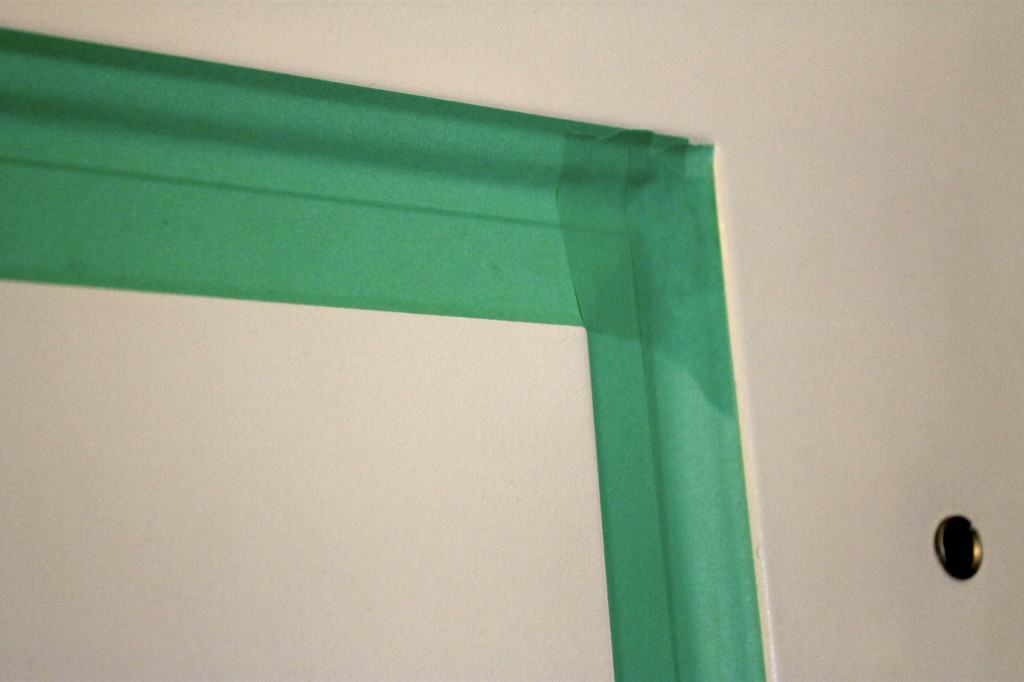
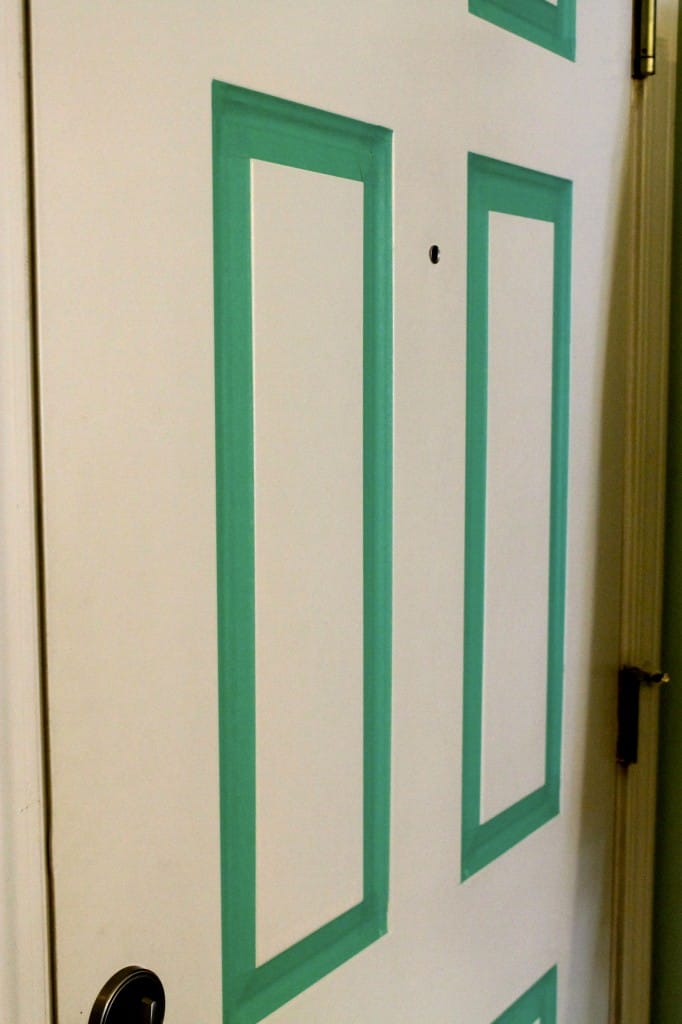
Ok, maybe it was a bit more than that. I added the tape so it was closely lined up with either the inner or outer edge of the grooves. The grooves were almost exactly 2 pieces of tape wide, so I overlapped them ever so slightly next to each other.
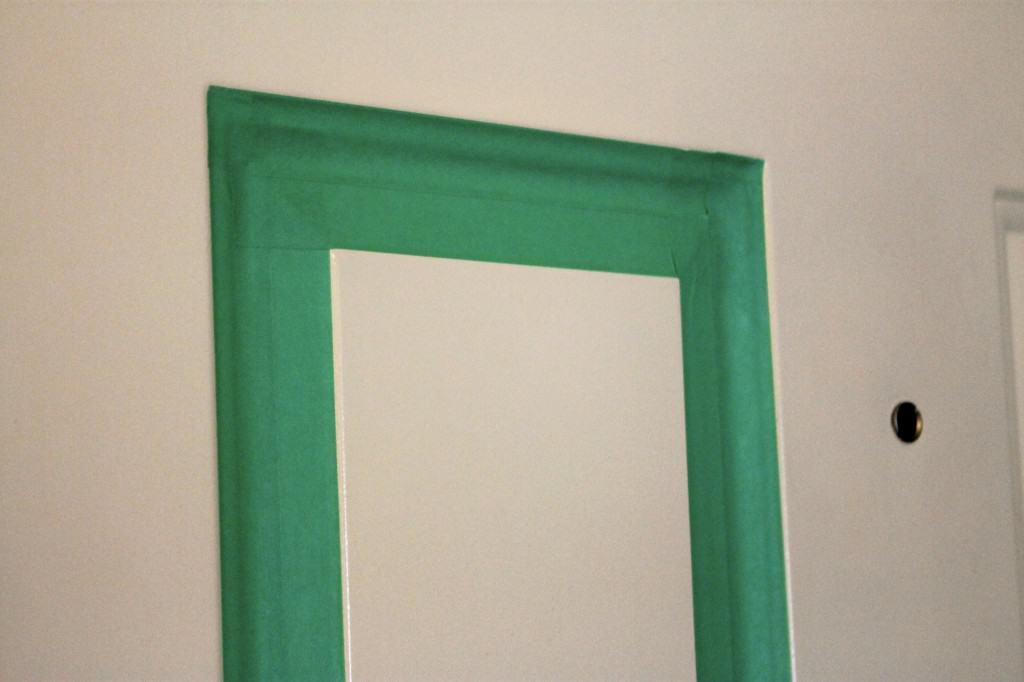
As you can see, you could really see where the tape overlapped (it's where it looks darker). So, I repeated myself and did a second layer of tape directly over the first layer. That made it totally opaque and you couldn't see overlaps at all! Whew!
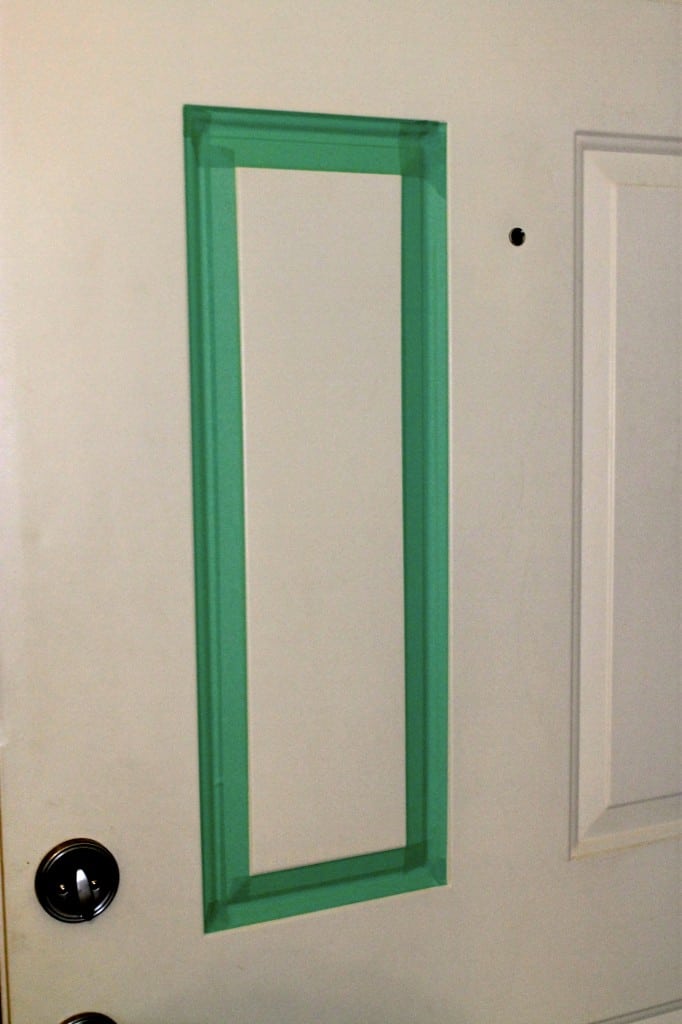
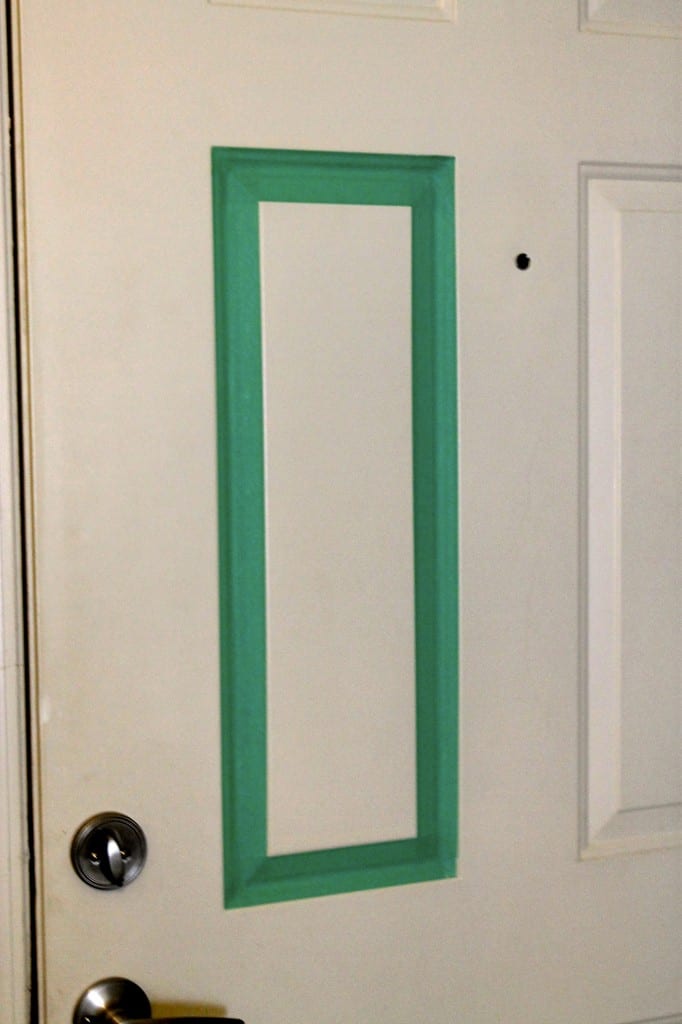
So, I left this one square j chillin for a weekend to see what we thought.
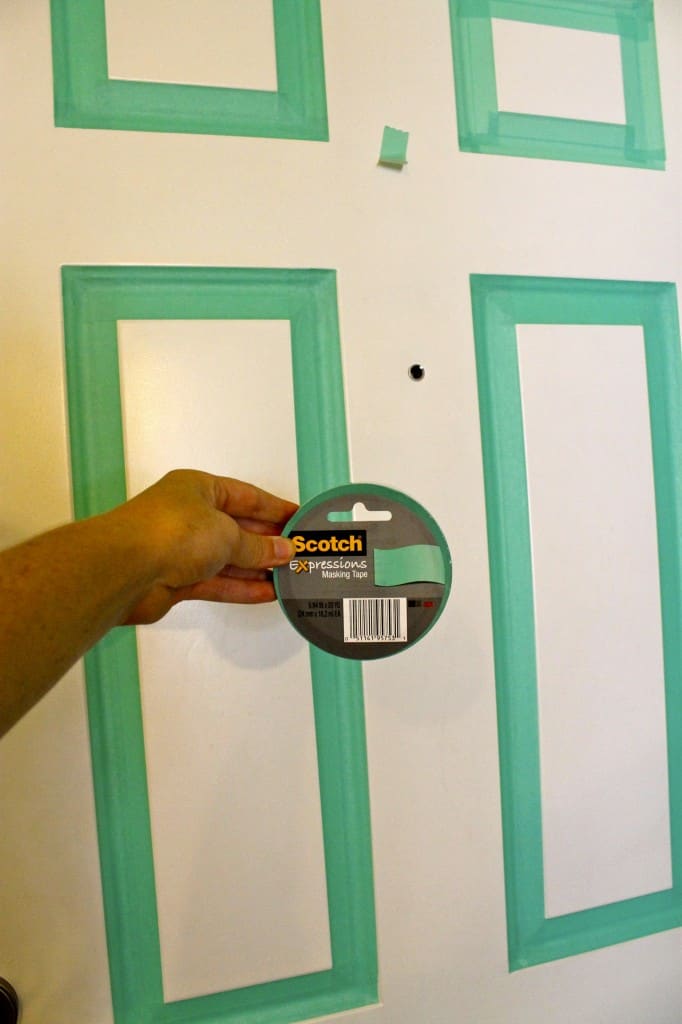
We considered just grabbing a sample tub of paint and painting them (we fell hard for this tape color + the wall color combo and Pantone's Emerald is an almost exact match, and there are towers of pre-mixed sample tubs for sale at Lowes.) However... I decided to stick with the tape. If your head is at least 12 inches away, you can't tell at all that it's tape. And this way, if I change my mind, or have to move in a hurry, or anything, I can just whip it off without having to repaint.
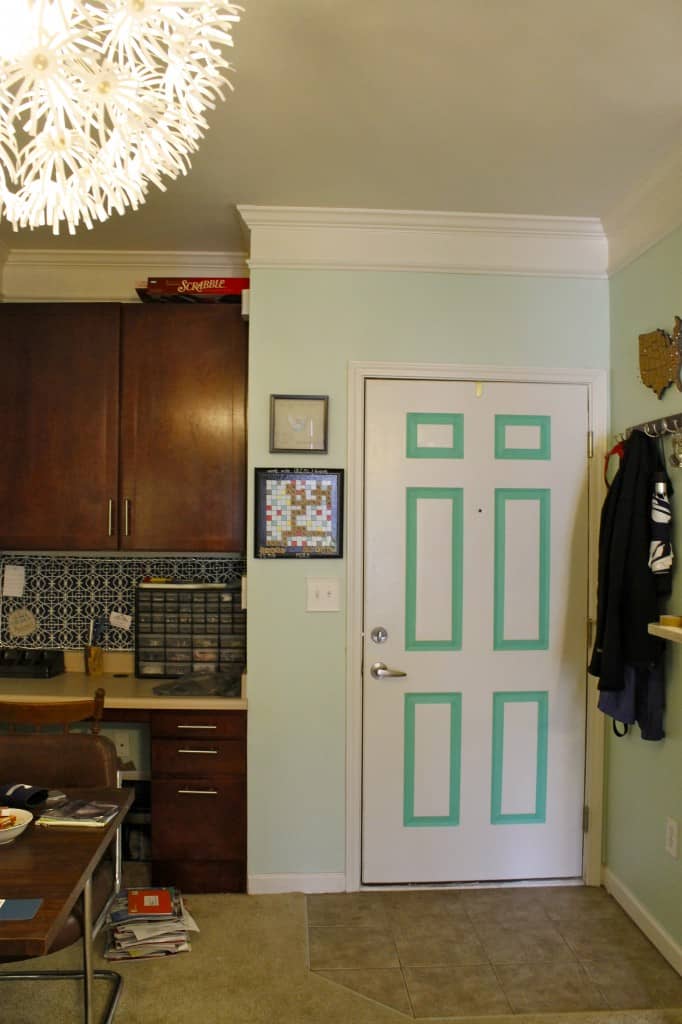
So, I finished all the squares. I whipped them out in less than 30 minutes and ended up using a roll and a half of tape. I think it looks so cool and love how changeable it is!
Here are some other washi tape door ideas!
As I progressed doing these, I decided it looked a lot cleaner to cut the tape instead of tearing it (#lazy), but didn't look rough enough to go back and redo the first few pieces I did.
Hey, maybe I'll end up doing a new color for each season! hahaha, Sean would LOVE that!
Want to paint a door? Here are our best tips on how to paint a door! We also compared painting a door with a roller vs with a paint sprayer!
I love it! Do you ever do any "temporary" updates in your home??!
 |
|||
 |
 |
 |
 |

Hello, I'm Morgan, half of the creative force behind CharlestonCrafted.com! With a passion for DIY that dates back to 2012, I've transformed three homes and now I'm dedicated to helping others craft their dream spaces. Let's turn your house into a home together!




Meredith & Gwyneth, The New Yorkie says
SO Smart! Love this!!
xoxo,
mk & Gwynnie
Morgan says
ahhh! so excited to see you saw this! def makes my week 😀