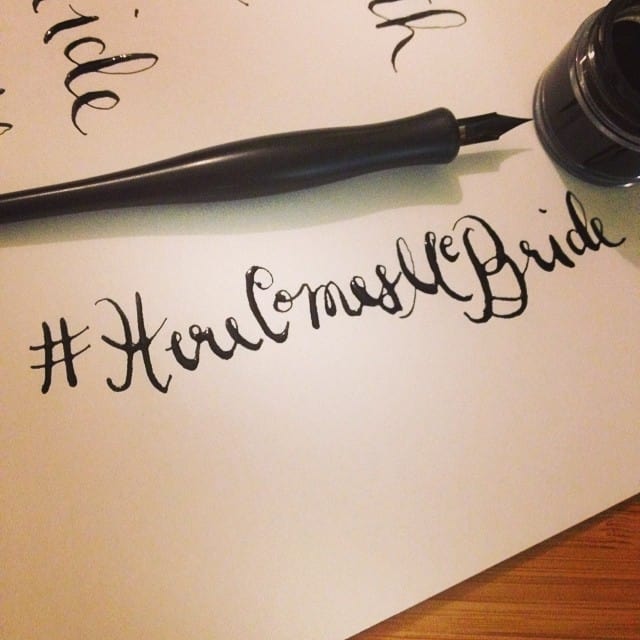
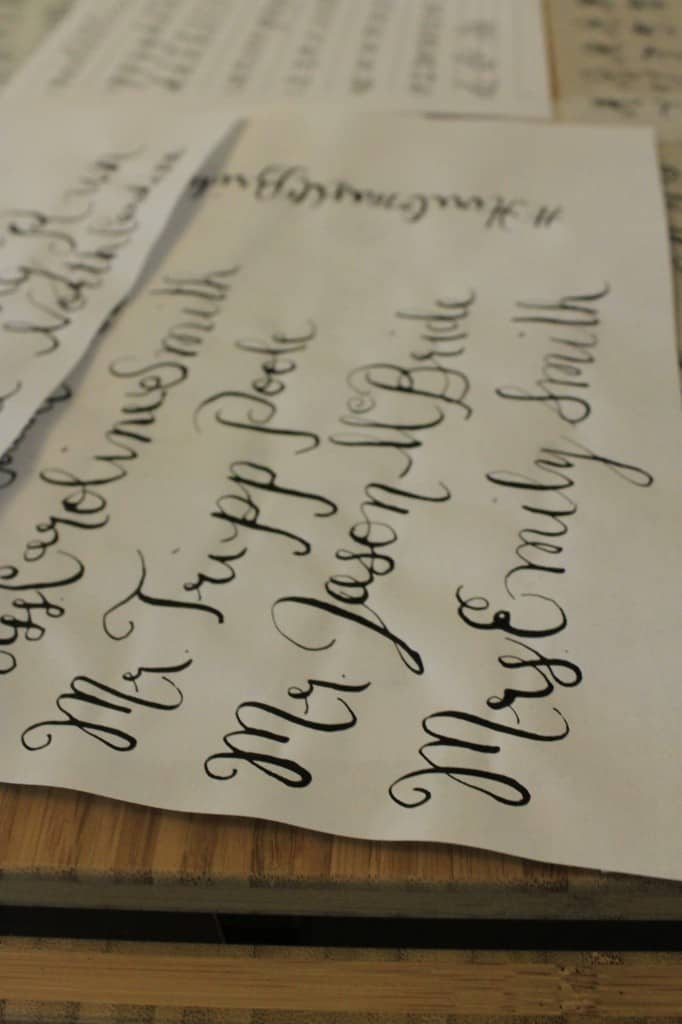
I recently had the fun experience of taking a hand lettering class at Space Craft Studios in Charleston. I actually signed up for the class before we got engaged, because I just love fun writing (I have a whole pinterest board devoted to it!) but now I am extra excited to hand letter my wedding invitations and maybe some other things, too!
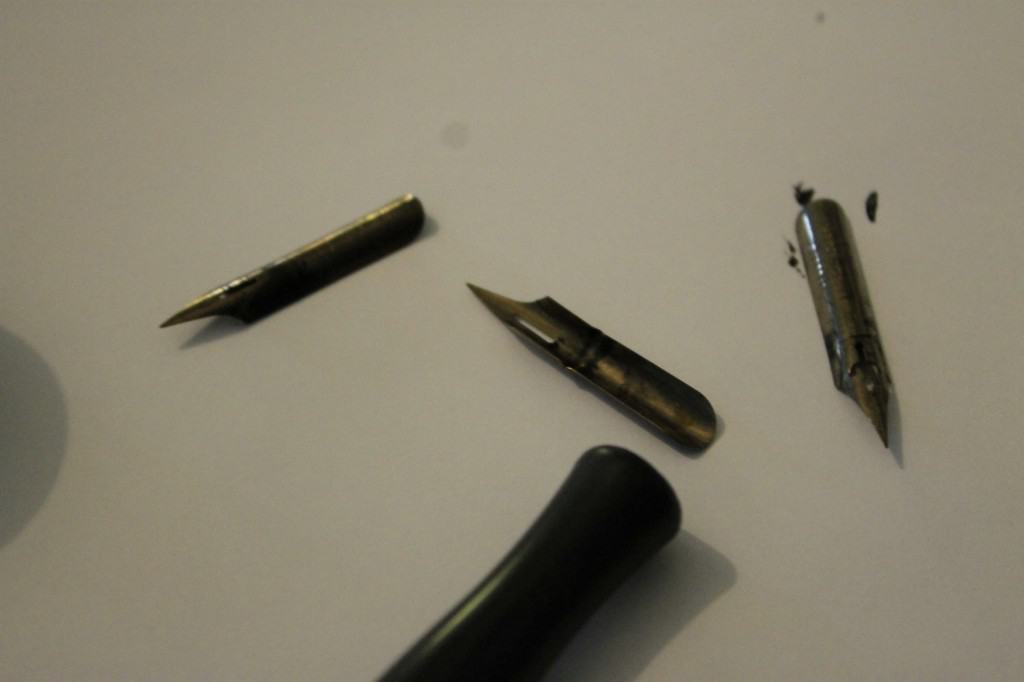
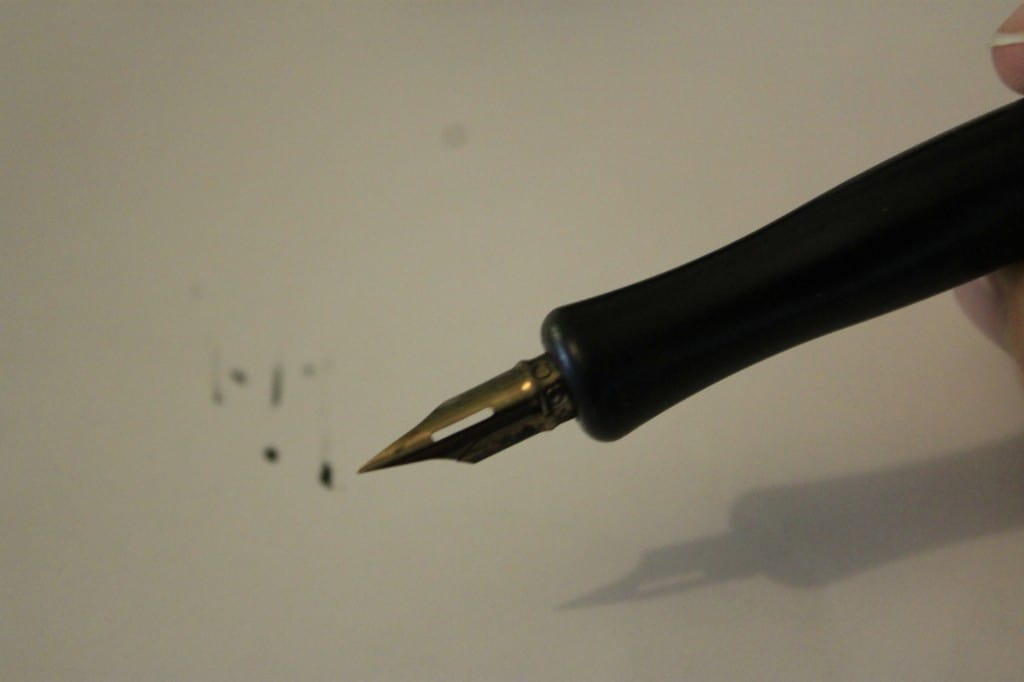
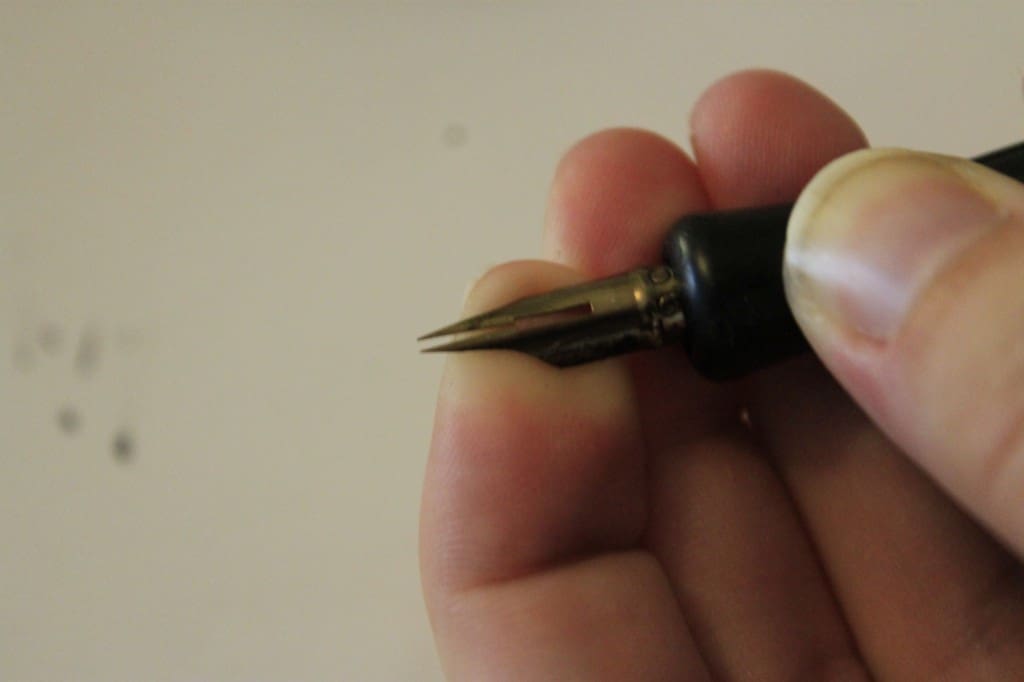
The class was taught using a pointed tip dip ink pen. We got a pen and 3 nibs (tips) each. It was cool to see how the nibs are constructed – they are metal and the tip has 2 pieces of metal with a gap in between. The harder you push, the more the pieces separate. The gap is where the ink comes out, so the more separation, the thicker your line.
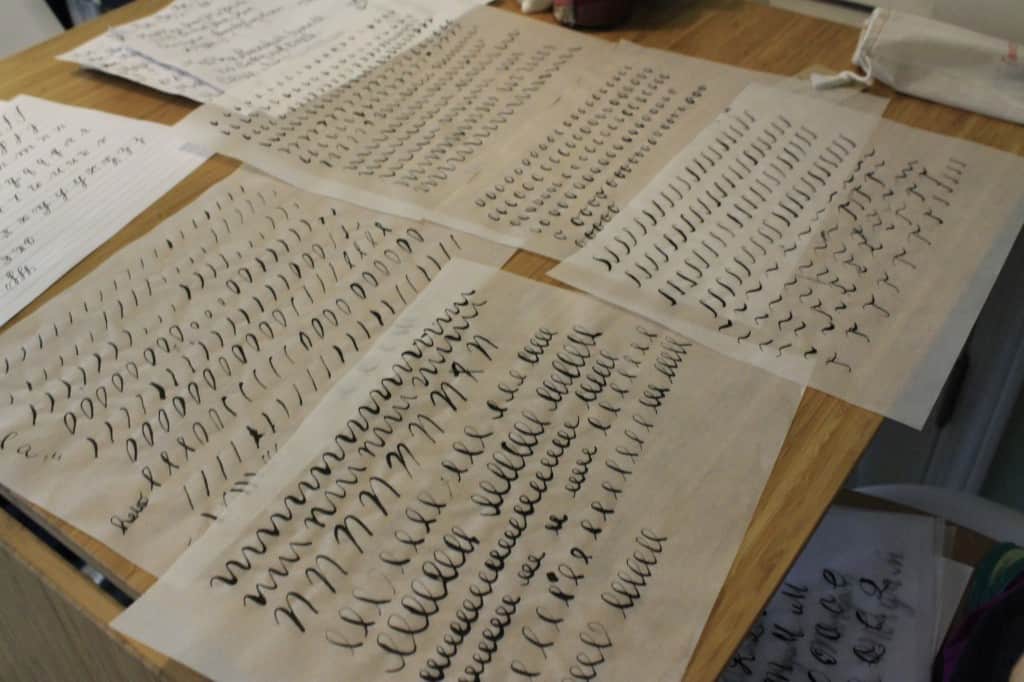
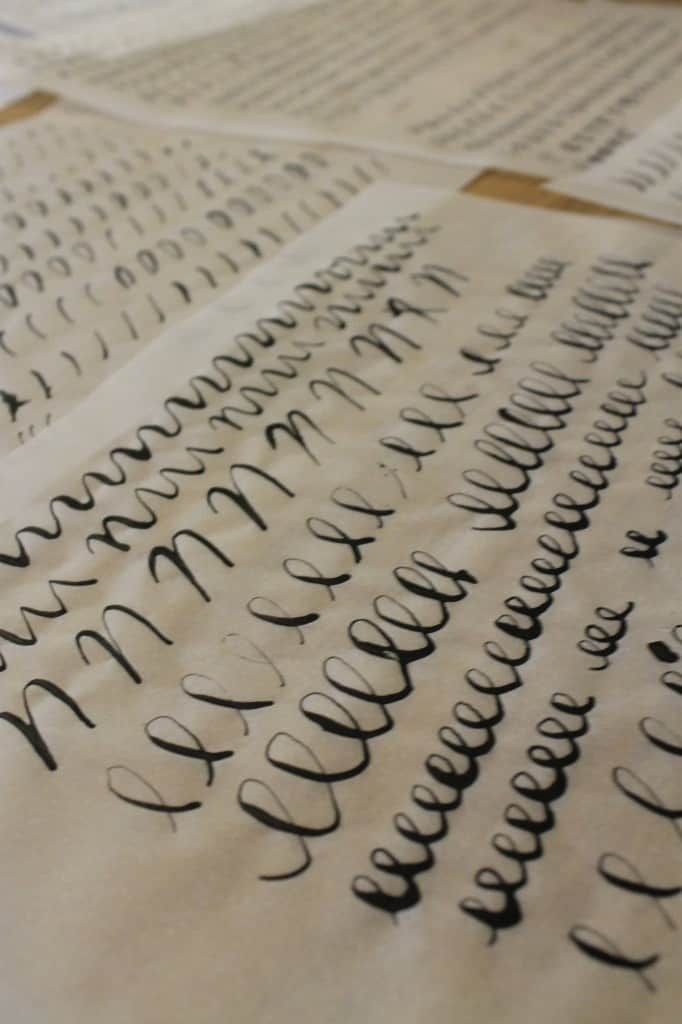
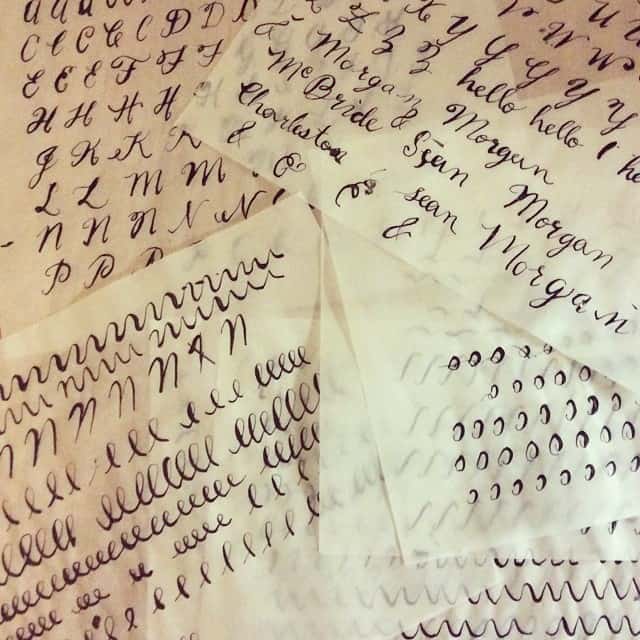
We started by drawing lines. I was surprised that we spent 2 of the 2.5 hours drawing lines and shapes, but it was a great idea. We started by practicing lines going diagonally up and lines coming down. When you push up, you should have a thin line; when you pull down, a thick line. Hand lettering is all about the difference between thick and thins.
Next we worked on curves – j’s and o’s and c’s. Once again, push up thin, down thick. It was really hard for me!
Finally, we tried these sort of S’s. They’re really the base of letters like T’s but I thought they looked like S’s J
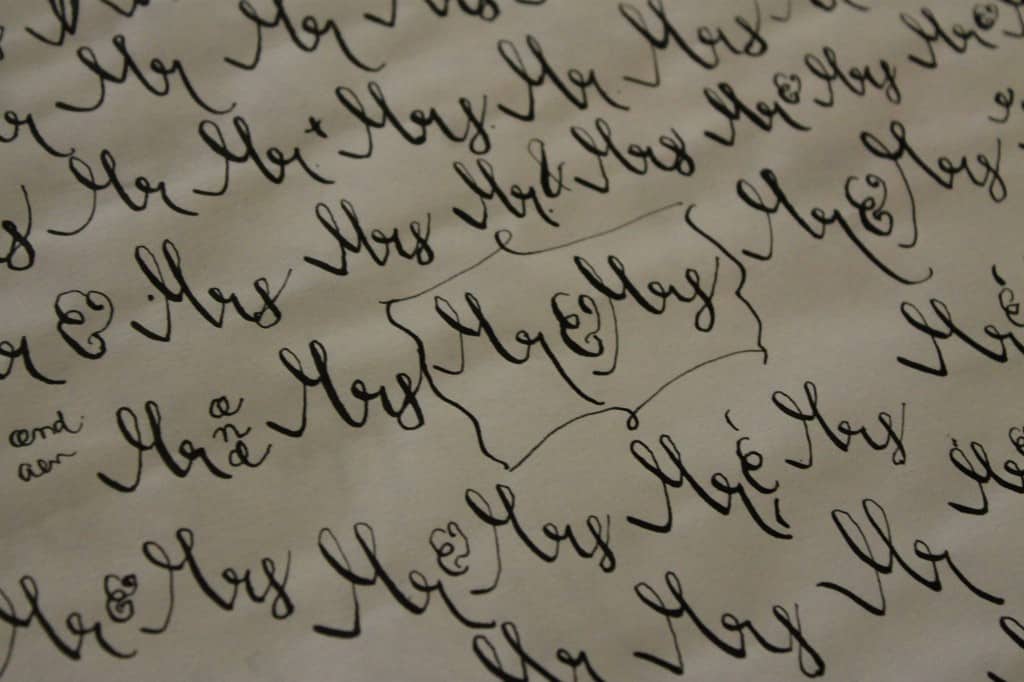
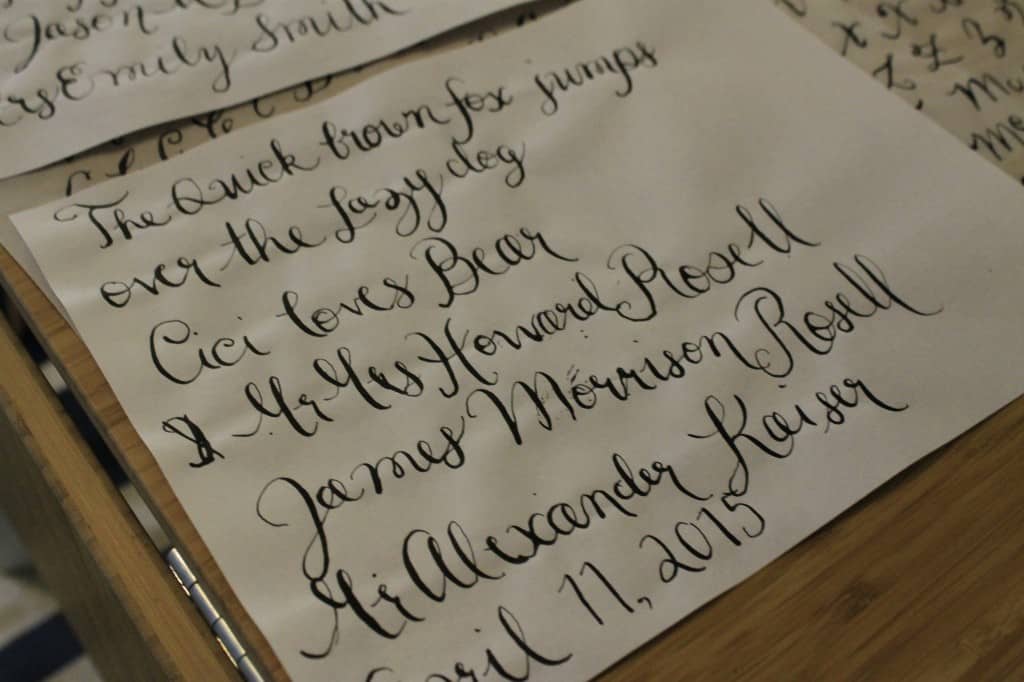
Then, we started with letters! We freehanded some and traced some!
The class was really hard, and my hand was so tired at the end! I’m used to typing.
I have been practicing at night and I think I am getting way better. My next goal is to practice writing smaller.
We won’t be addressing invitations until the fall, so I have lots of time to practice.
Have you ever written with an ink dip pen?
 |
|||
 |
 |
 |
 |

Hey there, I'm Sean, the woodworking enthusiast and builder behind CharlestonCrafted.com! Since 2012, I've been sharing the magic of turning raw materials into beautiful creations. I love teaching others the art and satisfaction of woodworking and DIY. I try to inspire fellow crafters to make something extraordinary out of nothing at all.

