Colorfully painted furniture is super on trend right now, but it’s not the only way to refinish a piece. Whenever we can find a piece that is solid wood, my first instinct is to stain it.
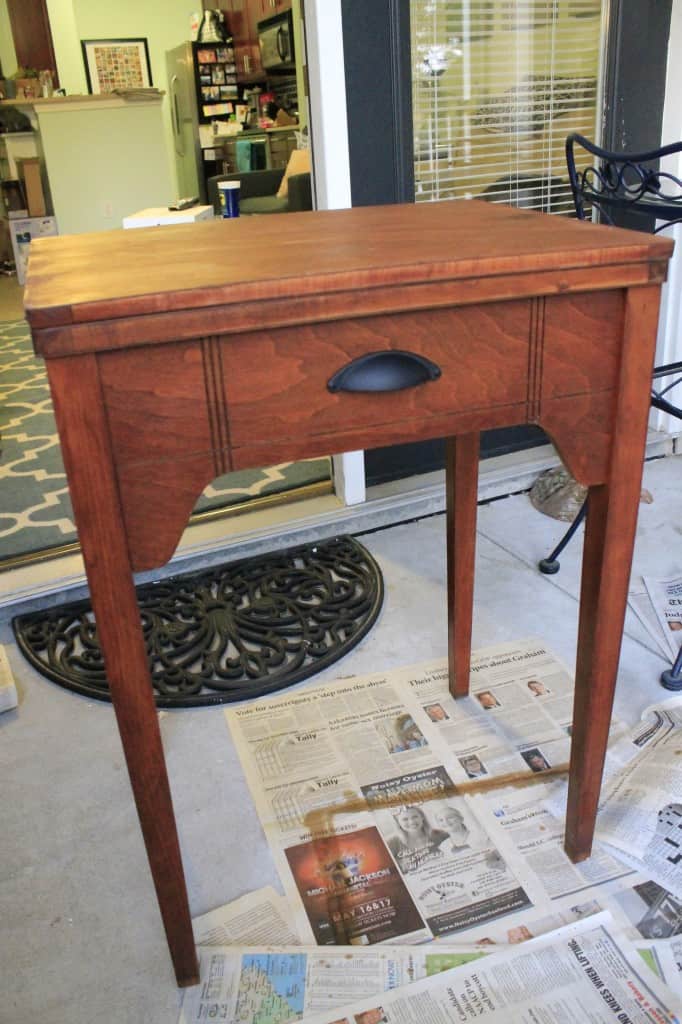
A good stain job brings out the detail of the grain. It can make a piece of furniture look extremely expensive. If your home is already filled with a lot of painted furniture, consider staining your next project to bring in the upscale-natural look of wood.
Just remember that the whole piece should be made of real wood for you to do this.

Here are five tips to ensure that you get a great finish.
How to stain furniture
- Sand well and in the direction of the grain- You will need to sand off every bit of old finish, so that the new stain is able to penetrate the wood.
We like using a sanding block on flat surfaces (it’s much easier on your hands) and then sheets of sandpaper on sides or rounded edges, such as legs.
Start with a high grain and work your way to finer grain sandpaper, until you get it as smooth a finish as you’d like. Always, always sand in the direction of the wood grain or you will visibly scratch the wood.
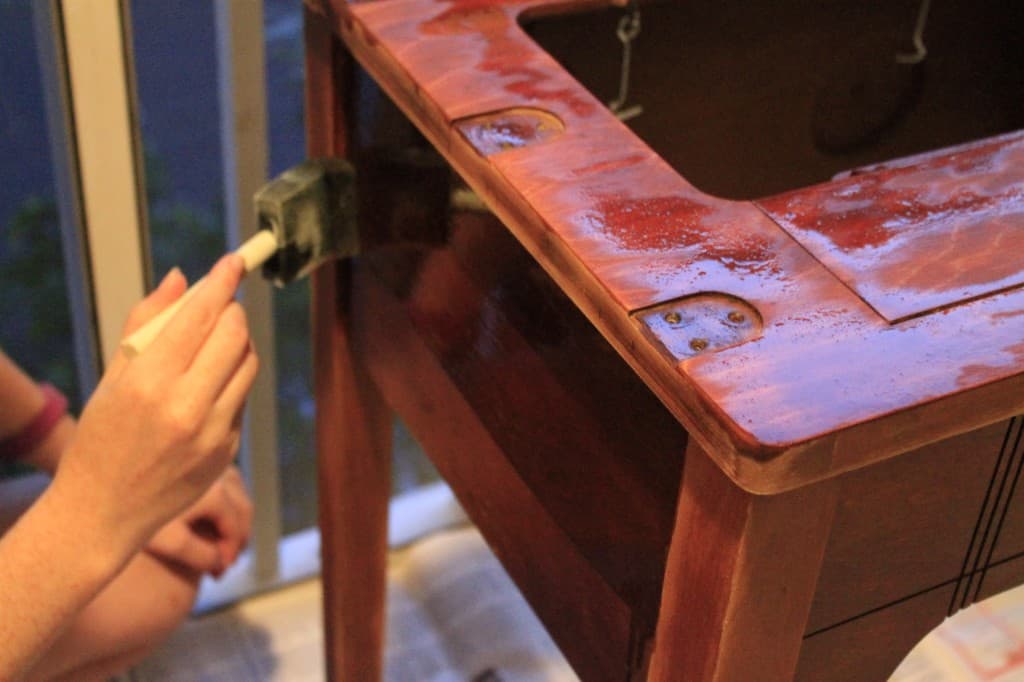
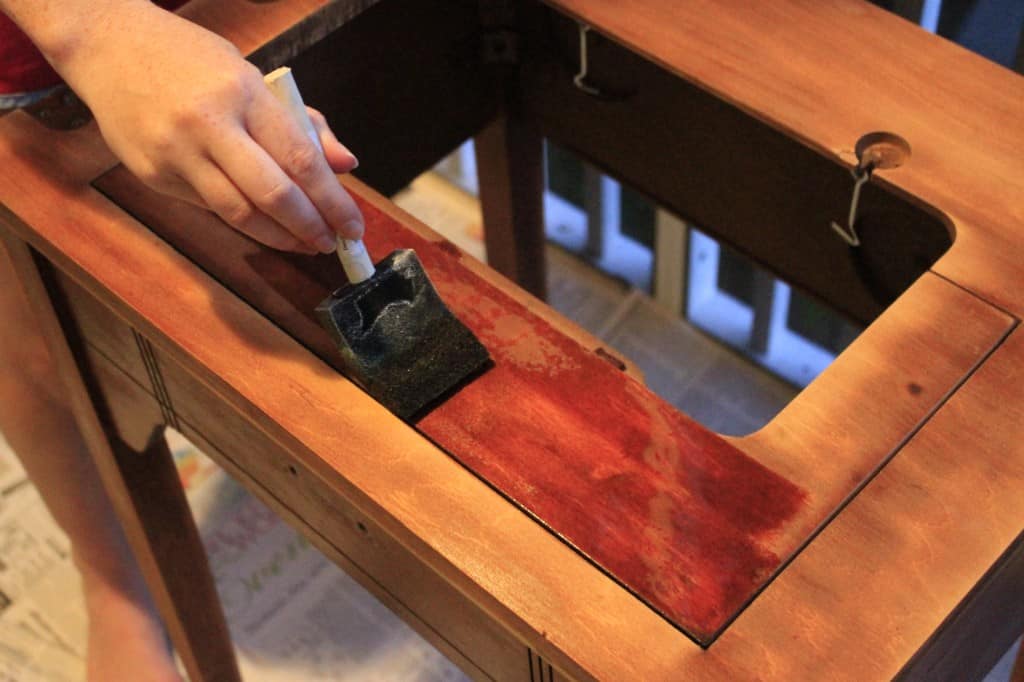
When you’re done, make sure to wipe away all of the sawdust before you stain or it will get caught in the stain and look bumpy and bad. - Apply your stain with a foam brush- I use cheap disposable brushes and throw them away afterwards. Foam brushes apply the stain well and do not leave brush marks.
- Don’t use a cheap brush to apply your sealant- I am all for cheap brushes, but when you are painting a piece of furniture, you really don’t want the bristles to fall out and get stuck in the finish.
I buy Purdy brand brushes at Lowes, then wash them very well and reuse them many times. - Two thin coats are better than one thick coat- Especially if you have never used a certain color stain before, it’s better to put on less (or for a shorter period of time), let it dry, and re-apply if you’d like it to get darker.
We like to apply stain, let it sit for five to ten minutes. This is depending on how dark you want it to get. Then use a disposable rag (NOT a paper towel) to wipe away the excess. Allow to dry for one hour before repeating.
Allow to dry fully before sealing. Just keep in mind that the darker you go, the harder it is to see the natural grain of the wood underneath.

5. Don’t let anything drip- That’s the very most important thing. Usually when we stain, I apply the stain and Sean looks behind me to see if anything starts dripping. If it does (and it will), immediately catch the drip with your brush.
A drip will dry visible and aggravate you every time you see it! Watch for drips with your sealant, too. They will be clear but have the potential of drying bumpy.

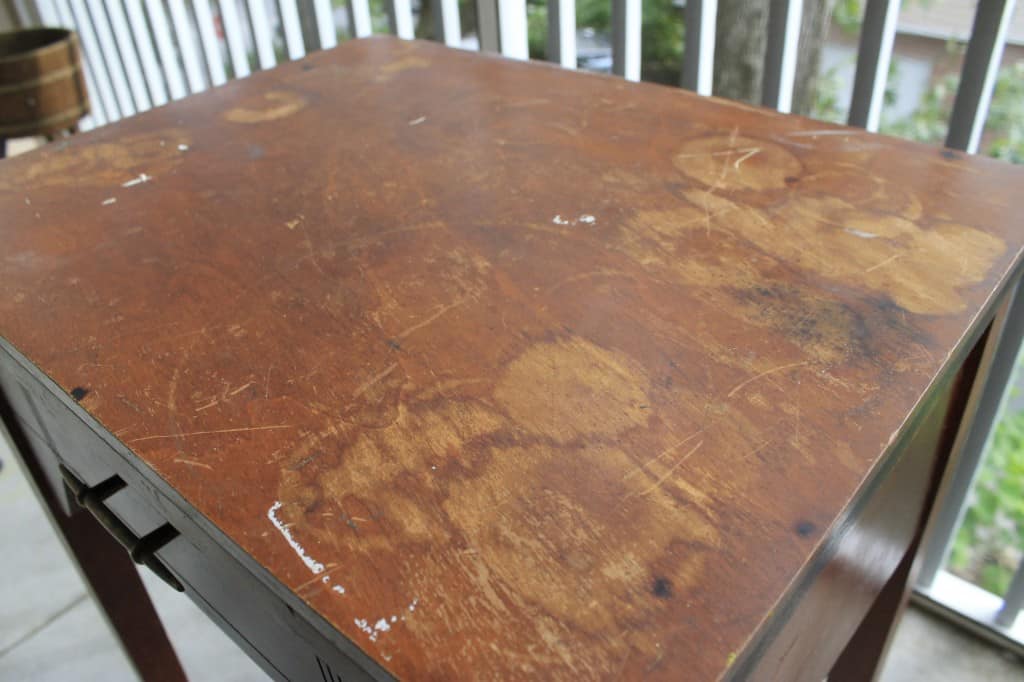
Stained wood is beautiful and a super easy and inexpensive upgrade. One small can of stain and sealant will last you for multiple projects. Next time you spot a solid wood piece at the thrift store, look past the water rings and dings and imagine it with a nice new stain.
Looking for the best stain colors? We tested 10 types of stain on 5 types of wood - check out the whole project!
What have you stained lately?
Looking for something?
We've been doing this since 2012 so we have a LOT of blog posts!
Search stuff like: Ceiling Projects | DIY Plant Stands | Thrift Flips


Hey there, I'm Sean, the woodworking enthusiast and builder behind CharlestonCrafted.com! Since 2012, I've been sharing the magic of turning raw materials into beautiful creations. I love teaching others the art and satisfaction of woodworking and DIY. I try to inspire fellow crafters to make something extraordinary out of nothing at all.


