One of the best things about being a WeddingBee blogger is the community that exists between current and past bloggers. There are so many people that have this one basic thing in common (being a WeddingBee blogger) and can get together and really help each other with anything that they might have going on in their lives. I’ve really loved becoming part of that community!
So, when I saw that there was a holiday ornament exchange, I knew that I had to sign up! I drew Mrs. Deviled Egg. I didn’t read WeddingBee back then, but I do love me some deviled eggs. A quick google led me to some easy to purchase egg ornaments.
However, after picking up the vibe on the WeddingBee blogger forum, I decided that it would be more fun to make an ornament.
I immediately knew that I wanted to make my ornament a pun on the “devil” in deviled eggs. However, I wanted to make it 3D. I decided that my options were clay or plush. Since I have zero experience with sculpting, I started with plush.
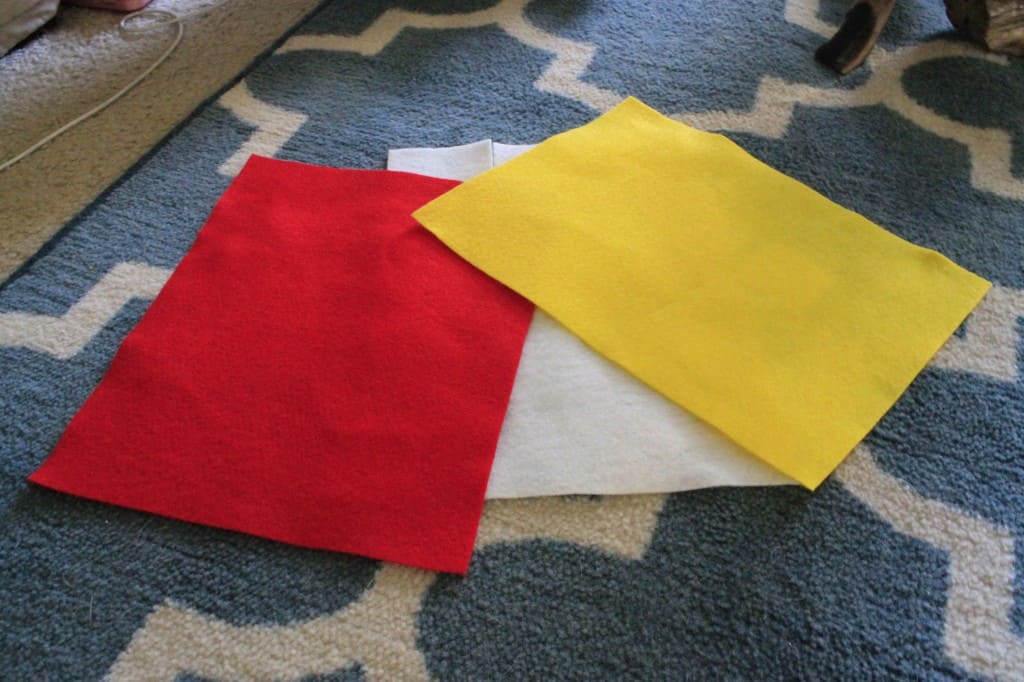
I picked up three pieces of felt at Michaels – White, red, and yellow. I also used white, red, and yellow thread, a needle, scissors, and 4 cotton balls that I already had on hand.
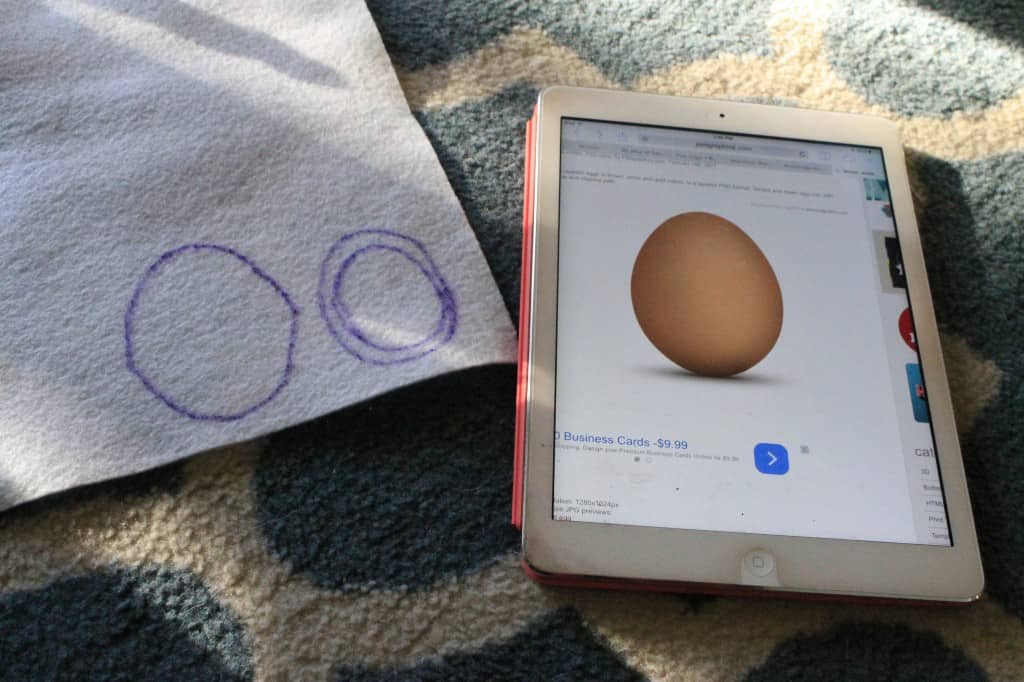
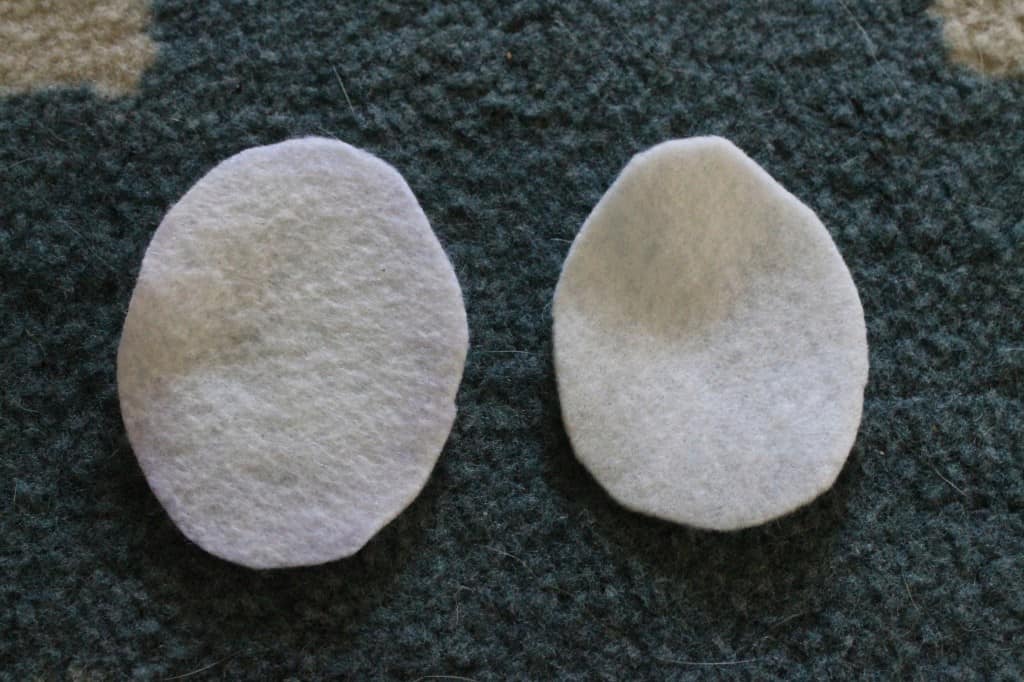
I started out by cutting out my egg shape – One egg that was actual chicken egg sized, and one that was about 1 cm bigger all the way around. Note: I traced the egg shape (I just pulled up a picture of an egg on my ipad, put the felt over it, and traced with a marker) at first, but the marker showed through the felt. So, use a light pen OR do like I did and trim the marker off.
Then I cut a yellow circle for the yolk (freehanded like a boss) and little red slivers for horns, beard, eyes, nose, and mouth. I could have used black for the face but liked that the red reminded me of paprika. I eventually also cut out a red devil tail.
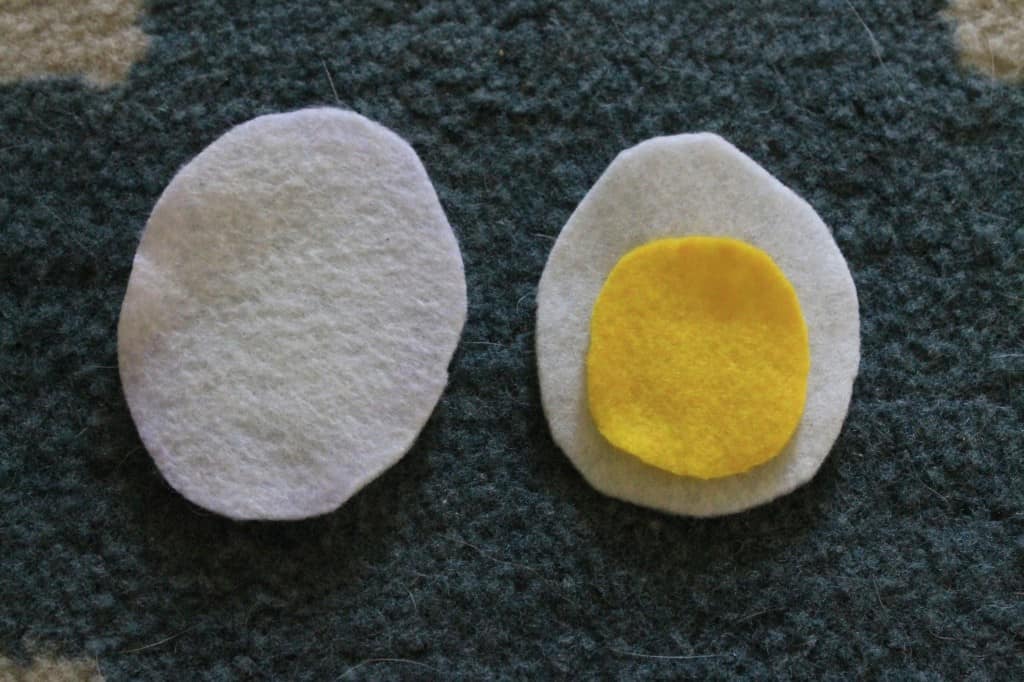
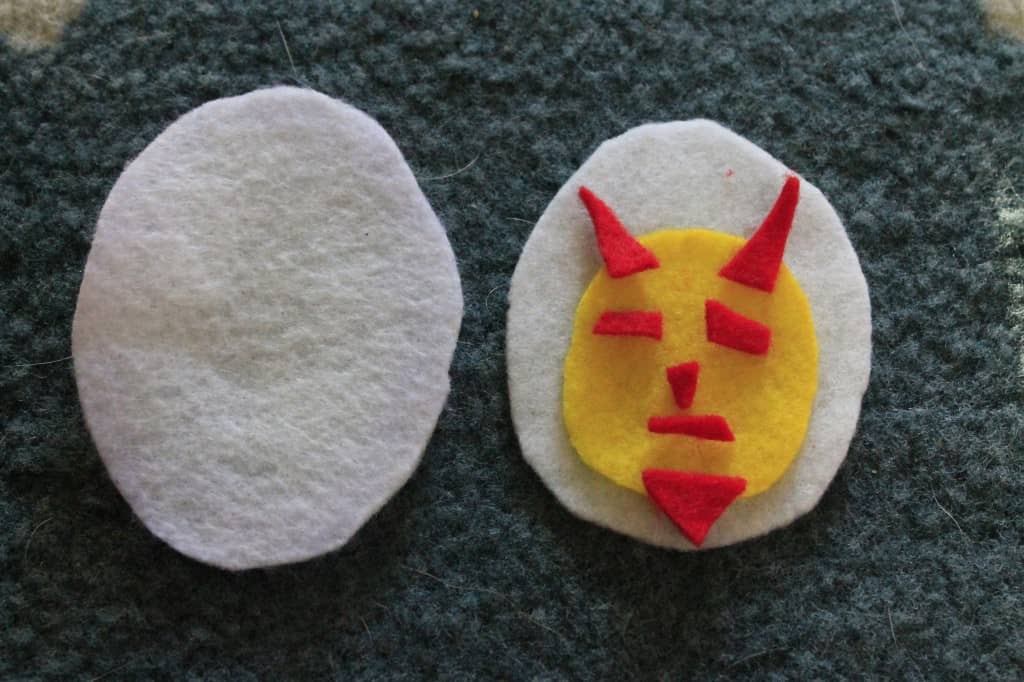
Then I started to sew. I used a simple whip stitch (maybe? Trying to remember from my girl scout days) to attach the yolk to the smaller white egg. I just used small stitches in the color of the top piece of felt (yellow for yolk, red for face, white for egg on egg). Cut a piece of thread, string it through the needle, fold it in half and knot the end. Stitch up from the back into the yolk, then stitch down into the white, just barely outside the yolk. Continue all the way around the yolk, then knot the end and trim your threads. Pretty simple even for non-sewers!
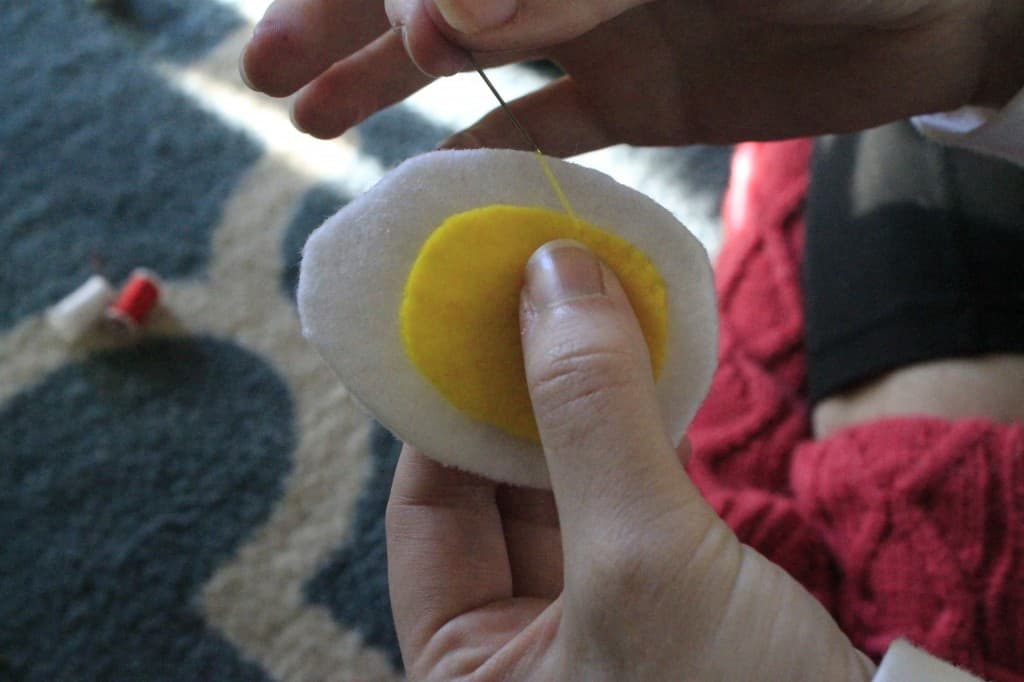
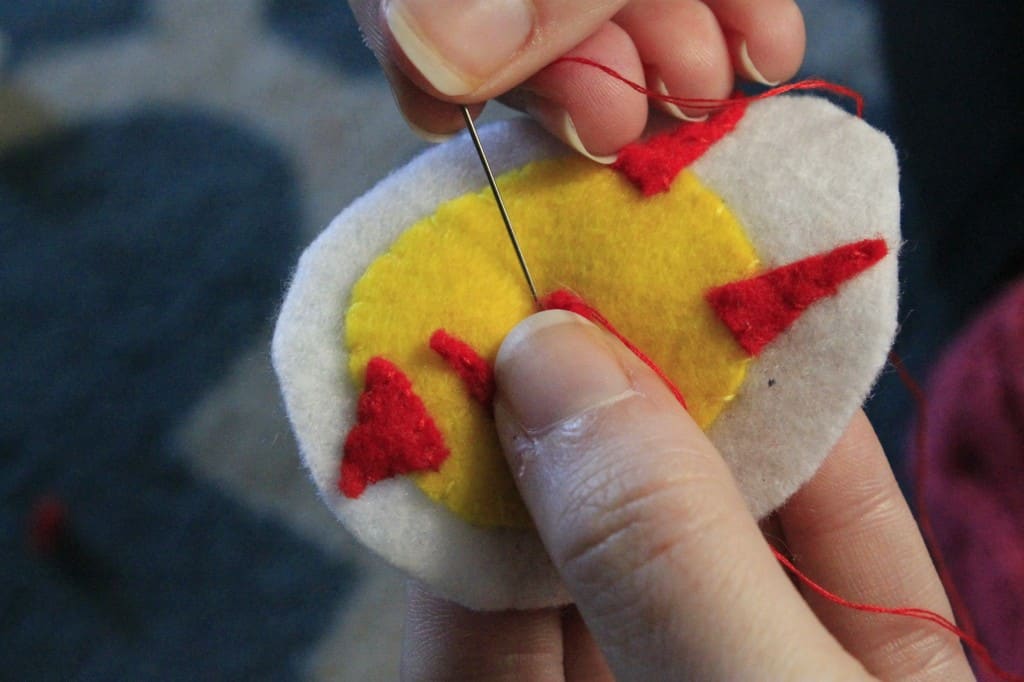
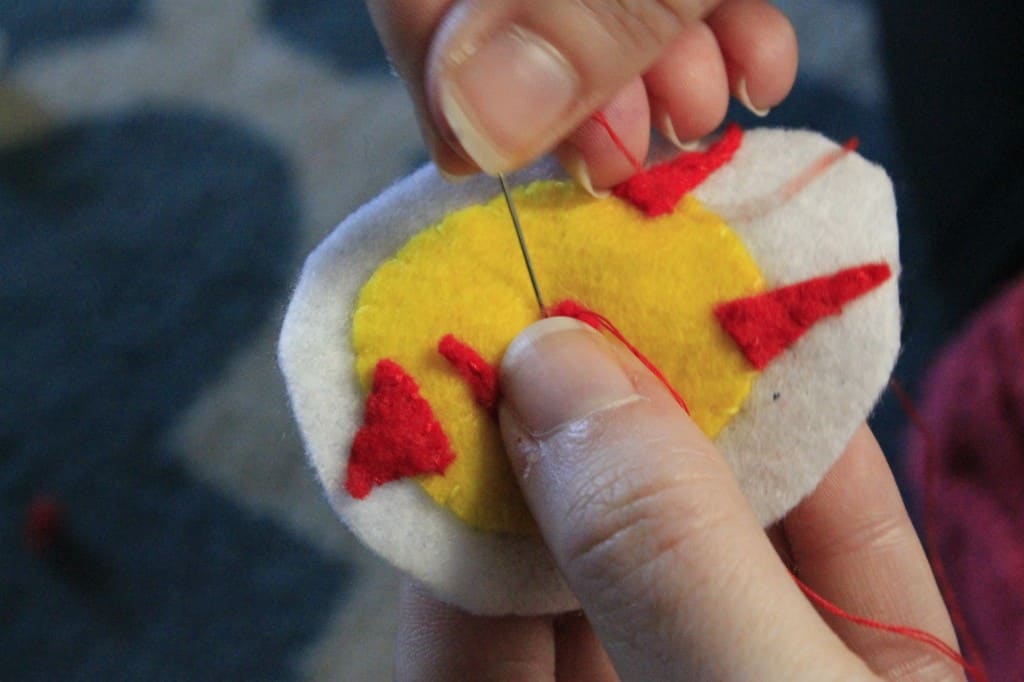
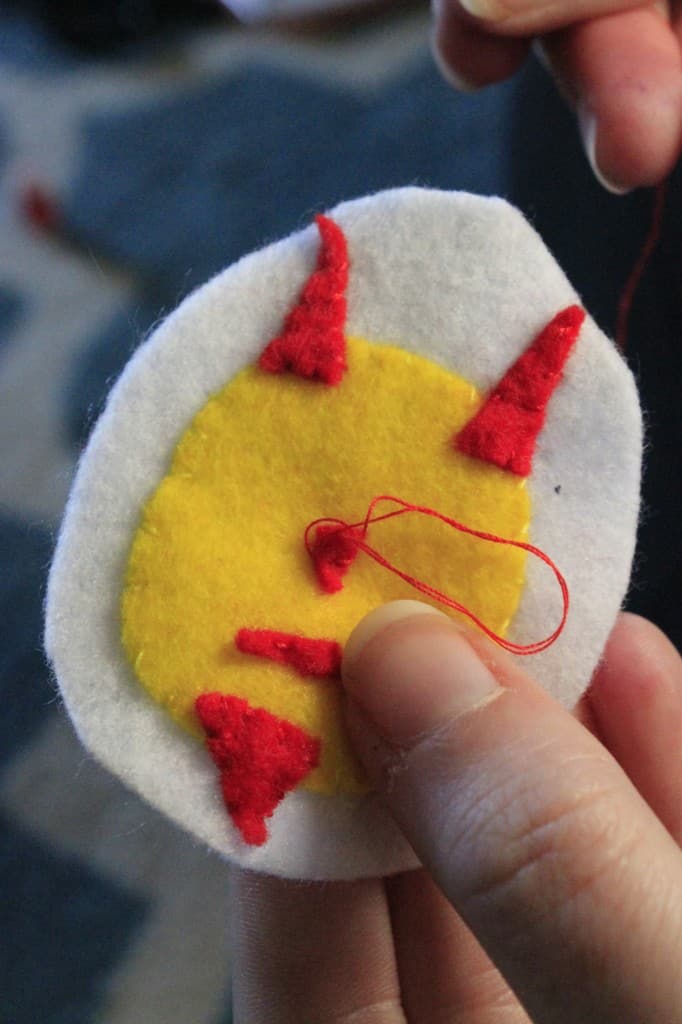
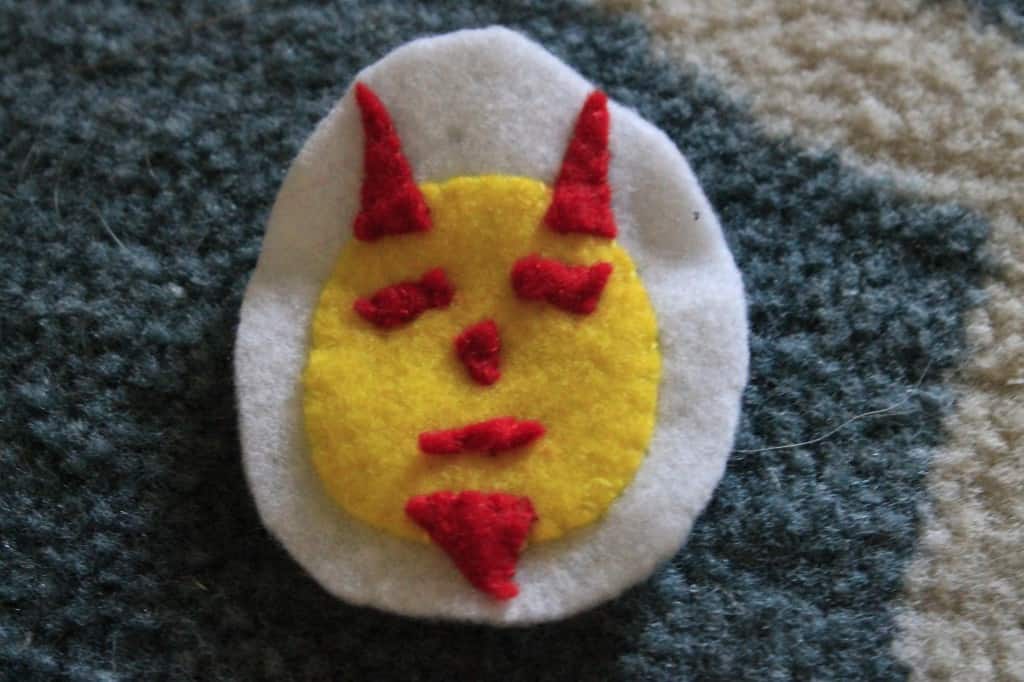
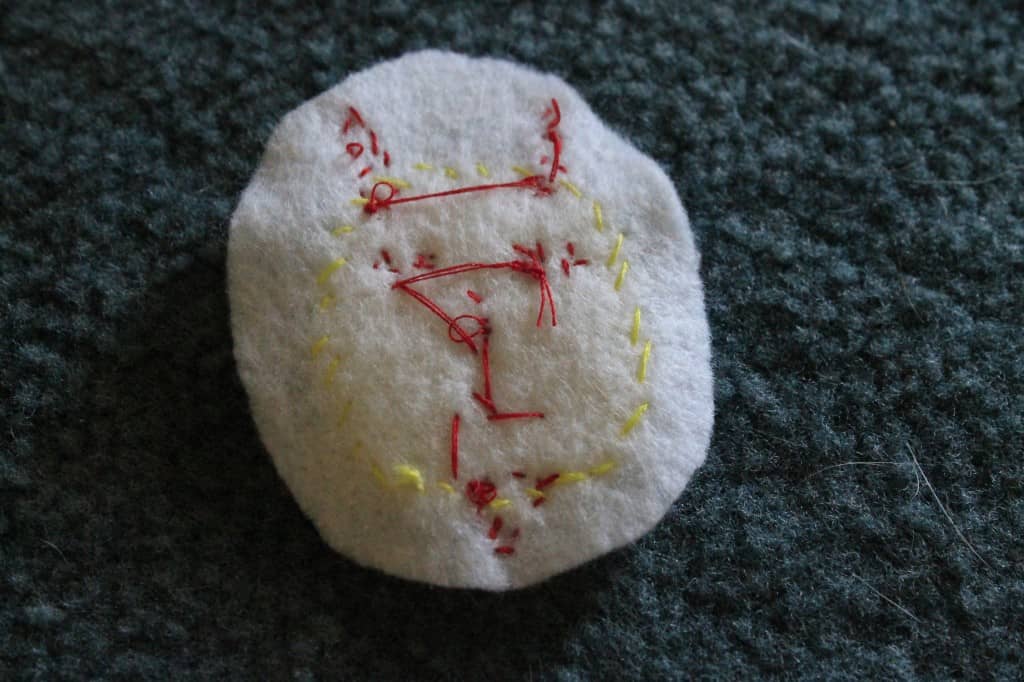
Then I sewed the red pieces on. I started with the horns and beard and worked my way in.
I also went ahead and added my tail to the large backing piece. I should have added the small metal loop at this point as well – it’s much easier to sew things on when they are flat, as compared to when they are all sewn up.
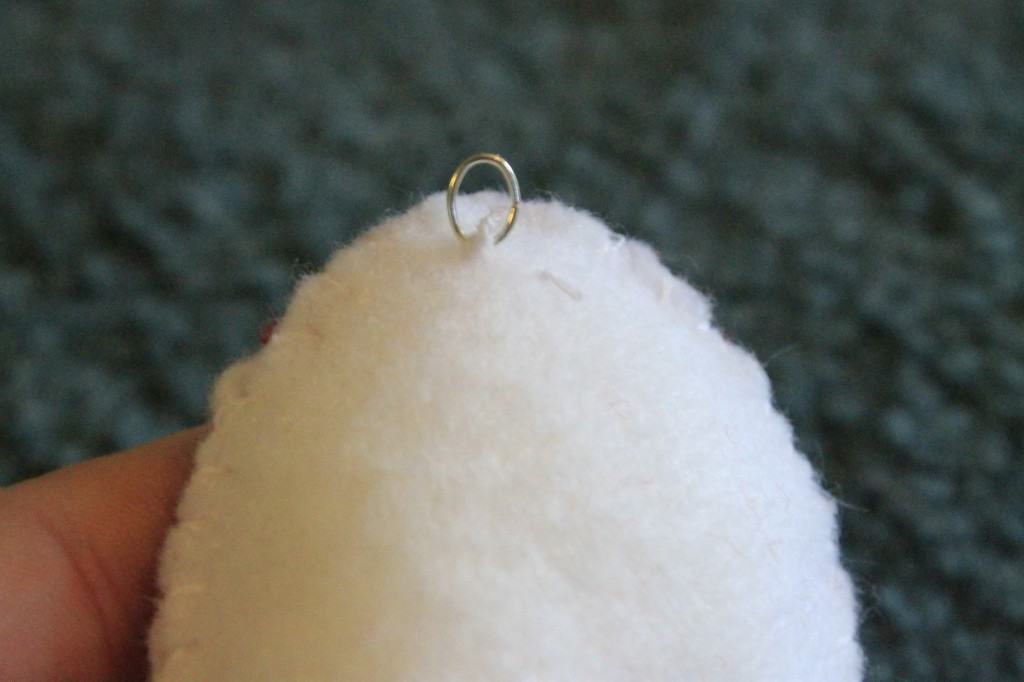
Now is the time to make the egg 3D. I first cut a slit in the bottom back of the large egg piece, next to the tail.
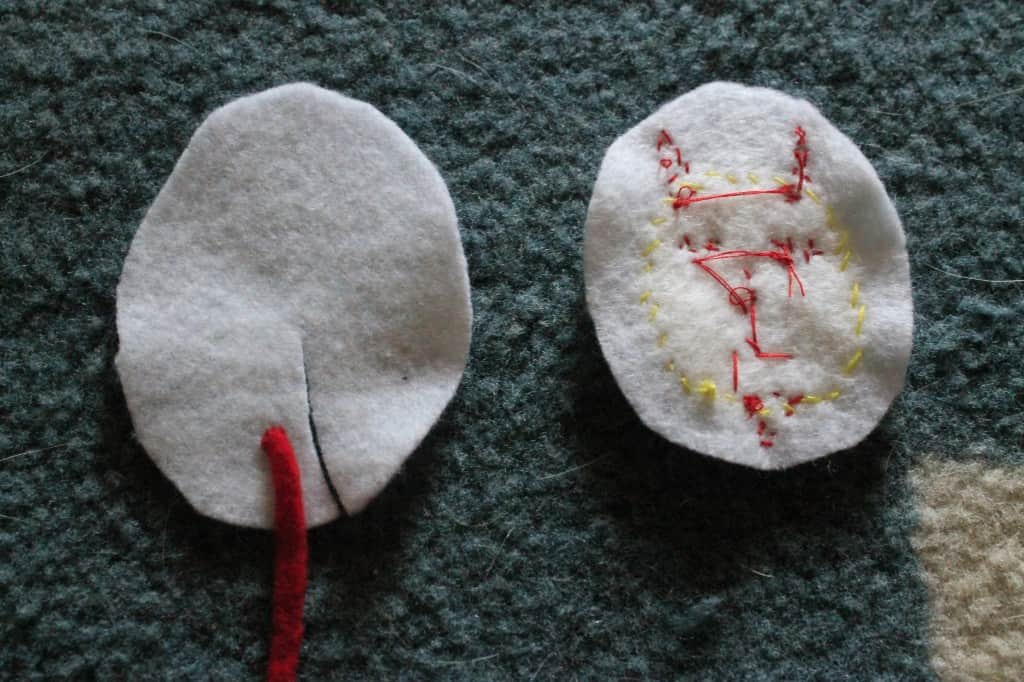
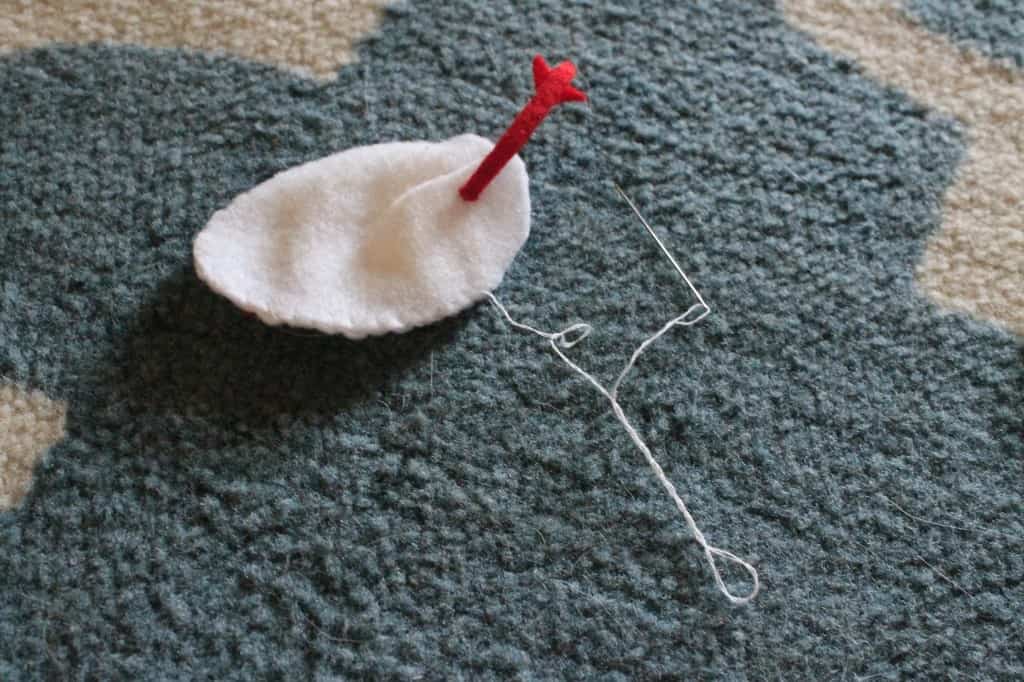
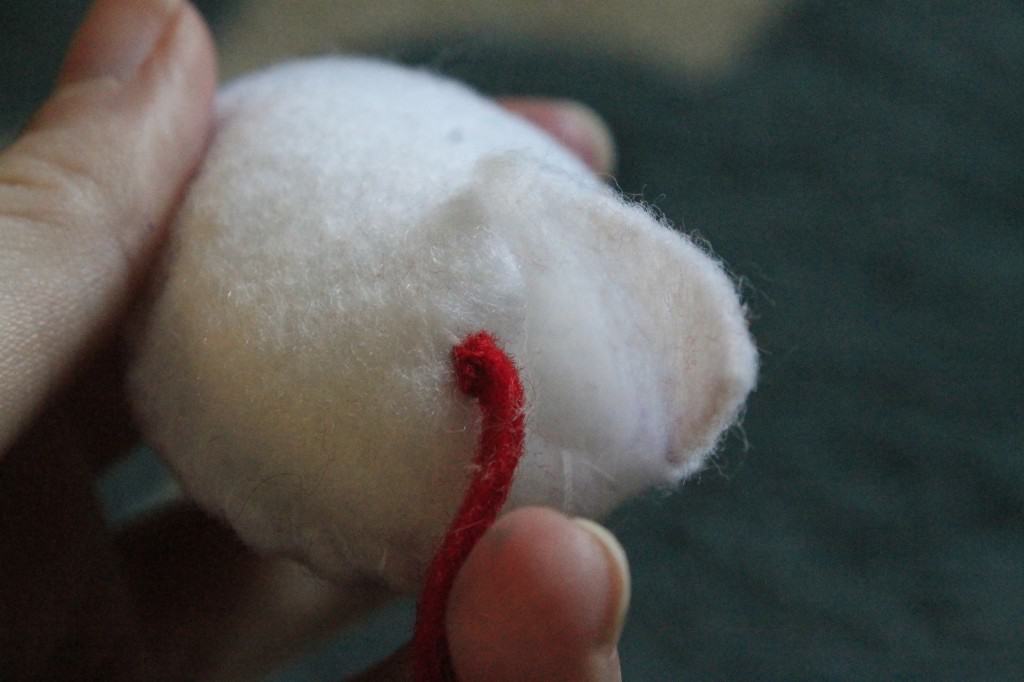
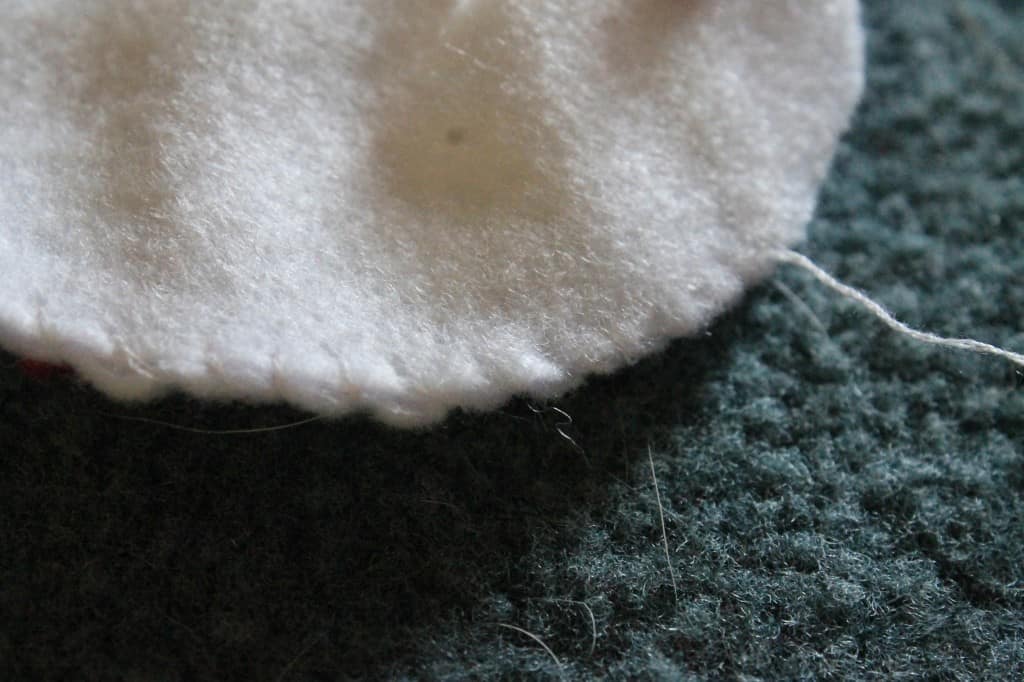
Then I started stitching! I used white thread and a whip stitch to sew about ¾ of the way around – starting about 1 inch to the right of the slit, all the way around to 1 inch from the left of the slit. Then I stuffed it with cotton. I unrolled cotton balls to get the perfect amount of fluff. It held about 4 balls. Then I stitched the rest of the way around the edges and stitched the slit closed. Trim any excess felt and knot off and you are done!
I hope that Mrs. Deviled Egg likes this guy. He’s clearly homemade but I think that he’s really sweet. My sister loves deviled eggs – maybe I should make her one for Christmas?
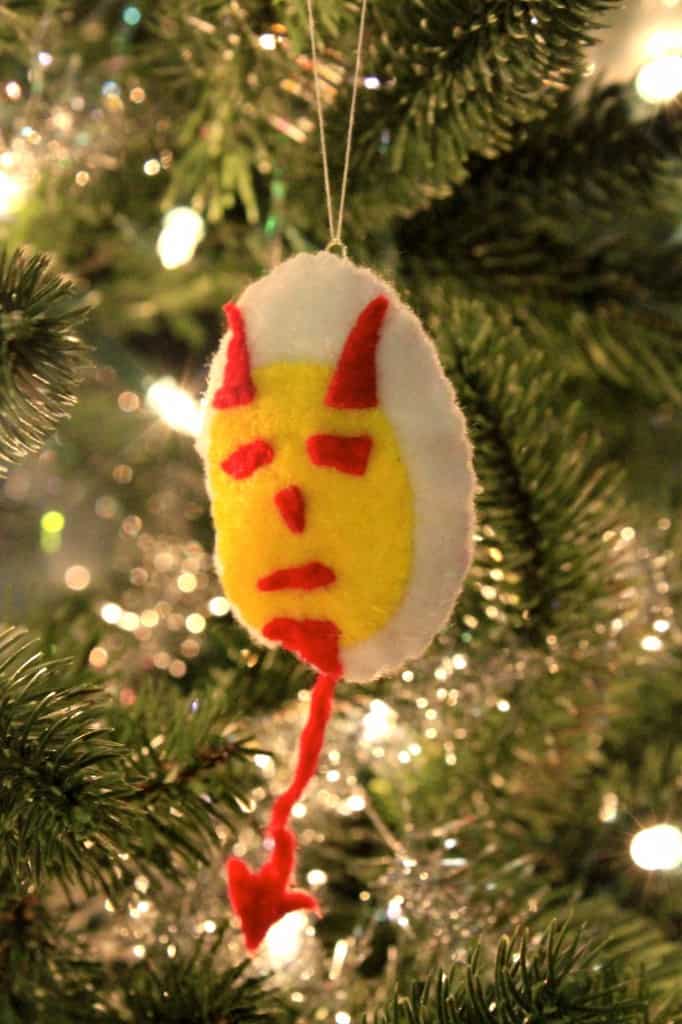
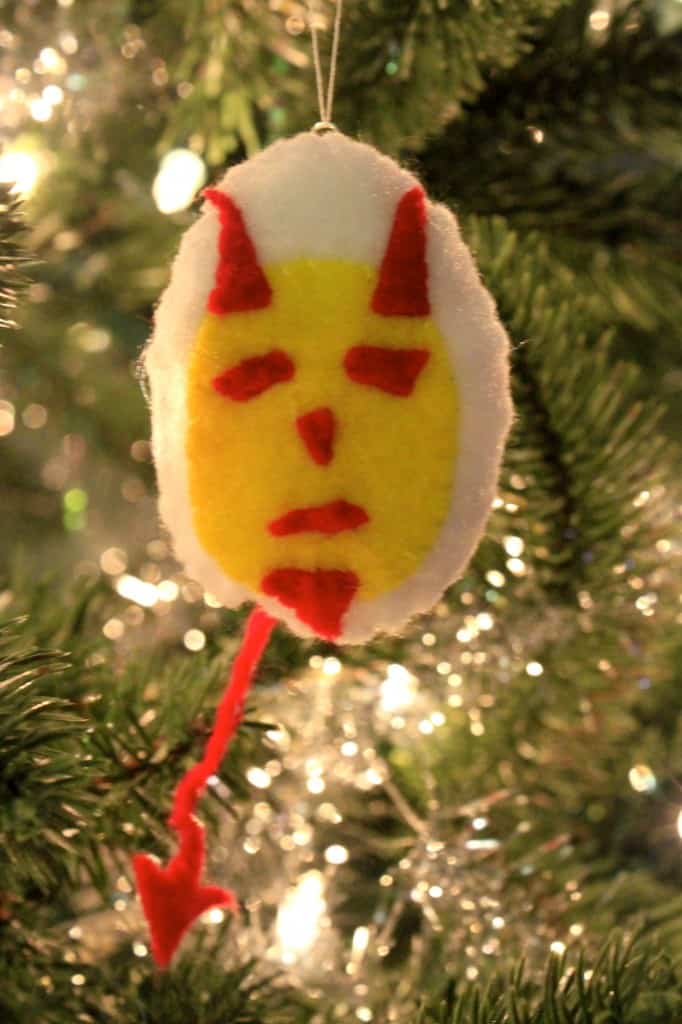
I had never made any felt guys before (thought I cut and glued these fruit slices a few years ago) But it was really easy! I totally recommend it for a fun and personalized ornament.
Have you taken part in any ornament exchanges this year?
See all of our handmade ornament ideas:
- How to make photo ornament balls
- DIY sea glass ornaments
- Sand ball ornaments
- How to make beach ornaments
- DIY pier post nautical ornaments
- Fur ball pom pom ornaments
- DIY snowball ornaments
- Citrus felt ornaments
- Mink snowman ornament
- Deviled egg felt ornament
- Metallic dipped textured ornaments
- Paper ball 3D ornaments
- Toilet paper roll starburst ornaments
- Bottle brush tree terrarium ornaments
Simplify your crafting journey and eliminate guesswork with our free ornament crafting cheat sheet – your essential guide to selecting the right materials and tools with ease! Click here or the image below for the free download!
Looking for something?
We've been doing this since 2012 so we have a LOT of blog posts!
Search stuff like: Ceiling Projects | DIY Plant Stands | Thrift Flips


Hello, I'm Morgan, half of the creative force behind CharlestonCrafted.com! With a passion for DIY that dates back to 2012, I've transformed three homes and now I'm dedicated to helping others craft their dream spaces. Let's turn your house into a home together!


