Wedding invitations are a special thing - they really set the tone for an event. They convey formality, theme, and even the excitement of an upcoming big day. However, as much as this might hurt some of you avid DIYers' or letterpress lovers' hearts, they end up right in the trash. If not immediately, then right after the wedding, for sure. For that reason, I set myself a pretty low wedding paper budget. I wanted them to be beautiful, but not suck up too much cash. I think that we hit the sweet spot on the head.
Designing
(written by Sean)
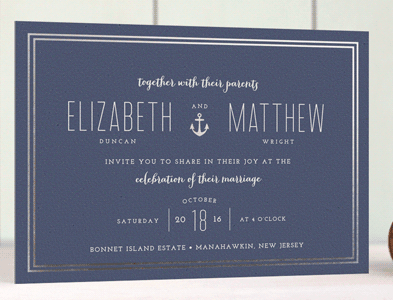
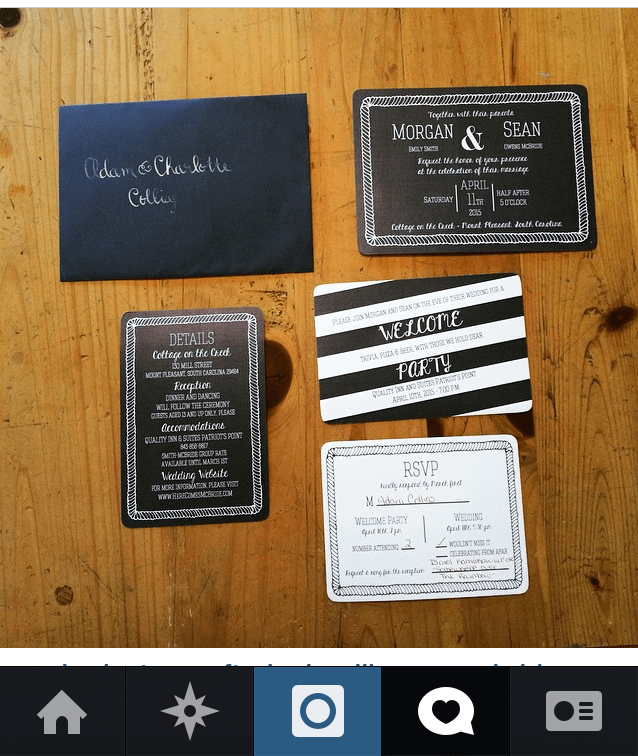
Morgan had a very specific vision for the invites (like she does for seemingly everything), so I basically had to try to read her mind and put it into reality. She saw an invitation online that gave her the outline for what she wanted and then we worked from that to make it our own. So here was the inspiration:
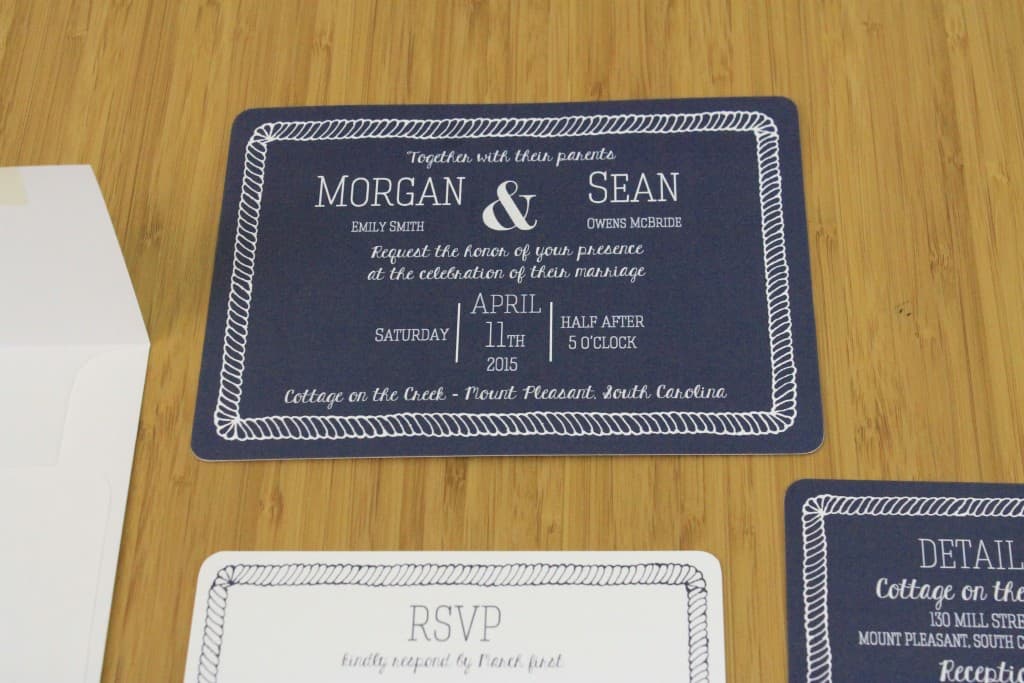
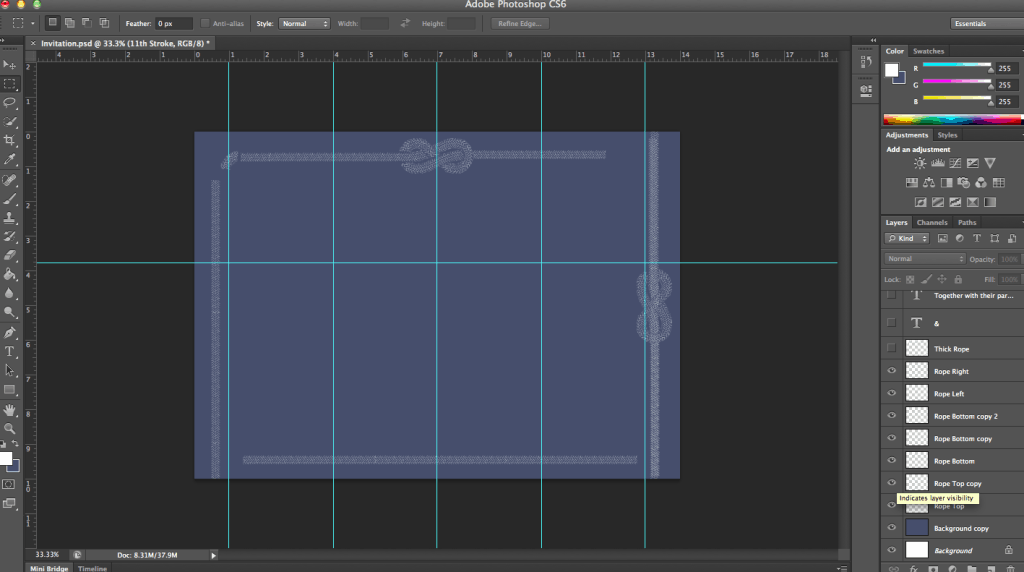
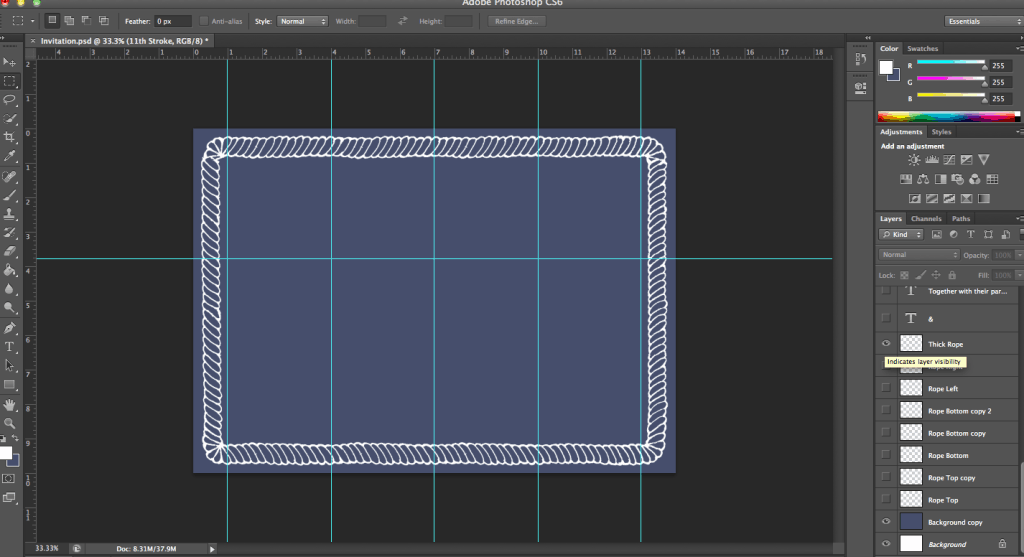
I started by making a file in Photoshop that was 10"x14", twice as big as we planned to print them because it's always better to scale your project down to maintain quality. I made the background navy because that was our "formal" color for the invitations and other stationary items. First thing first, I had to figure out the border. Morgan wanted a rope border, so I tried out a couple of different options before settling on one that worked for her.
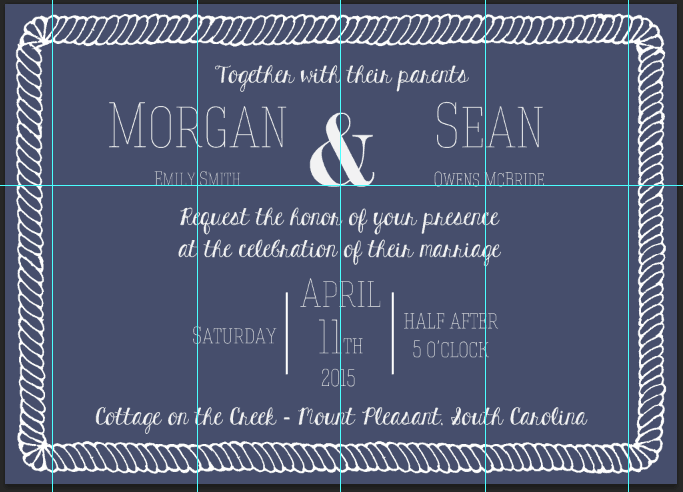
Then, I made separate layers for each part of text on the invitation. That way, everything has it's own layer and can be manipulated easier by not being on the same layer of anything else. Also, I label each layer with what it is so it's easier of know where everything is.
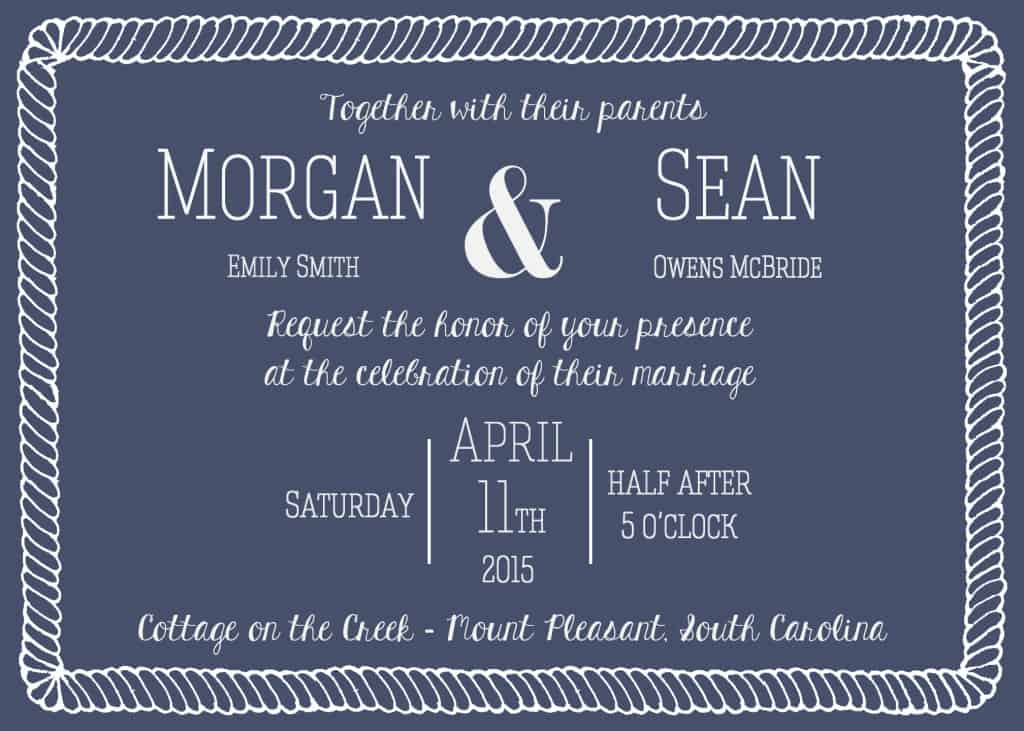
The biggest debate with the invitation was definitely over the font of the text. We literally went through every single font that was available in Photoshop, but Morgan wasn't happy with any of them. She didn't want a stock font because it wasn't unique. But we were able to eventually find a great one (Hagin Caps Thin) online and downloaded it. Problem was that when we printed it, the text was too hard to read because it was too thin. So, I ended up loading a selection of each piece of text and stroking an outline of it and it was perfect.
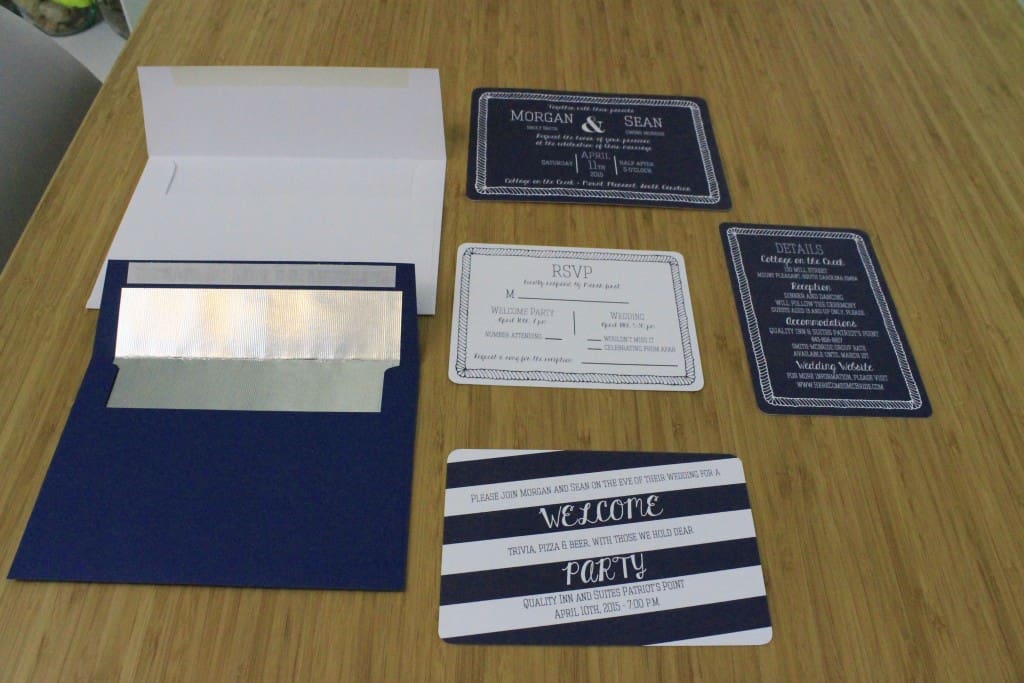
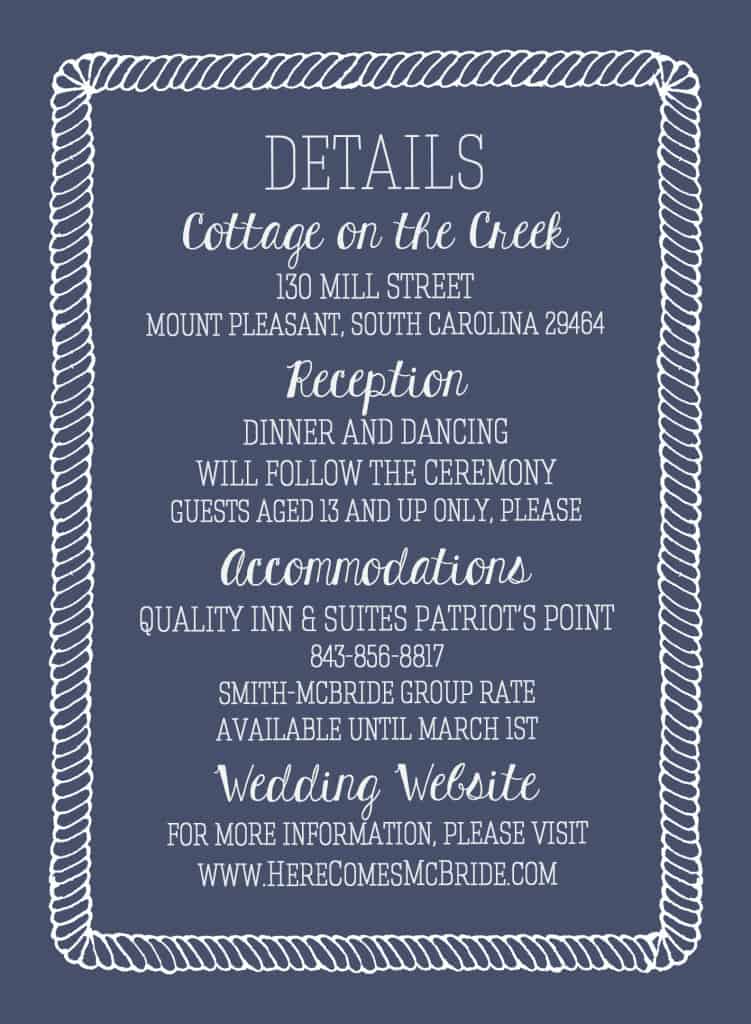
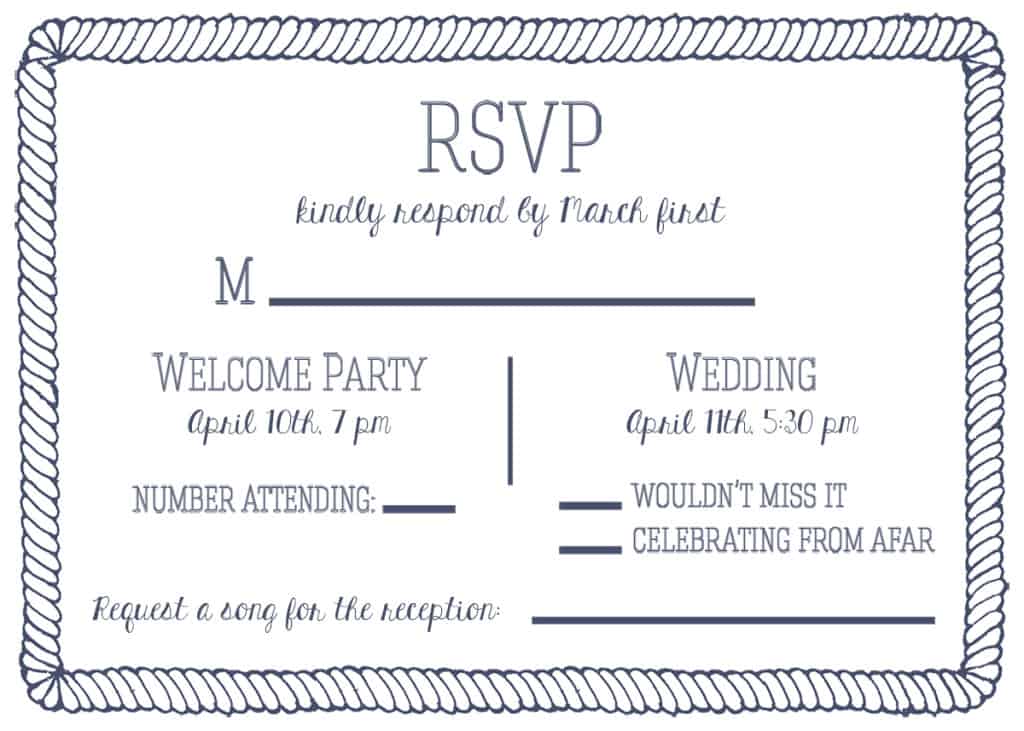
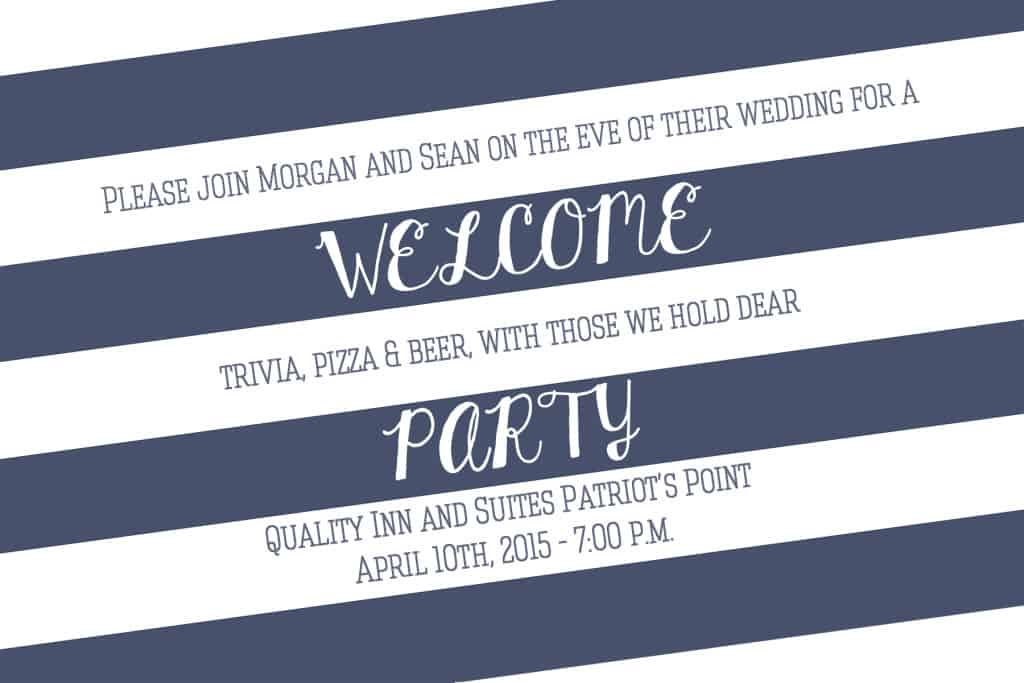
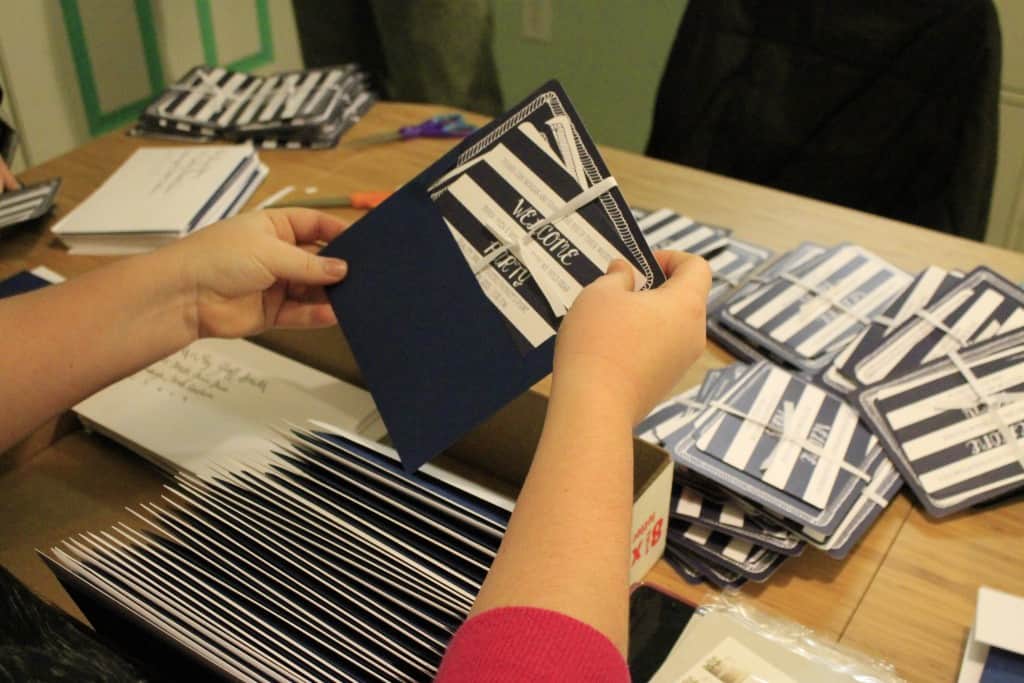
We had several other cards to make as well, including the insert card with wedding details, a card for the rehearsal dinner, and an RSVP postcard. We designed the insert card exactly like the invite, but switched the layout to portrait, and did the RSVP card in a smaller version of the invite, and reversed the colors. The rehearsal dinner card we got another inspiration from online and mimicked that, using the same colors as our other cards.
We also gave every card a navy and white striped back. It's a small detail, but it makes them a little more special.
Printing
We explored a lot of options for printing our invitations. Of course, at the top of our list was printing them at home. However, I found that home printing wouldn't be our cheapest option. Since our designs have a navy background, it would have taken a ton of ink. Pair that with the cost of heavy card stock, a paper slicer, corner rounder, and we were looking at hundreds of dollars to home print.
My first out-of-house thought was (clearly) Vista Print. We used them for our Save the Dates and had a great experience. Vista Print's major pro is clearly that they are very inexpensive and have major sales. However, when Sean was trying to upload our images (as tiff files), he had a lot of trouble with them being sized weird. For example, the item said 5x7 and the image was formatted to be a 5x7, but it was still cropping off the edges and adding white to the top and bottom.
Luckily, I complained to the right friend about Vista Print and she recommended Cat Print. Cat Print is a much smaller company but they have a great attention to detail and excellent prices. Combined with a 25% off Cyber Monday sale, we were sold.
We ordered all of our invitations on Extra Heavy Linen Card Stock. This was one of the more expensive papers, but we ordered a (free) sample pack of a variety of the stationary and were very sold on this paper.
We also paid (pennies) for them to round our corners for us. It mimicked the pattern in the rope borders and was worth it to not have to do them ourselves.
The final option that we chose was full bleed. This cost extra (a lot extra, actually) but allowed the image to be printed all of the way to the edges of the paper.
One of the biggest selling points of CatPrint is that they send you a (free) hardcopy proof of each of your orders. You get to see it in real life before committing to a hundred. Seeing the proofs was how we decided to splurge for the full bleed printing after initialing ordering the white borders.
Calligraphy
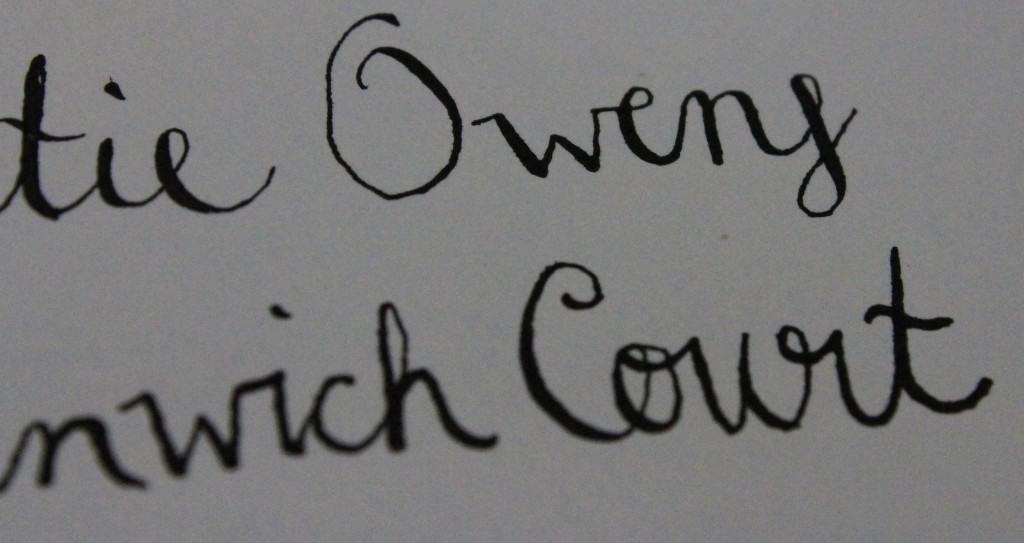
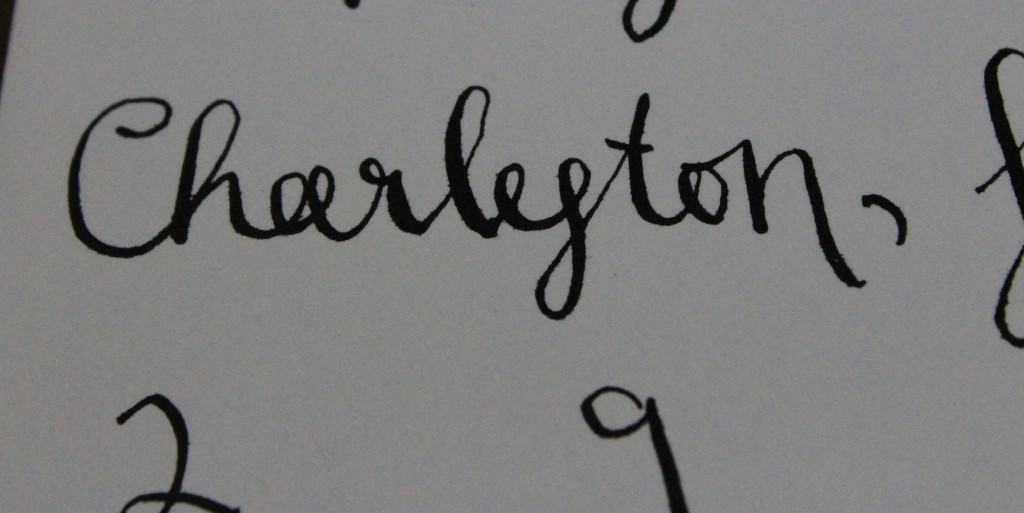
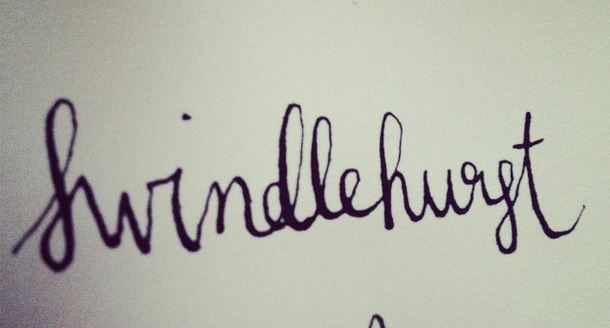
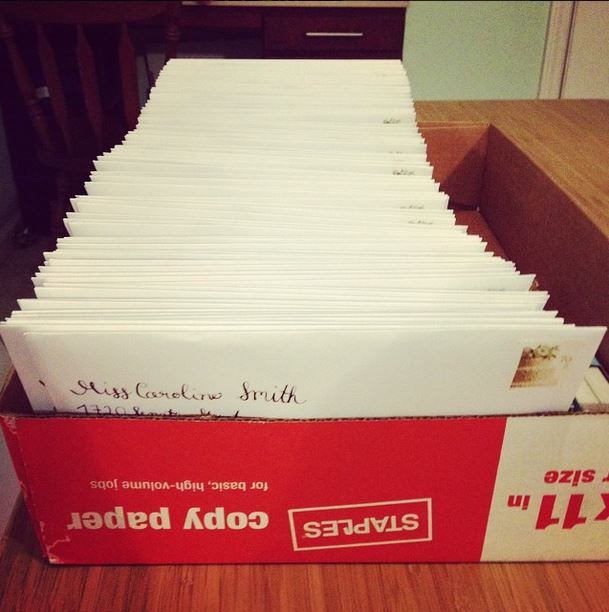
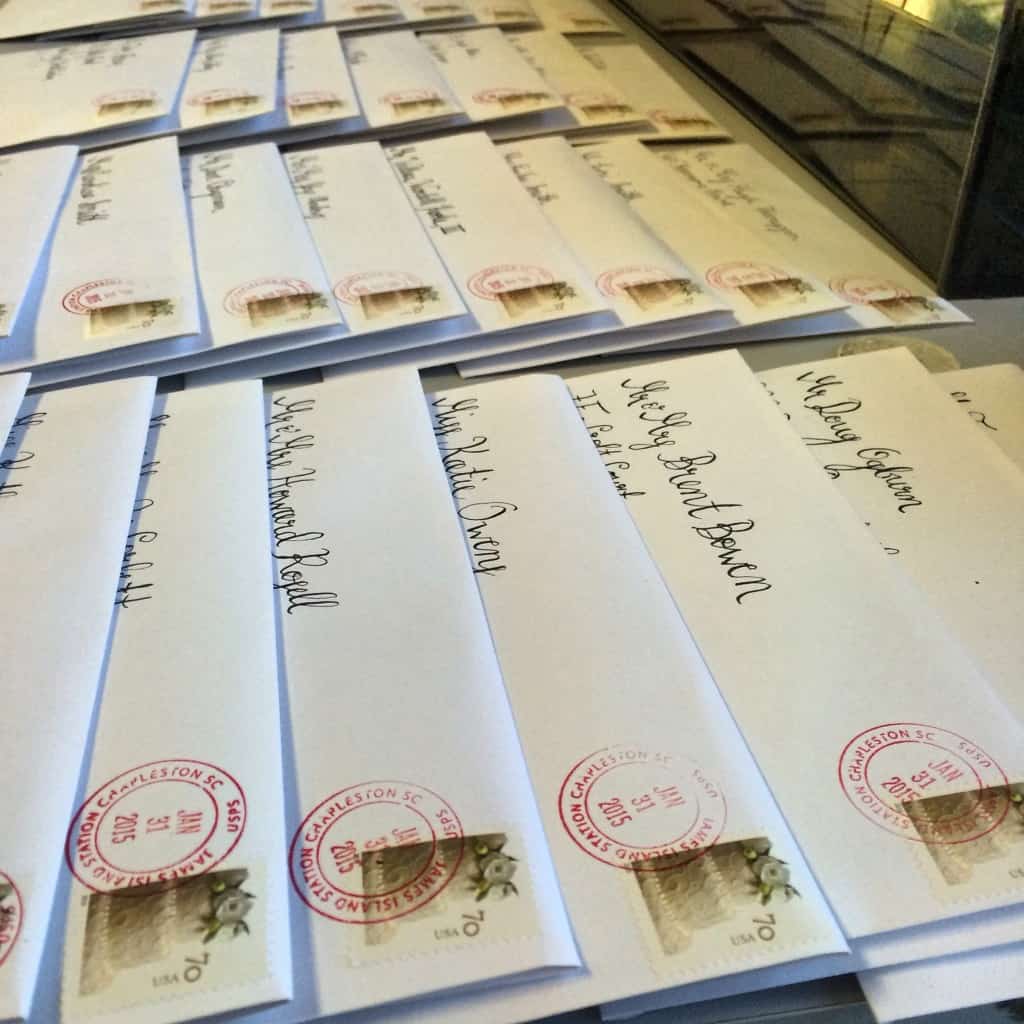
I've already told you about the calligraphy class that I took last spring. I knew that I wanted to hand address my envelopes and I wanted them to look a bit fancy. They clearly wouldn't be as perfect as if I had hired a professional, but (as my mother & Sean reassured me) people just throw the envelopes away, so no need to sweat it out.
I took my envelopes and supplies home for Christmas. I thought that I would maybe get some done, but I actually did all of the outer envelopes in one (six hour) sitting on Christmas Eve and all of the inner envelopes (in about 4 hours) on the day after Christmas. No family activities were missed in the making of these envelopes, though my sister did come by a few times and offer to print me out labels instead.
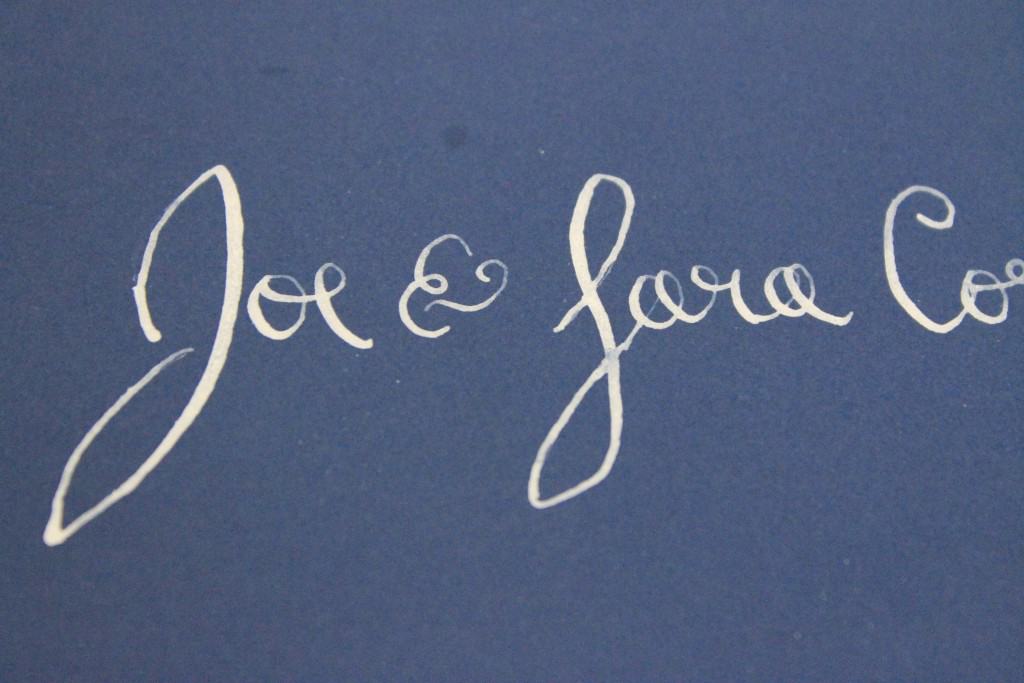
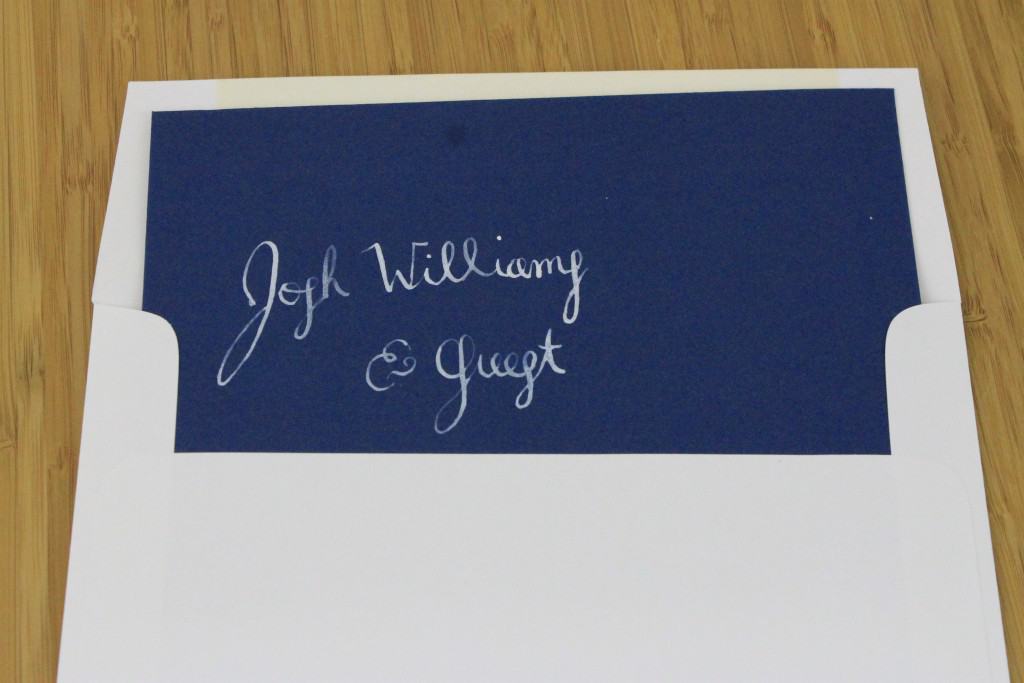
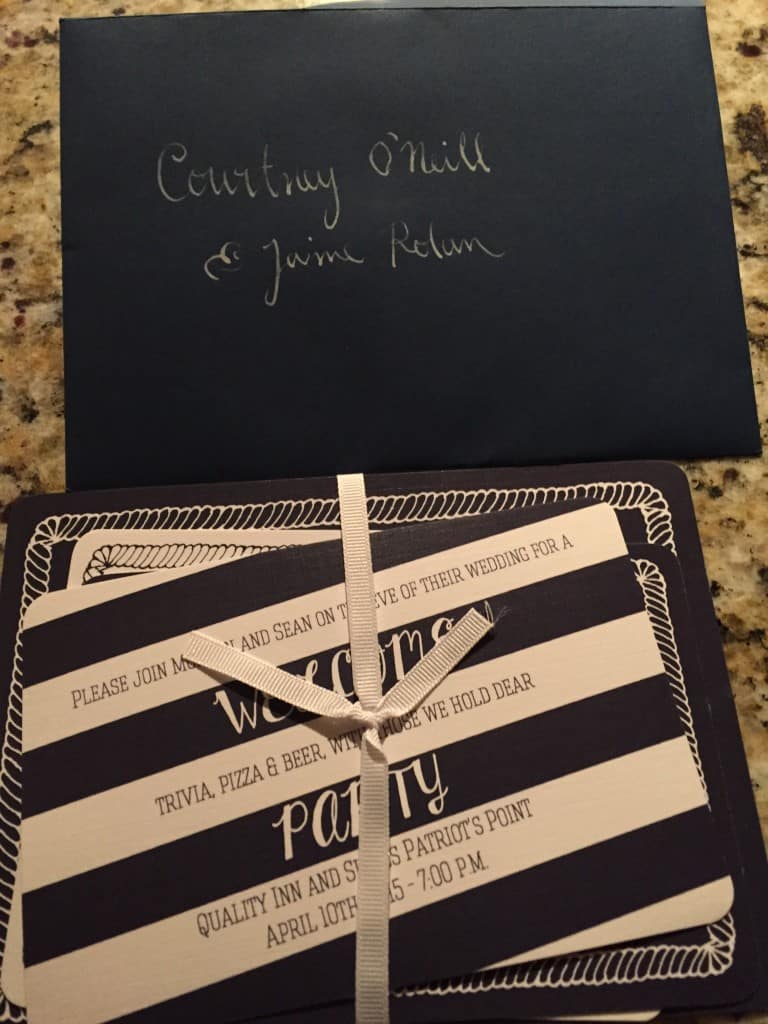
I decided to write the addresses on the white outer envelopes with black ink and the names on the inner navy envelopes with white ink. The white ink was a bit thin and more difficult to work with, but I made it work.
I think that it turned out pretty well for DIY!
Assembling
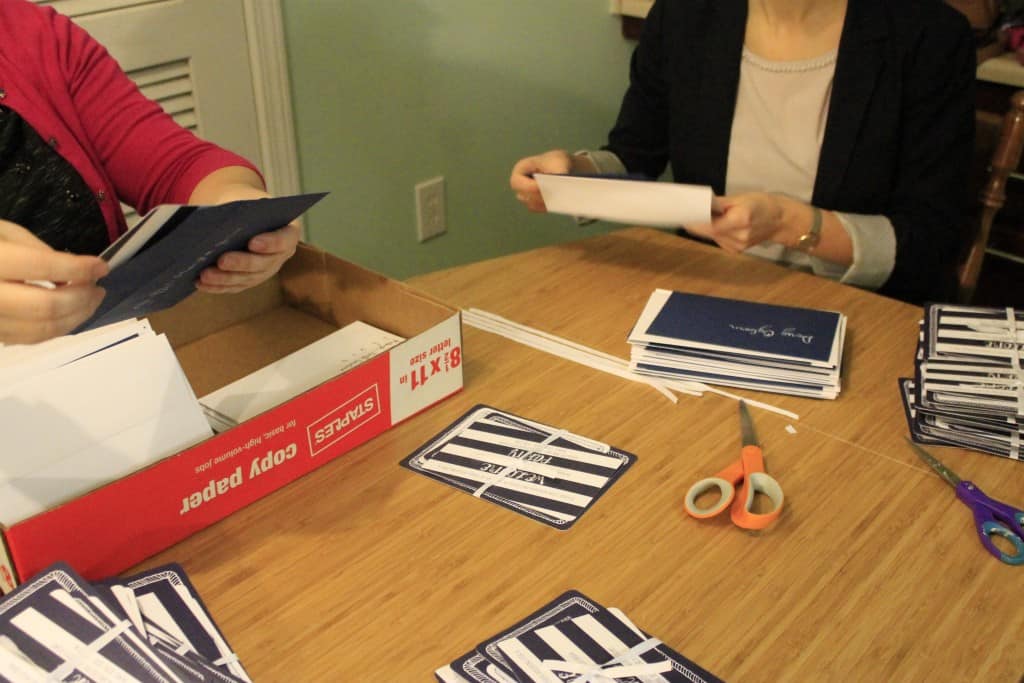
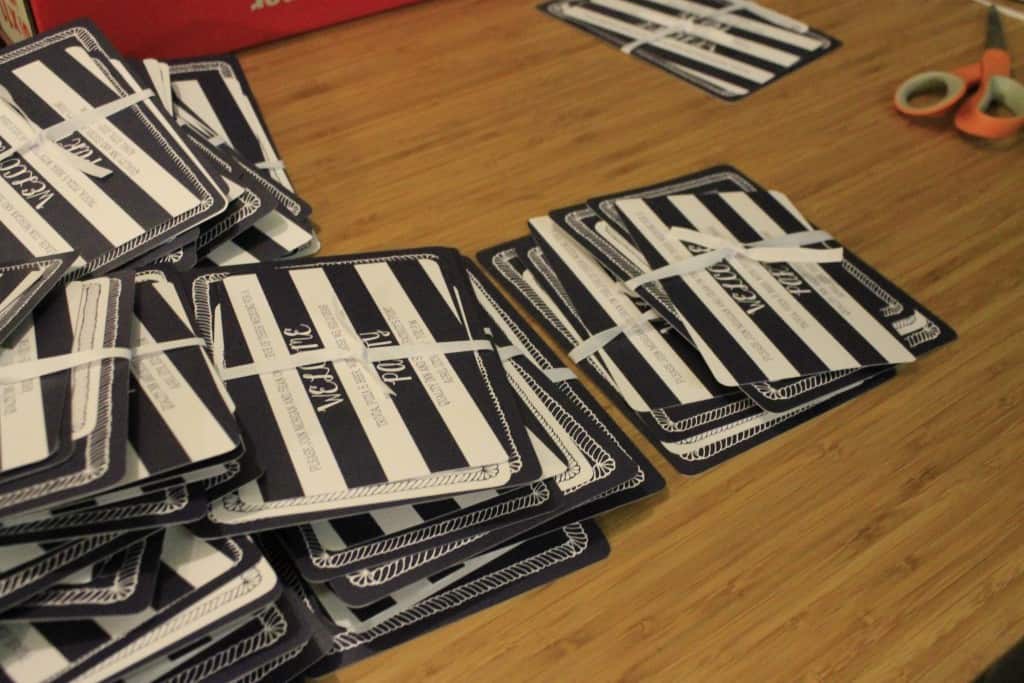
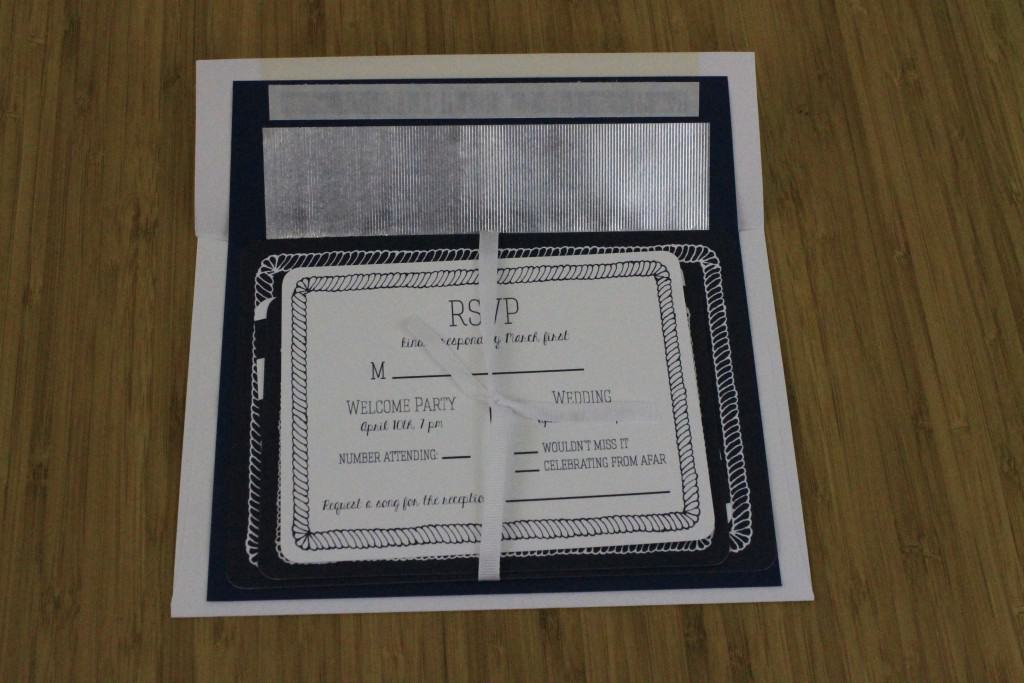
I wrestled with a lot of ideas for belly bands. I took the invitations home over Christmas and my mom told me to just do something simple! I loved the advice and decided to embrace it. We decided to tie the bundle together with a simple piece of white ribbon. Easy, and classic.
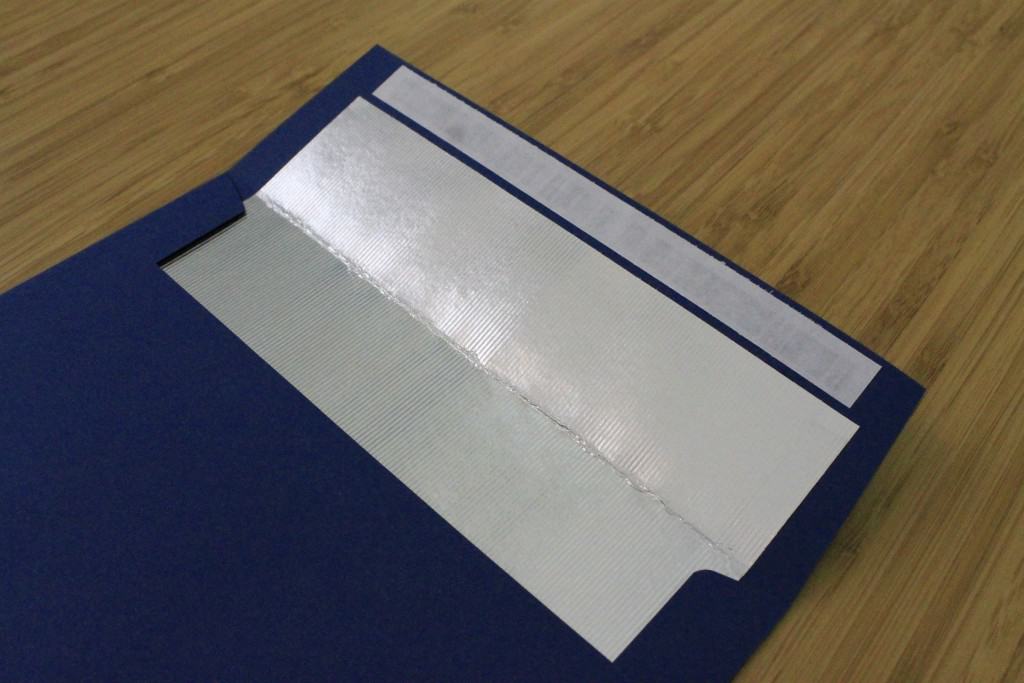
We stuffed each bundle into a navy inner envelope. The envelopes already had a silver lining, so that cut out a few steps compared to if I had to line them myself.
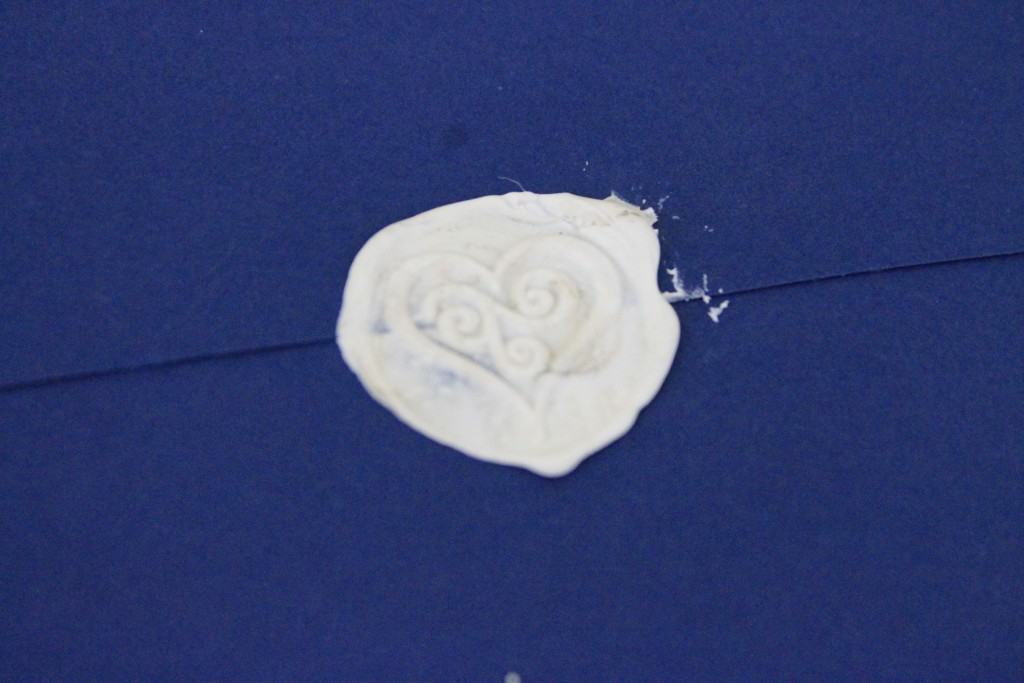
We sealed that envelope with a white wax seal with a heart design. This was totally unnecessary and silly, but someone gifted me the wax seal a long time ago and I always wanted an excuse to use it.
Eek, forgive that the above picture has the wrong card in front. I took some of these detail shots before the Bridesmaids helped me decide on a different card order - from front to back: welcome party invitation, details card, RSVP postcard, invitation. This was really the better look size and color-wise.
We sealed the whole thing up in the outer envelope and stamped it with our return address stamp (bought via a Living Social about a year ago, actually pre-engagement).
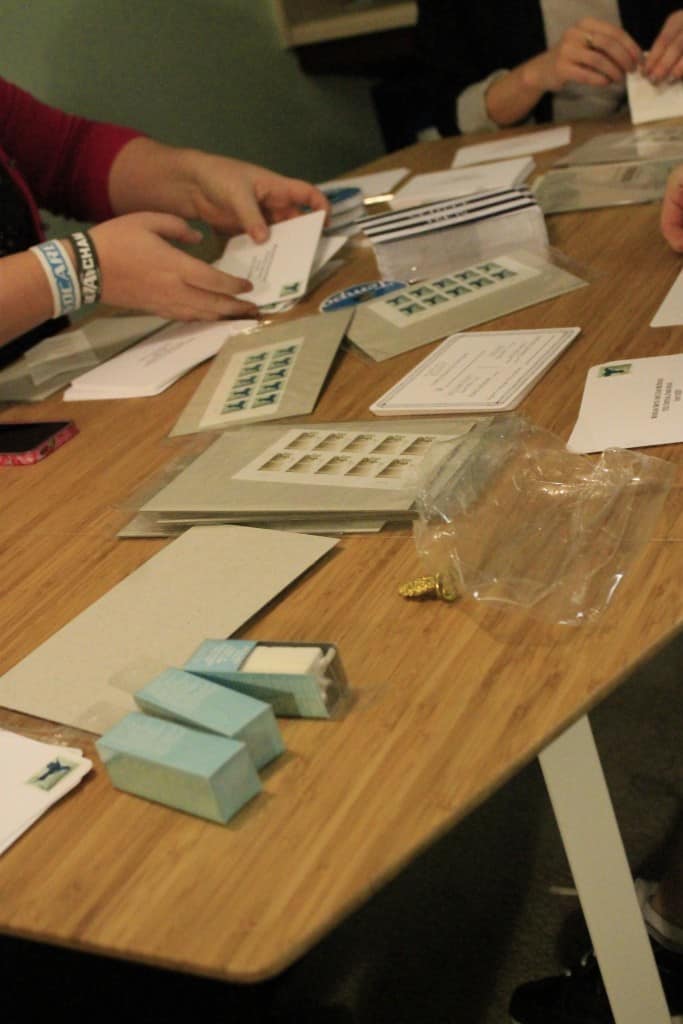
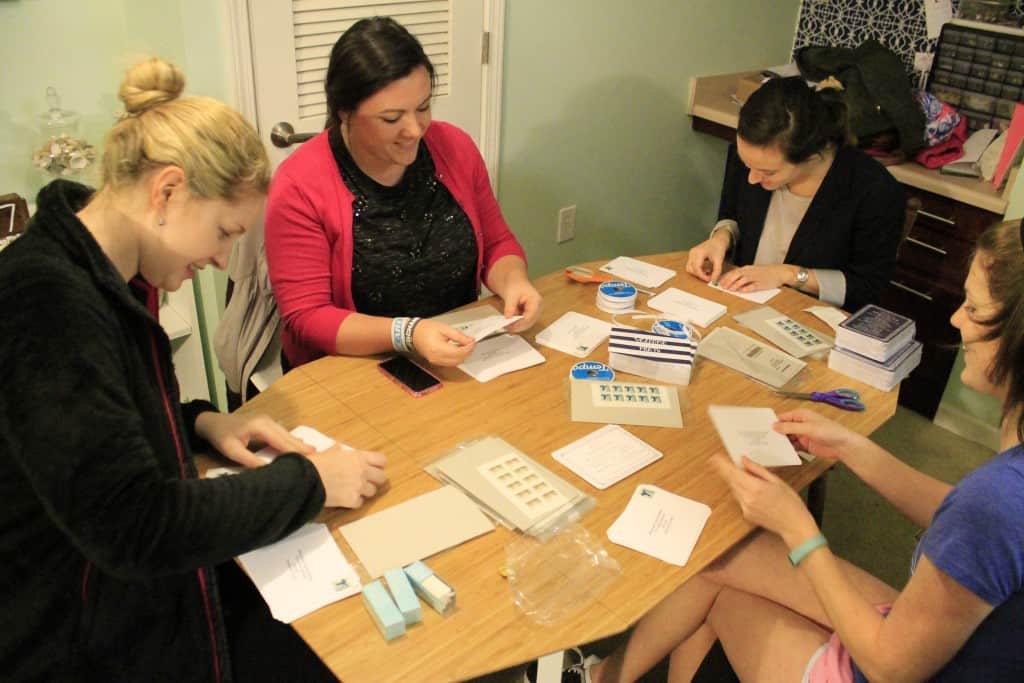
I actually had three bridesmaids come over one night and we had a "stuff it" party that consisted of stuffing envelopes and stuffing our faces with pizza and wine. So classy, much accomplished.
Mailing
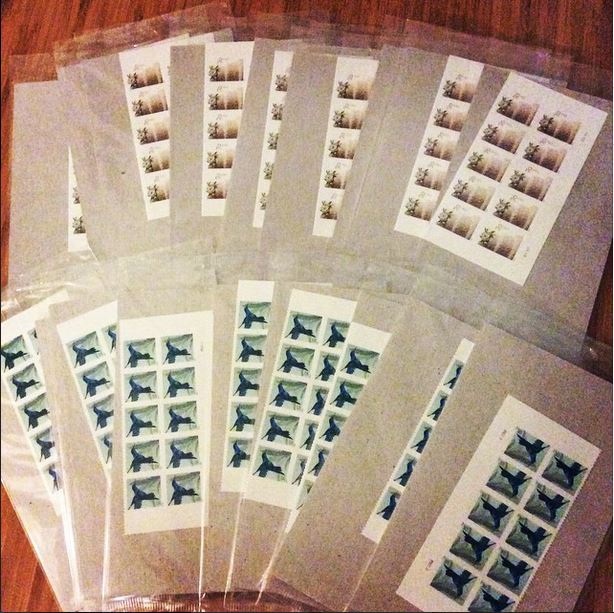
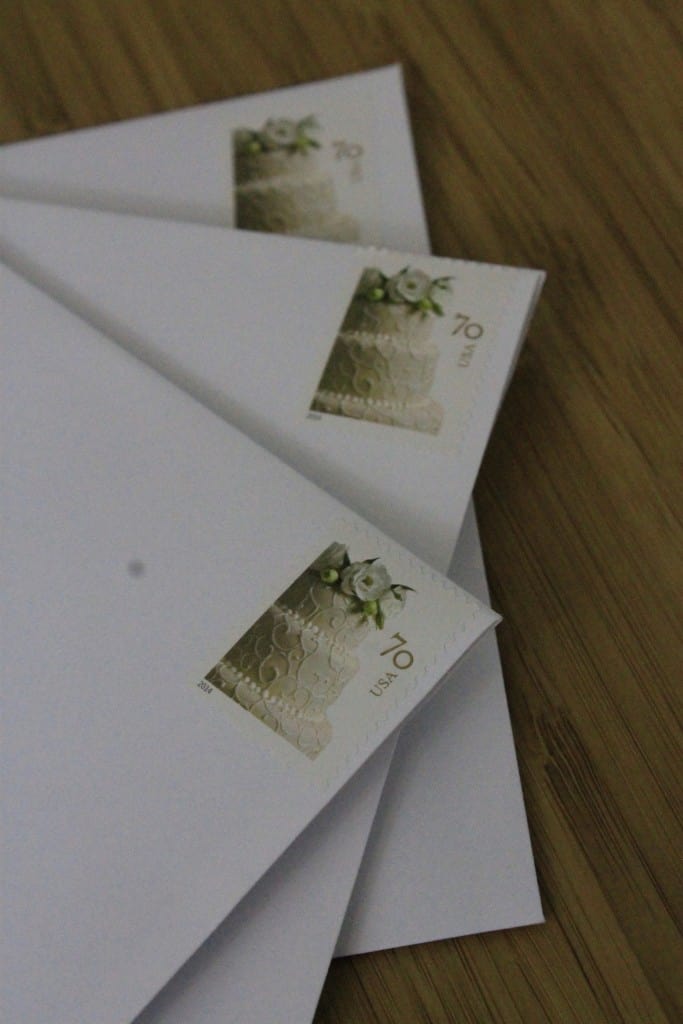
We fully assembled one invitation (pre-stuff it party) and took it to our local post office to find out the postage costs. We also too one loose RSVP card to be sure that it would meet the postcard qualifications. It did, and the invitation was weighed and determined to need 70 cents in postage. We ordered the hummingbird postcard stamps (the same ones we used for our save the dates - I love the colors!) and the wedding cake 70 cent stamp. Simple, straight forward, and classic. I would have been open to something more themed, but nothing really screamed out at me.
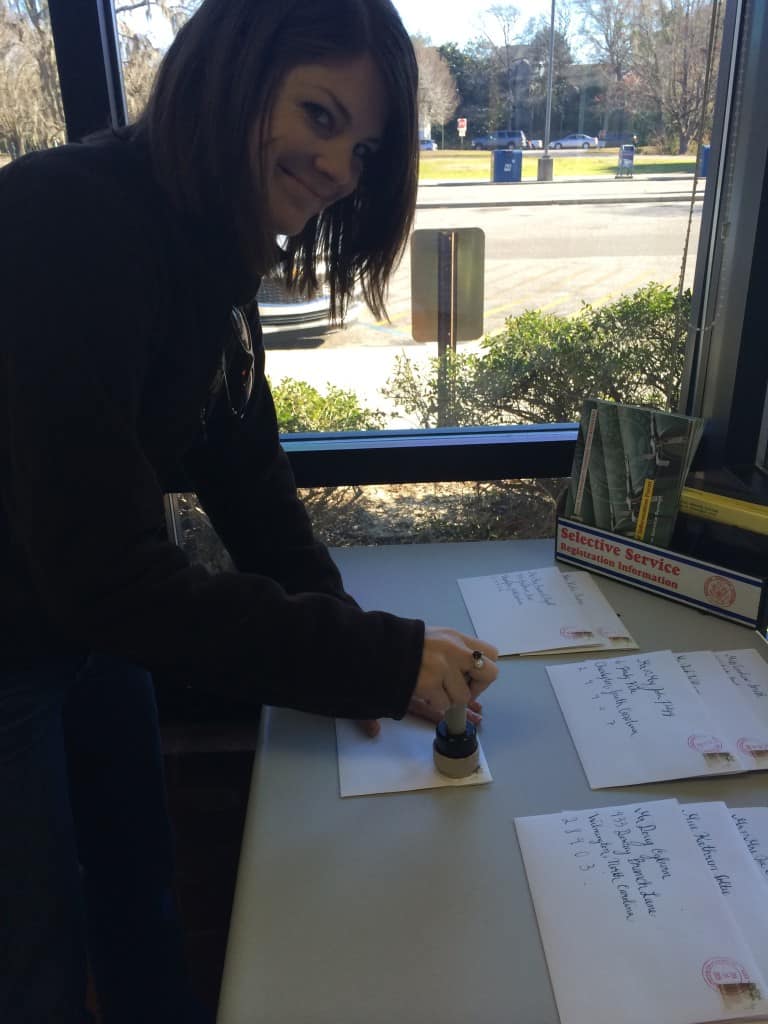
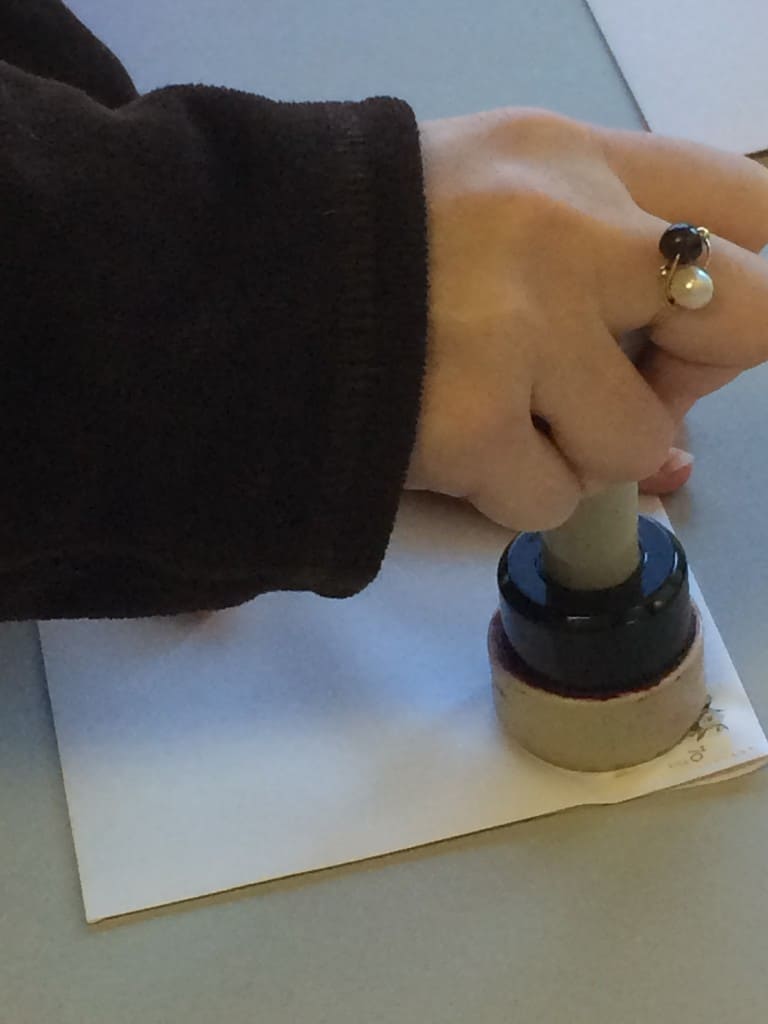
We also went the extra step of hand cancelling them at the post office. They hand you the stamp and you stamp over your stamp yourself. This means that they don't have to go through the machines and risk getting damaged. It took us less than 10 minutes to cancel them all on a Saturday morning.
Budget & Source Breakdown
| Item | Source | Cost Each | Quantity | Total Cost |
| Invitation and white (outer) envelopes* | Cat Print | 100 | $86.18 | |
| Insert Card | Cat Print | 100 | $59.02 | |
| RSVP Card | Cat Print | 100 | $27.79 | |
| Welcome Party Invitation | Cat Print | 100 | $59.02 | |
| Wax + Seal | Wax via Michaels, seal previously owned | $4.99 (4 pack) | 1 pack | $4.99 |
| Navy (inner) envelopes | Amazon | $21.95 (50 pack) | 2 | $43.90 |
| RSVP Stamps | USPS | 34 cents | 90 | $30.60 |
| Invitation Stamps | USPS | 70 cents | 90 | $63.00 |
| White Ink | Michaels | $4.99 (20% off coupon) | 1 | $3.99 |
| Black Ink | Michaels | $4.99 (20% off coupon) | 1 | $3.99 |
| Calligraphy pen, nibs | previously owned, from Calligraphy class | $0 | 1 | $0.00 |
| White ribbon | Michaels | $1.50 | 2 | $3.00 |
| TOTAL | $385.48 | |||
| number of invitations | 83 | |||
| cost per invitation | $4.64 |
*I included all shipping for the CatPrint order in the invitation line, just to simplify things.
We ended up spending a total of $385.48 on the invitations. We sent out 83 invitations, so that averaged to $4.64 per invite. Obviously, the price would change per-invitation, depending on how many you needed. But, I feel solid in saying that we did a great job of staying under our $500 budget and came out with beautiful invitations. Actually, I budgeted separately for postage ($150 for all postage including Save the Dates) so really we were at $291.88 or $3.51 per invite, pre-postage. Some of those stamps (7 of each) were unused, but we had to buy them in packs of ten. We have been sticking them on packages and letters in the meantime to use them up! We also could have saved about $60 by having our guests RSVP online (cost of RSVP cards + postcard stamps) but I am a sucker for the mail in RSVP card.
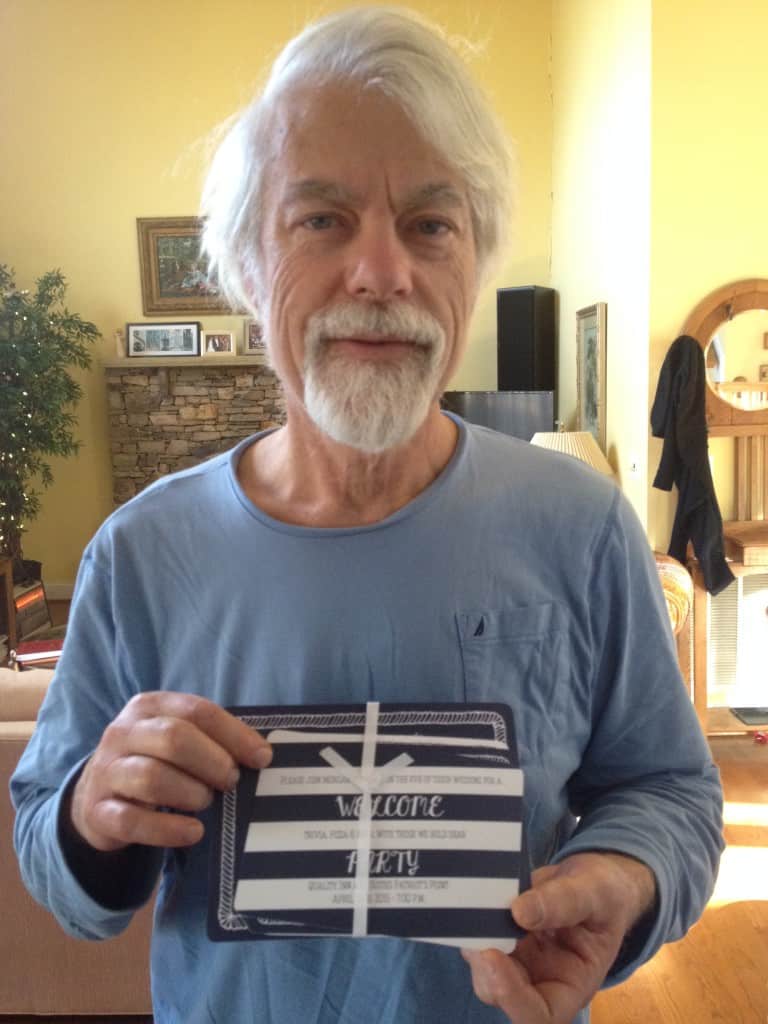
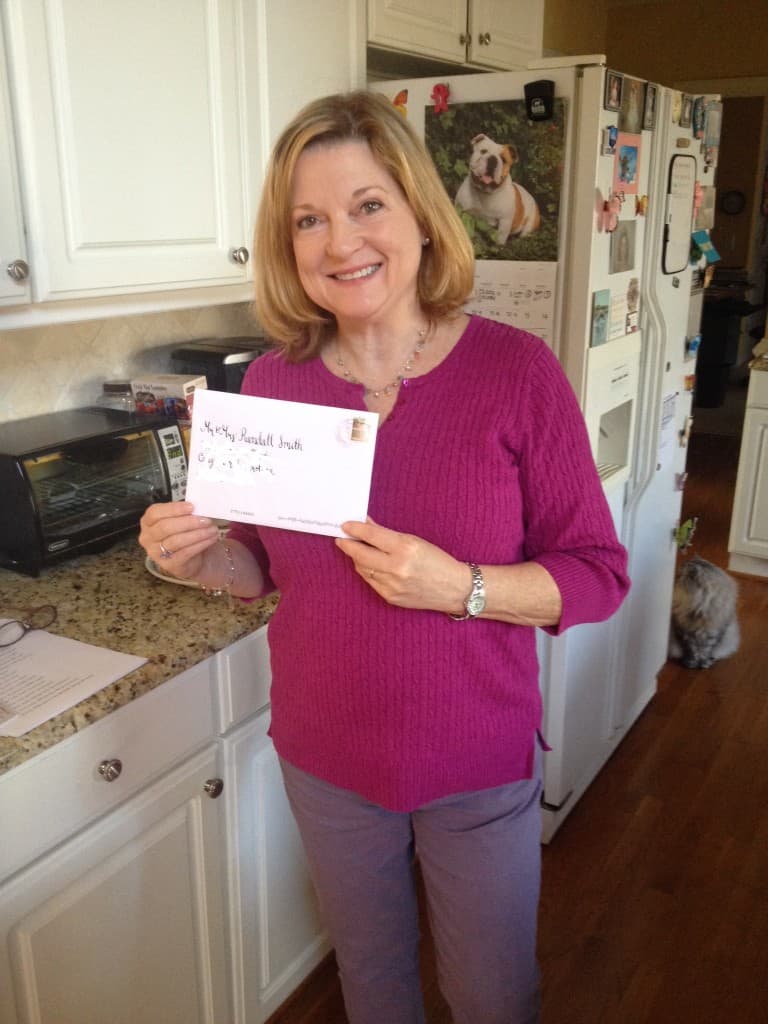
I am so happy with our invitations and even more happy that they are done and in the mail and, by the time you read this, we have already gotten a lot of RSVPs! There is something about sending invitations that just makes the wedding seem real. Our friends love them, too! Check out some of the tests we got after sending them out:
As Sean said as we dropped them off at the post office, there's no going back now!
 |
|||
 |
 |
 |
 |

Hello, I'm Morgan, half of the creative force behind CharlestonCrafted.com! With a passion for DIY that dates back to 2012, I've transformed three homes and now I'm dedicated to helping others craft their dream spaces. Let's turn your house into a home together!

