• Skip to primary navigation
  • Skip to main content
  • Skip to primary sidebar
Charleston Crafted
  • DIY
  • Woodworking
  • Popular Posts
  • Blog
  • About
  • Shop
menu icon
go to homepage
  • DIY
  • Woodworking
  • Popular Posts
  • Blog
  • About
  • Shop
search icon
Homepage link
  • DIY
  • Woodworking
  • Popular Posts
  • Blog
  • About
  • Shop
×
Home » Garden & Yard

How to Change a Rusted Old Mailbox

Published: Aug 1, 2016 · Modified: Feb 6, 2023 by Sean · As an Amazon Associate, we earn from qualifying purchases. This site contains affiliate links. ·

When we moved into our new house, there were a lot of little things we realized we hadn't noticed during our walk throughs. Like how there weren't any blinds or curtains in the whole place. Also, how the mailbox had no pull tab and no flag. WTF. It seems stupid, but it's one of those things we never even thought to look for. So here's how to change a rusted old mailbox.

How to Change a Rusted Old Mailbox - Charleston Crafted

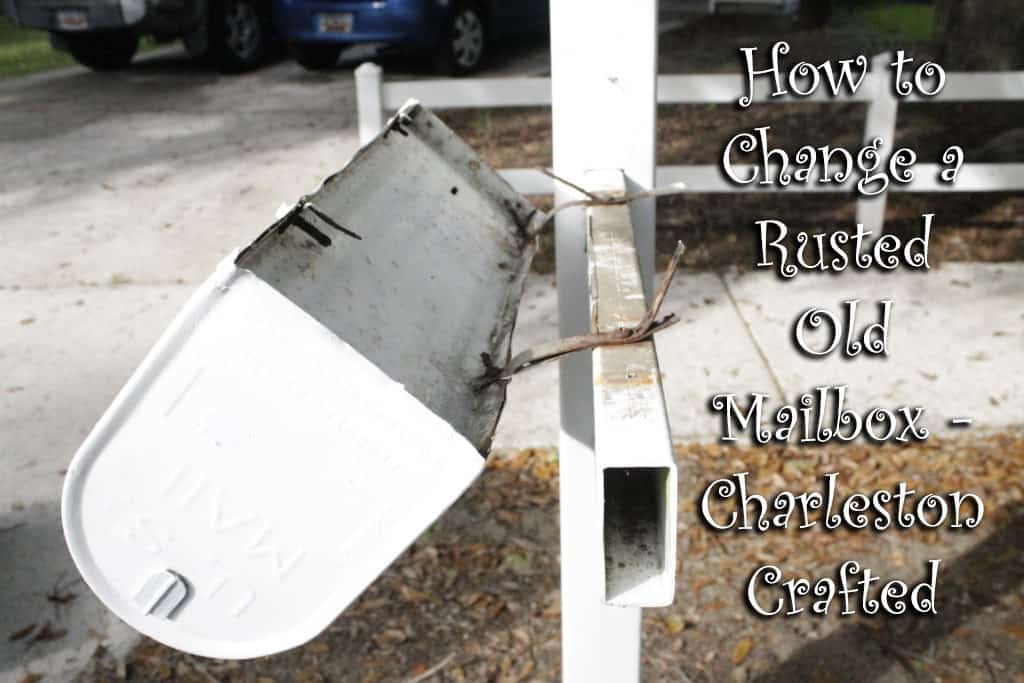
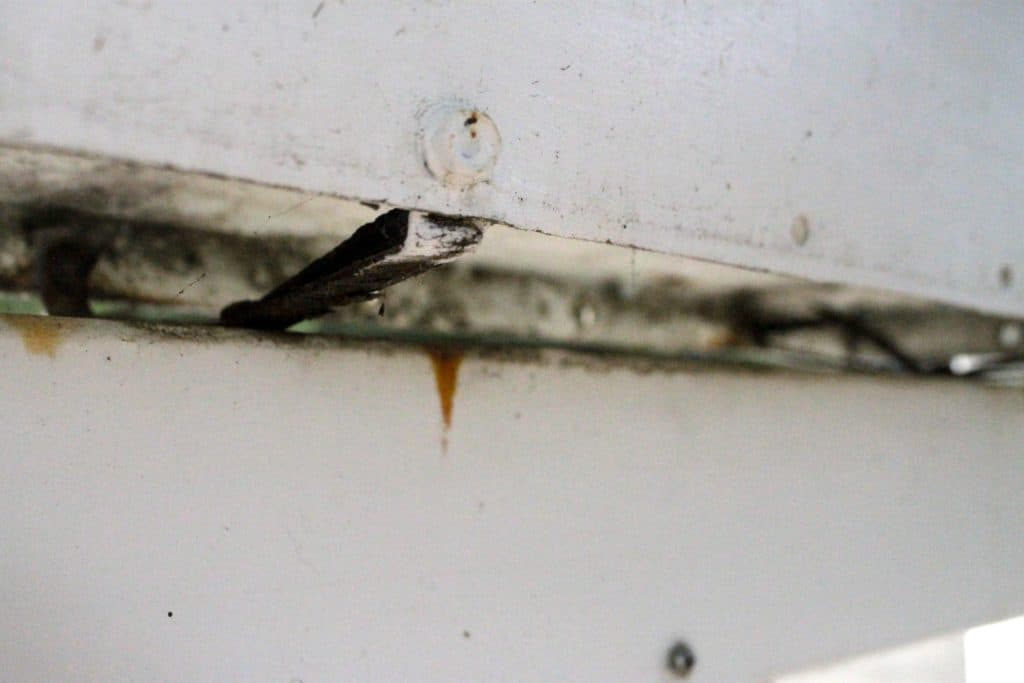
We ordered a new mailbox online, but when I went to install it, I noticed that the brackets holding it to the post were entirely rusted over and shot. I couldn't get the screws and bolts undone, so here's how I got it off.

How to Change a Rusted Old Mailbox - Charleston Crafted

You're going to want a hacksaw for this. A hacksaw is a fine toothed saw that works great on metal and plastic. The teeth of the saw don't get caught up so it moves through the tougher materials easy. I had to go underneath the mailbox and saw the two brackets on one side so I could access the rest.

How to Change a Rusted Old Mailbox - Charleston Crafted

How to Change a Rusted Old Mailbox - Charleston Crafted

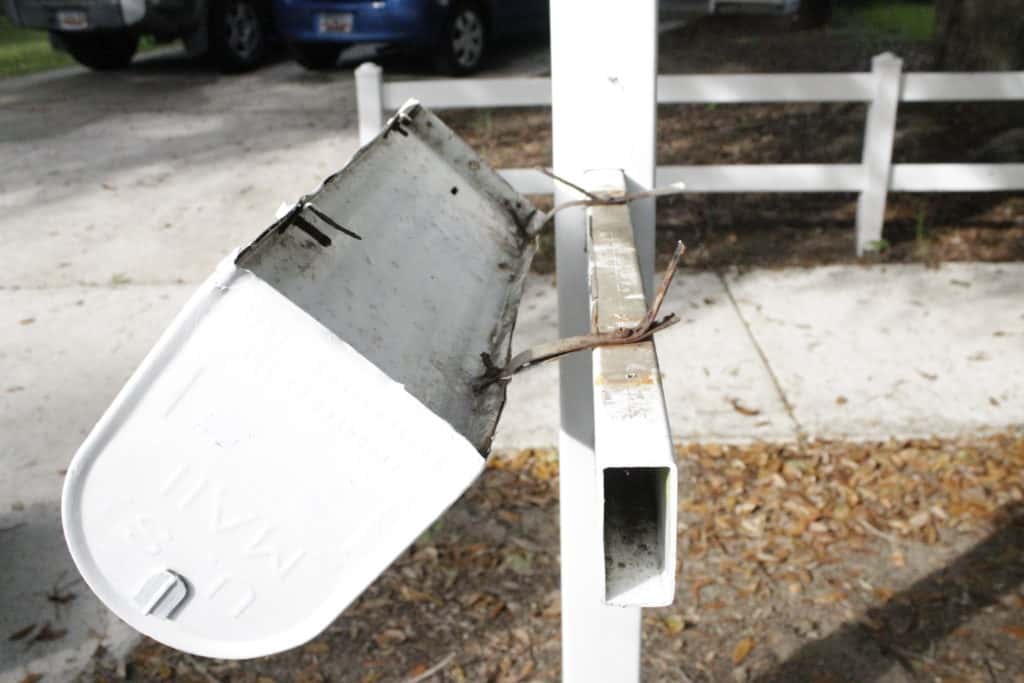
Once I had those two brackets sawed, I was able to use a screwdriver to pull out the old bolts in the middle and tossed the entire thing in the trash.

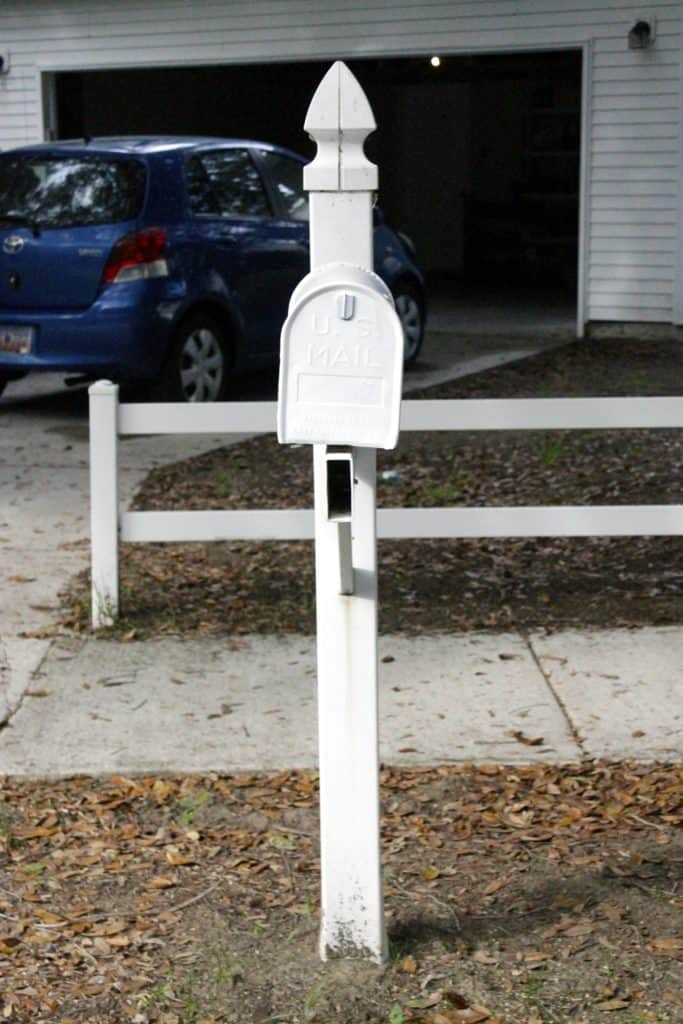
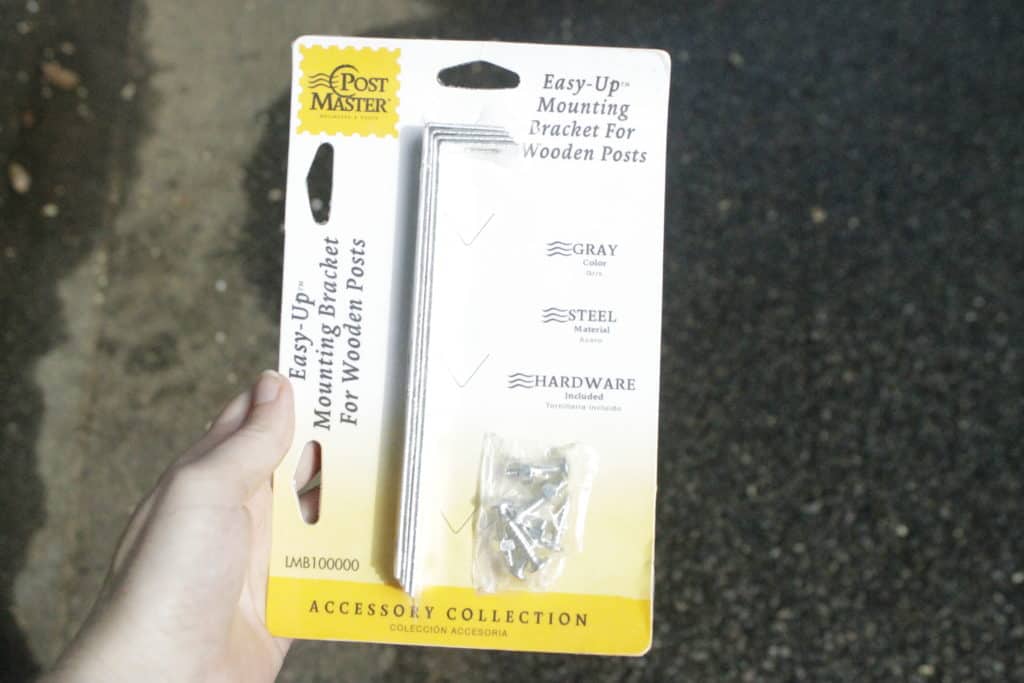
Now, mailbox brackets are really simple. Extend them on the underside of your mailbox all the way to the edges so that you can see which holes you need to line up. Then, stick the screw through that hole. Attach the two brackets to the front and back of the mailbox post.

How to Change a Rusted Old Mailbox - Charleston Crafted

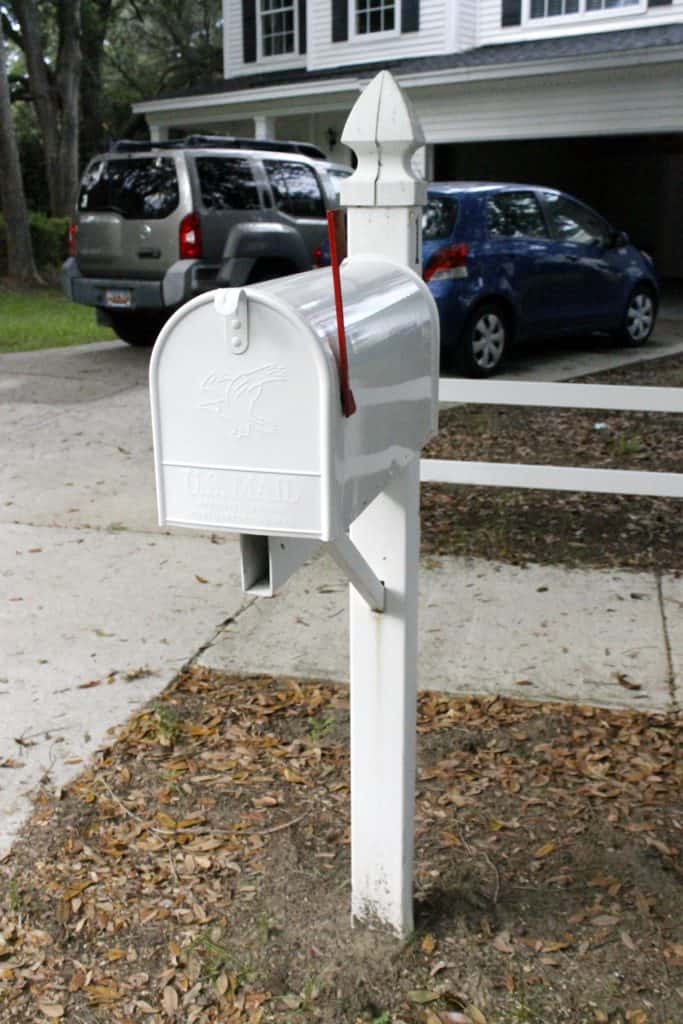
Finally, place your mailbox on top and screw it in to the brackets on the sides.

How to Change a Rusted Old Mailbox - Charleston Crafted

It should take about 10 minutes to do the entire thing. Mailbox brackets cost about $5, so it's a simple fix and better than trying to work with old rusted ones.

Hope you have a nice mailbox, but if you don't, that's how you change it out!

 Charleston Crafted Logo heart
 Charleston Crafted Logo facebook
 Charleston Crafted Logo insta
 Charleston Crafted Logo pinterest
 Charleston Crafted Logo twitter
Sean headshot cropped
Sean

Hey there, I'm Sean, the woodworking enthusiast and builder behind CharlestonCrafted.com! Since 2012, I've been sharing the magic of turning raw materials into beautiful creations. I love teaching others the art and satisfaction of woodworking and DIY. I try to inspire fellow crafters to make something extraordinary out of nothing at all.

More Garden & Yard

  • DIY Faux Tropical Window Box That Looks Real (But Won’t Die!)
  • How to clean outdoor light fixtures - Charleston Crafted
    How to clean outdoor light fixtures
  • Easter decor reveal - Charleston Crafted
    Our fun and festive Easter yard decor!
  • Easy DIY Yard Carrot Patch for Easter
    Easy DIY Yard Carrot Patch for Easter

Primary Sidebar

Charleston Crafted about us image

Hey y'all!

We are Morgan & Sean McBride and we are crafting our home together in Charleston, South Carolina.

More about us

Popular Posts

  • DIY Coffered Ceiling
    DIY Coffered Ceiling

  • How to Make DIY Concrete Pumpkins via Charleston Crafted
    How to Make DIY Concrete Pumpkins

  • How to Make a Cupid's Arrow Valentine's Day Wall Hanging with felt on the Cricut
    How to make a Cupid's Arrow Valentine's Day Wall Hanging

  • Our Tropical Oasis - A backyard Hammock area - Charleston Crafted
    Our Tropical Oasis

Recent Posts

  • How to create a whole house color scheme
    How to create a whole house color scheme

  • DIY modern rolling storage table - Charleston Crafted
    DIY modern rolling storage table

  • how to organize a pantry with zones
    How to Organize Your Pantry in Zones (And Why It’s a Game Changer)

  • Keep outdoor rug from blowing up - Charleston Crafted
    How to keep your outdoor rug in place

Privacy Policy

Footer

↑ back to top

Navigation

  • Home
  • Blog
  • Contact Us
  • Terms of Use
  • Disclaimer

Newsletter

  • Sign up for emails and updates
  • Follow us on Instagram
  • Work with Us

Browse by Category

  • Woodworking
  • Home Projects
  • Paint Colors
  • Room Reveals

© 2025 The Charleston Crafted Blog LLC DBA “Charleston Crafted” and “CharlestonCrafted” (also known as N/A) / All Rights Reserved.
Official Website: (Charleston Crafted)
Registered in USA (Co. Reg. No.: 565586)
Address: Charleston, USA 29414, South Carolina
Contact Phone: Not applicable — contact is via email: sean@charlestoncrafted.com

DISCLAIMER: The content on this website is provided for general informational purposes only and is not intended as professional advice. The Charleston Crafted Blog LLC and The Charleston Crafted Blog LLC make no representations or warranties—express or implied—regarding the accuracy, completeness, or suitability of the information contained herein. Any reliance you place on this information is strictly at your own risk. In no event shall The Charleston Crafted Blog LLC or The Charleston Crafted Blog LLC be liable for any loss or damage, including without limitation, indirect or consequential loss or damage, arising from the use or inability to use this website. This website is the official website of The Charleston Crafted Blog LLC.

AFFILIATE DISCLOSURE: This website contains affiliate links. If you click through and make a purchase, we may earn a commission at no extra cost to you.

As an Amazon Associate, I earn from qualifying purchases.

Site Editor: Morgan Smith McBride

Copyright © 2025 Charleston Crafted