If you're planning to scrape your popcorn ceilings soon, here are our top tips on what to do to have the best results!
If you are house hunting and seeing a lot of houses built in the 90's in the south, there is a good chance that you are seeing a lot of popcorn ceilings.
In fact, pretty much every house that we looked at had it! I don't like popcorn ceilings because they attract dust and spiderwebs and also the texture casts small shadows on itself making the room look darker.
So, after we bought our home, we decided to remove or cover all of the popcorn ceilings in our home. After doing this several times, we wanted to put together our top DIY tips for scraping popcorn ceilings!
Don't want to scrape? Here is how we covered popcorn ceilings with beadboard and a coffered ceiling!
Tips to scrape popcorn ceilings
It is our mission to remove all of our popcorn ceilings. That will entail scraping every ceiling in the 1,800 square foot house. Closets included!
So far, we have scraped the ceilings in our master bedroom, master bathroom, and guest bathroom.
At this point we feel comfortable enough with the process to give you some insight, tutorials, and tips.
Sean hates scraping ceilings and says that it is the worst DIY project.
I don't think that it is quite the worst, but it is extremely messy and takes a long time. With that being said, here is the process:
WARNING: If your ceilings were put up prior to 1980, they are almost certainly made from asbestos. Asbestos = bad. Have a certified professional come take a look.
How to scrape popcorn ceilings
Here's our top tips for DIY popcorn ceiling scraping!
Step one: Clear the area
Remove anything that you can from the room. Remove any blinds or ceiling lights. Then, lay plastic over your floors. If you are in a carpeted room, strongly consider self adhesive plastic sheets and cover all of your walls.
Step two: Spray ceiling with water
Working in a 5 foot by 5 foot area, spray the ceiling with water. Wet popcorn peels off like butter.
Dry popcorn, not so much. Let sit 2-3 minutes.
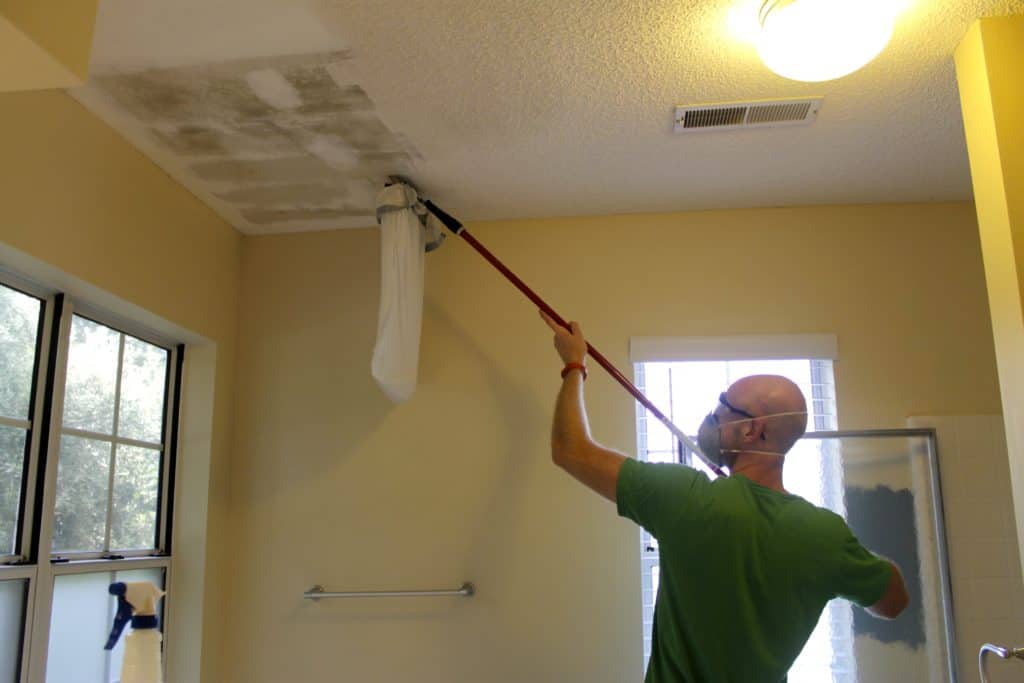
Step three: Scrape
Use your scraper to scrape the ceiling. Use long, slow strokes. If it's not coming off easily, adjust your angle on the ceiling or consider re-spraying.
Repeat throughout the entire room.
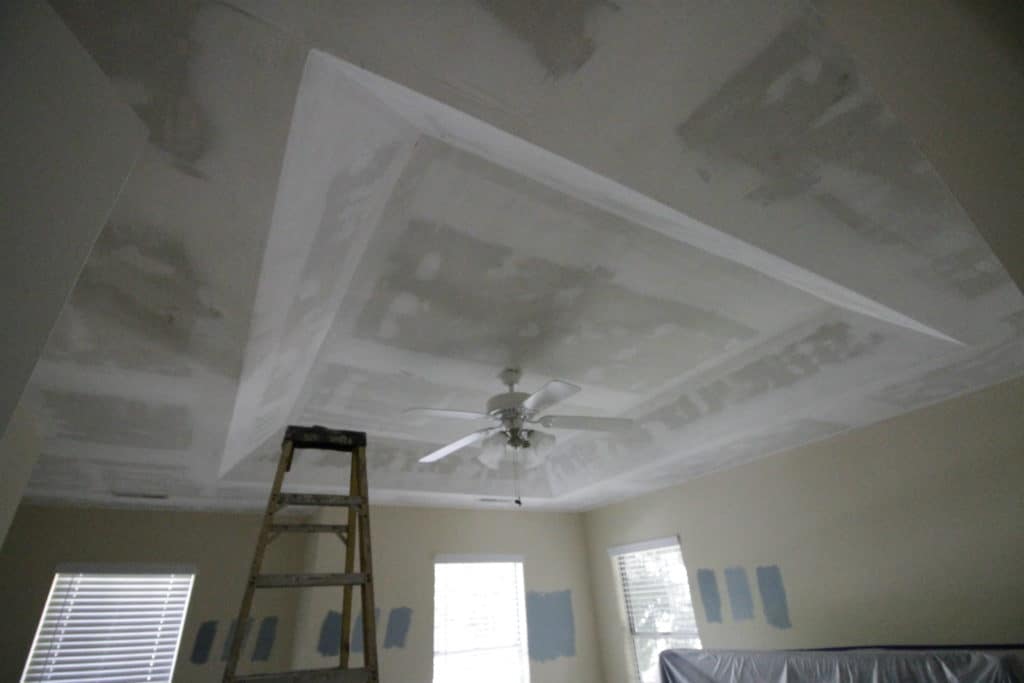
Step four: Mud and tape
Apply drywall mud to any parts that are uneven or scratched with the scraper.
Step five: Sand
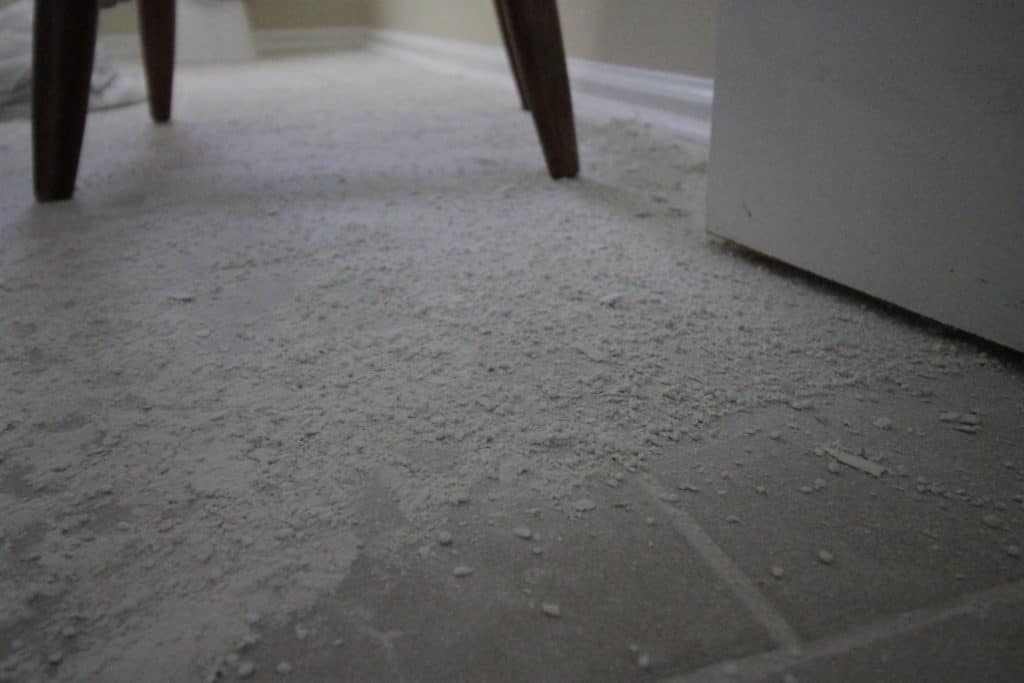
Using a sander, sand any spots that need a touch up to be more smooth. This is super messy, but really gets you that flat finish.
Step six: Clean
Clean up! A shop vac and a sponge are suggested.
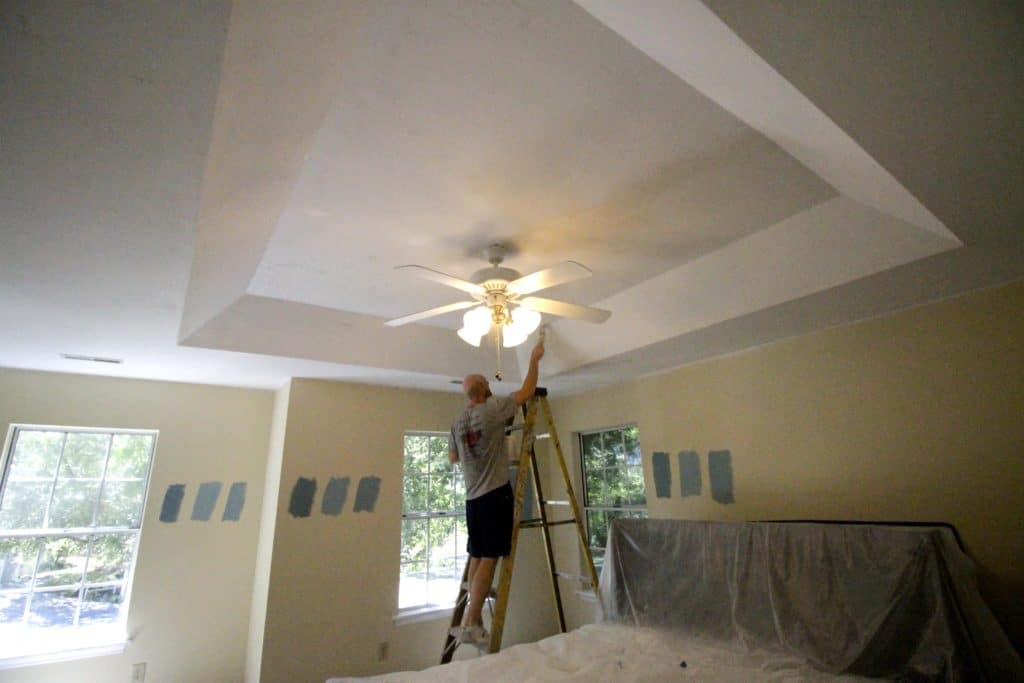
Step seven: Paint
Roll paint over the ceiling. It took us 3 or 4 coats to get a good finish.
The best tools for scraping popcorn ceilings:
- Eye protection
- Face masks
- Scraper
- Hand scraper
- Extension pole
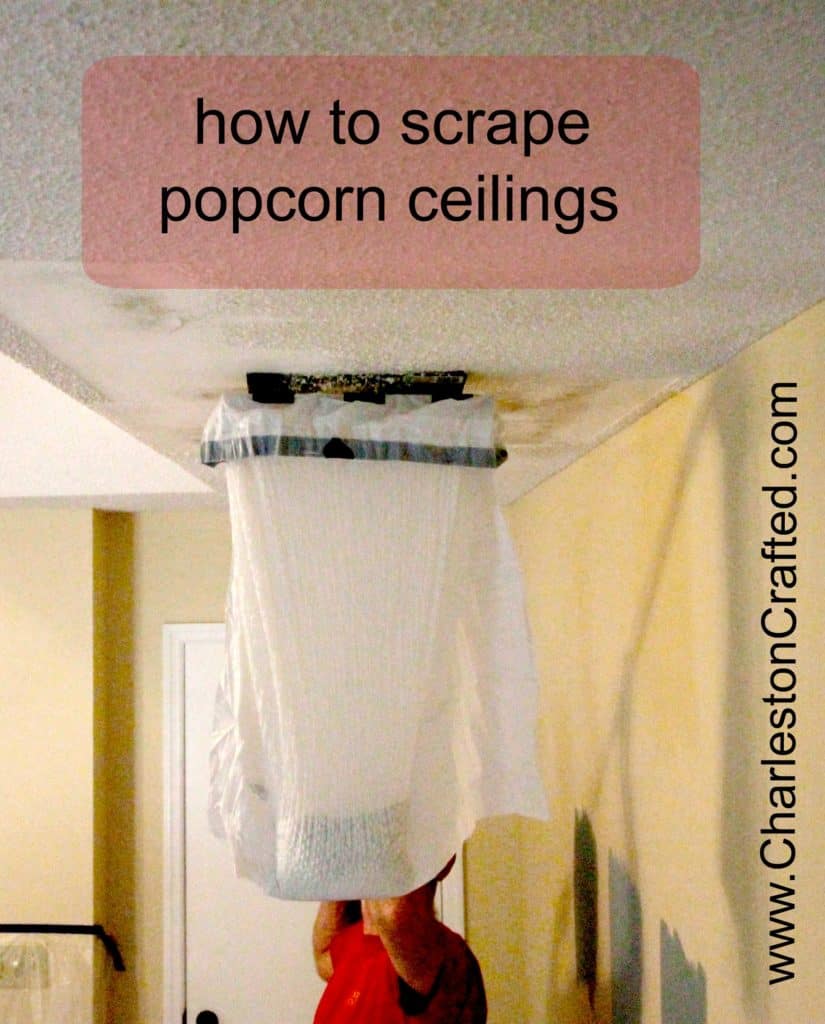
- Plastic grocery bags or plastic garbage bags
- Plastic drop cloths
- Water sprayer
- Sander
- Paint roller and trays
- Paint brush angled
- Ladder and/or step stool
Best tips for scraping popcorn ceilings
Here are some of the most crucial tips that we have for you:
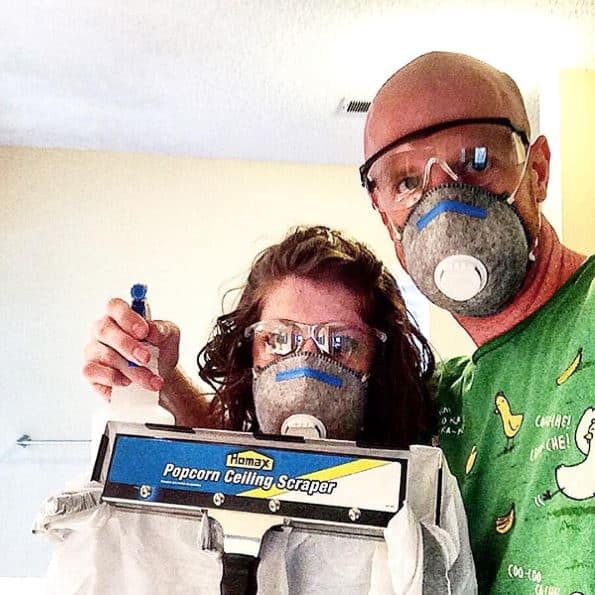
- Wear eye and face protection! This is a messy process.
- Use a popcorn scraper that allows most of the popcorn to fall directly into a trash bag.
- Make sure you use eye, nose and mouth protection, especially during the sanding. It makes a lot of dust that is very bad.
- Try to keep your scrapper at the closest angle to flat as possible, roughly 15 degrees. The less of an angle, the easier it slides along the ceiling. Big angles just dig into the drywall.
- Be patient. Don't spray and then immediately try to scrape. Let the water sit and it will fall off.
- Make sure to scrape all the way to the ceiling. Anything left over will start peeling and cracking when you paint and you'll have to do it again.
- Here is our best advice for cleaning up afterwards!
Have you scraped ceilings? I'd love to hear your thoughts and difficulties below!
Looking for something?
We've been doing this since 2012 so we have a LOT of blog posts!
Search stuff like: Ceiling Projects | DIY Plant Stands | Thrift Flips


Hello, I'm Morgan, half of the creative force behind CharlestonCrafted.com! With a passion for DIY that dates back to 2012, I've transformed three homes and now I'm dedicated to helping others craft their dream spaces. Let's turn your house into a home together!




April J Harris says
I like that they are called Popcorn Ceilings where you live - we just call them Artex ceilings in the UK and that doesn't sound nearly as good. They have fallen out of fashion here as well. You've shared a great post here - I've pinned it to my decorating and DIY board on Pinterest. Thank you for being a part of our Hearth and Soul Hop. Hope you will visit and share again this week!
Morgan says
I know the name popcorn almost makes them sound fun 🙂 Thanks for stopping by!
margote says
Hi, love your tutorial on this and plus your others re: bead board and cedar ceiling to cover popcorn ceiling, but i want to send this specific tutorial page to my landlord. How can i do this?
Sean says
The best thing to do would be to just copy the link and send it to them!
Connie says
Dumb question...
How do you keep the trash bag on the scraper?
Morgan says
Great question actually. It's been awhile, but I'm pretty sure we just folded it over. We may have used a rubber band?
Cheryl says
Hi! Thanks for your tips! My major issue by scraping ceilings is that it is making the drywall tape peel up and repairing drywall tape is almost worse than the actual scraping. Any tips on how to keep the drywall tape intact?
Sean says
Yeah, that's tough. Scraping will do that, so that's why most people will say you need to take the old tape off, re-tape, mud, sand and then repaint. If you don't want to do all that, just be careful where you know the tape is and don't apply as much pressure. Then, in a lot of cases, the paint will act as a glue and will hold it back up.