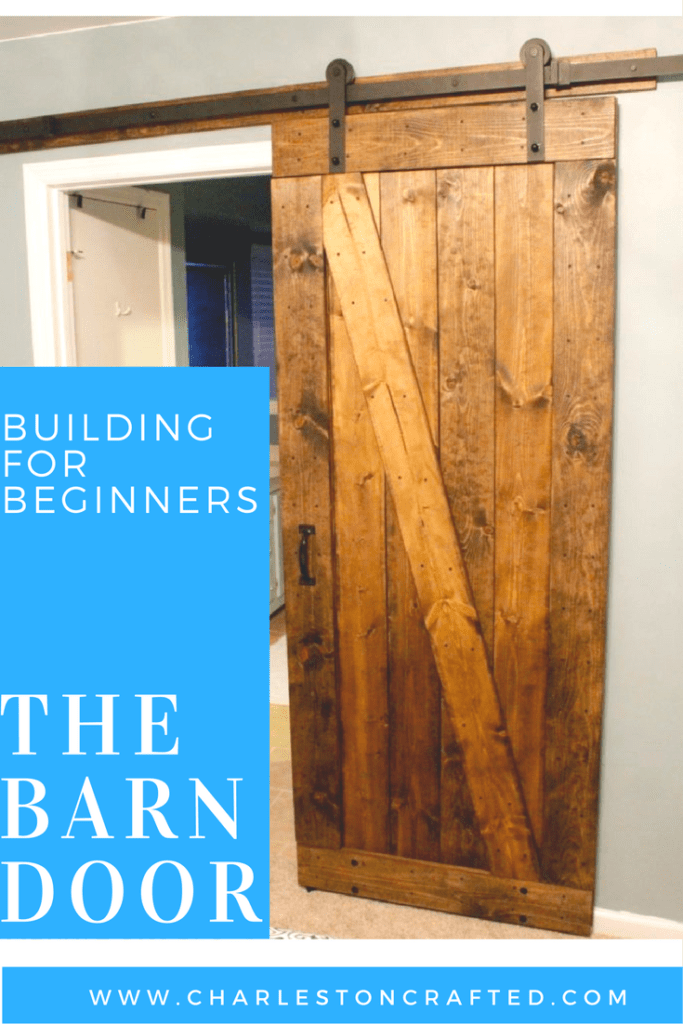
If you are wondering how to build a rustic barn door, we are laying out the full tutorial in this blog post! This post will show you exactly how to make a barn door for your home. We will also share the cost and DIY barn door plans. Add this easy DIY to your to do list!
Click here to download free PDF plans for this barn door!
We had a really awkward space between our master bedroom and bathroom where three doors opened up into each other.
They were either banging into each other or blocking half the closet.
We decided that the best thing to do was to build a sliding door that didn't cause us any issues. So, I designed a barn door that could slide on the outside of the wall.
I am so excited to show you how to build your own barn door! This can help solve an issue like we had or it can just be an aesthetic look in your home.
Read on to see how to build a rustic barn door of your very own. Trust me, building a door is not that hard. You'll quickly learn that this is an easy woodworking project with simple steps to make a big impact on your home.
How to Build a Rustic Barn Door
Building a barn door is a project that can be easily customized, depending how you want the face of it to look.
However, the concept and steps for building it won't really change until the end.
This post will break down the steps for how to build a rustic barn door, what you'll need to build it and the cost of doing it.
Click here to pin this project to your Pinterest boards!
Step one: Measure the door
Measure the space you want to cover and make sure you have at least that same amount of room on the blank wall next to the doorway for it to open.
It would really suck if you built the whole thing, hung it, and realized when you slid it open it hit a wall.
Already have a barn door that you want to mount? Here is how we mounted our barn door! Here is how we lock our barn door!
Step two: Design the door
Design your door using the measurements you took in step one and make sure you have a few ways to keep all the boards in place when screwing them together.
Make sure that you measure your doorway to ensure that the width of the door will cover the doorway opening. You want the door to be slightly bigger than the doorway so that it fully covers the opening when closed.
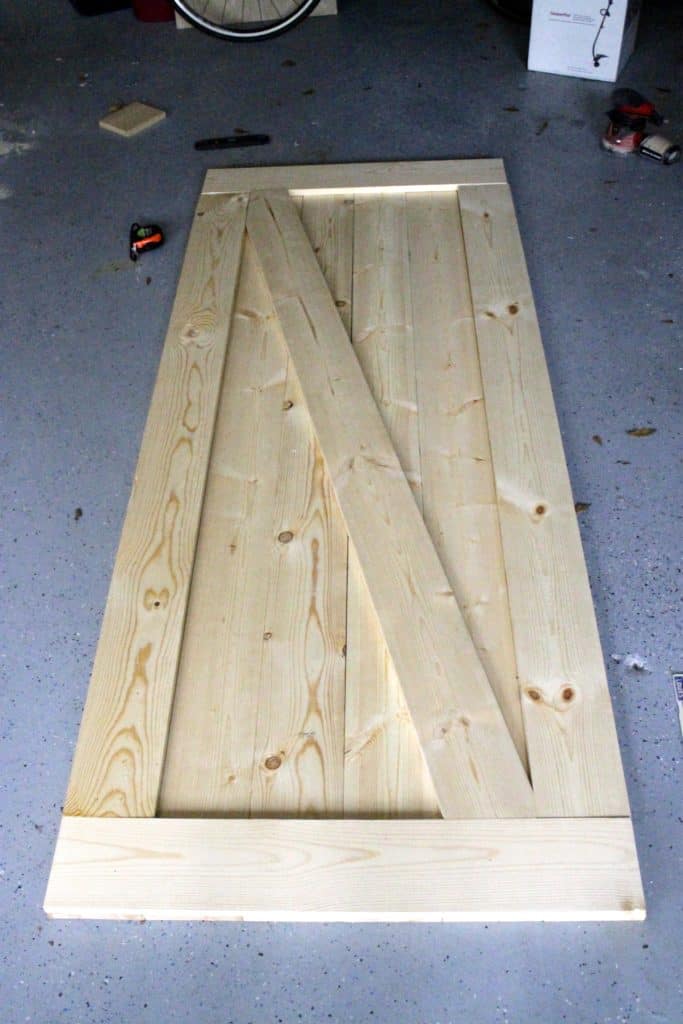
The smart thing to do is have two layers. Have a bottom layer that is just vertical boards and then have a design on the second layer.
I had a space that was 83 inches tall by 28 inches wide. So I got six 1x6 pine boards to be the first layer.
In case you don't know, 1x6 boards are actually only ¾" thick and 5 ½" wide, making this door 33" wide.
Learn more about actual versus nominal dimensions here!
Then for the second layer, I got three more 1"x6" pine boards to do horizontal, vertical and diagonal pieces to bind the first layer together.
The horizontal top and bottom boards, along with the one diagonal board, held the rest together.
When you go to buy wood, make sure you check that the boards are straight and not curved or warped.
Also, for this type of project, try to get boards with the most knots and lines in order to help with that rustic look.
Step three: Cut boards to size
Cut your wood to your specifications and lay it out along the way to make sure that it is all sized up correctly.
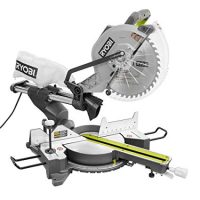
This is the first time I got to use my new miter saw and I loved it. It made cutting straight cuts so much quicker and easier that using a hand saw.
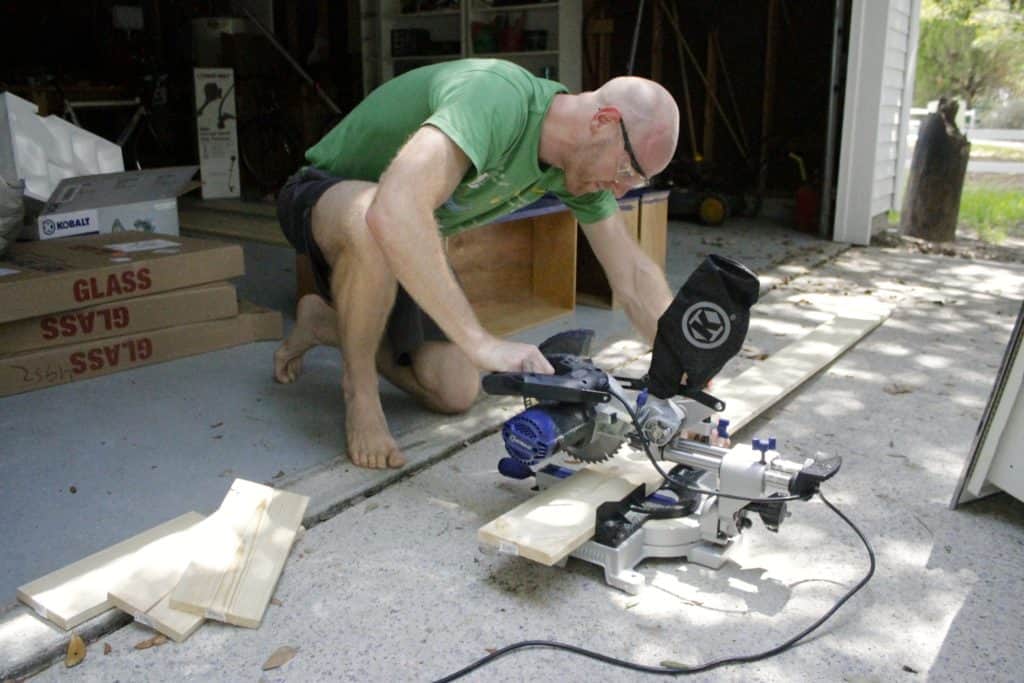
I never had one before because I didn't have the space at the condo. So I've always made cuts by hand, which is awful.
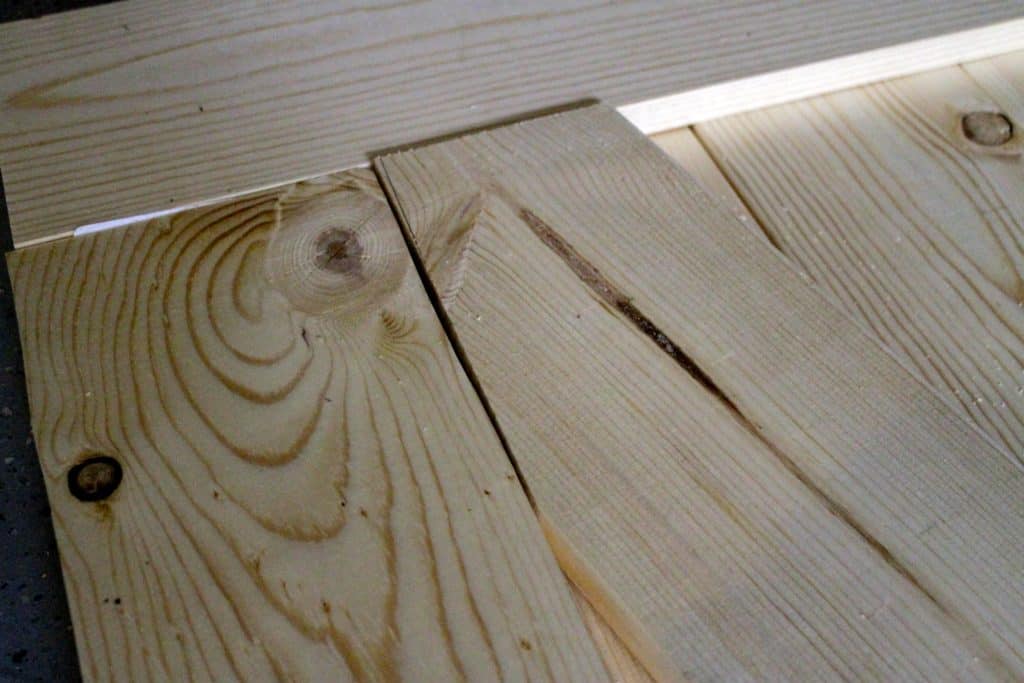
Plus, the miter saw allowed me to make the angled cuts for the diagonal board down the middle.
Step four: Sand and stain
Sand down all sides of all the boards, but make sure to keep them in order.
Stain all sides of the boards using a nice, dark stain. We used Dark Walnut stain here for that rustic, sophisticated look.
Learn more about Dark Walnut stain and how it looks on different wood here!
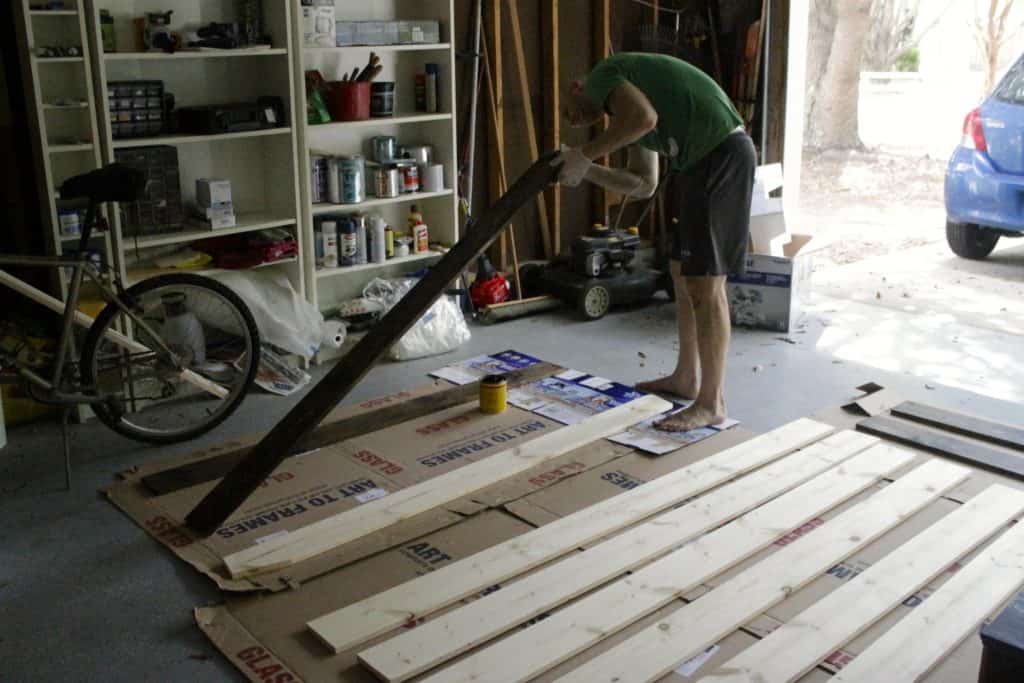
One trick when staining is to use a rag and dip it into the stain, then wipe it onto the board.
When you stain the edges of wood with a brush, sometimes the stain leaks to the underside of where you aren't staining yet and leaves weird marks.
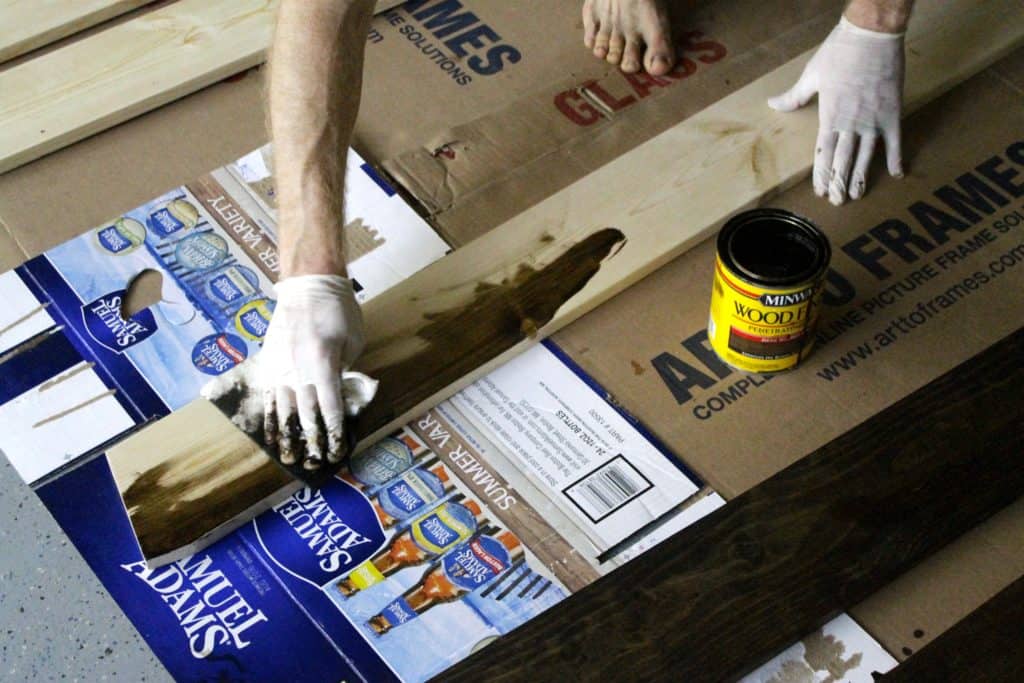
Doing this method, I also chose not to go back and wipe them off. I simply let it all soak in before doing the other side the next day.
Be sure to check out our Dark Walnut by Minwax wood stain review!
Step five: Assemble the barn door
Construct the door based on your design. I used black cabinetry wood screws and left the head very visible because I was going for the rustic barn door look.
The sliding barn door hardware I got for hanging it on the wall was black.
So, I didn't want to have shiny silver screws all throughout the door. I wanted these to be prominent.
Because pine is a softer wood, I tediously went through and measured and drilled small pilot holes where I was going to drive the screws.
This took the longest of the whole construction process. But, it allowed me to avoid any cracking or splitting wood.
If you have all of your boards laid out, just drill the screws straight through to connect the layers.
Make sure you use lots of wood glue too to hold all the boards together.
Click here to download free PDF plans for this barn door!
When I screwed them in, I also didn't drive all of them in all the way to the wood and instead left some of them a millimeter or so out, in order to give it a more rustic look.
Step six: Add additional hardware and mount the barn door
Add any additional hardware to add to your rustic barn door look.
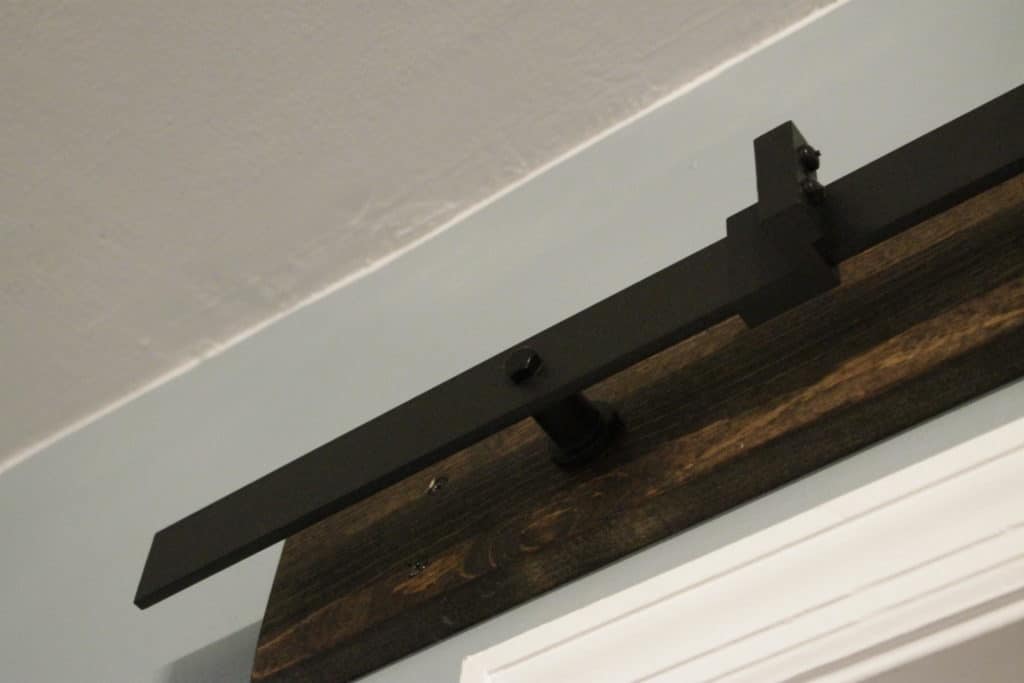
The sliding mechanism for the wall used big black bolts to connect the sliders to the door at the top sides of the door.
I bought four silver nuts and bolts and spray painted them glossy black and drilled them into the bottom of the door to match the top.
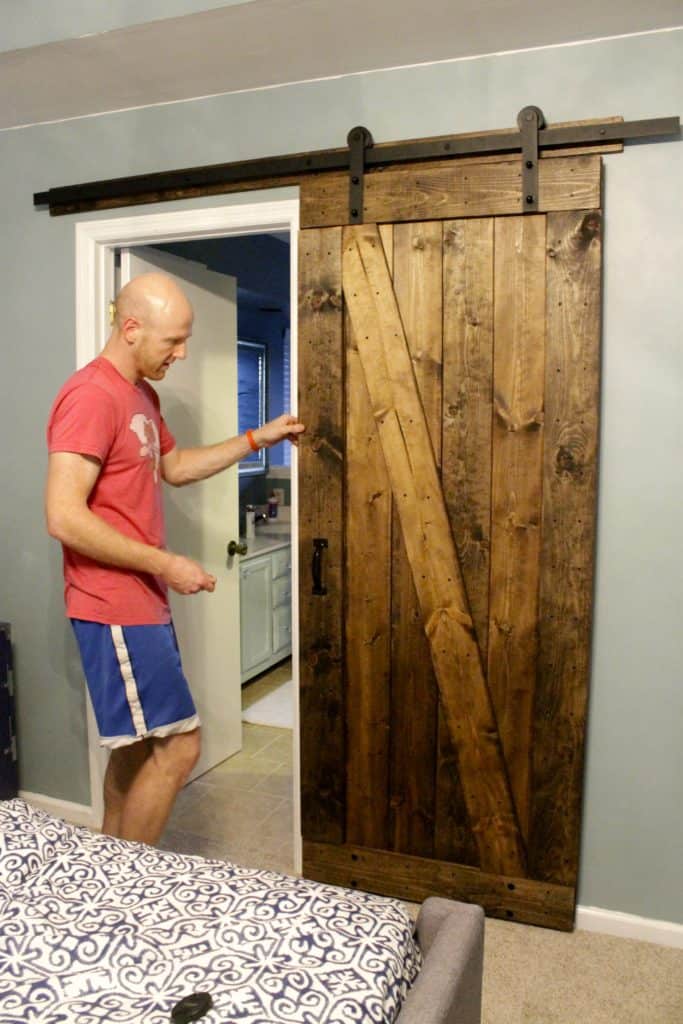
I also added a black handle to pull the door open and closed.
Click here to download free PDF plans for this barn door!
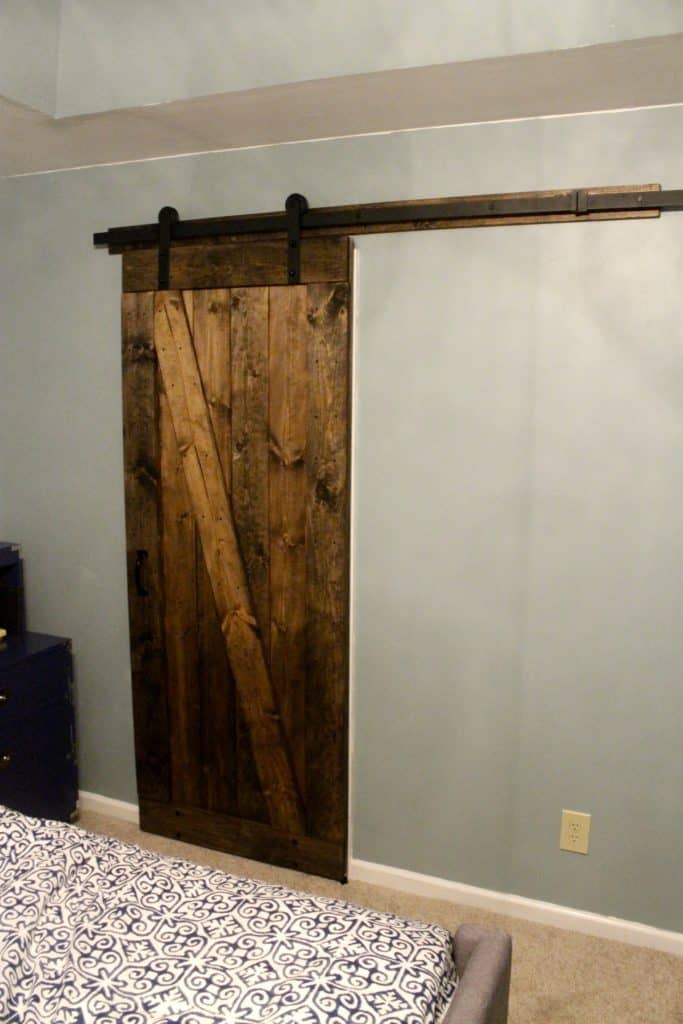
And there you have it. That's how to build a rustic barn door. It wasn't very hard. (the mounting process was MUCH harder) and it looks great.
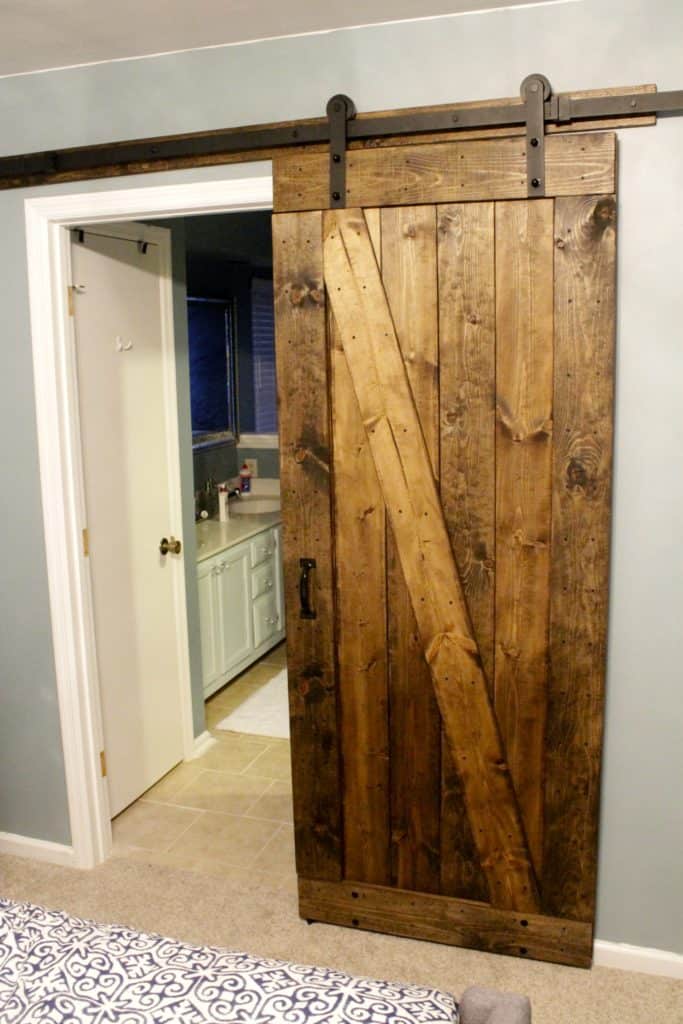
I love how it looks like an old rustic door.
We mounted our barn door using a door hardware kit from Amazon.
Click here to pin this project to your Pinterest boards!
Want more barn doors? Click here for all of our barn door content!
How much does it cost to build a barn door?
The wood cost about $100, the screws were around $5. The nuts and bolts were the same.
When you search for doors that people are making and selling online, they cost about $300-400. This is a much better option and you can do it yourself.
Here is my blog post on how to mount a barn door so you can try to avoid some of the issues I had with that process.
We suggest using a barn door kit to mount your barn door.
What keeps a barn door from swinging?
You can see in this blog post about how we mounted our barn door that the barn door is connected to the floor on the bottom. This keeps it from swinging.
Do barn doors need a bottom track? Read all about barn door tracks!
Can interior barn doors lock?
We wrote a whole blog post about what kind of lock works for a barn door!
What kind of wood do I use to build my barn door?
You can use any type of wood to build a barn door! From inexpensive knotty pine all the way to authentic barn wood, there are so many options!
The most important thing to keep in mind is that the type of wood that you use should match the barn door style.
So, if you want a rustic look, use a more rustic wood, for example.
How wide should my barn door be?
Be sure to size your barn door to be wide enough to cover the opening of your doorway with a small amount of overlap on the door frame.
You can use barn doors as single doors or have two sliding apart from each other as double doors!
What is the benefit of a barn door vs. a pocket door?
There are several benefits of a barn door over a pocket door.
First of all, barn doors don't require ripping out drywall and studs to install them. They are an easy DIY install.
Secondly, barn doors make more of a decor piece than regular sliding doors. They really stand out and are almost a piece of art for the room!
Can any door become a barn door?
Want more barn door goodness? We wrote an eBook all about Barn Doors - and you can get it for free!
Click here to download free PDF plans for this barn door!
How to repair a door jamb after removing a door
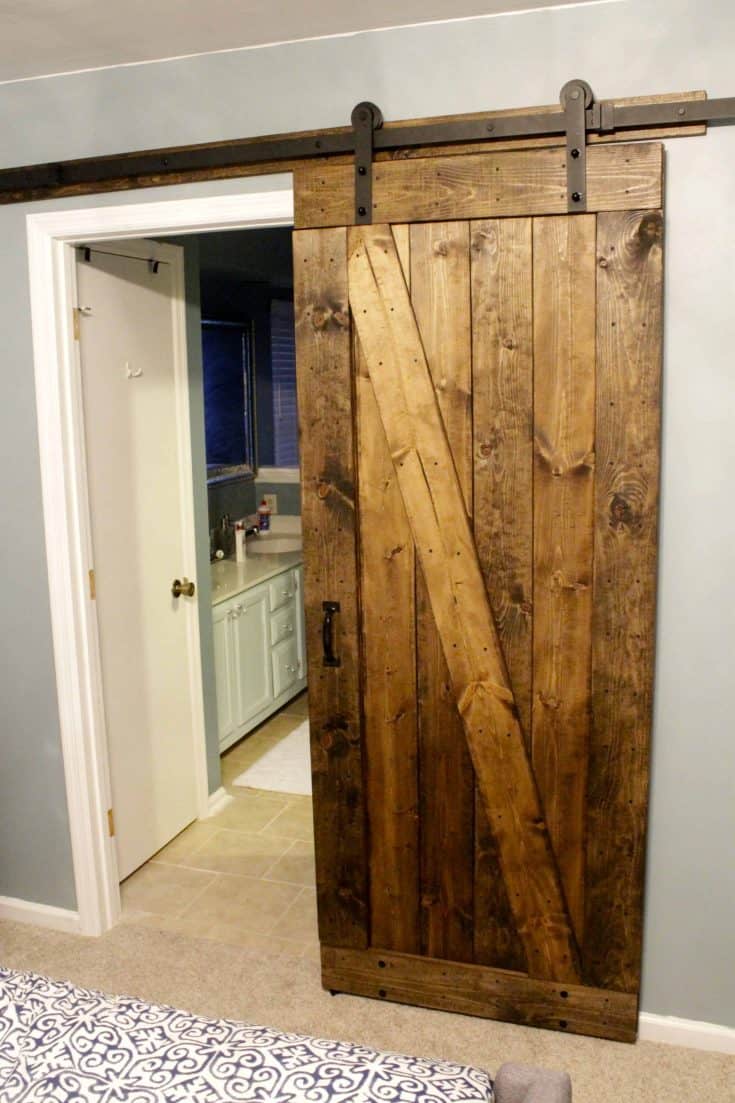
How to Build and Mount a Barn Door
Barn doors are trendy and fashionable and can add a rustic flair to your space. Here's how to build a barn door and how to mount a barn door.
Materials
- Roughly nine 1x6 boards
- Screws
- Barn door hardware
Tools
- Miter saw
- Drill
Instructions
How to Build a Barn Door
- Measure the space you want to cover
- Design your door. Use two layers.
- For the back layer, use as many 1x6 boards as needed to cover the gap of your door.
- For the front layer, cut two 1x6 boards to span the width of your door space and attach at the top and bottom of the back layer. Then cut 1x6 boards to span the gap between those two boards vertically. Finally, cut a board to go diagonal from the top corner to the bottom corner.
- Use 1 ¼" screws to attach all the boards from the front layer to the back layer.
- Stain or paint your door to fit your decor.
- Add a pull for a door handle.
How to Mount a Barn Door
- Order barn door hardware. Different brands will differ slightly, but the idea is the same.
- Attach a 1x6 board to your wall in the studs if your doorway has a frame that you need to go past. If your doorway doesn't have a frame, you can mount your rail bar directly into the wall.
- Mount your rail bar.
- Add bumpers for the barn door rollers to hit where you want to door to stop on each end.
- Attach the rollers to the top of your door and hang the door on the rail bar.
- Add a bottom guide for your barn door so that it doesn't swing back and forth.
Recommended Products
As an Amazon Associate and member of other affiliate programs, I earn from qualifying purchases.
Already have a barn door that you want to mount? Here is how we mounted our barn door!
Click here to pin this project to your Pinterest boards!
Looking for something?
We've been doing this since 2012 so we have a LOT of blog posts!
Search stuff like: Ceiling Projects | DIY Plant Stands | Thrift Flips


Hey there, I'm Sean, the woodworking enthusiast and builder behind CharlestonCrafted.com! Since 2012, I've been sharing the magic of turning raw materials into beautiful creations. I love teaching others the art and satisfaction of woodworking and DIY. I try to inspire fellow crafters to make something extraordinary out of nothing at all.




David says
First off, your door looks great! I'm considering doing a similar one for my wife to use on our master bath and had a couple of questions I was hoping you could help with. First off, how well does the door dampen sound from the bathroom? Second, does the door touch the trim of the door frame? I'm needing to make sure the door would prevent light and sound from travelling into the master bedroom as much as possible. Thanks so much!
Sean says
Hi David! Thanks for stopping by! The door dampens sound some but it is not air tight. There is a slight gap between the door and the all - it does not touch the door frame. You might could get it to touch the door frame by adjusting how you hang it/how far you mount the slider off the wall, but if it actually touched the frame, you'd have the door scraping the frame as you slid it. This post talks more about some of your questions - https://www.charlestoncrafted.com/2018/10/25/can-i-use-a-barn-door-for-a-bathroom/
I hope that helps. Morgan
Paul Jose says
Hello, so thankful for your simple plans and I'm about ready to build it here soon. I just realized however after looking at your steps, I may have a problem with the hardware to hang the door. The area above the entry has an AC duct and that the bottom of that air vent is about 4 1/2 inches from the top of the door frame. Leaving me space to install only a 4 inch wide header. The question is, would a 1x4 header be enough to hold the door? I do plan on using 1x6 boards for my door. Any input is greatly appreciated, including "just don't do it due to limited area for the header". thank you for all you do.
Morgan says
Haha, well we used a 1x4 for attaching the hardware track to and it did just fine. As with anything, make sure it's in the studs... However, you might run into issues depending on where the duct goes, but that I can't tell you. Good luck!
Paul Jose says
@Morgan,
Thank you for your reply. I should be okay with the 1x4 I have located the studs and thankfully that duct is going upward and is between studs itself.