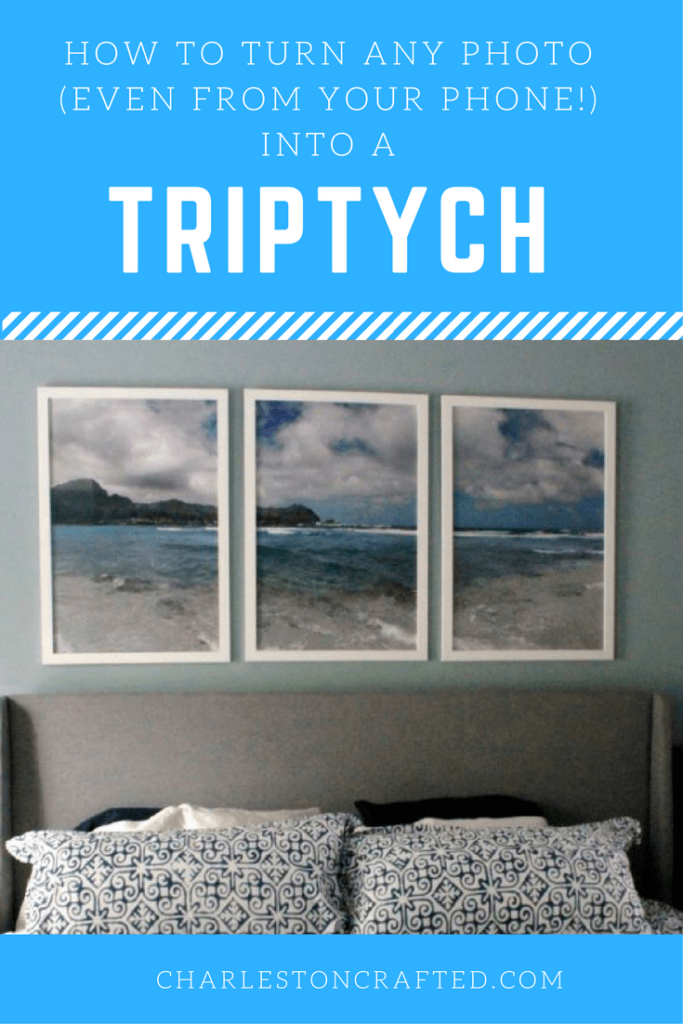
Want to turn a photo into a triptych and frame it? Here is how we did it DIY style!
Now that we've covered the walls of our bedroom with a fresh coat of paint, we needed to start accessorizing so that the room didn't look barren. We started with newly refinished campaign dressers and wall-mounted lighting, but we wanted a big photo to go over the bed. It's a wide space, so we opted to make a triptych to cover it.
A triptych is one photo broken into three sections and each hung in a separate frame. You line them up next to each other so that you get a really cool perspective on the photo.
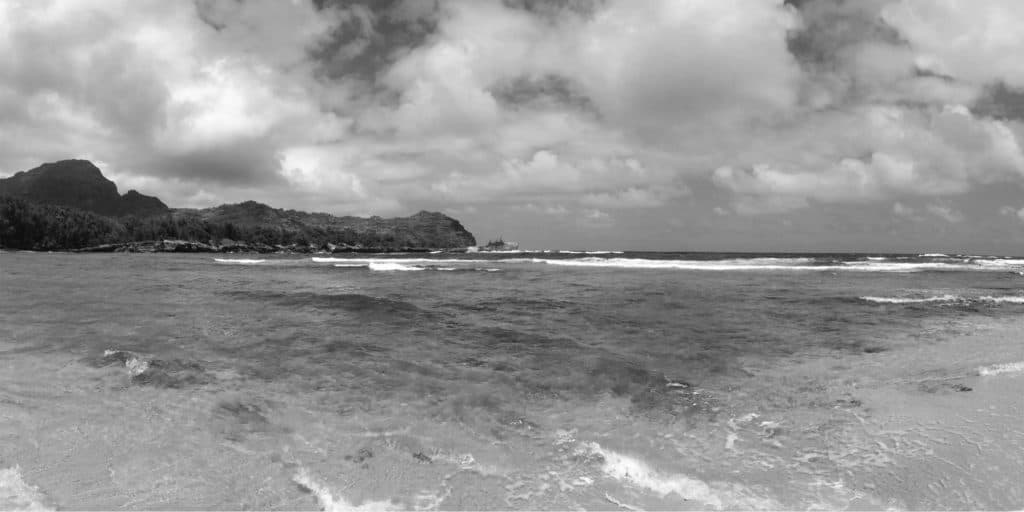
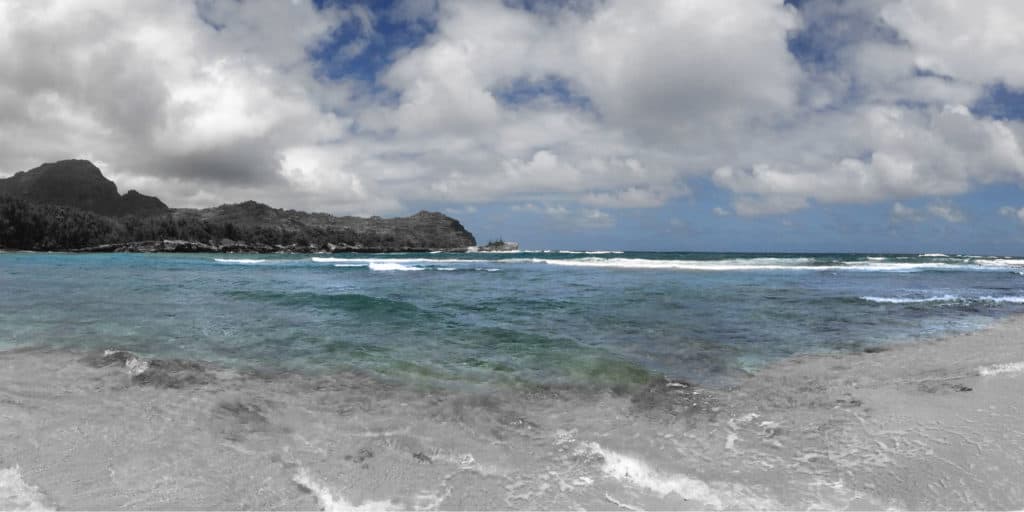
We decided to use a photo from our trip to Kauai that we took at the beach. It was a panorama from our first full day when we discovered a nearly deserted beach in Poipu.
We ordered three 20"x 30" frames, so I sized the photos to be 20 inches high and 60 inches wide in Photoshop.
We decided to try something a little artsy with the photo instead of printing it as it was. We thought about black and white at first.
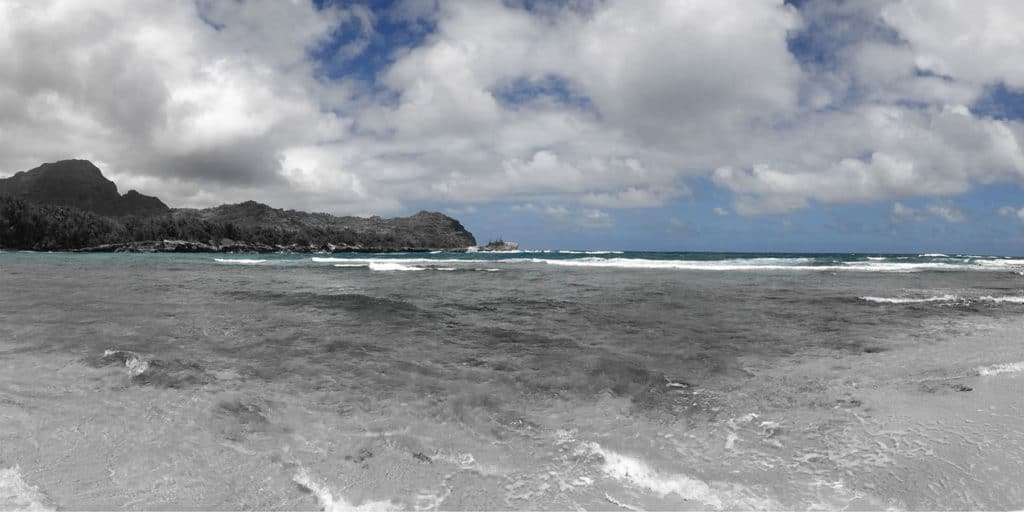
Then, we decided to bring in a little bit of color that would match the bedroom. I started out selecting all the blue tones and turned those on. That brought out all the blue in the sky, but not the water. The water in the original photo wasn't really blue, but more of a green/yellow.
I tried turning on greens, but it didn't really work for the water and instead turned on the forests in the background. So instead, I used the magic wand tool to select the water and copied that as it's own layer. Then I put a blue cooling filter on it so that that area would turn light blue. Then I just cleaned up the straight edges with a feathered eraser to make the edges look faded.
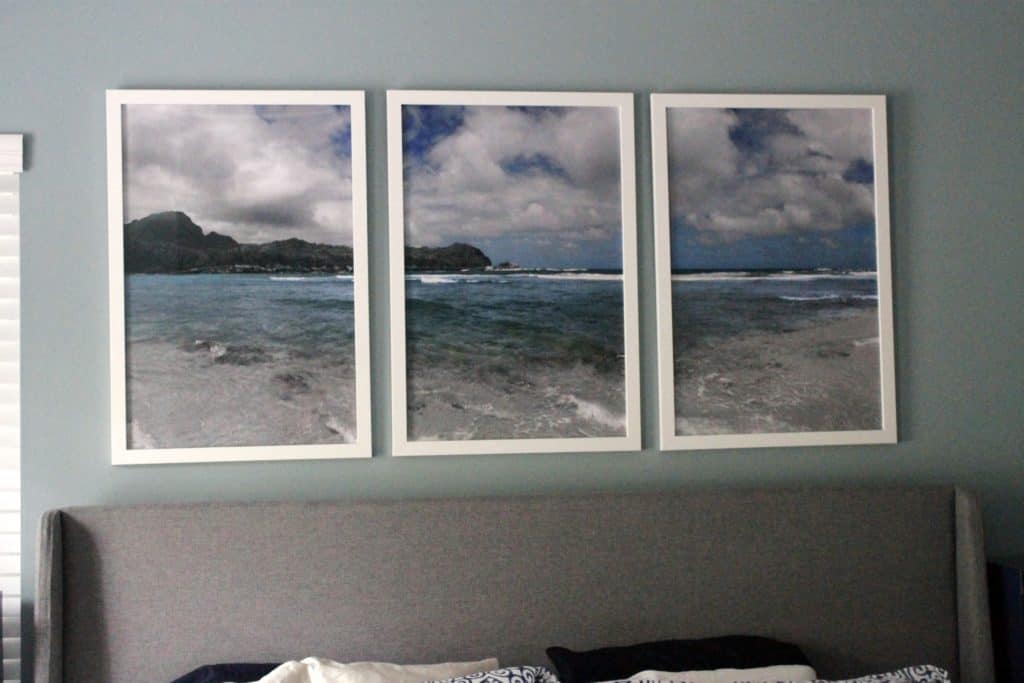
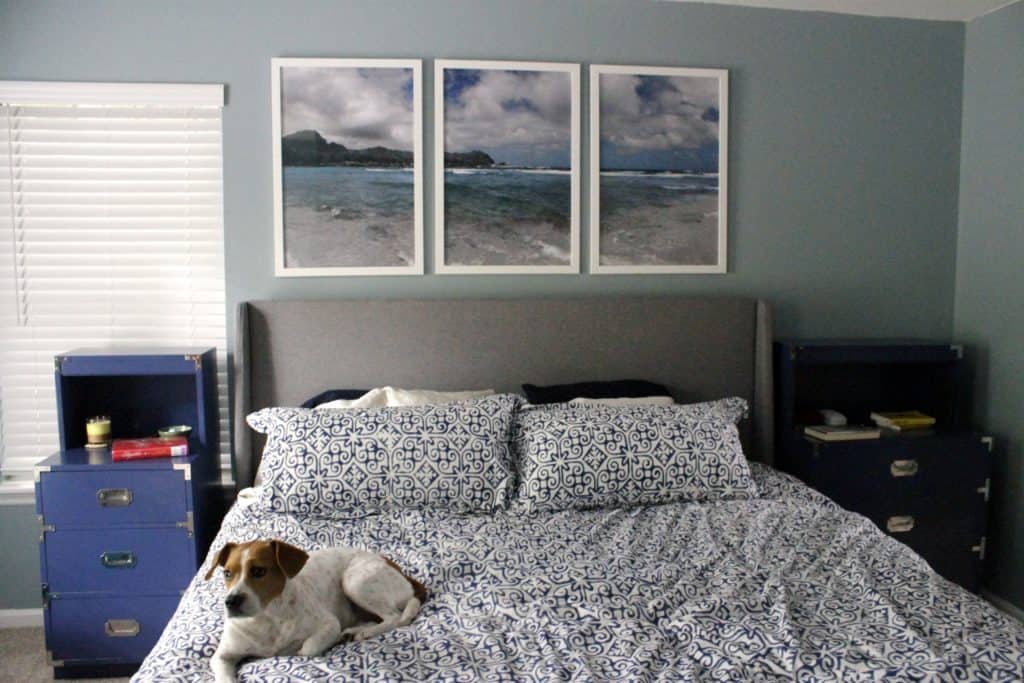
It looks awesome. The mountain, forests, clouds and beach are black and white, but the water and sky are blue. The photo looks great. So, then I broke the photo into three even sections of 20x30 inches each and saved each section as its own high resolution photo.
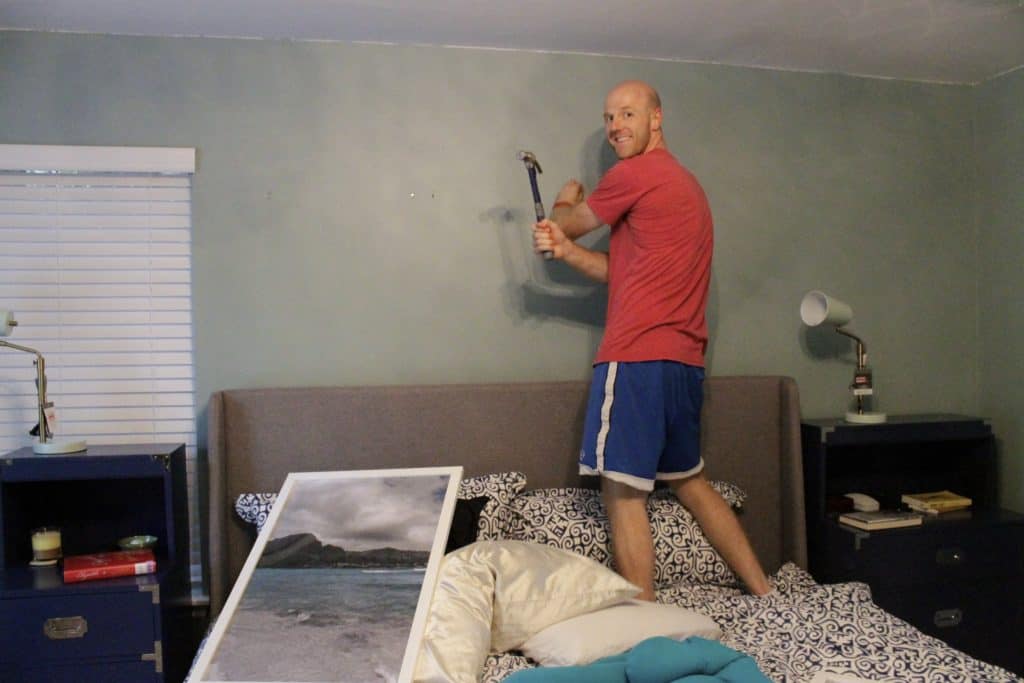
We ordered the prints for cheap off Shutterfly and they were here in a couple of days. We popped the prints into the frames and hung them 3 inches apart from each other on the wall.
The tones of the photo look awesome with the blue tones in the wall and the grey tones of our bed. The photo ties everything together and looks great. Plus it's a great reminder of our anniversary trip.
This triptych is a great way for anyone to spice up a photo and cover a large space. What do you think?
 |
|||
 |
 |
 |
 |

Hey there, I'm Sean, the woodworking enthusiast and builder behind CharlestonCrafted.com! Since 2012, I've been sharing the magic of turning raw materials into beautiful creations. I love teaching others the art and satisfaction of woodworking and DIY. I try to inspire fellow crafters to make something extraordinary out of nothing at all.





[…] How to Create a Triptych from One Photo by Charleston Crafted […]