Want to build and install floating shelves in your home? Here is an easy and inexpensive tutorial!
We've been spending a lot of time on our master bathroom since we moved in.
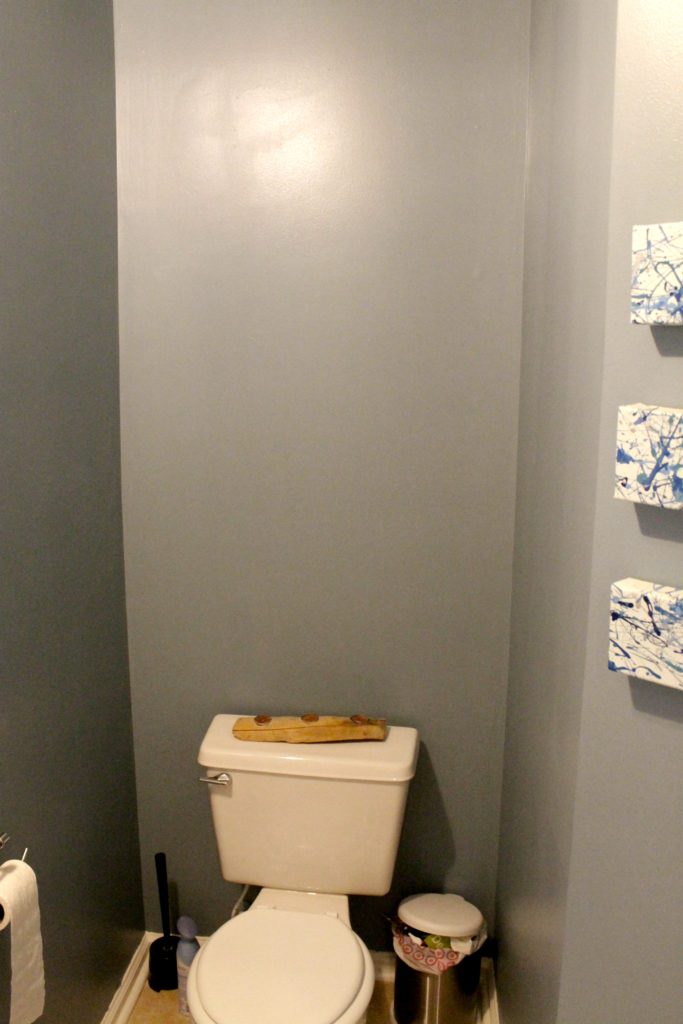
We're really excited to reveal the whole bathroom next week. One area we hadn't touched yet was over the toilet.
In the condo, we had cabinets over the toilet in both bathrooms that served as great storage.
We decided to add shelving over the toilet and opted for the floating shelf style.
If you're looking to add some clean looking shelves to your room, here's how to build and install floating shelves.
Click here to pin this project to Pinterest!
DIY Floating Shelves
There are a number of ways to build floating shelves, so this is just one of the options you can take, but I happen to think it's the easiest.
Why? Because you build a box out of wood and then just attach it to the wall.
It makes it easy to build the box entirely separately and then just quickly throw it up on the wall.
Check out all of our DIY woodworking projects for the bathroom!
How to make floating shelves
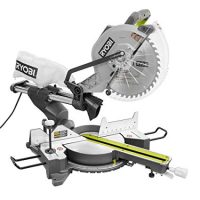
I used a miter saw to make 45 degree angle cuts on the corners of my wood.
To do this I used 1"x3" pine to make a shelf that was 2 ½ feet wide and 8 inches deep.
I was careful to make sure they didn't stick out further than the toilet bowl itself.
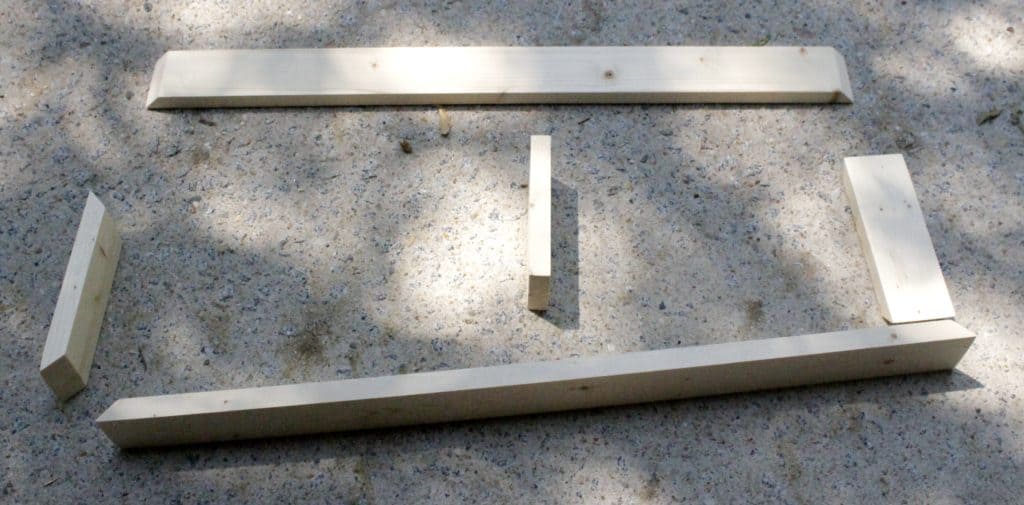
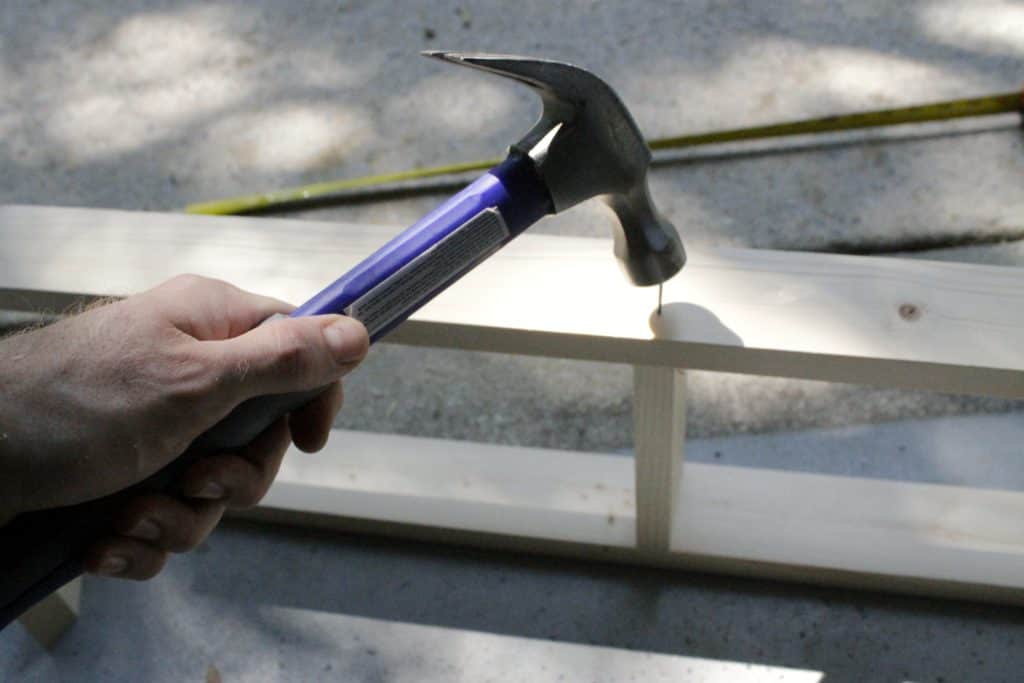
After sanding the wood down, I screwed them together and put a supporting beam down the center. That served as the structure for the box.
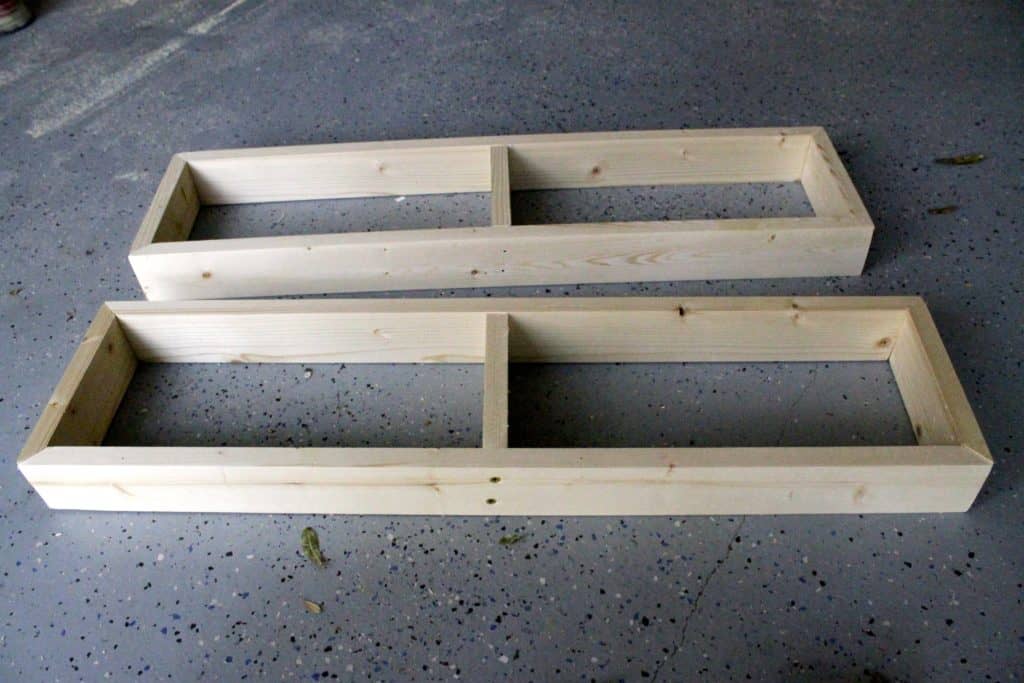
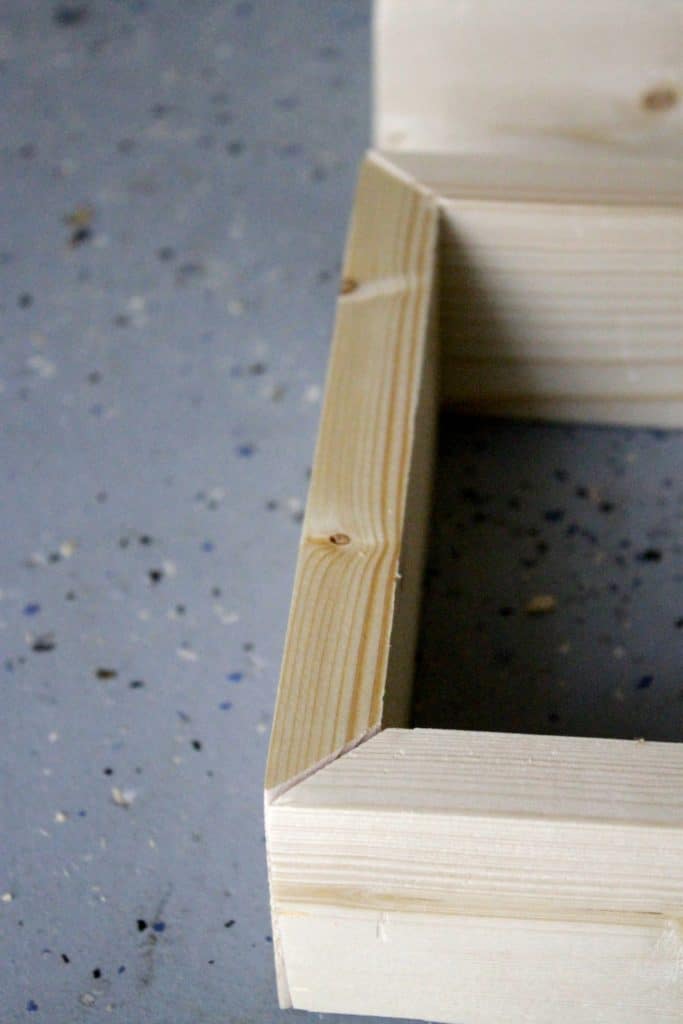
Next I used ¼" thick boards and cut them to be the top and bottom of the box.
I attached one of them to the box using brad nails to serve as the bottom of the box.
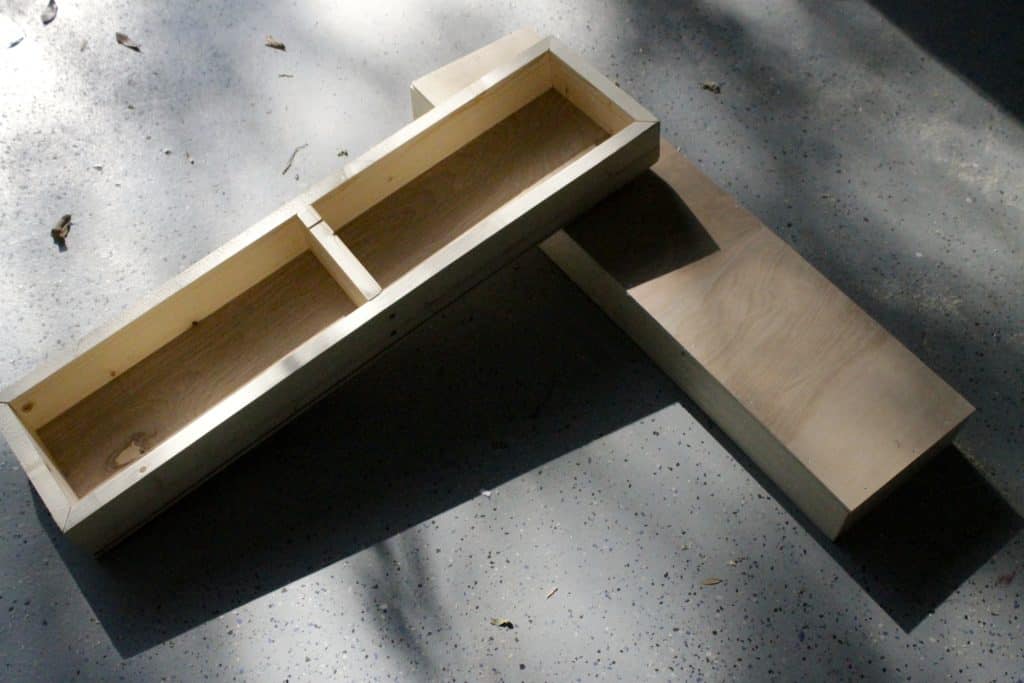
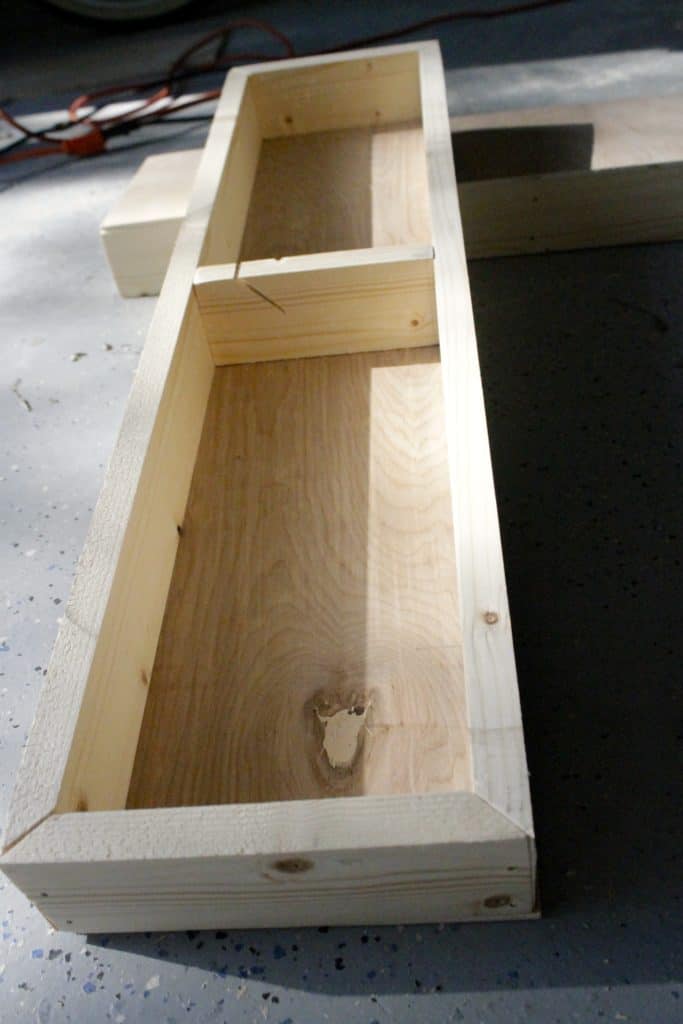
Once I had the structure of the boxes put together, I painted them and the other piece of board that would serve as the top of the shelf.
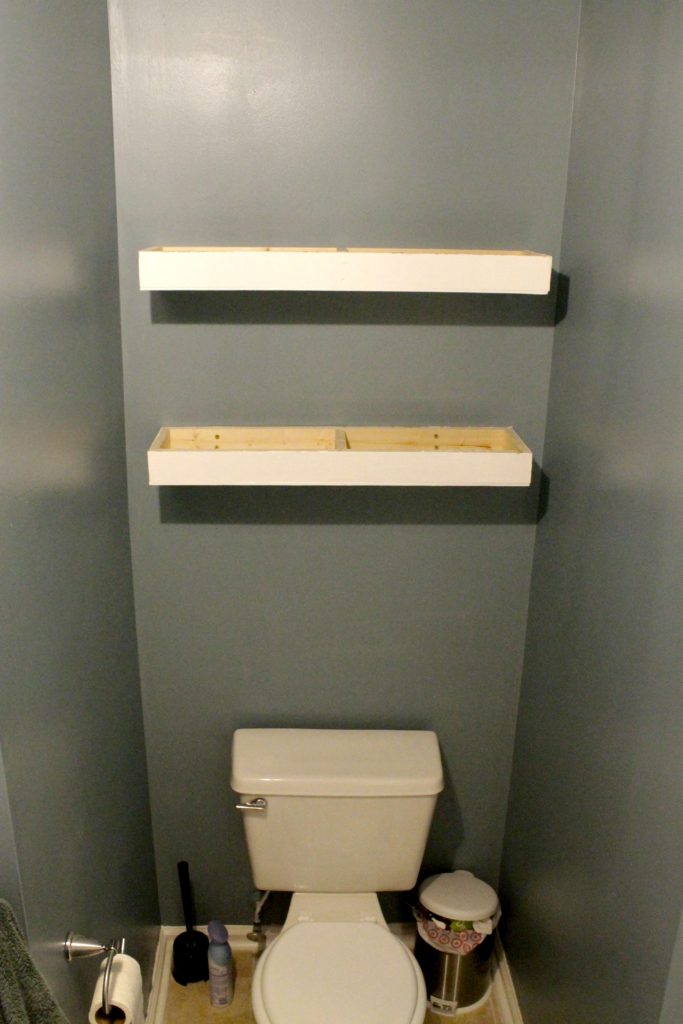
Click here to pin this project to Pinterest!
How do you attach floating shelves to the wall?
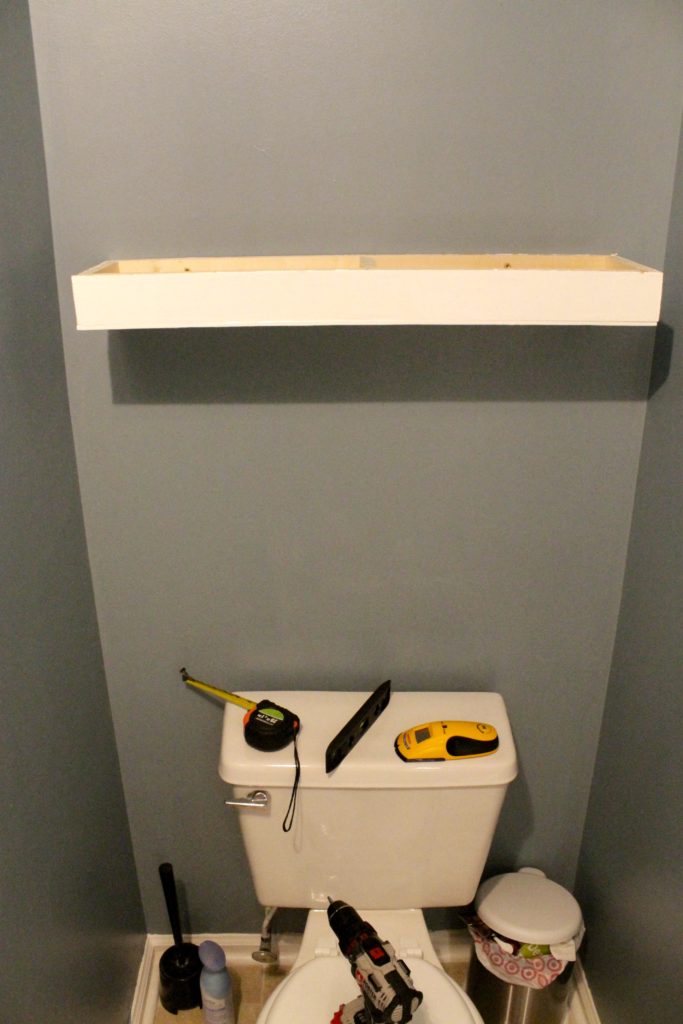
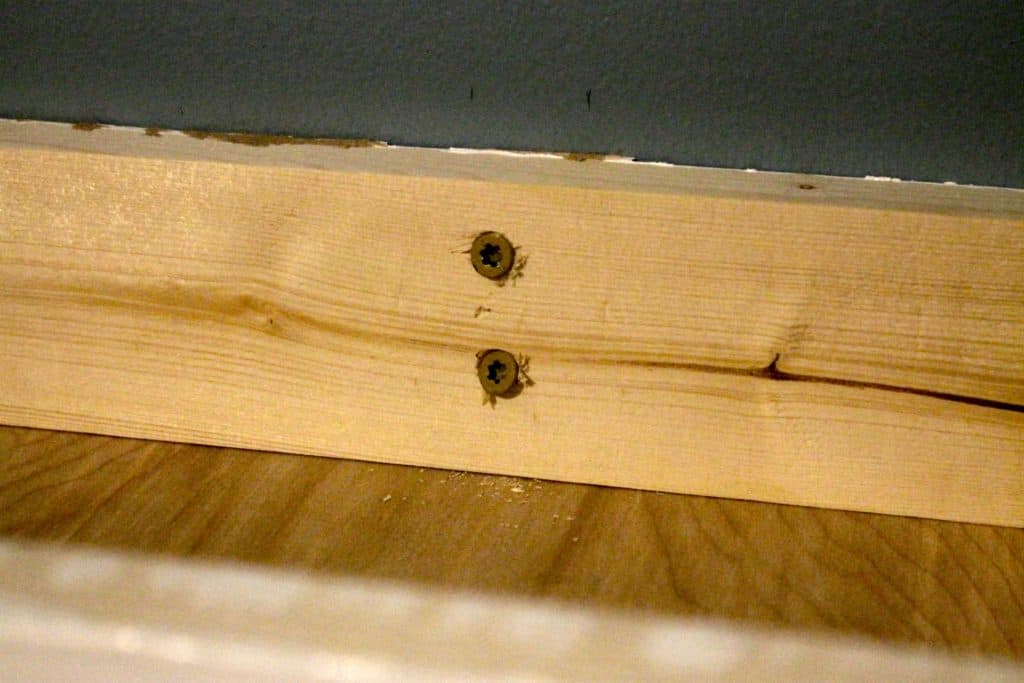
Next comes the easy part. This is why I used this method for the shelves. I lined them up where they needed to go and used four wood screws to attach each shelf to the studs.
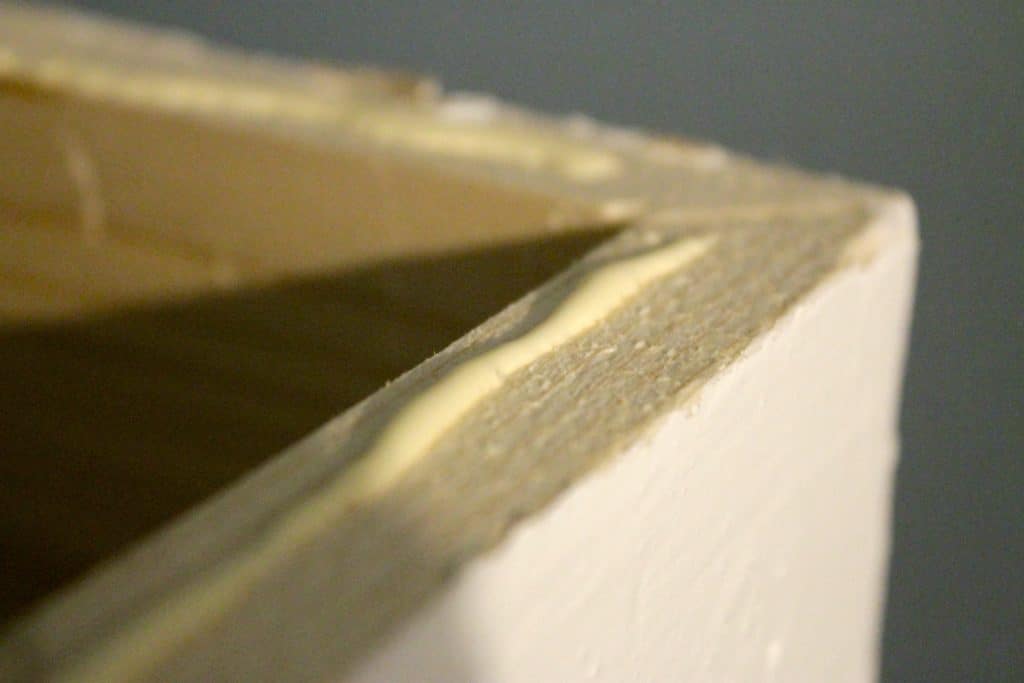
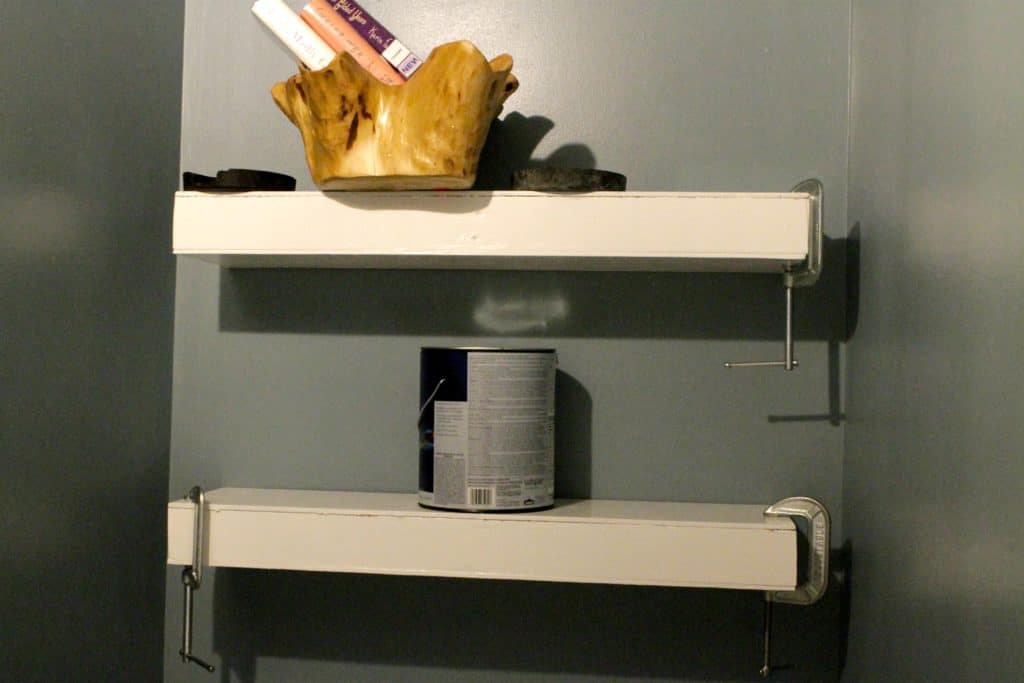
After both the shelves were up, I used wood glue to attach the top board to each and then clamped them down.
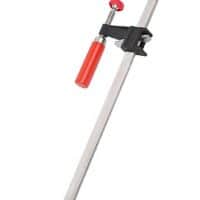
Unfortunately, I didn't have as many clamps as I thought that would stretch that far, so I used what I had around, including the paint bucket I was using to paint the shelves and the weights that I took out of the desk lamps that I hung on the wall for reading lights.
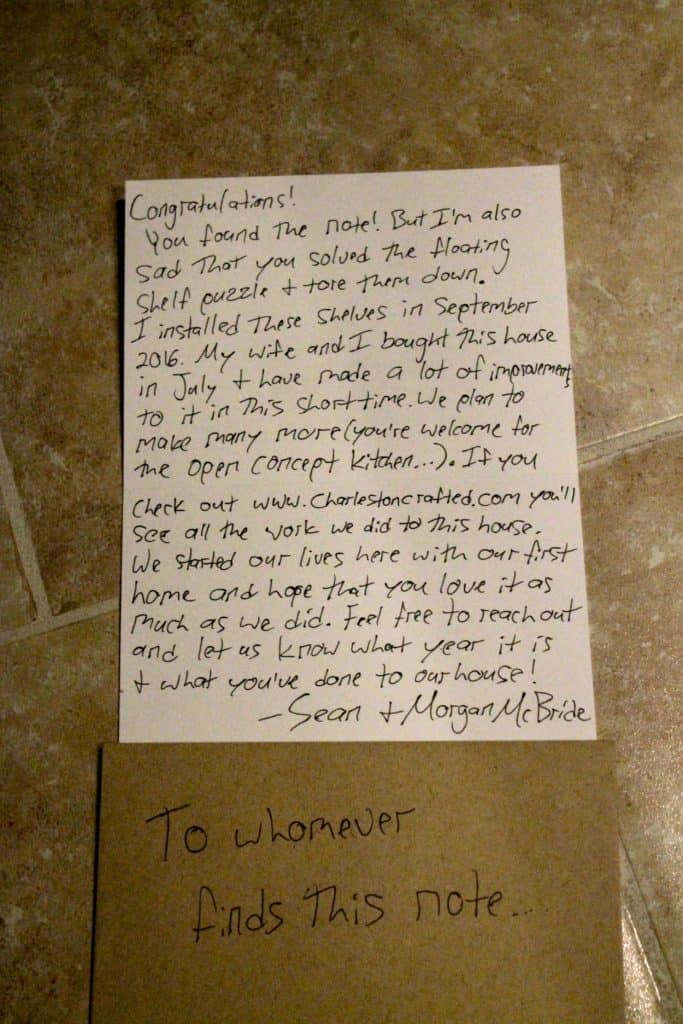
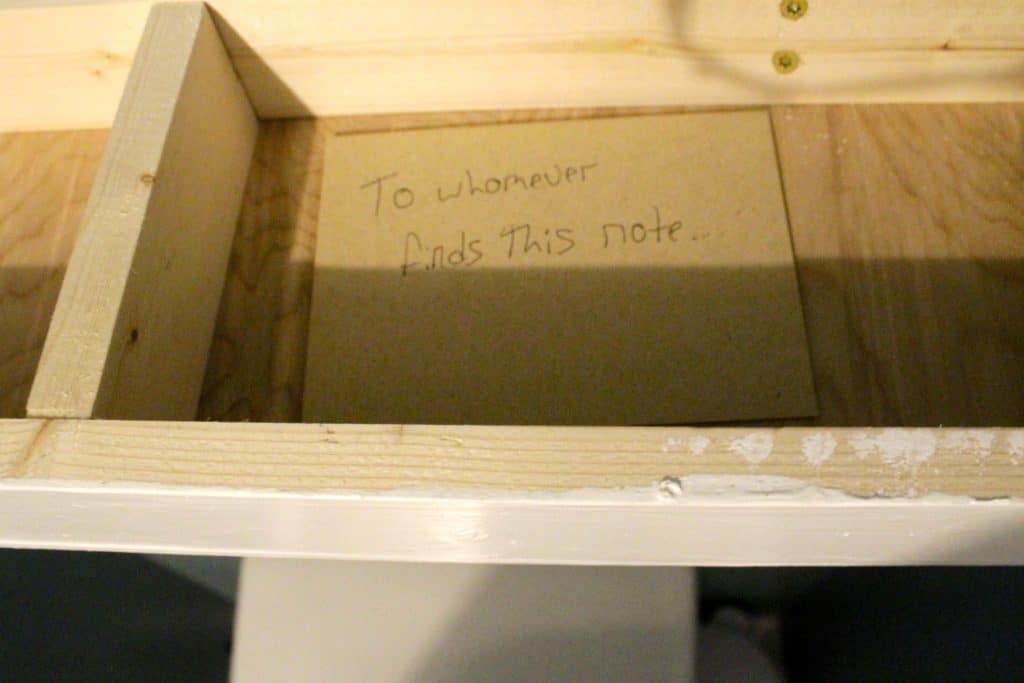
Quick note- before I put the top boards on, I wrote a note to someone in the future.
I figure that at some point in the future someone is going to rip these shelves off the wall.
Idk if it will be 10 years from now or 25 years from now, but I'm hoping this is a fun surprise for them.
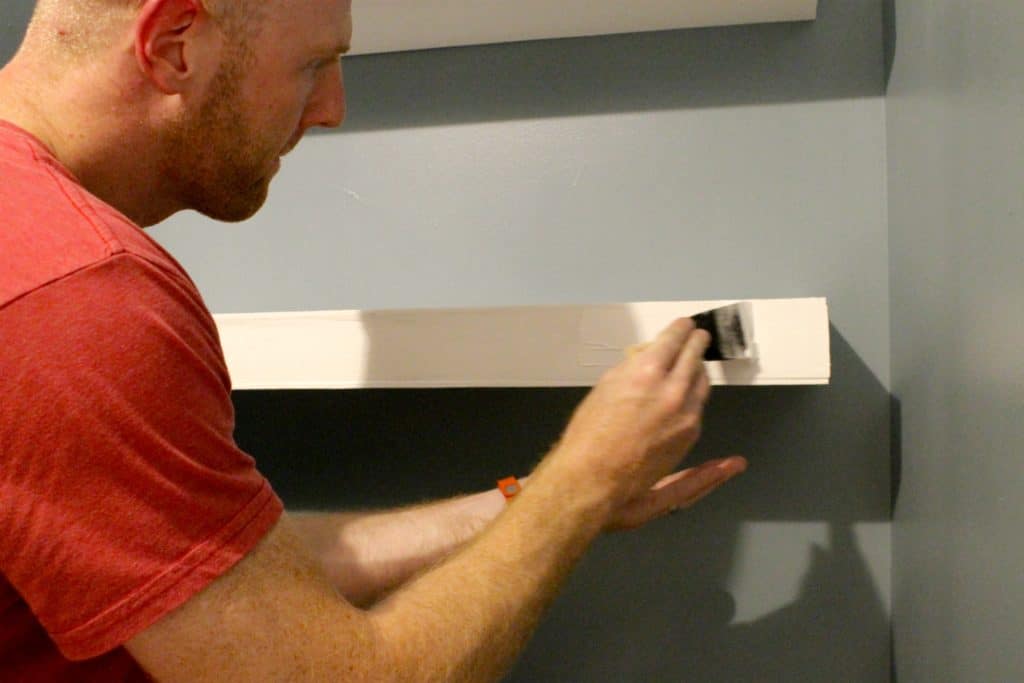
Once the glue was dry, I took off the clamps and weights and used spackle to smooth out the edges.
I used a putty knife to apply it, then sanded smooth and painted with a couple of coats of paint to give it the matching glossy as the rest of the shelf.
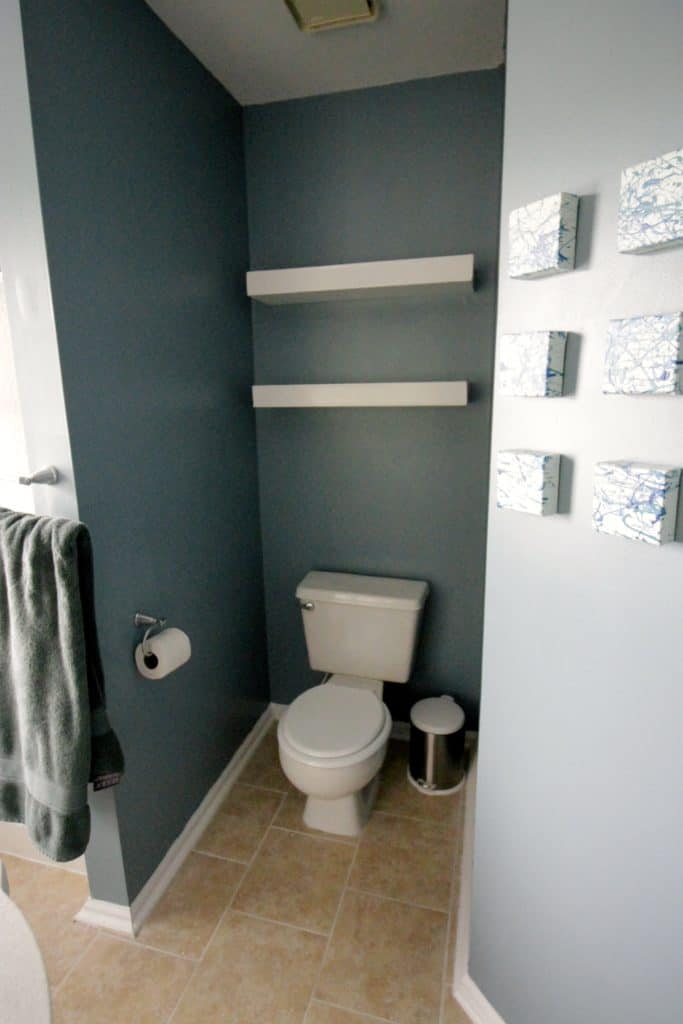
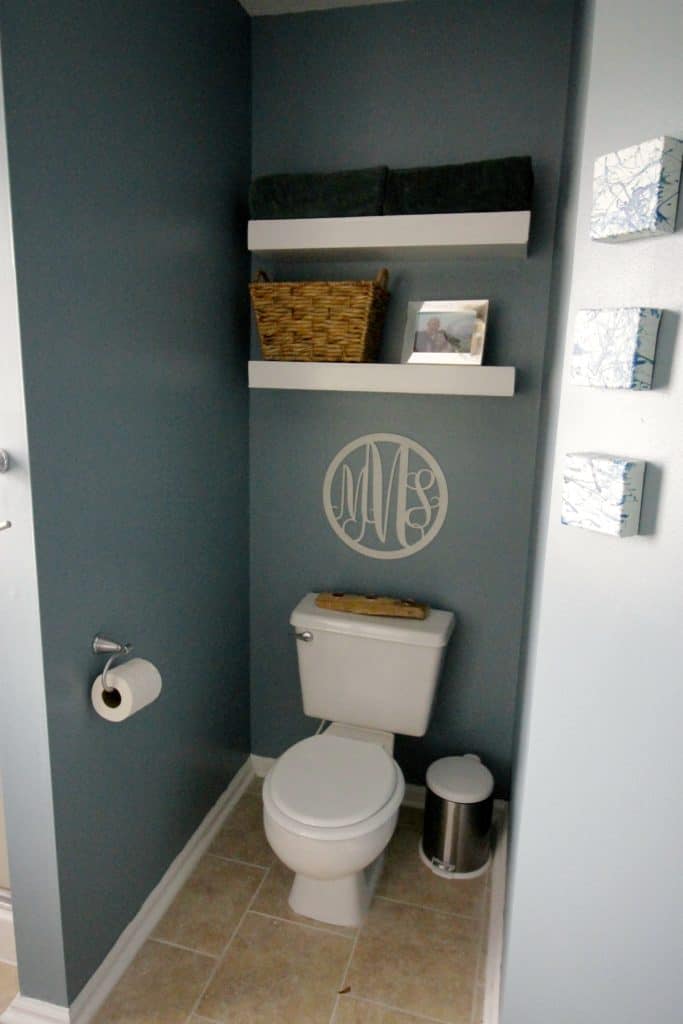
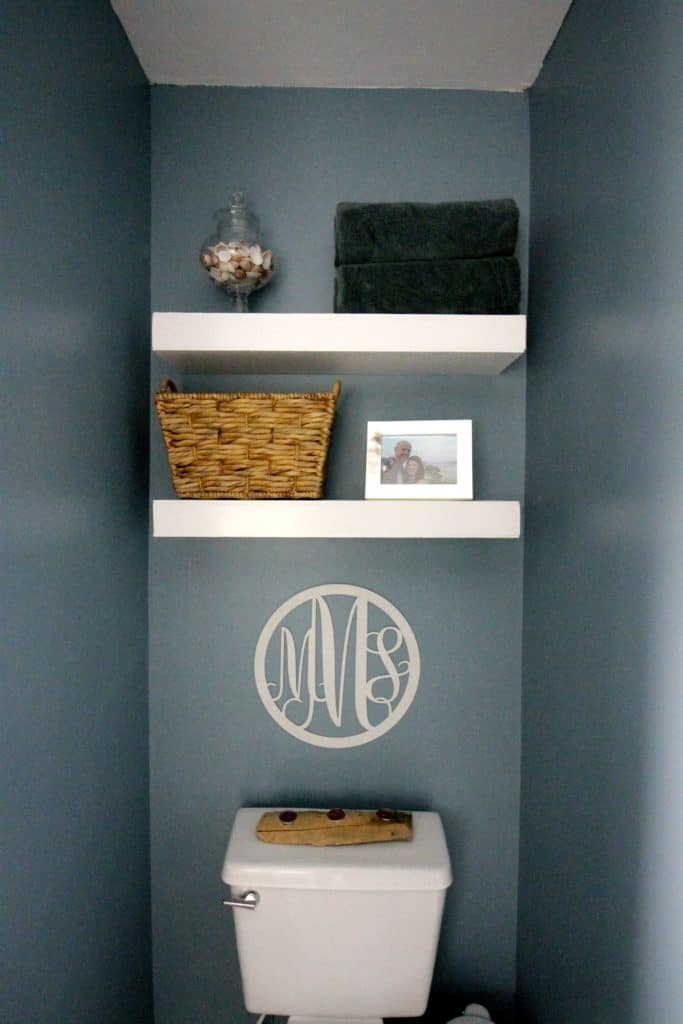
Then it was time to style. We threw up a couple of things to make the space look good. Here is a full reveal of this bathroom!
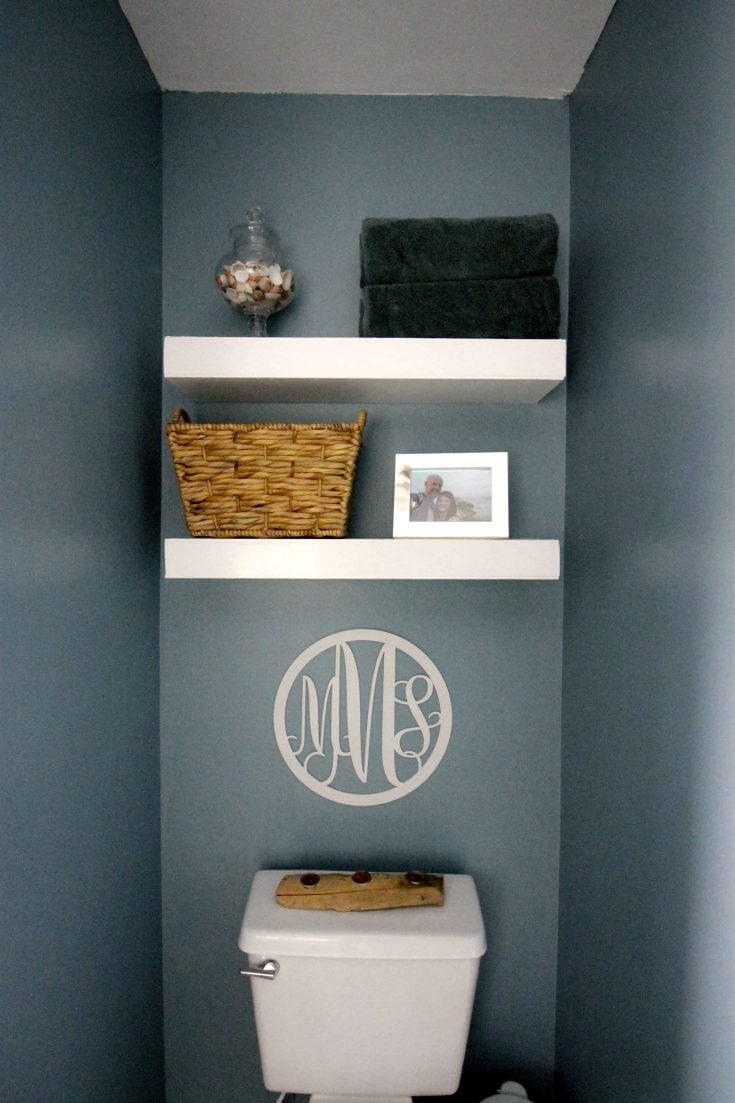
How to build and install floating shelves
If you’re looking to add some clean looking shelves to your room, here’s how to build and install floating shelves.
Materials
- 1"x3" pine
- Screws
- Paint or stain
- Brad nails
- ¼" plywood
- Wood glue
Tools
- Miter saw
- Sander
- Paint brush
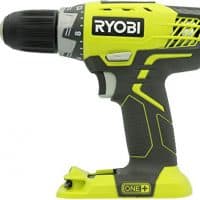
- Drill
- Clamps
Instructions
- Cut 1″x3″ pine to make a shelf that was 2 ½ feet wide and 8 inches deep.
- Screw them together and put a supporting beam down the center.
- Use ¼″ thick boards and cut them to be the top and bottom of the box.
- Attach one of them to the box using brad nails to serve as the bottom of the box.
- Paint or stain all pieces.
- Line the shelf up where you want it to go and use four wood screws to attach each shelf to the studs.
- Used wood glue to attach the top board to each and then clamp them down.
Recommended Products
As an Amazon Associate and member of other affiliate programs, I earn from qualifying purchases.
Looking for something?
We've been doing this since 2012 so we have a LOT of blog posts!
Search stuff like: Ceiling Projects | DIY Plant Stands | Thrift Flips


Hey there, I'm Sean, the woodworking enthusiast and builder behind CharlestonCrafted.com! Since 2012, I've been sharing the magic of turning raw materials into beautiful creations. I love teaching others the art and satisfaction of woodworking and DIY. I try to inspire fellow crafters to make something extraordinary out of nothing at all.




[…] have both types of over the toilet storage in our home – we mounted floating shelves in our master bathroom and built a cedar over the toilet freestanding shelf in our guest […]