Holes in your screen door? Here is how to replace the screen on your door, the easy, cheap, DIY way!
Want to know how to replace a screen door screen? It's really quite simple. Pull the spline out, lay down new screen, put the spline back in place!
We love our wonderful pooch CiCi. However, she can be a little rambunctious sometimes when she gets excited.
Well, we had a baby shower a couple of weeks ago and put CiCi outside. She didn't like that, so she decided to claw her way through our screen door.
That meant we learned how to replace a screen door screen. It's really actually quite easy and you can do it too!
If your screen is ripped on your screen door, you definitely don't need to replace the entire door. You just need to buy a new sheet of screen and the inexpensive tool to fix it.
This post will show you everything you need to know about how to replace a ripped screen on a screen door!
Click here if you need to know how to replace your entire screen door!
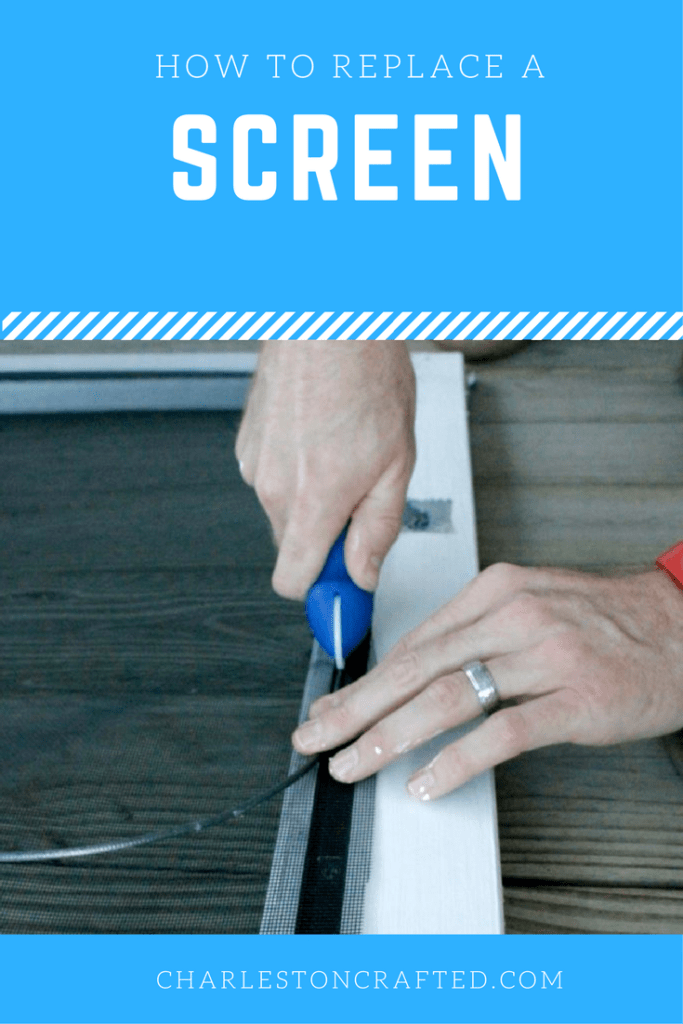
How to replace the screen on a door
Replacing ripped screen on a screen door will only take you a few minutes of time and only needs a few simple tools.
This is a beginner friendly DIY project so literally anyone can do it. Let's talk about what you need and how to do it!
Supplies needed to replace a ripped screen:
- Drill
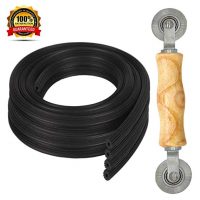
- Replacement screen, spline and spline tool set
- If you have pets, you may want to choose pet-grade screen instead and buy the spline roller separately
- Flat head screwdriver
- Scissors
Step one: Remove door and hardware
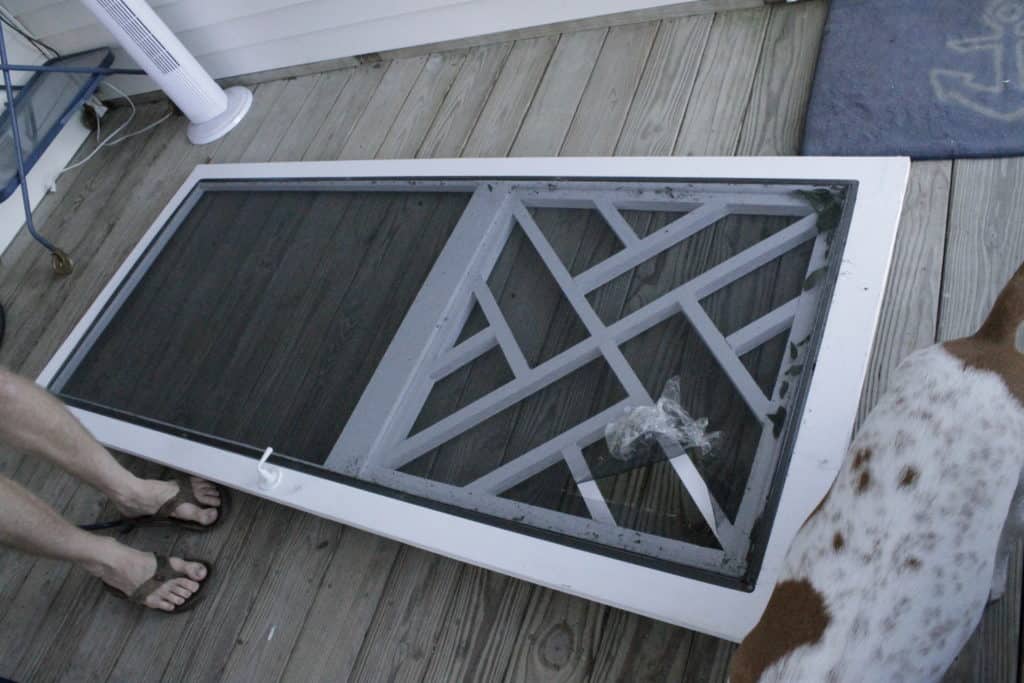
First, take the door off the hinges and lay it down flat. You'll need the drill or a screwdriver to remove the screws from the door hinges holding it to the frame.
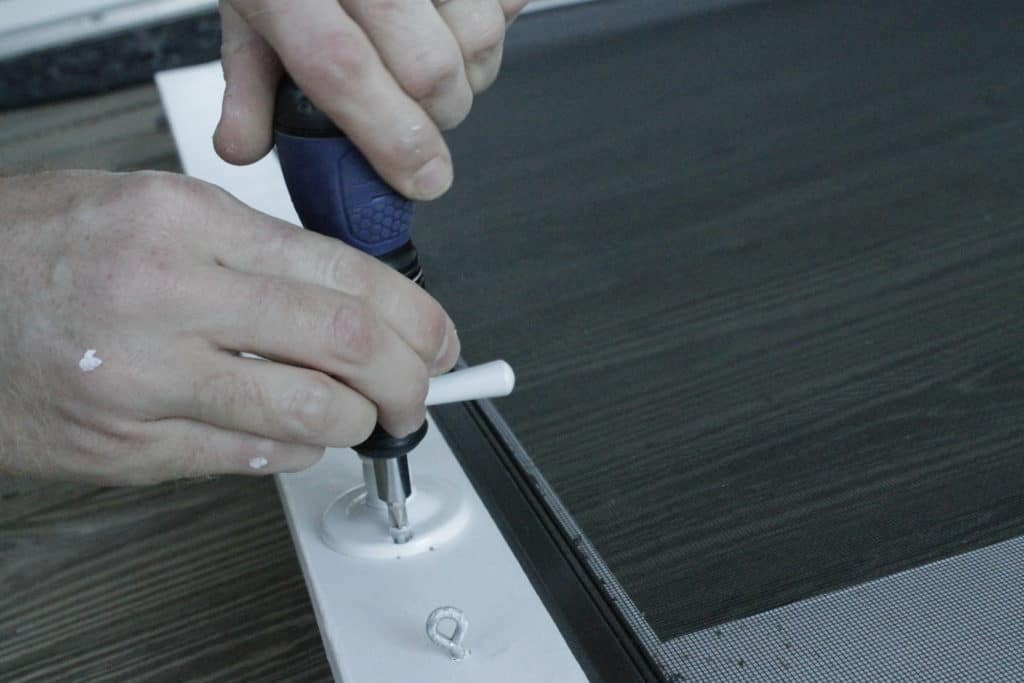
Then, remove the handle for the door as it will be in the way. The roller you use will need to go under this, so it's easiest to just remove it here.
Step two: remove old spline and screen
If you've never done this before, you're about to learn a new term- spline.
Spline is the rubber line that runs through the grooves in your screen door that holds down your screen. You've probably never noticed it there because it's not meant to really be seen, but this rubber string is really the only thing holding your screen in place.
So next, grab hold of the end of the spline and pull it out all the way around the door.
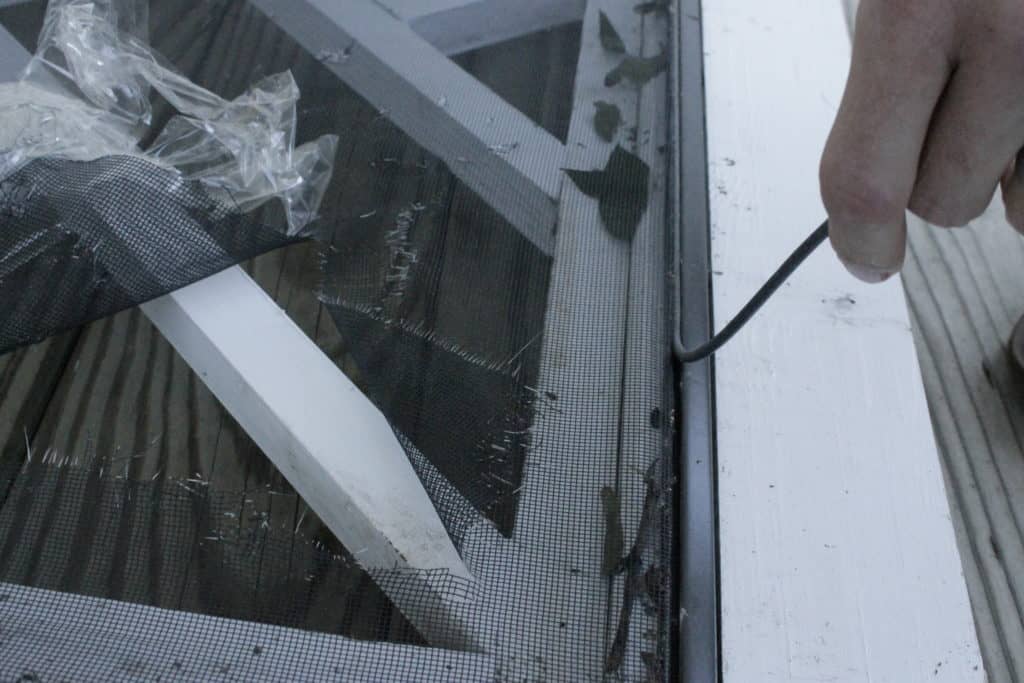
Now just pull off your old screen. It may be slightly wedged into the crack, but it should pull out real easy.
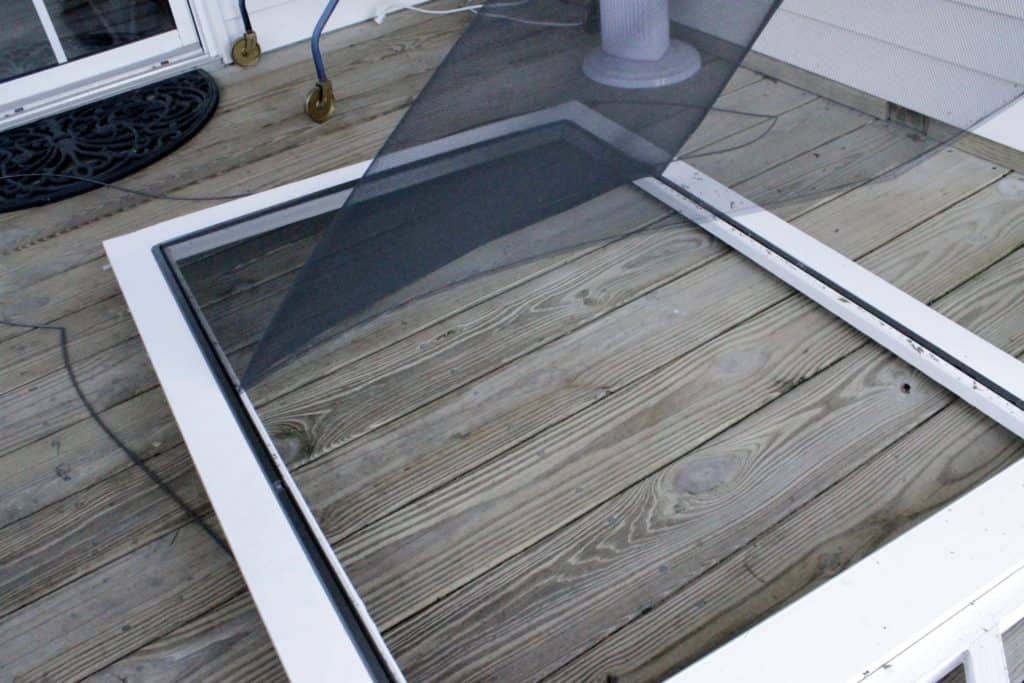
You can use the old screen to make patches if you have rips in other places!
Step three: Install new screen
Next, roll out your new screen and cut it so that there is about an inch around each edge on each side.
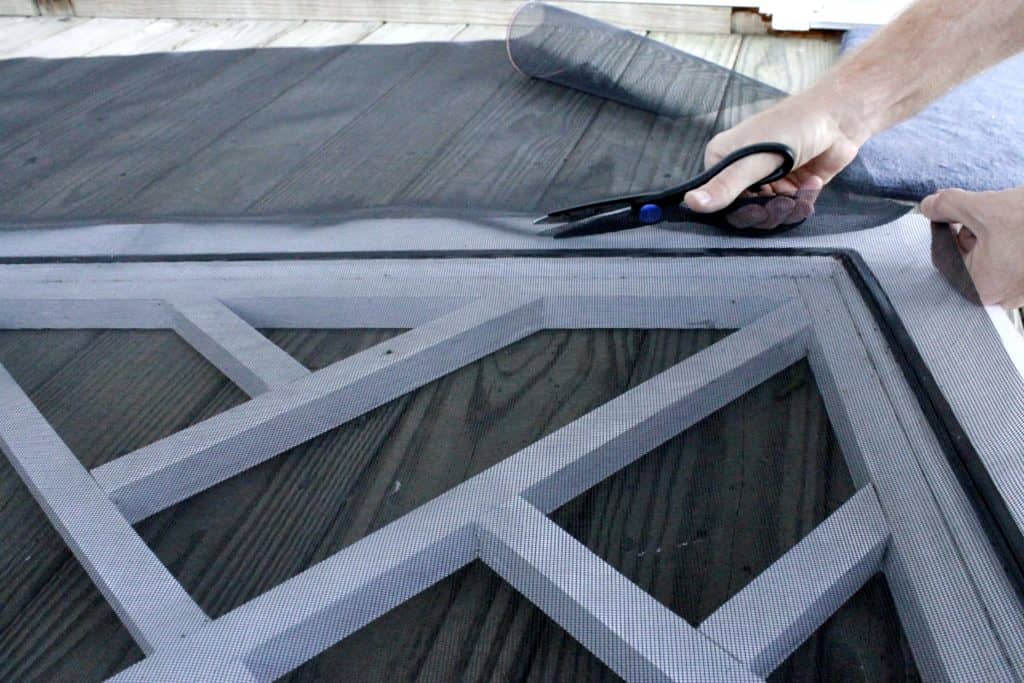
Now it's time to grab your old spline if it's still in good shape or a new line of spline if it isn't. If the spline is not cracked and hard, you can definitely reuse it for this project and it will be the right size already.
Also time to grab a spline rolling tool that will get the spline back in the groove.
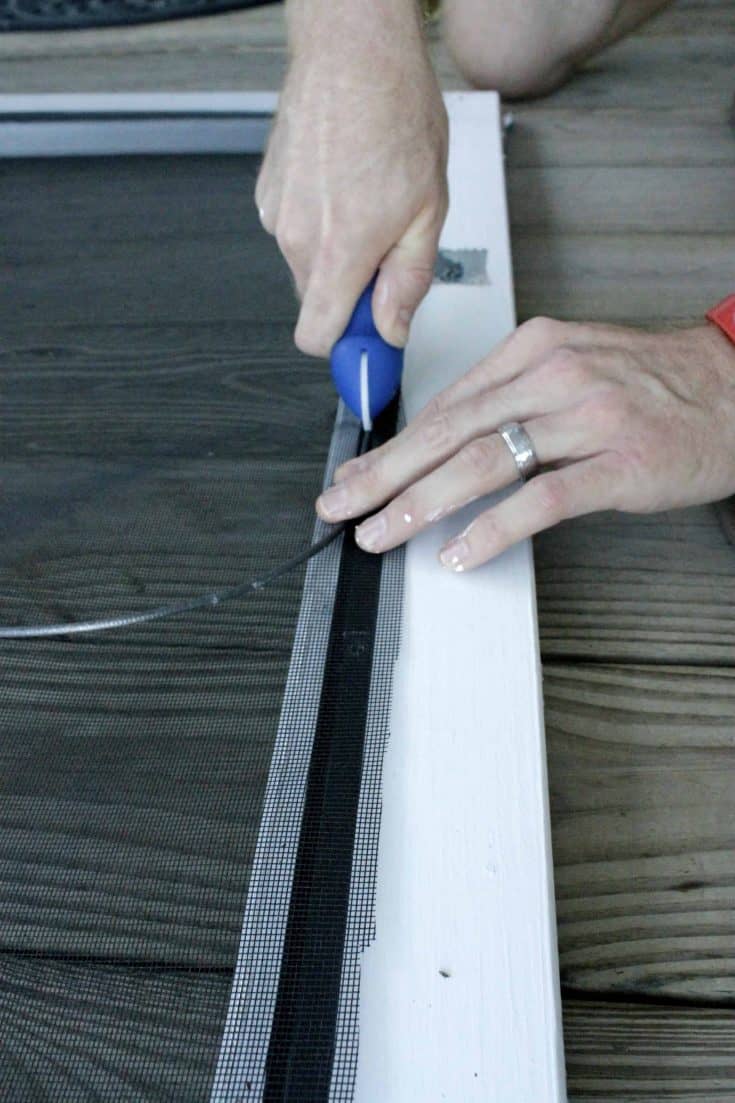
Line the spline up with the groove in one corner and use short, repetitive movements around the entire door with the rolling tool, jamming the spline down into the groove.
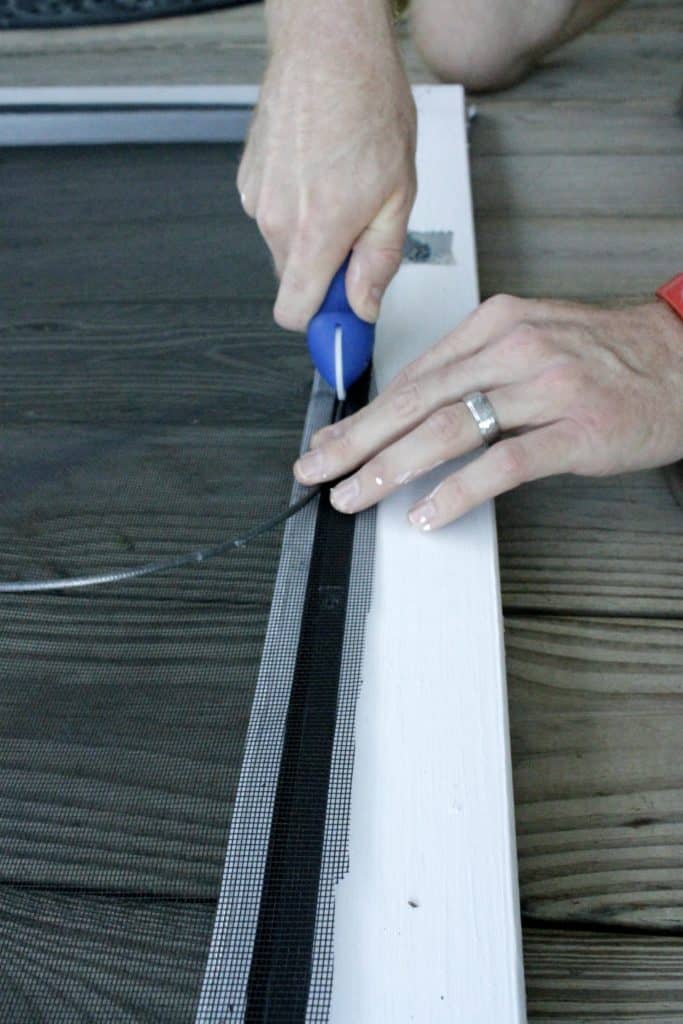
This will tighten the screen on itself, so no need to really pull it and tighten on your own.
You will need a flathead screwdriver or something similar to press the corners down because the round spline tool won't be able to get the spline perfectly into the corner.
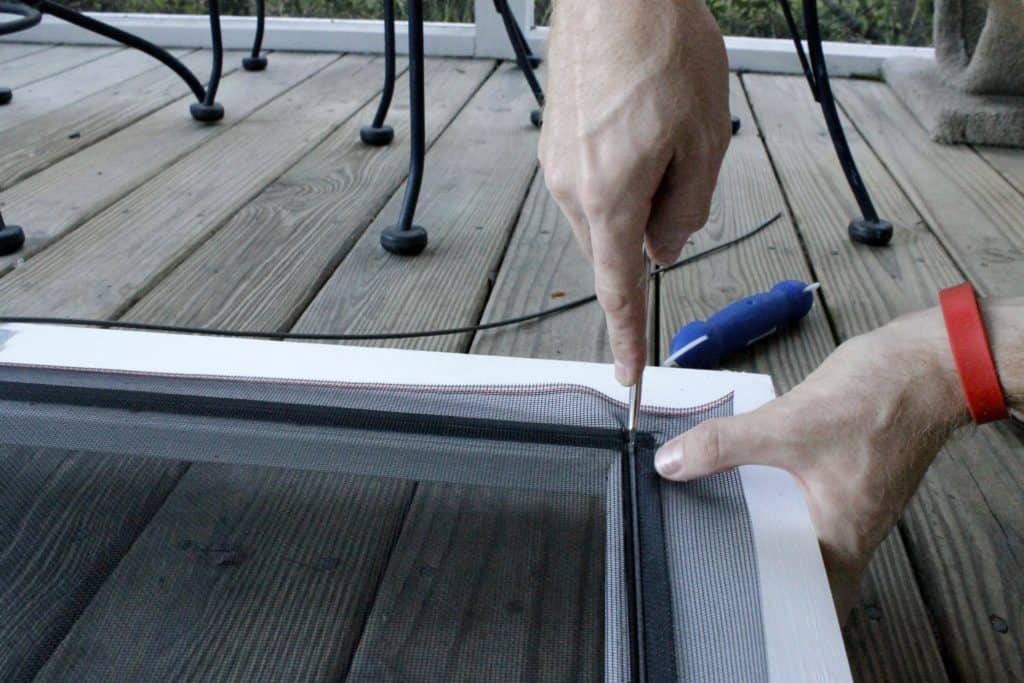
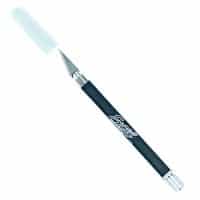
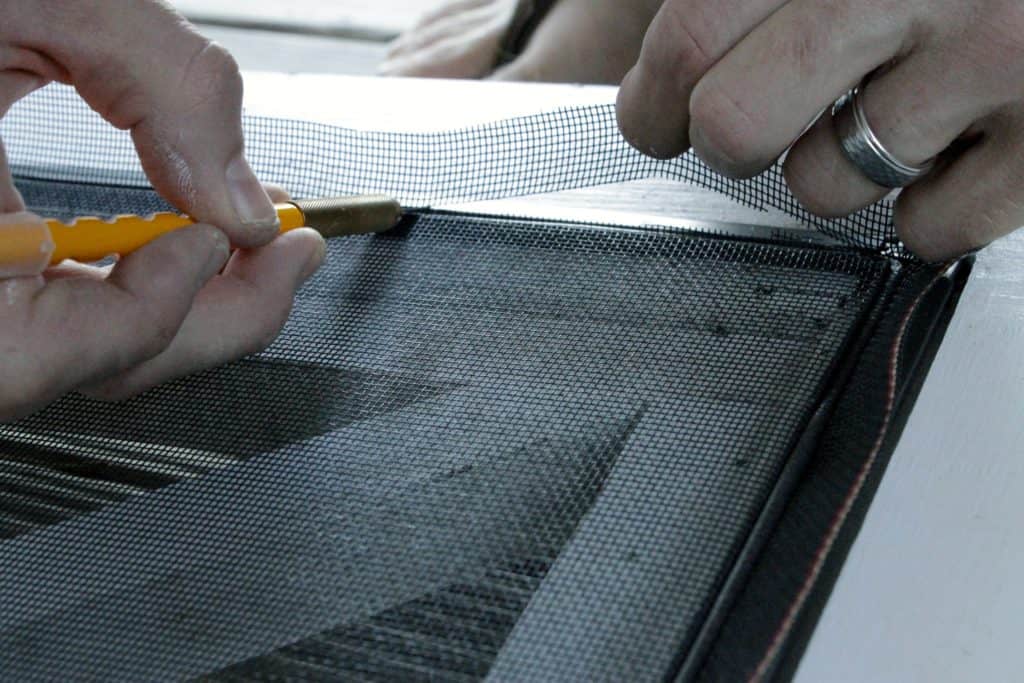
Now that the spline is in place, use scissors or an Xacto knife or something similar and cut off the excess screen from around the edges.
Step four: rehang door
Finally, put your handle back on and re-hang your door.
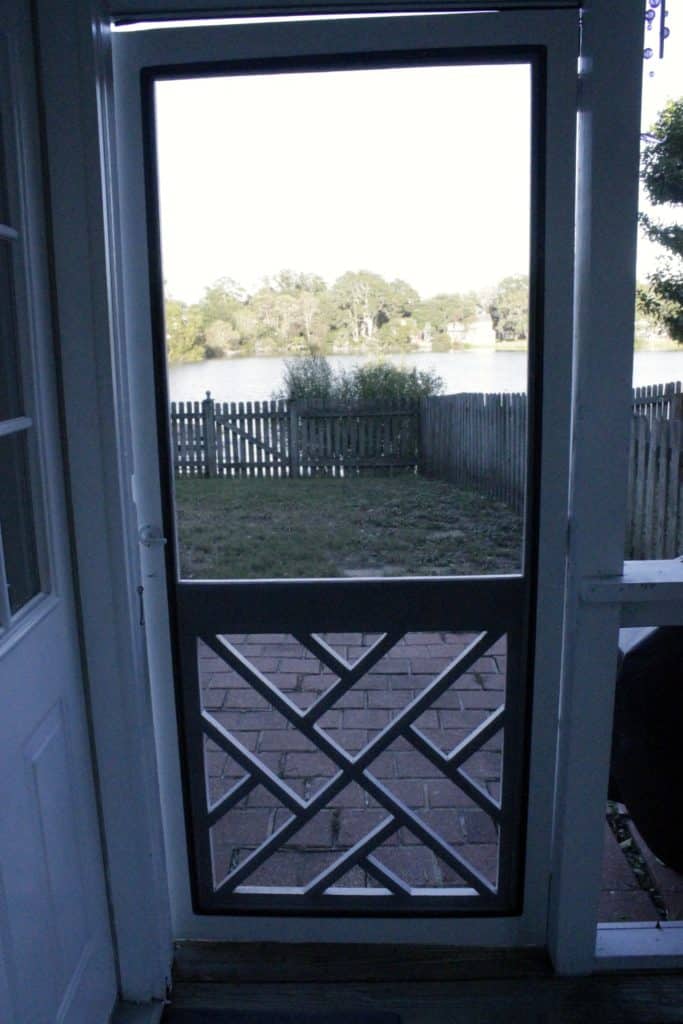
It all takes about 15 minutes and was super easy for first timers like us. So it shouldn't be too hard for anyone else.
Now you can enjoy great evenings out your screen porch with no bugs to bother you!
Before you go...
This project was at our old house, but we've done it here too. And we've got two really good projects that you can add to your screened porch after you do this project:
Be sure to check out our guide on 3 ways to repair a screen door.
How to replace a screen door
Check out this super simple tutorial for how to replace the screen on your screen door!
Materials
- Screen
- Spline
- Door frame
Tools
- Screen rolling tool
- Screwdriver
- Exacto knife
- Scissors
Instructions
- Take the door off the hinges and lay it down flat.
- Remove the handle for the door.
- Grab hold of the end of the spline and pull it out all the way around the door.
- Pull off your old screen.
- Roll out your new screen and cut it so that there is about an inch around each edge on each side.
- Line the spline up with the groove and use short, repetitive movements around the entire door with the rolling tool, jamming the spline down into the groove.
- Use a flat head screwdriver to help push in the corners.
- Use knife to trim excess screen.
- Reattach handle.
- Rehang door.
Recommended Products
As an Amazon Associate and member of other affiliate programs, I earn from qualifying purchases.
Looking for something?
We've been doing this since 2012 so we have a LOT of blog posts!
Search stuff like: Ceiling Projects | DIY Plant Stands | Thrift Flips


Hello, I'm Morgan, half of the creative force behind CharlestonCrafted.com! With a passion for DIY that dates back to 2012, I've transformed three homes and now I'm dedicated to helping others craft their dream spaces. Let's turn your house into a home together!

