If you love the look of a live edge wood coffee table, but it isn't in your budget or you don't think you have the skills, here's the simplest way to make one inexpensively!
*Note- we did this project in 2016 when these slabs were readily available on Amazon. It is now more difficult to find them, but you can use this tutorial for any live edge slab you find.
If you want to make a DIY live edge wood slab coffee table, you will love this simple tutorial.
A live edge slab of wood looks very expensive and sophisticated, making a table become the focal point of a room.
However, if you want to buy one of these tables they can be very, very expensive.
You might also want to build one, but you don't have the necessary tools or skills to make an intricate table.
However, did you know you can buy live edge slabs of wood from Amazon for not too much money? Pairing these with simple hairpin legs can get you a wonderful table that's not expensive!
Here's how to do it!
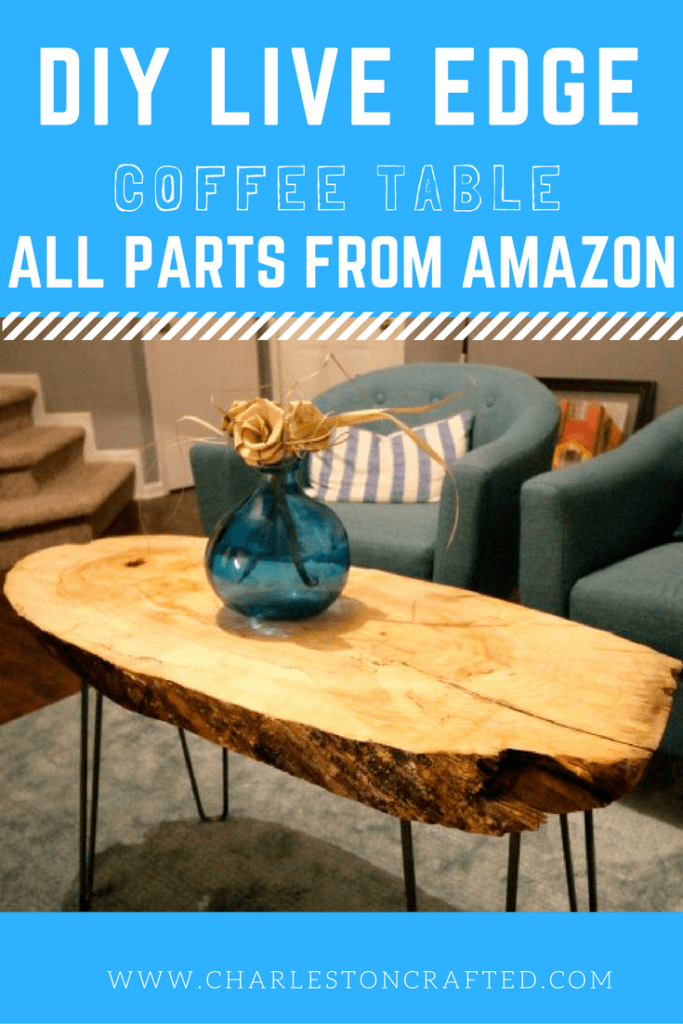
DIY Live Edge Wood Slab Coffee Table
I have been into the live edge wood table look for a while and trying to pick a place that one would fit well into our home. Our style is more coastal than rustic, but I really think that a beautiful wood slab piece can go with any style home.
The biggest difficulty in building a wood slab table is getting the slab. I encourage you to check your local craigslist, but if that fails, hit up my boo, Amazon Prime. Everything that went into this coffee table was purchased on Amazon and I will link to it all in the tutorial below.
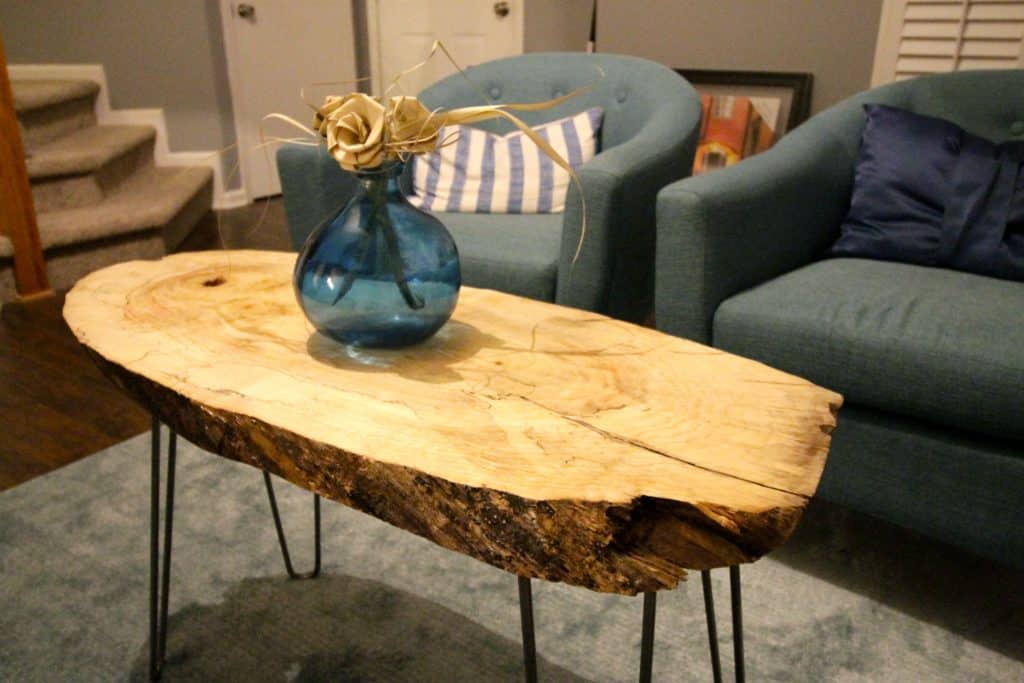
Step one: buy materials
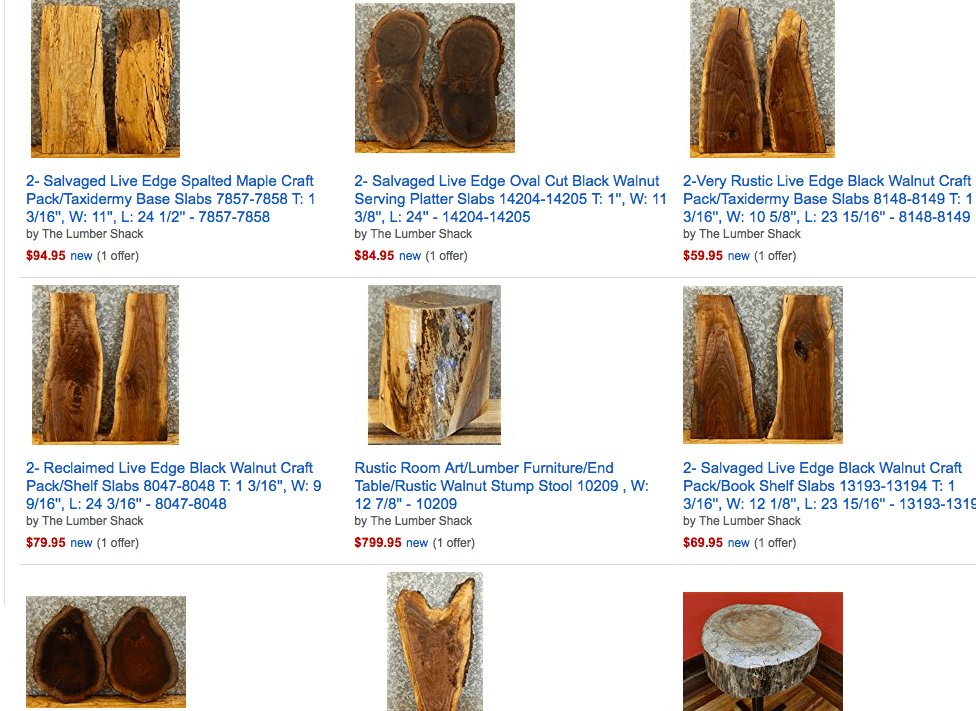
We ordered our live edge wood slab from The Lumber Shack via Amazon.
They have a huge variety of wood including slices and stumps. The slice arrived very quickly and was wrapped in several layers of protective packaging. We were very impressed with the price of our slab (under $100) compared to local lumberyards that wanted over $250 for a similar slice.
I narrowed it down to a handful of options based on the length and width that we wanted for our space and then picked a slice based on the graining that we liked. We ended up with a maple piece with live edge bark all of the way around and I am gaga over it.
The other thing that you will need to order is table legs.
You could go in a variety of directions, but I wanted hairpin legs. There are a ton of options on Amazon and start around $50 for 4.
The easiest way to decided on a height is to find a coffee table or side table that you already own that you like the height of and measure that.
Remember to subtract the thickness of the slab as that will be included in your final height. We ended up with 20" legs for a slightly higher table, since we want to be able to use it for small board games occasionally.
The final supplies that you need are sandpaper and a sanding block or electric sander, a drill or screwdriver, a paintbrush, and polyurethane. I prefer a poly with a matte finish for this project since I wanted it to look as much like natural wood as possible (but have the protection of the poly).
Step two: prepare slab
Here is exactly what we did after ordering and receiving all of the supplies:
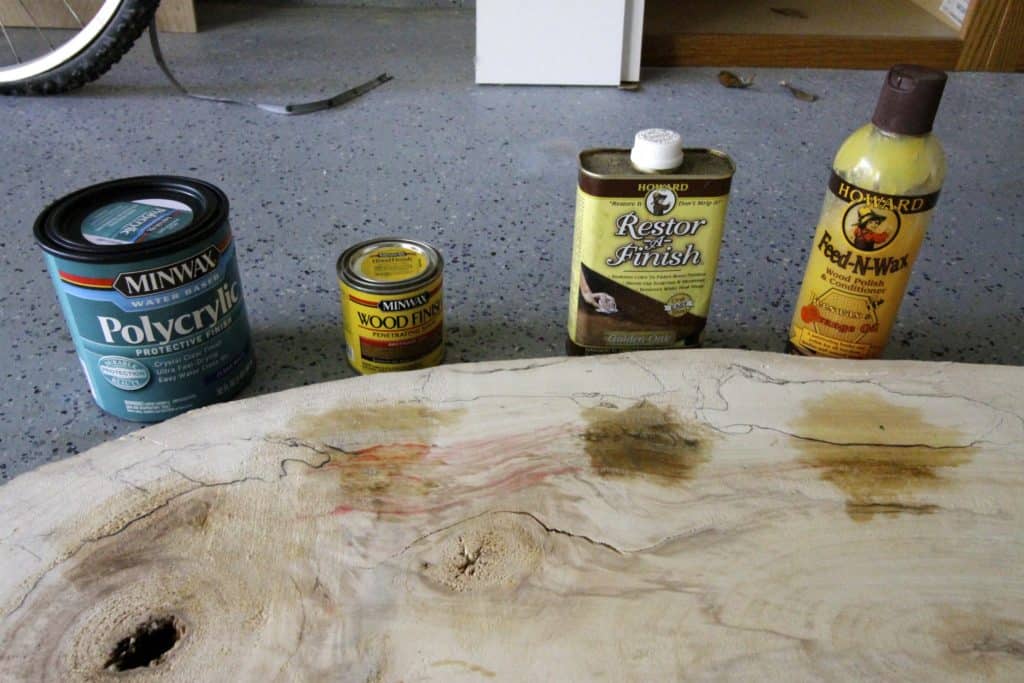
Initially we thought that we might want to stain the wood. We tried 4 samples of stains and finishes on the side that we determined was the bottom of the table (we liked the other side's grain better).
After letting them dry, we liked how the poly let the details of the wood shine and the others looked too dark.
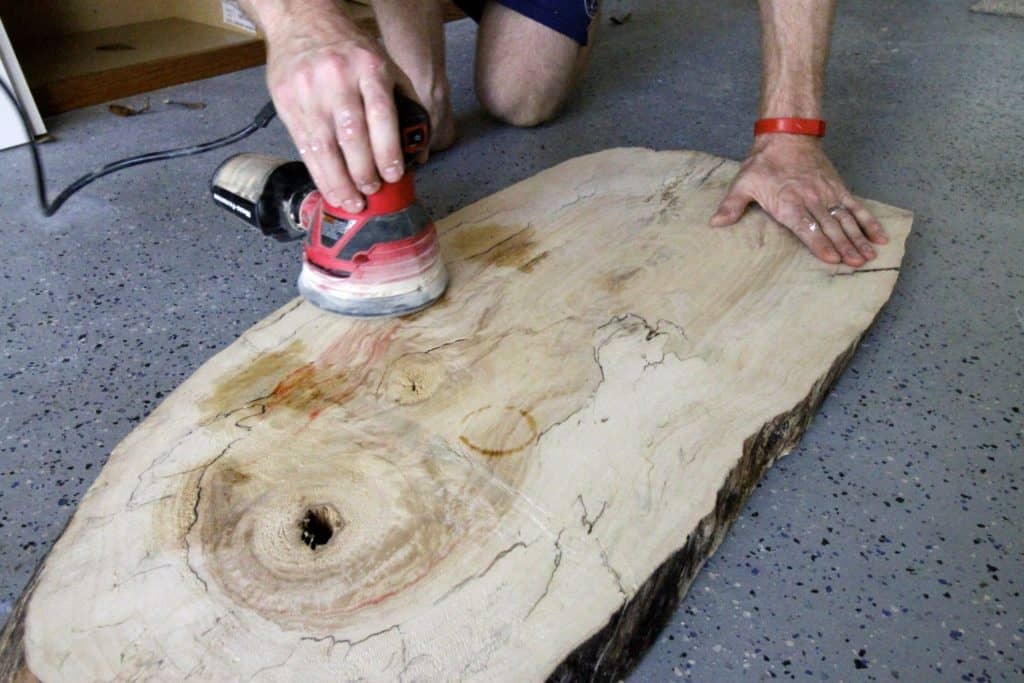
So the first real step was sanding both sides of the wood slab. Sean used his electric sander and got each surface as smooth as butter.
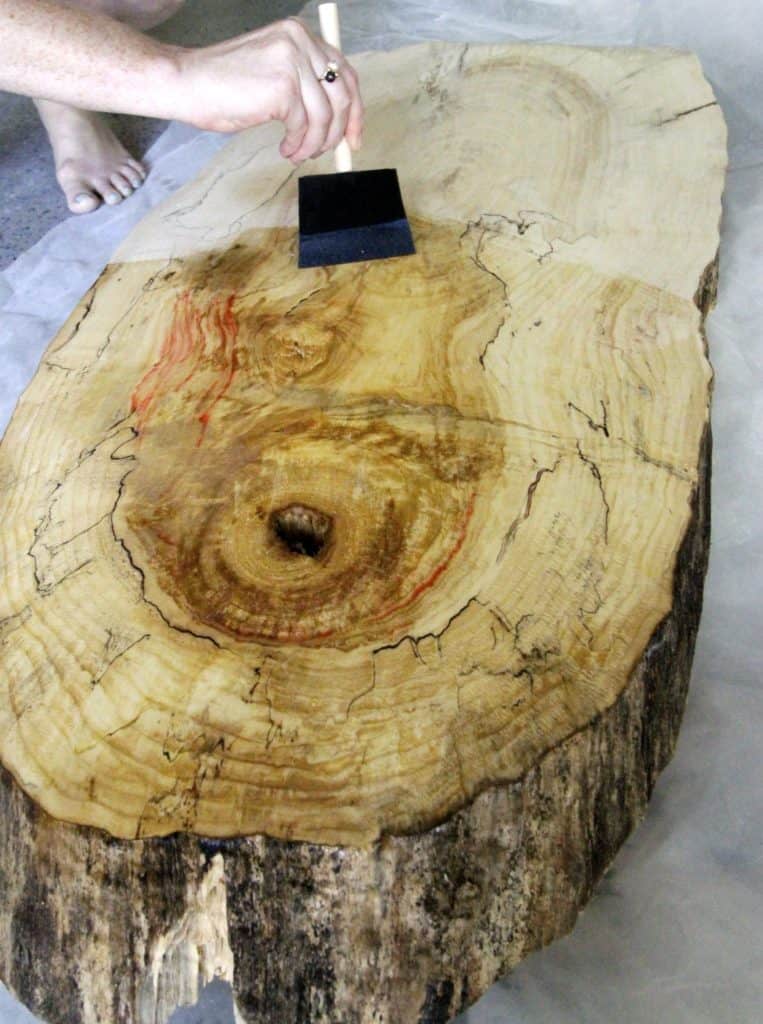
Next I wiped the slab really clean and applied the poly. It got 2 thin coats on the underside and 4 coats on the top side. The bark edges got 4 coats as well.
Make sure that you set it on plastic (we raised it on some scrap boards over plastic) because it will stick and dry to newspaper. Allow that to dry for at least 24 hours. Longer is better to be sure that it is really dry.
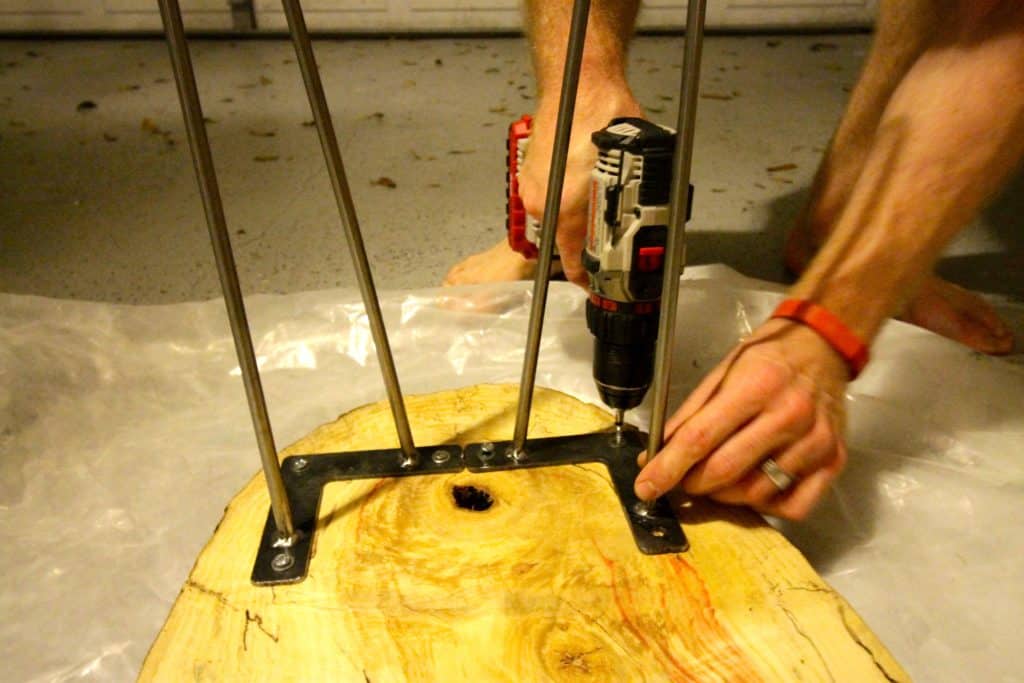
Step three: attach legs
Next, select the placement of your legs. Evenly space them out on both ends of your slab.
Remember, since this is a live edge slab, it might not be perfectly rectangular, so make sure you pay attention to those measurements.
Mark the location of the legs and where the screws will go, then drill pilot holes.
Carefully drill the screws into place using the included screws.
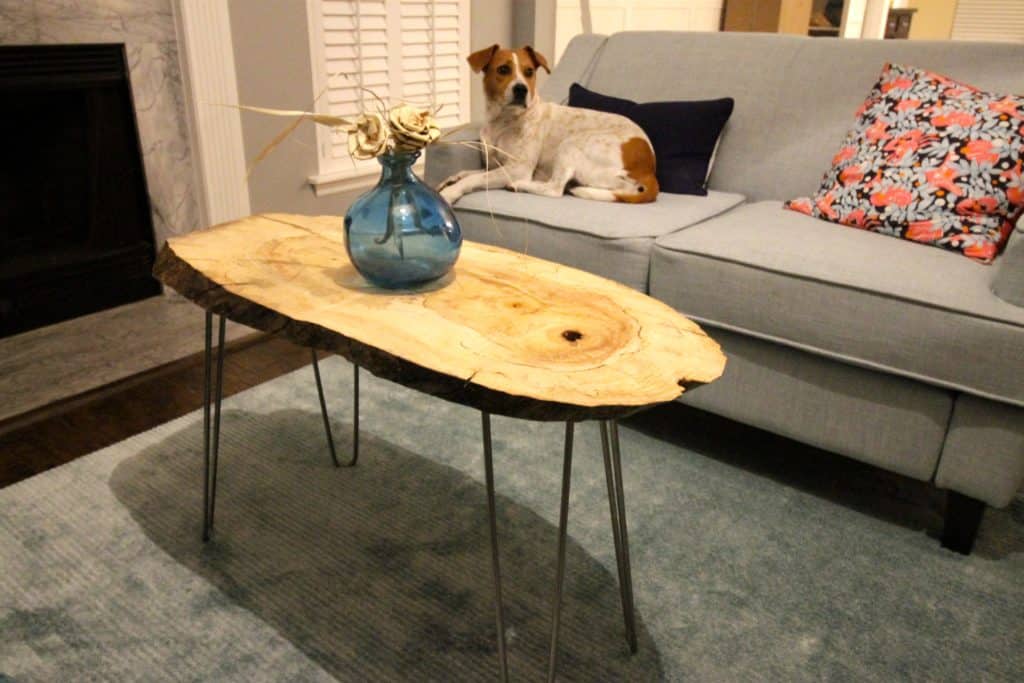
Flip the table over and you are good to go! We really love our new coffee table and are so pleased with the deal that we got by ordering the slab and legs from Amazon. If you make one, link to it below!
This post was not sponsored but does contain affiliate links. That means that if you click through and make a purchase, we will receive a small commission. Thanks for supporting the brands that make Charleston Crafted possible.

Hello, I'm Morgan, half of the creative force behind CharlestonCrafted.com! With a passion for DIY that dates back to 2012, I've transformed three homes and now I'm dedicated to helping others craft their dream spaces. Let's turn your house into a home together!




Bobbie says
What a beautiful table. I had no idea that amazon was in the live edge wood business? ( should I even be surprised...no?) I will check that out in the future. Have you ever worked with resin on your wood projects?
Sean says
We haven't really gotten into the resin game specifically, but we've done a few hacks with two-part epoxy, like this live edge table that we filled the crack with dyed two-part- https://www.charlestoncrafted.com/epoxy-live-edge-river-side-table/