• Skip to primary navigation
  • Skip to main content
  • Skip to primary sidebar
Charleston Crafted
  • DIY
  • Woodworking
  • Popular Posts
  • Blog
  • About
  • Shop
menu icon
go to homepage
  • DIY
  • Woodworking
  • Popular Posts
  • Blog
  • About
  • Shop
search icon
Homepage link
  • DIY
  • Woodworking
  • Popular Posts
  • Blog
  • About
  • Shop
×
Home » Painting

A Front Door Makeover

Published: Oct 25, 2016 · Modified: Jun 6, 2019 by Morgan · As an Amazon Associate, we earn from qualifying purchases. This site contains affiliate links. ·

Front Door Makeover - Charleston Crafted

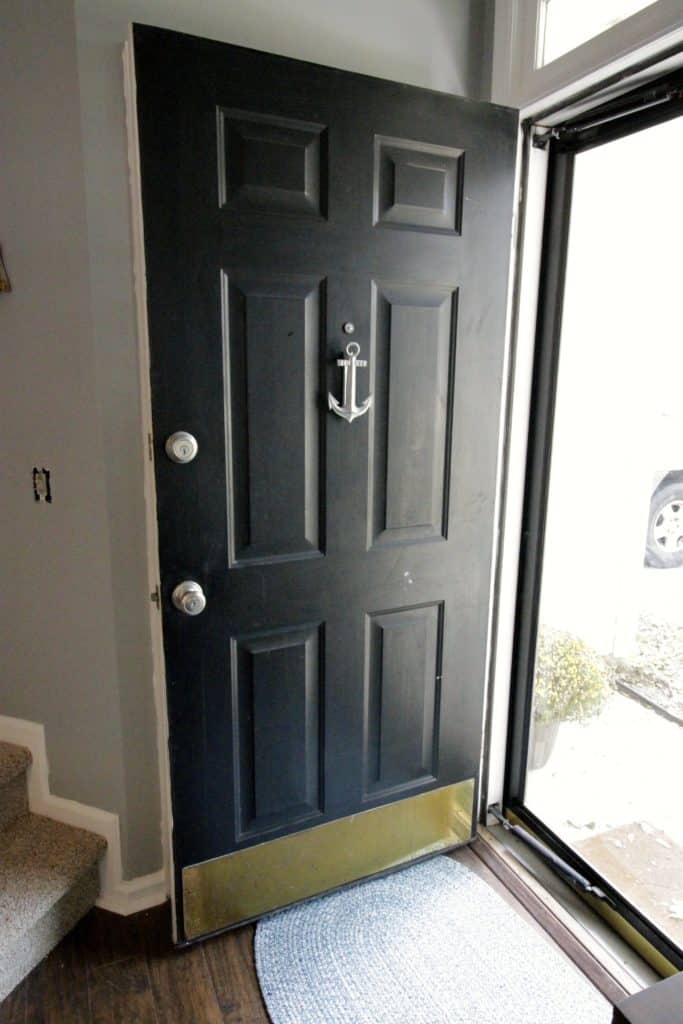
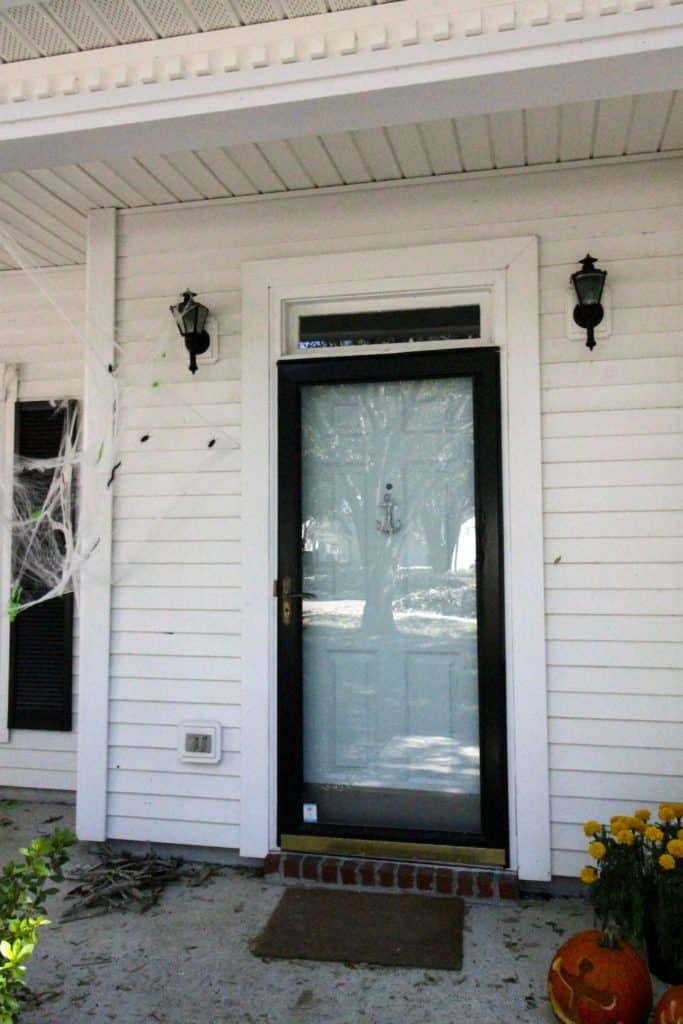
I have been wanting to update our front door with a coat of paint, but just haven't gotten around to it. Well, the One Room Challenge is pushing me to get on some things that I have been putting off! We decided that I didn't want to paint just the outside of the front door but the inside as well. I pulled a selection of mint and teal colors but decided on Sherwin Williams' Watery. I picked it up in an exterior grade paint in a semi gloss.

Front Door Makeover - Charleston Crafted

Front Door Makeover - Charleston Crafted

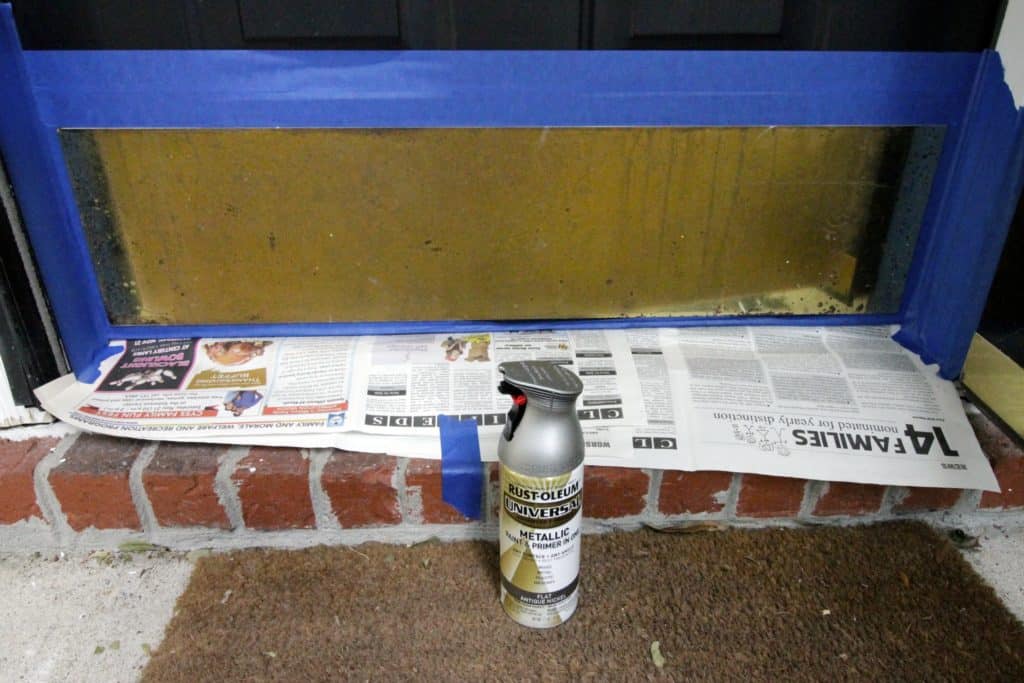
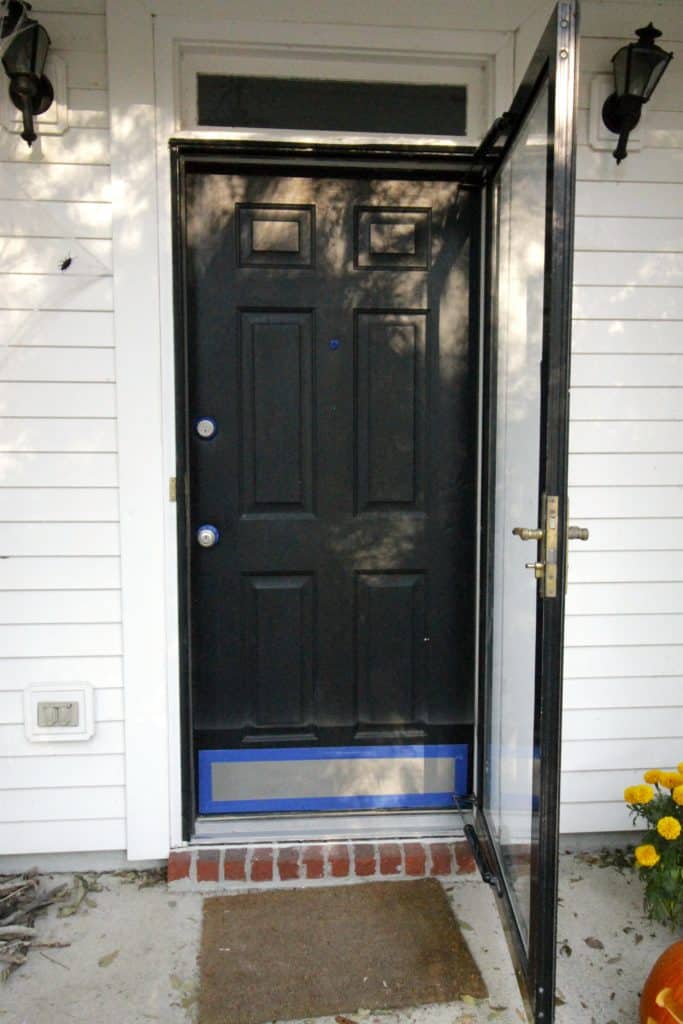
Before I painted the outside of the door, I decided to update the kick plate from gold to silver. We thought that it would be removable but it actually wasn't, so I just taped it off and sprayed it with a metallic silver spray paint. I actually let it dry for an entire week before painting the rest of the door to be sure that it was really dry.

Front Door Makeover - Charleston Crafted

Front Door Makeover - Charleston Crafted

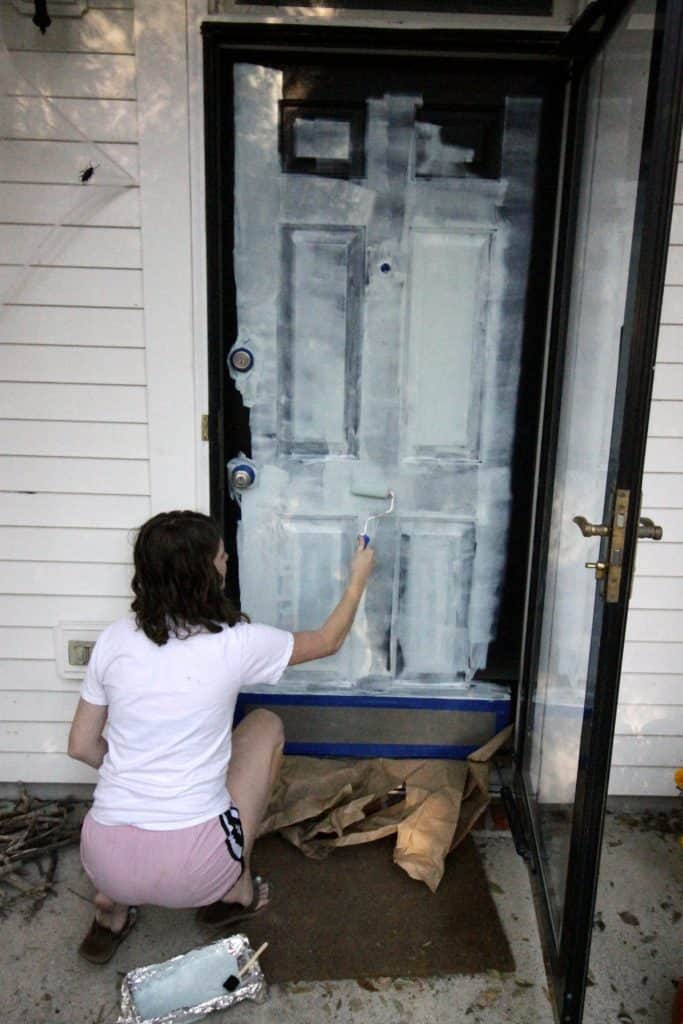
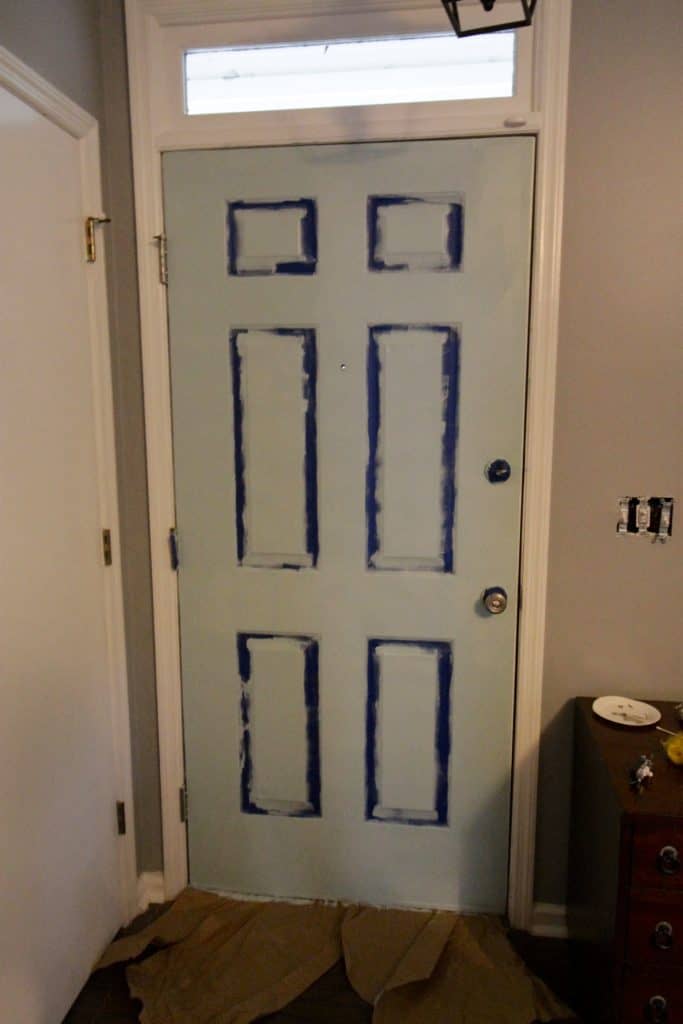
I rolled the door using a high density foam roller and a small foam brush. Each side of the door took six light coats to get an even finish. It took a while (I allowed at least 30 minutes of dry time between coats) but was very simple and most of the time was passive drying time.

Here are our best tips for how to open a paint can.

Front Door Makeover - Charleston Crafted

Front Door Makeover - Charleston Crafted

Front Door Makeover - Charleston Crafted

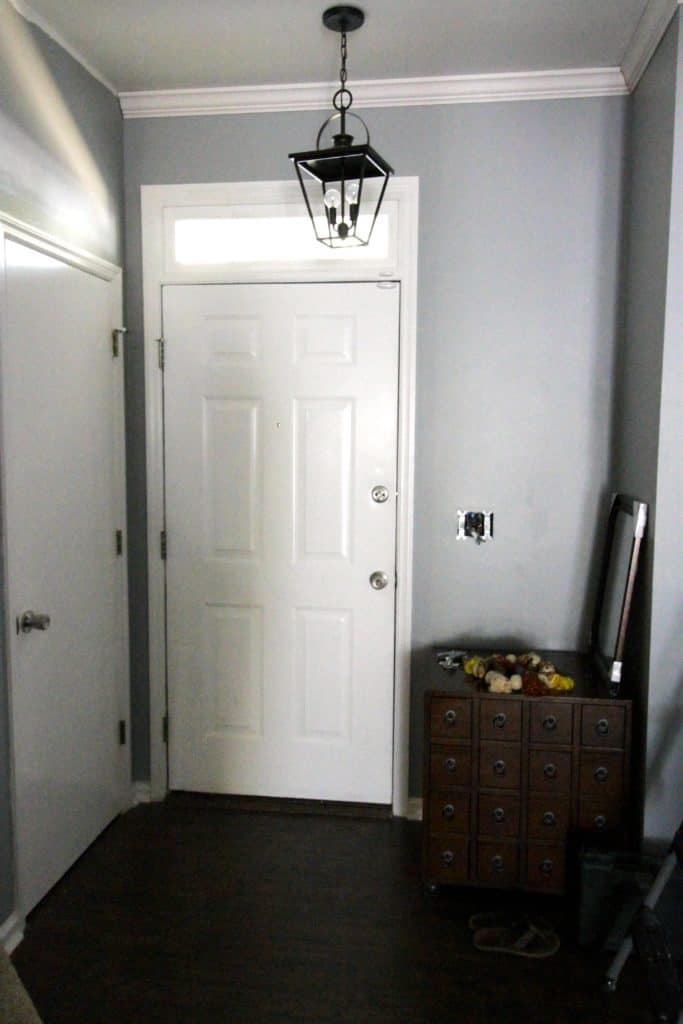
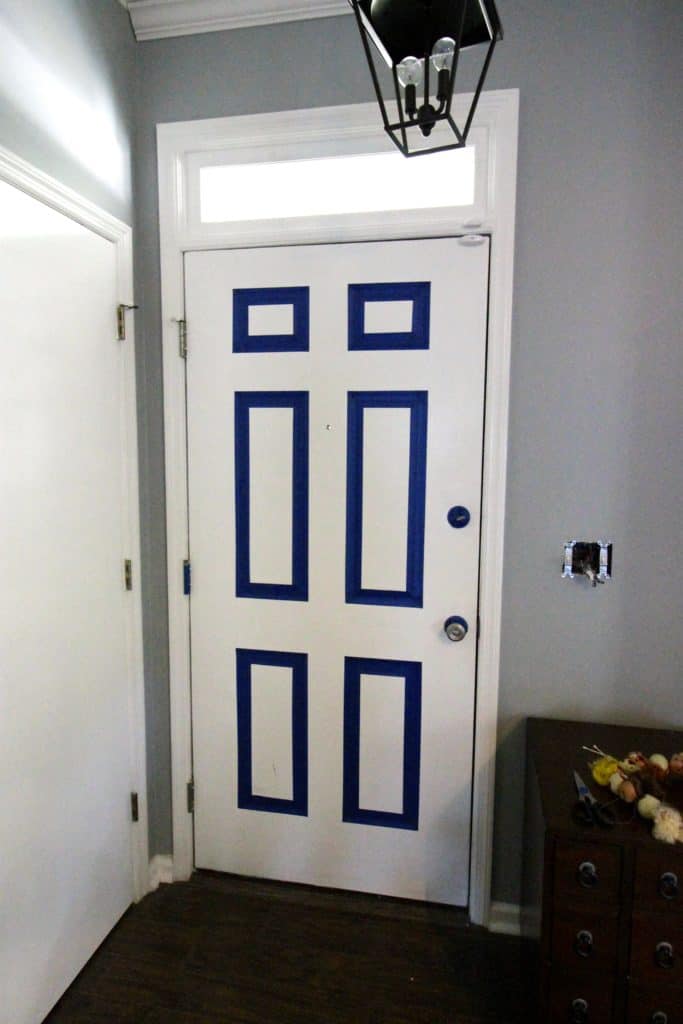
On the inside of the door, I decided to try something a little different. I actually taped off the 6 panels and left them white. This is similar but the reverse of the effect that we did on the condo's front door interior. I know that the look is not for everyone, but I think that it adds some interest. The color is perfect for this room!

Front Door Makeover - Charleston Crafted

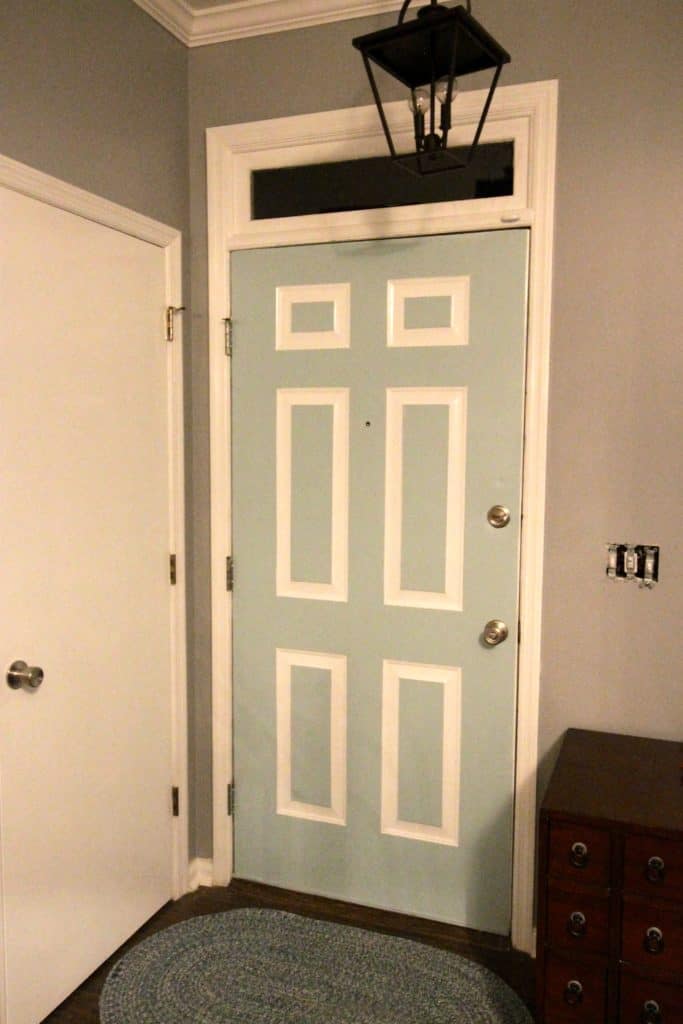
I am so excited for this simple and inexpensive update and the big impact that it had!

Want more painted doors? Here is how to paint a door with a paint sprayer, and here is how to paint a door! Also, check out how I painted a geometric pattern on an interior door!

 Charleston Crafted Logo heart
 Charleston Crafted Logo facebook
 Charleston Crafted Logo insta
 Charleston Crafted Logo pinterest
 Charleston Crafted Logo twitter
Morgan headshot cropped
Morgan

Hello, I'm Morgan, half of the creative force behind CharlestonCrafted.com! With a passion for DIY that dates back to 2012, I've transformed three homes and now I'm dedicated to helping others craft their dream spaces. Let's turn your house into a home together!

More Painting

  • how to paint kitchen cabinets
    How to paint kitchen cabinets - for a perfect finish!
  • how to prep cabinets for painting
    How to prep cabinets for painting
  • Best spray paints for outdoor furniture
    Best spray paints for outdoor furniture
  • the best paint for metal outdoor furniture
    The best paint for outdoor metal furniture

Primary Sidebar

Charleston Crafted about us image

Hey y'all!

We are Morgan & Sean McBride and we are crafting our home together in Charleston, South Carolina.

More about us

Popular Posts

  • DIY Coffered Ceiling
    DIY Coffered Ceiling
  • How to Make DIY Concrete Pumpkins via Charleston Crafted
    How to Make DIY Concrete Pumpkins
  • How to Make a Cupid's Arrow Valentine's Day Wall Hanging with felt on the Cricut
    How to make a Cupid's Arrow Valentine's Day Wall Hanging
  • Our Tropical Oasis - A backyard Hammock area - Charleston Crafted
    Our Tropical Oasis

Recent Posts

  • how to organize a pantry with zones
    How to Organize Your Pantry in Zones (And Why It’s a Game Changer)
  • Keep outdoor rug from blowing up - Charleston Crafted
    How to keep your outdoor rug in place
  • kitchen design mistakes to avoid
    Kitchen design mistakes to avoid
  • DIY Faux Tropical Window Box That Looks Real (But Won’t Die!)

Privacy Policy

Footer

↑ back to top

Navigation

  • Home
  • Blog
  • Contact Us
  • Terms of Use
  • Disclaimer

Newsletter

  • Sign up for emails and updates
  • Follow us on Instagram
  • Work with Us

Browse by Category

  • Woodworking
  • Home Projects
  • Paint Colors
  • Room Reveals

© 2025 The Charleston Crafted Blog LLC DBA “Charleston Crafted” and “CharlestonCrafted” (also known as N/A) / All Rights Reserved.
Official Website: (Charleston Crafted)
Registered in USA (Co. Reg. No.: 565586)
Address: Charleston, USA 29414, South Carolina
Contact Phone: Not applicable — contact is via email: sean@charlestoncrafted.com

DISCLAIMER: The content on this website is provided for general informational purposes only and is not intended as professional advice. The Charleston Crafted Blog LLC and The Charleston Crafted Blog LLC make no representations or warranties—express or implied—regarding the accuracy, completeness, or suitability of the information contained herein. Any reliance you place on this information is strictly at your own risk. In no event shall The Charleston Crafted Blog LLC or The Charleston Crafted Blog LLC be liable for any loss or damage, including without limitation, indirect or consequential loss or damage, arising from the use or inability to use this website. This website is the official website of The Charleston Crafted Blog LLC.

AFFILIATE DISCLOSURE: This website contains affiliate links. If you click through and make a purchase, we may earn a commission at no extra cost to you.

As an Amazon Associate, I earn from qualifying purchases.

Site Editor: Morgan Smith McBride

Copyright © 2025 Charleston Crafted