Wondering how to make a driftwood Christmas tree? Here is a complete step by step tutorial that you can use to whip one up this weekend!
If you've followed us for any amount of time, you know we're obsessed with driftwood.
Whether it was our coffee table or our wedding cupcake display or our Christmas tree topper last year, we love driftwood. This time, we decided to make an actual small driftwood Christmas tree.
We made a driftwood tabletop tree, but this same tutorial could be modified to make a driftwood tree of any type. Just adjust the height of the dowel "trunk!"

DIY Driftwood Christmas Tree
A driftwood Christmas tree is a great craft to make for anyone with a coastal aesthetic and can be made with free found driftwood and scrap wood.
All you need to do is go gather driftwood of various lengths and grab a small board and a thin dowel.
If you do woodworking of any kind, these should be on hand. But if not, you can still probably get all these materials for free.
Check out this DIY pallet wood Christmas tree you can make for outside!
Supplies needed to make a drift wood Christmas tree
- Assorted driftwood
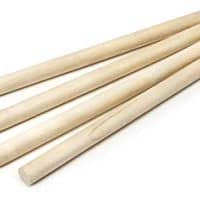
- Dowel - we used ⅝" diameter. You may need to use a thicker one for a taller driftwood tree, but then you'll need thicker piece of driftwood as well.
- Drill
- Scrap wood cut to desired size for base
Steps to make a Driftwood Christmas tree DIY
Here's all the steps you need to make a DIY driftwood Christmas tree!
STEP 1 - lay out driftwood tree
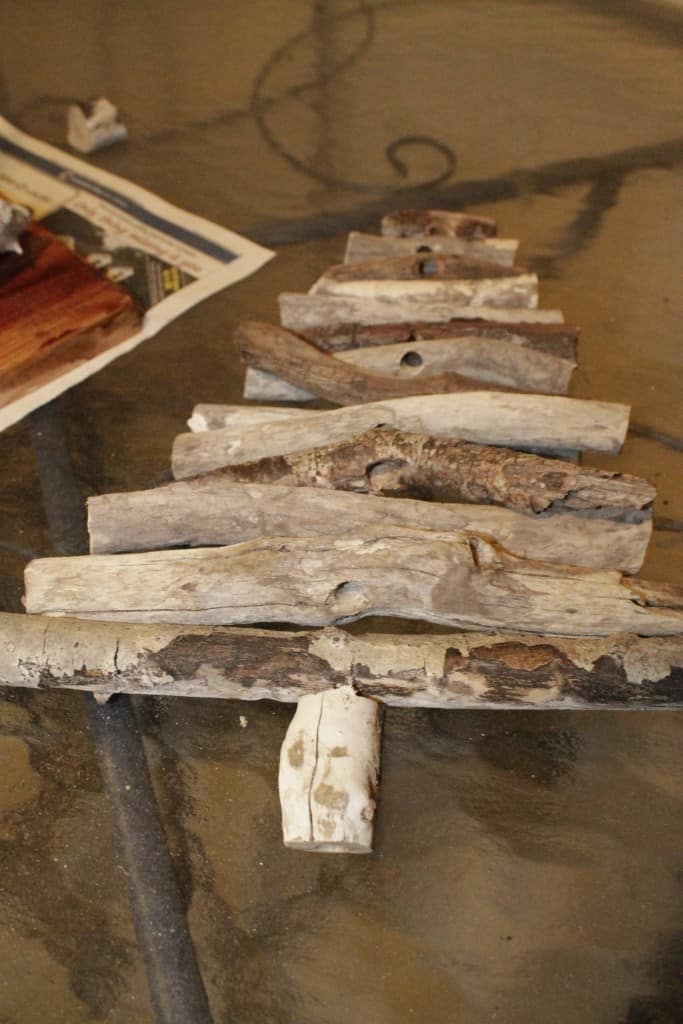
First, I decided how tall I wanted the tree to be and then picked out some good pieces of wood. I used a ⅝" dowel to plan my tree, so I had to pick pieces of driftwood that were thicker than that.
The way to do this is to use the dowel as the trunk of the tree and drill holes in your driftwood to thread over the dowel.
I laid out the pieces so that they were roughly the right size and then had to cut them to be gradually shorter up the top. Lay out as many as you want for how tall you want your tree to be, but we stacked about 12" tall.
STEP 2 - Drill into the center of the driftwood pieces
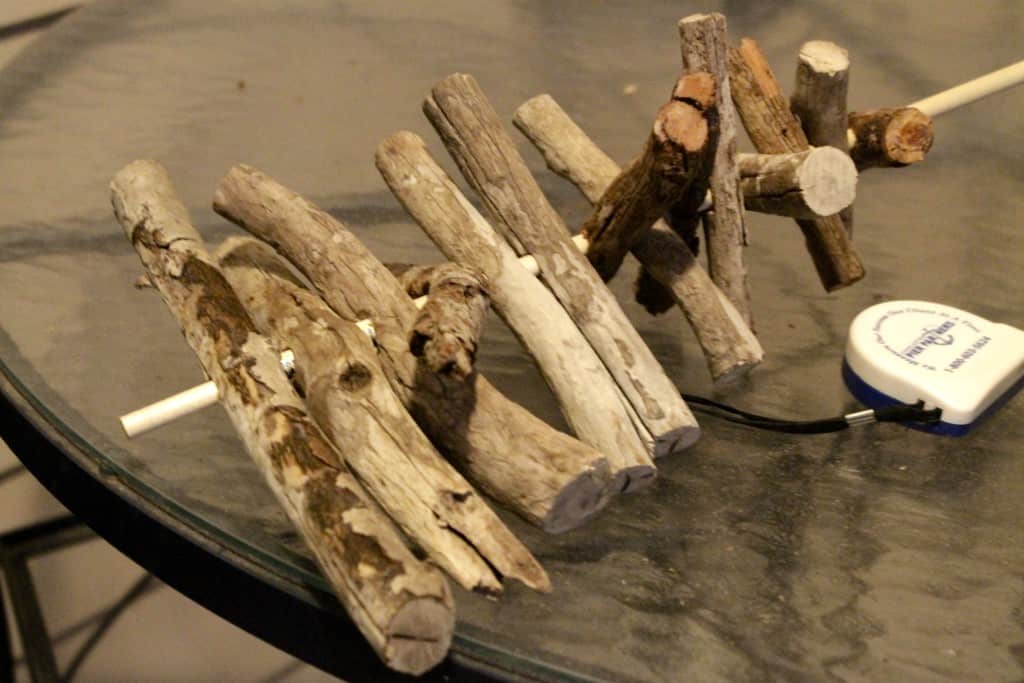
Once I had the pieces I wanted, I used a ¾" drill bit to drill the middle of each piece to thread over the dowel.
The ¾" drill bit is just slightly wider than the ⅝" dowel, making it a lot easier to slide them onto the dowel and then rotate them later.
Drill the hole in the center of each piece of driftwood and then thread the pieces onto the dowel in the order you laid them out!
STEP 3 - create the trunk and topper
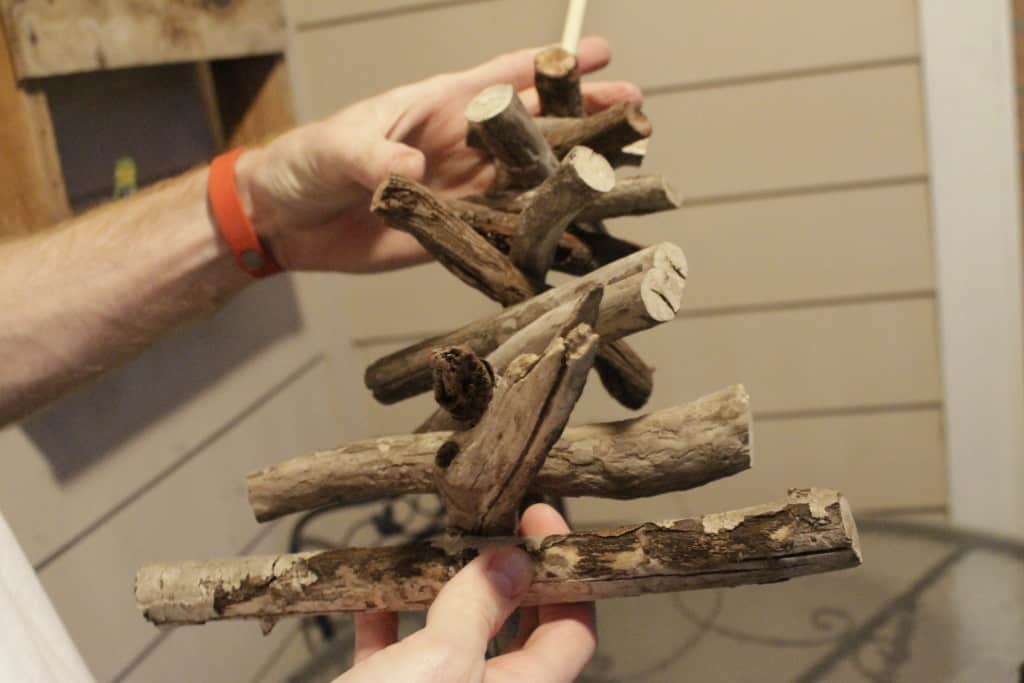
I created a little trunk by drilling a short piece of wood right down the middle vertically.
Then we also added a little tree topper by drilling halfway through a short piece of driftwood so that it would cap the top of the dowel. You can glue the topper on or let it rest on top.
STEP 4 - make the base
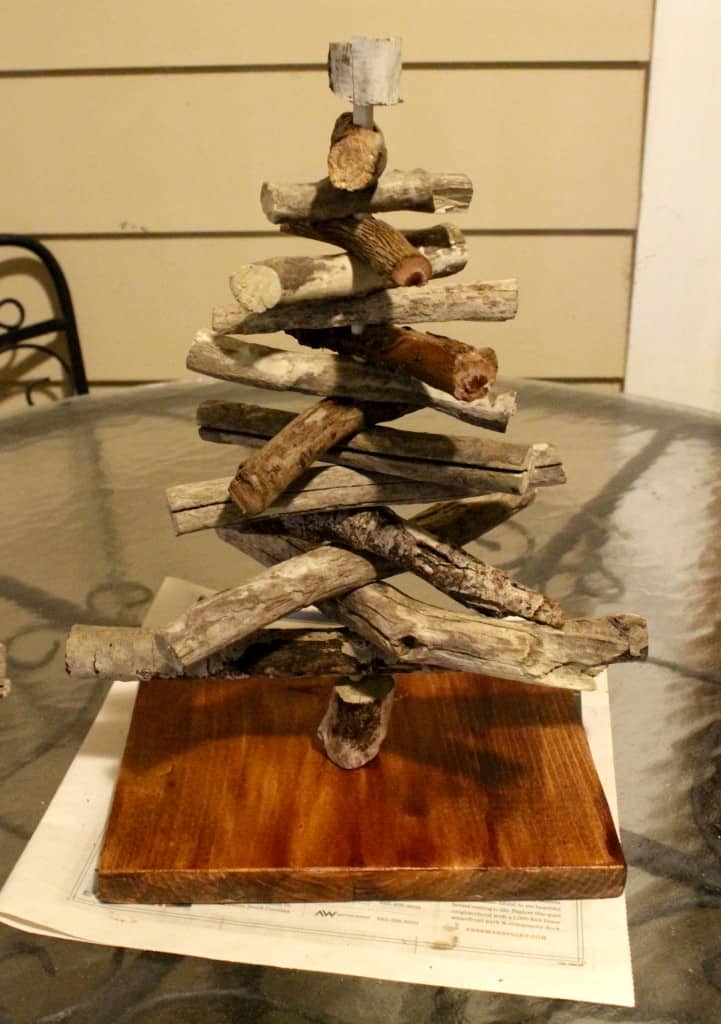
Next, I needed to make a base. I stained a piece of rectangular wood and drilled a shallow hole right in the middle.
Then, I liberally applied some wood glue and propped the cut dowel in the hole in the base to dry.
STEP 5 - string it together
After everything was dry fit, I threaded the pieces I had cut over the tree all the way to the top.
Finally, I topped it with the little chunk of wood with a shallow hole drilled as the tree topper.
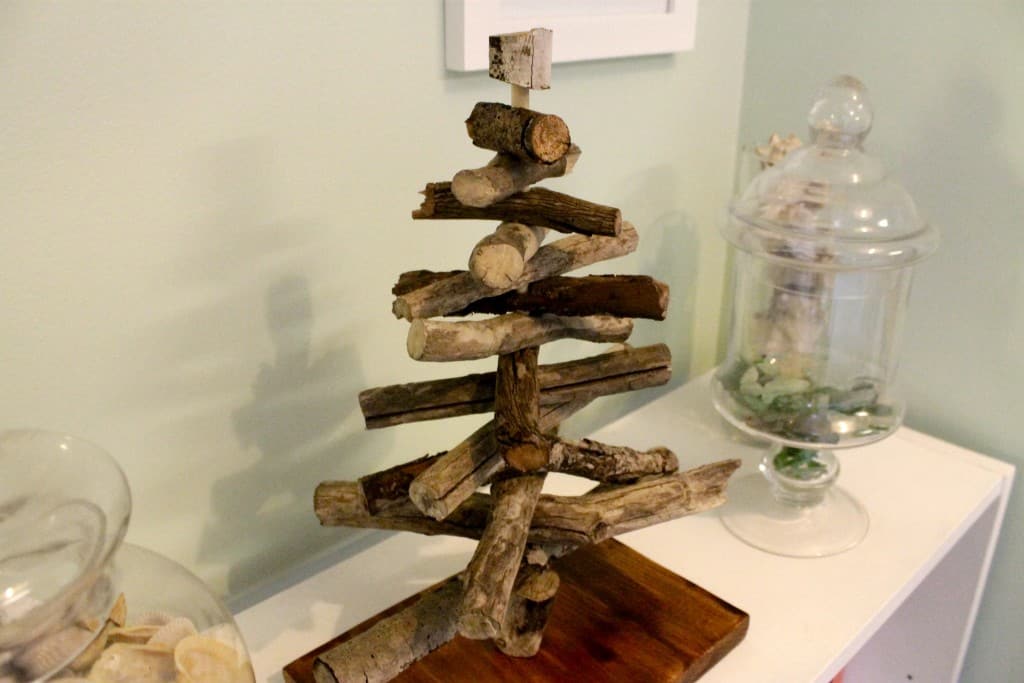
DIY driftwood Christmas tree
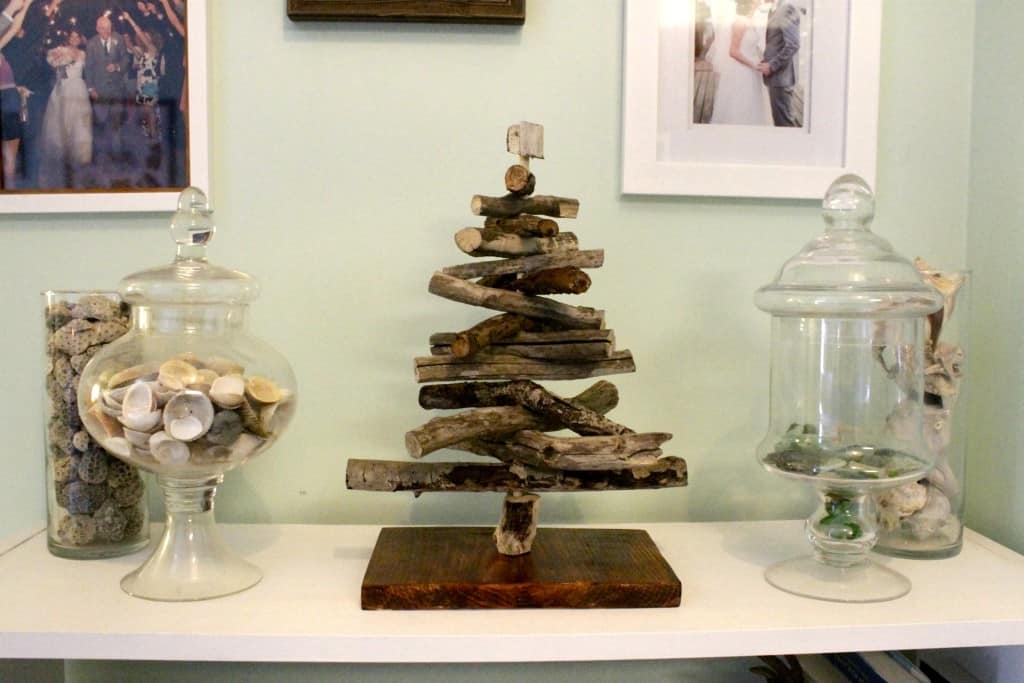
Voila. It looks awesome! You could make this easily and could use it by itself or hang a few little ornaments on it to reflect your style in your Christmas decor.
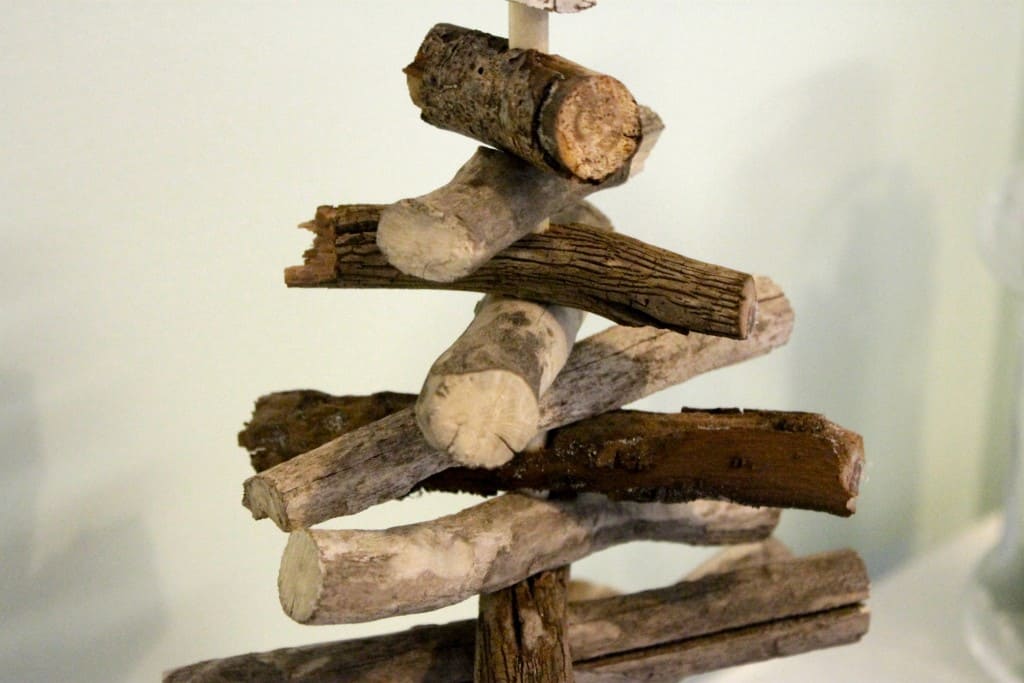
We slightly rotated each piece of dowel so that it looked like more of a full tree, but you can also keep the pieces straight side to side so that it looks more like a triangle.
Love driftwood projects? We have done a ton! Be sure to check out our driftwood coffee table and our 7 favorite driftwood projects!
Before you go...
If you love wooden tabletop Christmas trees, make sure you check out these DIY angled tabletop trees that you can swap out the wrapping paper within!
What are your Christmas crafts?
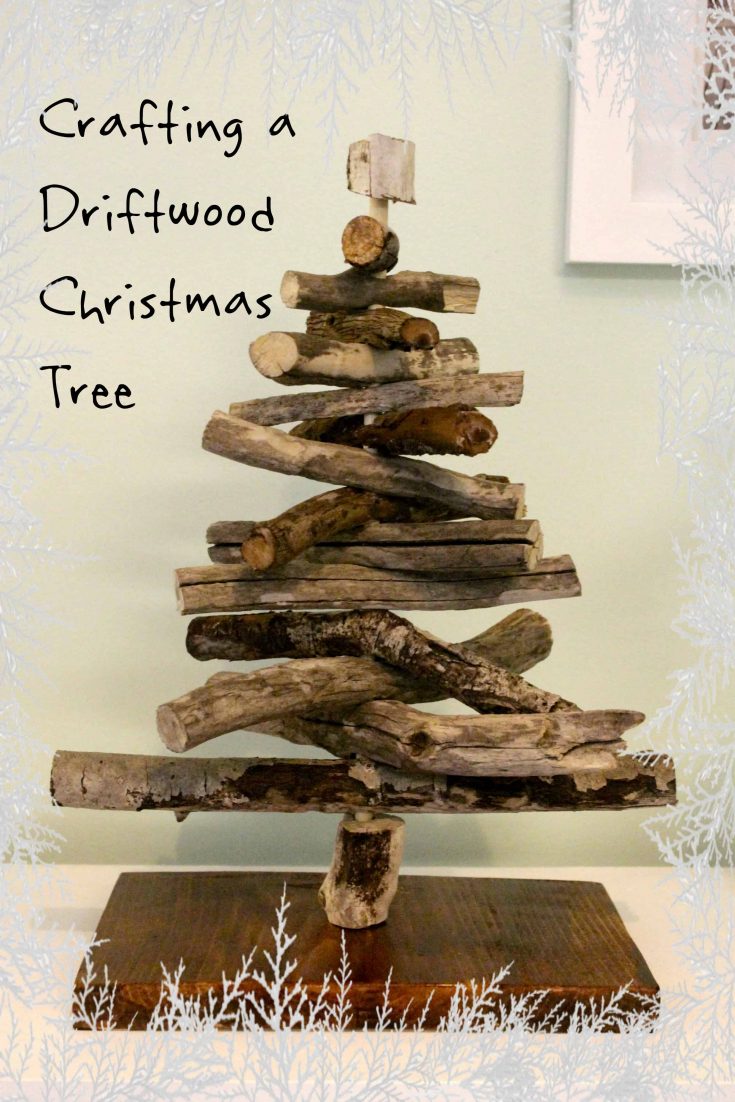
How to make a driftwood Christmas tree
Check out my super simple tutorial for how to make a DIY driftwood Christmas tree!
Materials
- ⅝″ dowel
- Driftwood
- Scrap wood for base (stained or painted)
Tools
- Drill
Instructions
- Line up driftwood from smallest to largest, in a tree shape. You might need to break some to create the right look.
- Use a ¾" drill bit to drill through each driftwood piece, in the horizontal center of each piece.
- Run the driftwood onto the dowel.
- For the end, we cut a small piece of driftwood to look like a stump and drilled thru it.
- If you want a wooden base, use a piece of stained or painted scrap wood. Drill a shallow hole in the middle. Fill with wood glue and stick the dowel in there.
Notes
All driftwood needs to be thicker than your dowel so the dowel can run through it. Adjust your dowel size accordingly.
Recommended Products
As an Amazon Associate and member of other affiliate programs, I earn from qualifying purchases.
Looking for something?
We've been doing this since 2012 so we have a LOT of blog posts!
Search stuff like: Ceiling Projects | DIY Plant Stands | Thrift Flips


Hey there, I'm Sean, the woodworking enthusiast and builder behind CharlestonCrafted.com! Since 2012, I've been sharing the magic of turning raw materials into beautiful creations. I love teaching others the art and satisfaction of woodworking and DIY. I try to inspire fellow crafters to make something extraordinary out of nothing at all.

