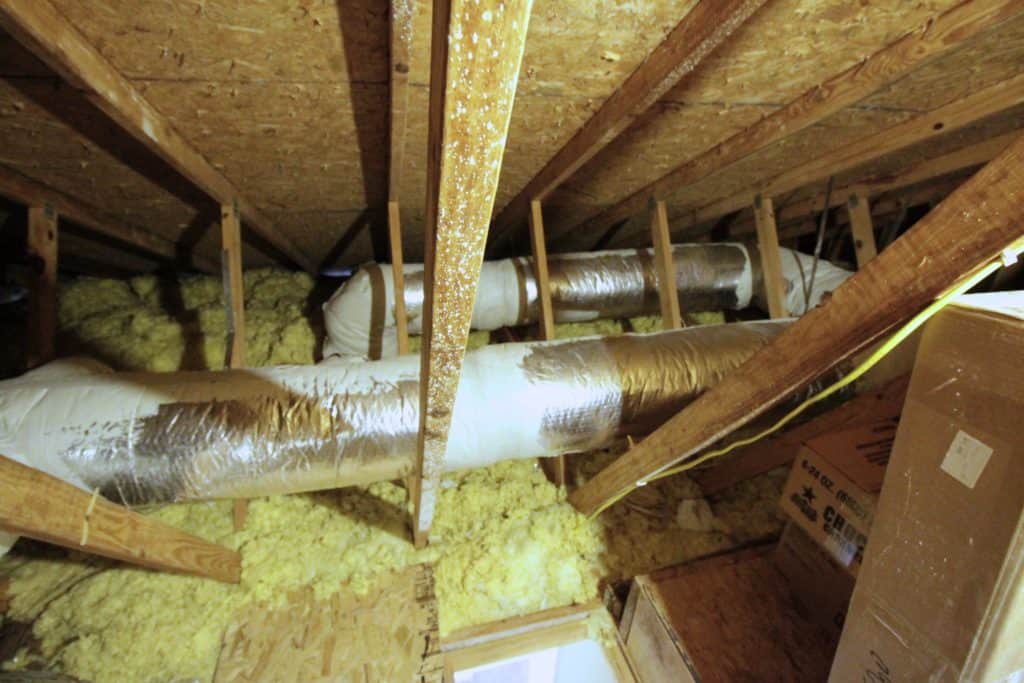
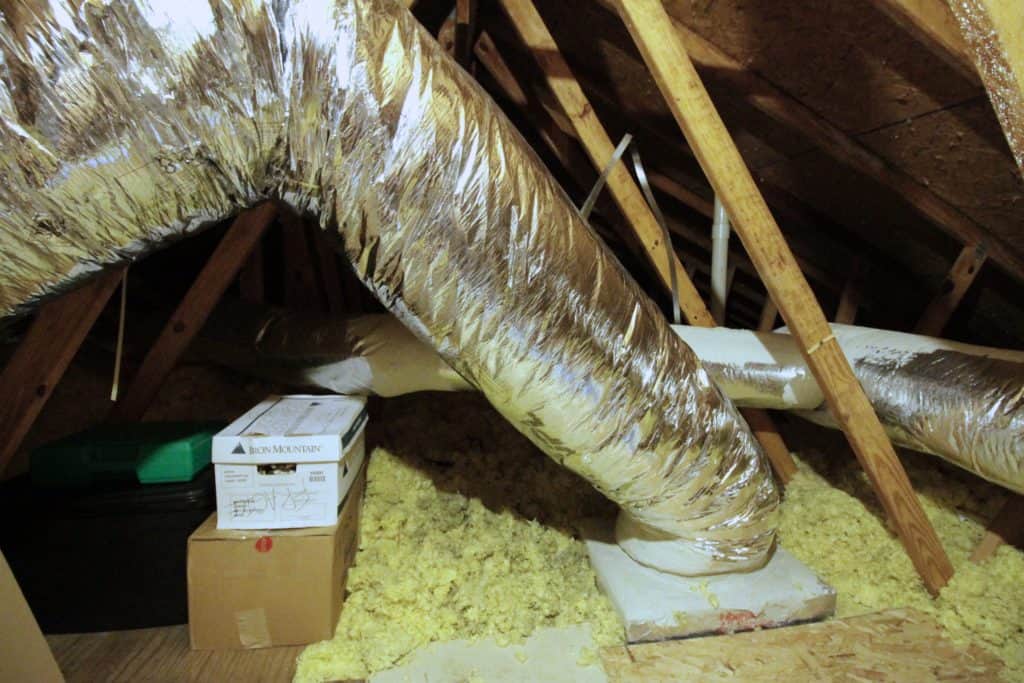
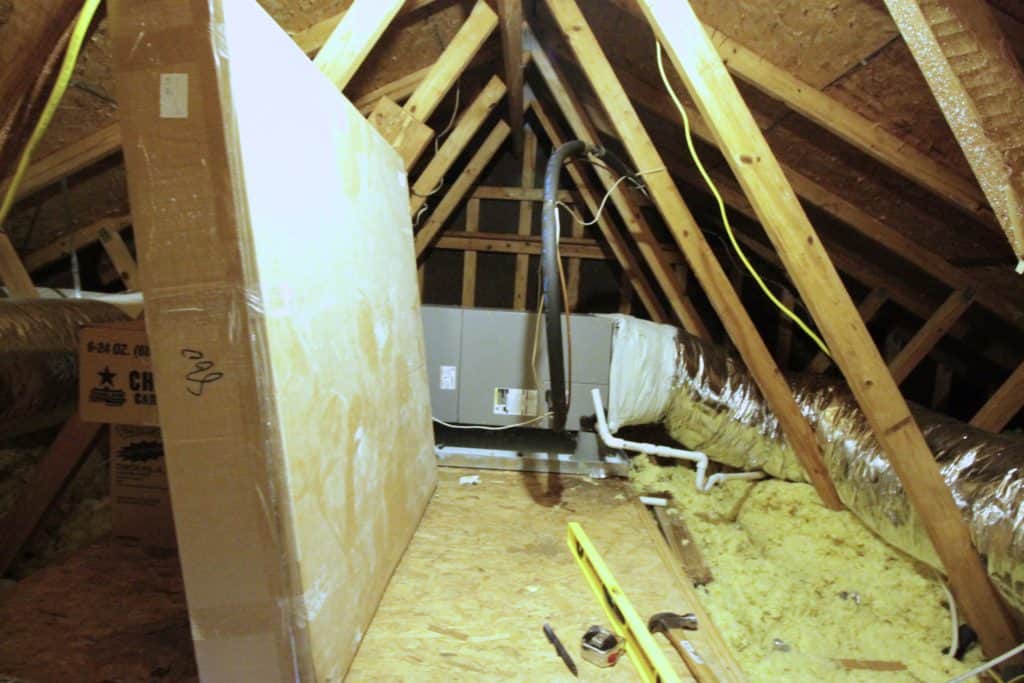
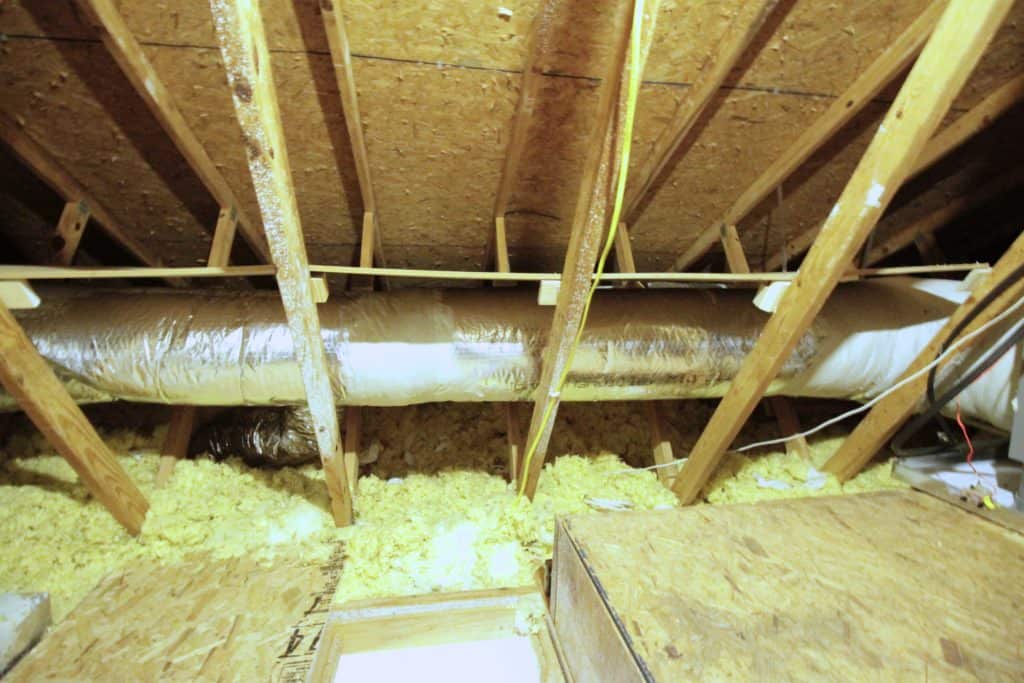
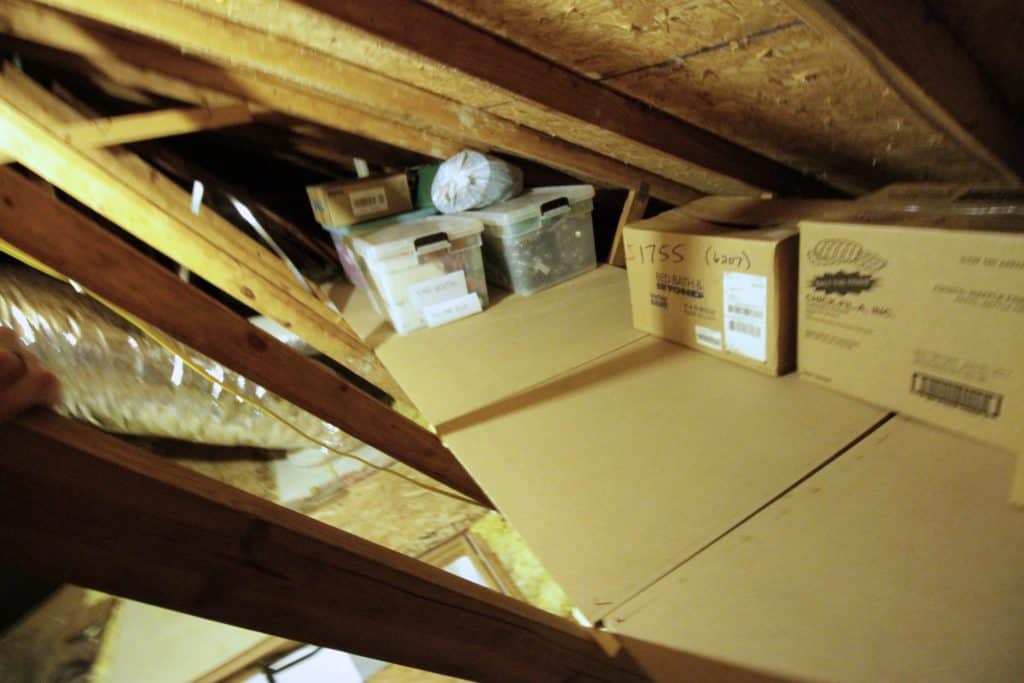
Growing up, we stored all of our annual and infrequently used stuff in the attic. It was natural. I never would have thought differently or that any other house would be different. That can have its own set of problems (like when you go help your dad move out and it takes hours to empty the attic...) but it was the perfect solution for storing our things. So when we moved into our house, I assumed that we would be putting our Christmas decorations, camping equipment and other infrequently used things in the attic. However, when I went up there the first time, I found out that the only flooring was a small landing pad where the air handler was. Not to mention that all the duct work went around the entrance to the attic and the rest of the attic that was available was tortured with slanted beams holding up that pesky roof of ours.
We needed to store stuff up there, so I had to get creative.
The first thing I did was to collect plywood from construction dumpsters and the side of the road to use as some flooring. I would never buy plywood for this. Plywood is one of those things that is pretty easily accessible if you start looking for it. Once I had some decent pieces, I carried it upstairs and laid it out on the accessible floor space. The only thing to remember when doing this is to make sure it is resting on studs, otherwise you'll just plummet through your ceiling.
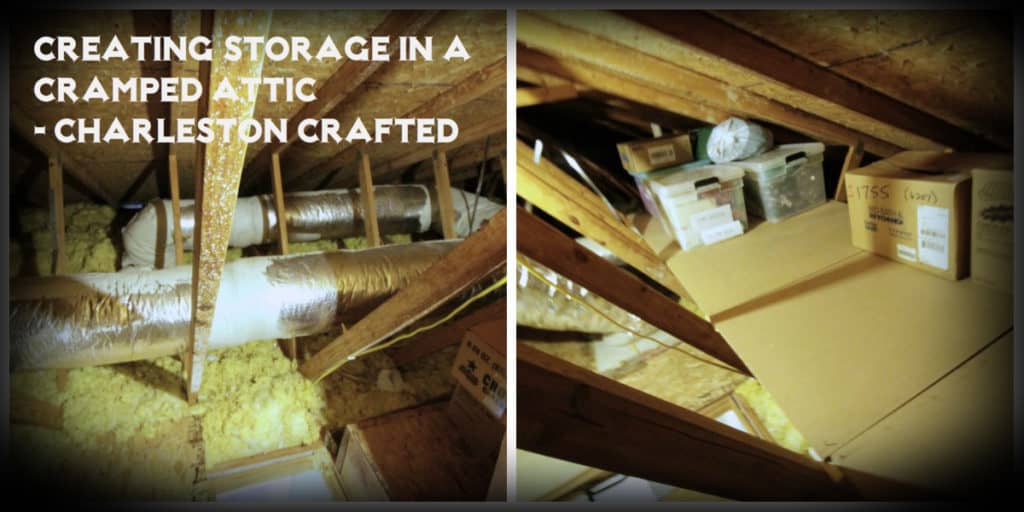
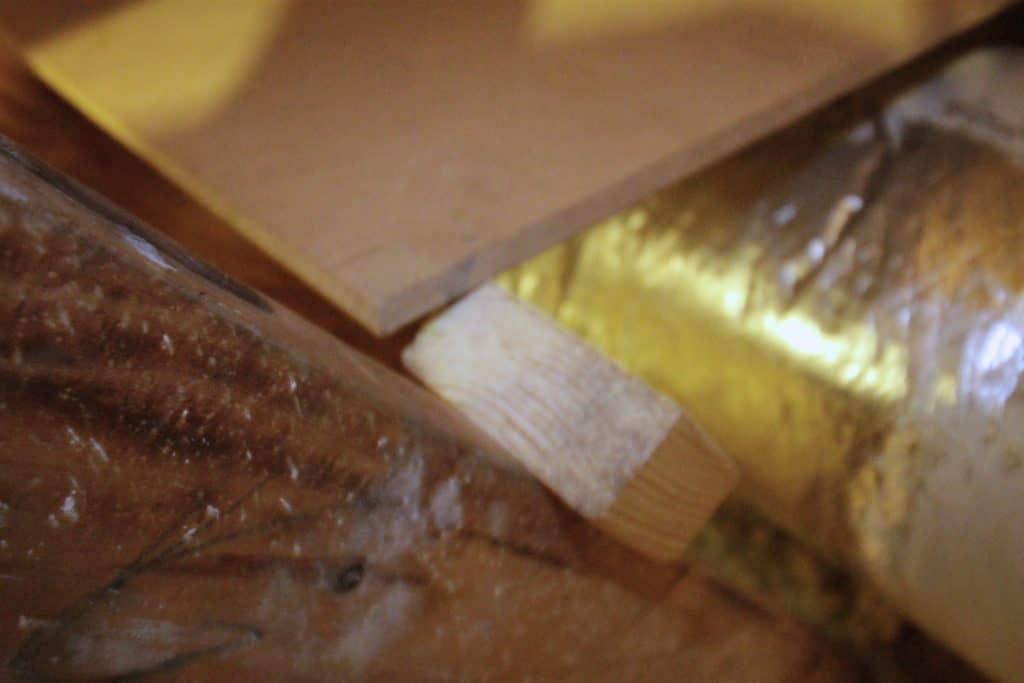
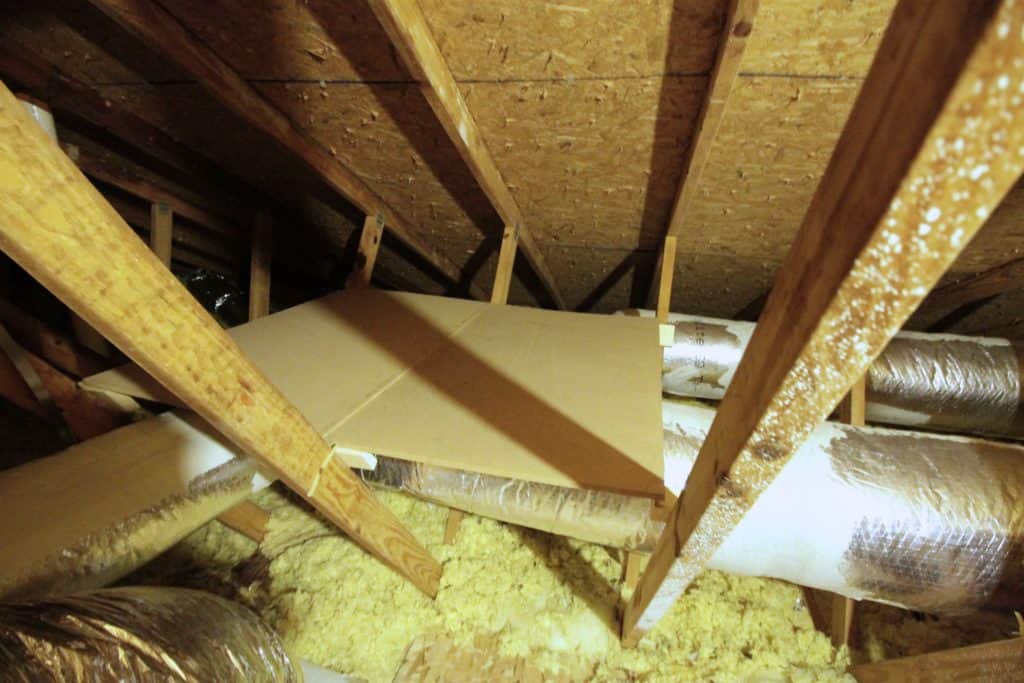
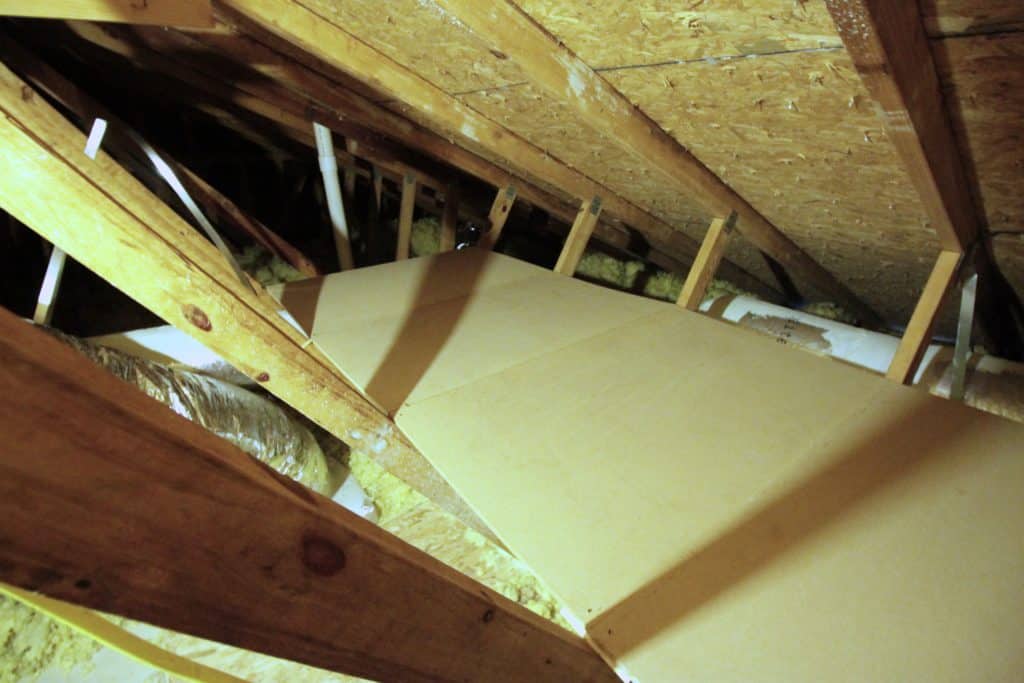
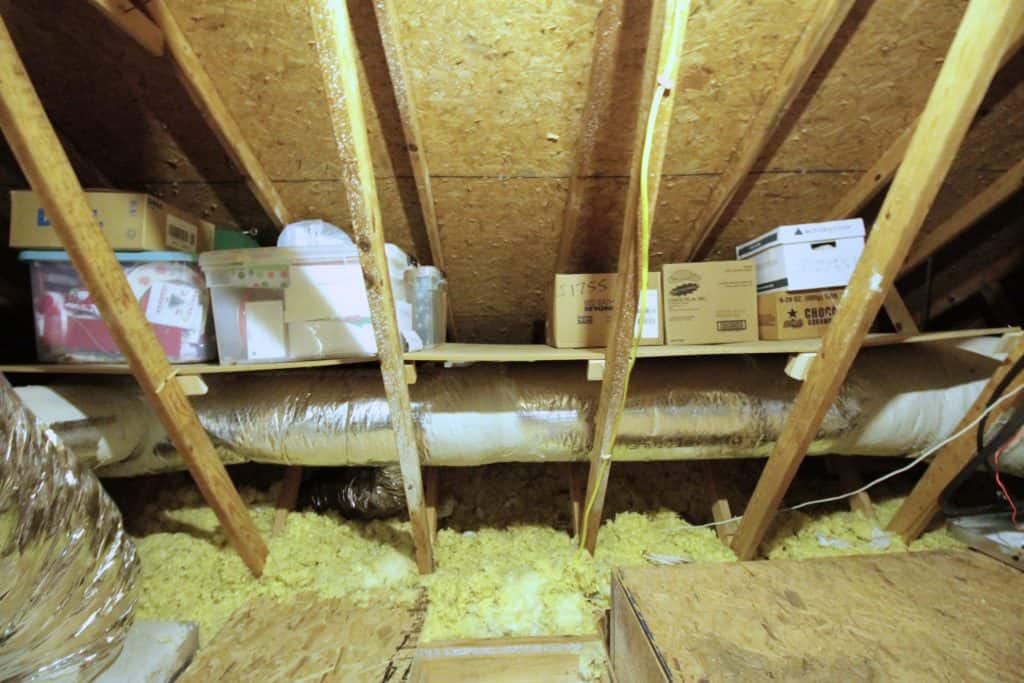
Next was the storage. Like I said, the space is really awkward with air ducts and slanted beams, so I couldn't put much on the ground. So, I had to go vertical. I measured the distance between slanted beams above the air duct on one side and found it to be 42 inches. Using scrap pieces of wood, I created supports on the beams by nailing the scrap pieces into the beams across from each other. Then, did so on the beams next to them to create a four post base. I did this all the way across six sets of beams at the same height across.
Then, I simply laid down pieces of MDF board (you could use free plywood here too) to act as a long shelf across the beams above the air duct.
I finished it off by driving a single nail through the boards into the support pieces so that they wouldn't slide around. Then, I was ready for storage.
Going vertical is a great way to create storage in any situation. People always assume that once something is on the ground, it also owns all the space above it. Sometimes, especially in a case like this, you have to improvise. This didn't open up a ton of storage for us, but we were able to get all of our Christmas decorations out of the garage for the year. Plus, this is a project I can add on to in the future in other places where the air duct runs between beams.
How do you store things in your attic? I'd love to hear more tips from you about adding more space!
 |
|||
 |
 |
 |
 |

Hey there, I'm Sean, the woodworking enthusiast and builder behind CharlestonCrafted.com! Since 2012, I've been sharing the magic of turning raw materials into beautiful creations. I love teaching others the art and satisfaction of woodworking and DIY. I try to inspire fellow crafters to make something extraordinary out of nothing at all.

