This post will show you how to remove the outdated and pointless phone jack on your wall and patch the hole with drywall! This will instantly modernize your home!
Want to know how to remove a phone jack? Unless you bought a new construction house from within the last ten-ish years, the house you bought probably came complete with a sweet phone jack hookup for your land line telephone.
Awesome! That'll come in handy when you have some "Back to the Future" ordeal and need to call your Liz Frank '90s loving self while twirling a phone cord around your finger.
Home landlines are dead, but the ugly phone jack is still there.
Luckily, they are easy enough to remove and patch drywall over and you'll never know it was there!
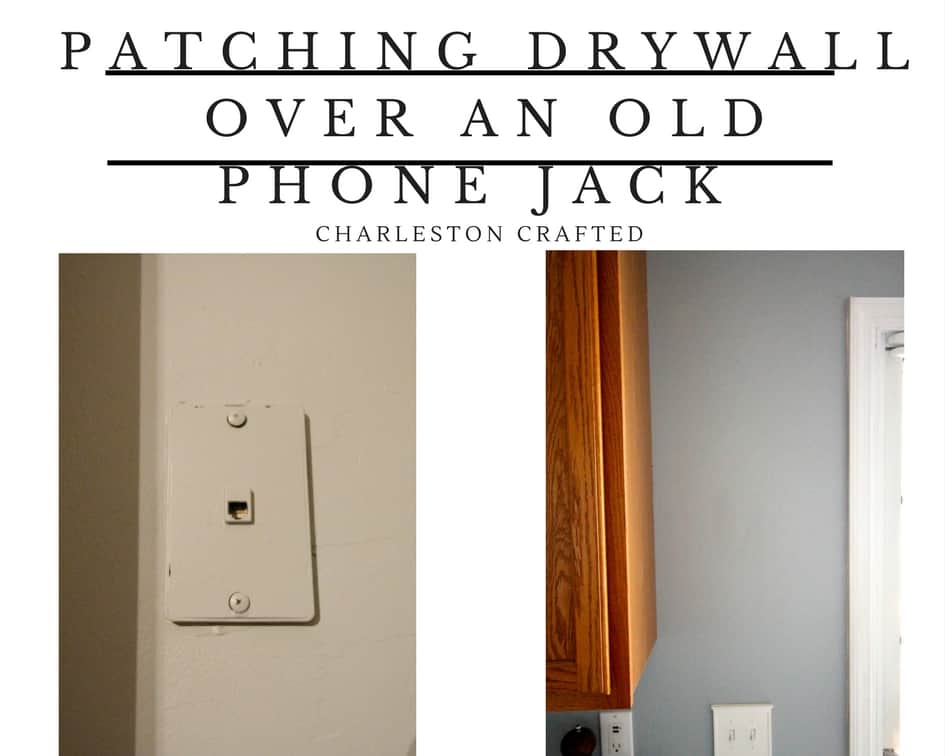
How to remove a phone jack from a wall
Raise your hand if your phone jack is painted over. That's what most people have done, or hung a picture in front of it.
However, it's really easy to actually just remove the jack from the wall and make the wall look as good as new.
Step one: remove phone jack plate
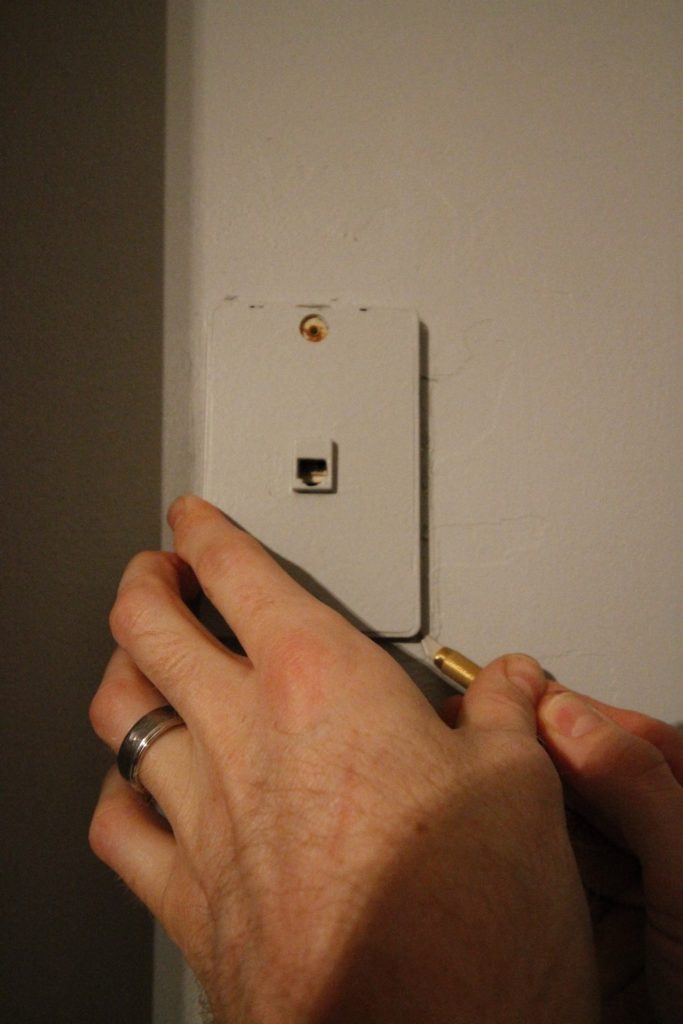
The first thing I did was remove the plate on the front of the jack, which exposes the wiring.
I needed to use an xacto knife to remove the dried paint and years of it being stuck to the wall, but it popped off easy with a little pressure.
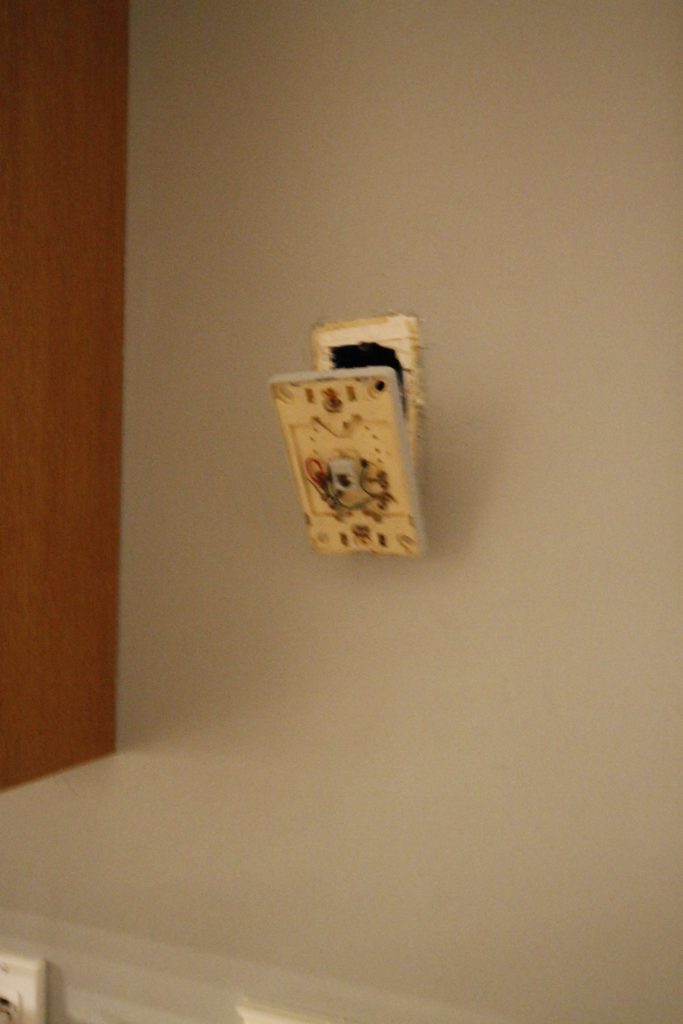
Then, I cut off the power to the jack and popped out the power cords that were connecting it.
You shouldn't really have any worry about electricity when removing the jack plate, but it's always best to be safe than sorry.
Step two: cap power
If you're like most of us, you can't eliminate power without an electrician removing and capping off the wire at its base power.
So instead, I used electrical tape to thoroughly wrap up each of the two cords just to make sure they didn't touch anything and pushed them into the electrical box in the wall. Out of sight, out of mind.
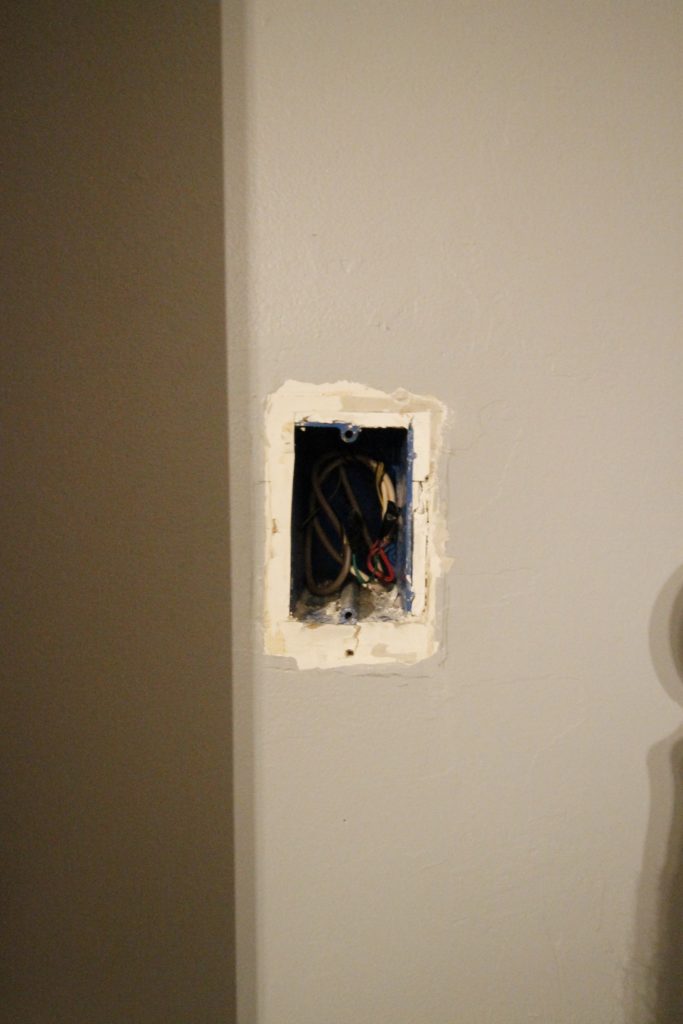
The wires are completely wrapped up and secure and not touching anything and are within the properly coded electrical box. There should be no issues with storing these inside the box as this is the same idea as wrapping unused wires and capping off a recessed light mount in the middle of a room.
Step three: How to patch a drywall hole
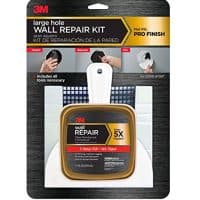
Next came patching the wall. This awesome drywall patch kit comes with a 4"x4" steel mesh patch, lightweight spackle and a putty knife.
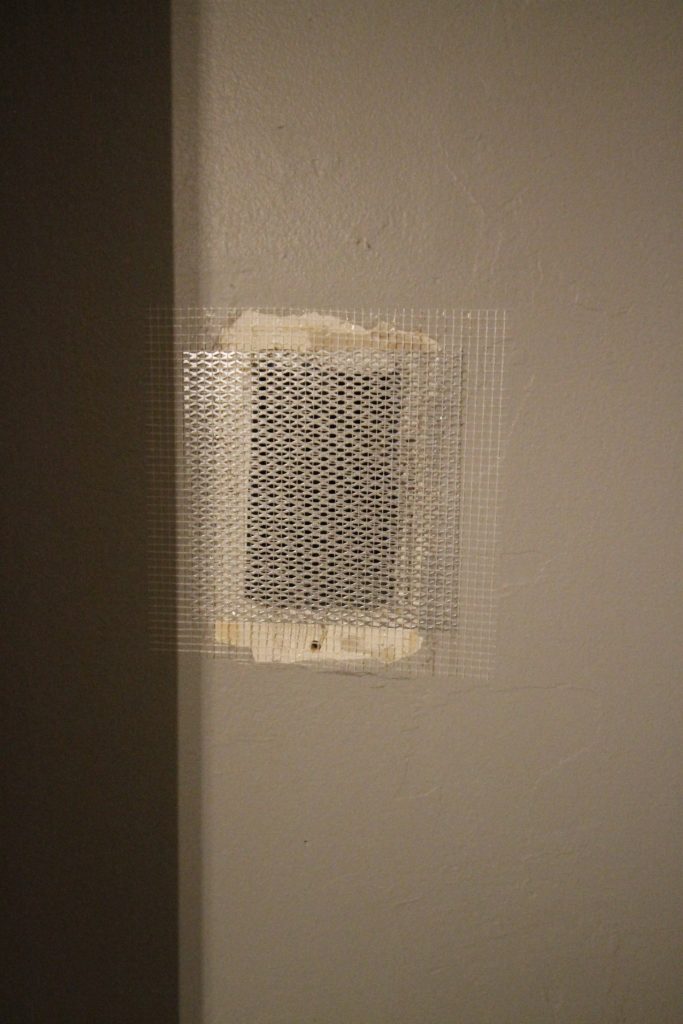
Shop drywall patch kit
The reason to use a kit like this with mesh for a small job like this is for simplicity. You can also buy a piece of drywall, screw studs into the wall and attach the drywall, but that's much more difficult. Plus you'd have to work around (or remove entirely) the phone box inside.
Click here to learn more about when to use spackle vs. caulk vs. wood filler!

This kit is perfect for this type of job. The patch sticks to the wall with a built-in adhesive and is very beginner friendly.
Here are the best drywall patch kits!
Next, lather up your spackle on the spackle spreader and press it onto and around the mesh patch and smooth it out over the edges and let dry.
It will take a few layers to get the spackle properly adhered to the mesh in a solid way, so you can even do two thin coats. You want to try to keep it smooth, so thin coats is better.
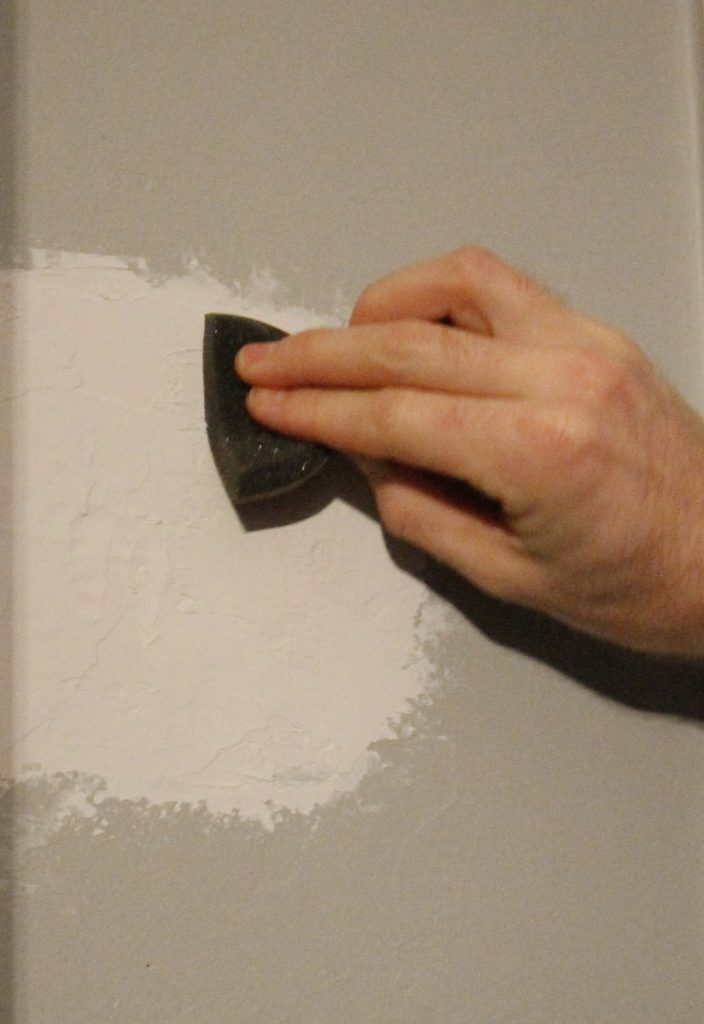
This kit even came with a nice sanding pad to smooth everything out once dry.
Make sure you sand smooth but also taper out the edges completely smooth and even into the existing wall. You don't want to have a bump on the wall
It's a lot tougher when you're enclosing an entire doorway with drywall!
Step four: paint
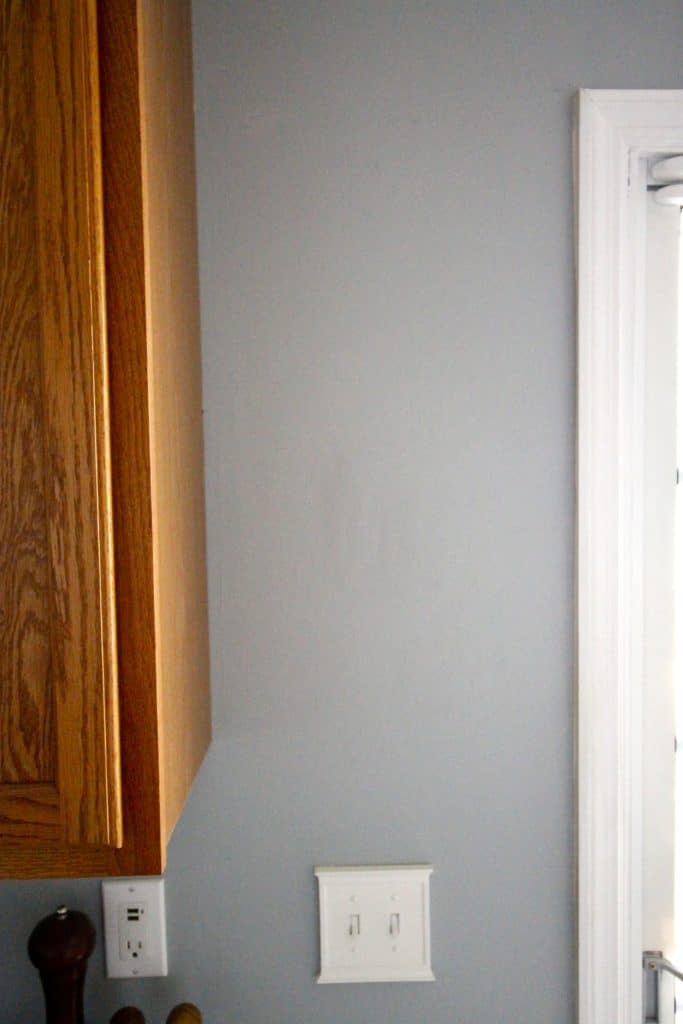
Finally, paint over the newly spackled area and voila you can't even tell that the '90s existed.
If possible, paint beyond the area you patched and taper it off to ensure the most seamless look.
Patching drywall over an old phone socket is simple and easy and can be done quickly.
It's a quick and easy upgrade that makes your home look much more up to the times.
What to do with old phone jacks in house
Not sure what to do with your old phone jack? You can use our tutorial here to remove it, but if you're not confident in that process, here are a few other ideas:
- Remove and patch them following the above tutorial
- Hang a piece of art, such as a canvas, over it
- Replace it with a flat outlet cover blank wall plate
- Move a piece of furniture in front of it
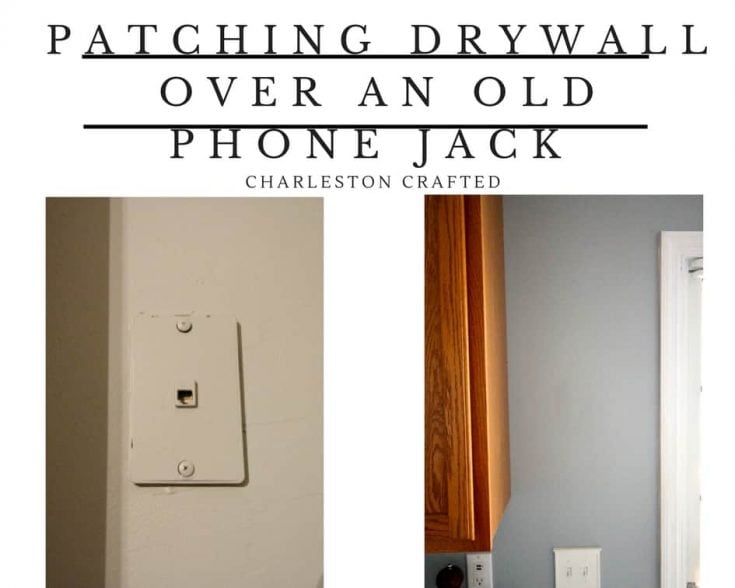
How to remove phone jack from wall
Hate the old phone jacks in your wall? If you don't want a landline ever again, here is how to remove it and patch the drywall.
Materials
- Electrical tape
- Drywall patch kit
- Paint
Tools
- Exacto knife or blade
- Screwdriver or drill
Instructions
- Use a razor blade to score the paint around the panel.
- Unscrew the panel and pull from the wall.
- Pull out the cords and cover the ends with electrical tape.
- Push the cords into the hole in the wall.
- Use the drywall patch kit to patch the hole. Attach the mesh, and then spackle over the patch.
- Sand and wipe clean.
- Paint to match your walls.
Recommended Products
As an Amazon Associate and member of other affiliate programs, I earn from qualifying purchases.
Free printable project planner
Need help getting organized? Our free printable DIY project planner will help you get it all organized and planned on one page!
Looking for something?
We've been doing this since 2012 so we have a LOT of blog posts!
Search stuff like: Ceiling Projects | DIY Plant Stands | Thrift Flips


Hey there, I'm Sean, the woodworking enthusiast and builder behind CharlestonCrafted.com! Since 2012, I've been sharing the magic of turning raw materials into beautiful creations. I love teaching others the art and satisfaction of woodworking and DIY. I try to inspire fellow crafters to make something extraordinary out of nothing at all.





Andrea says
Thanks for this great information! In typical fashion, I looked up how to cover a phone jack AFTER I covered the phone jack. I did not use electrical tape but just coiled the wires and placed them back in the phone jack box, then used the wire mesh and speckled/painted. We do not have an active landline, but now I'm nervous about the wires touching . Do you think I should redo this? I have. O experience in this area (clearly). Thanks in advance!
Sean says
Hey Andrea! Thanks so much for finding us. Here's my thoughts- if you haven't had them touch so far, they aren't likely to move while inside your wall, so you're probably fine. The only thing that could really happen would be that they would touch and POSSIBLY blow a fuse, but unlikely that they will at this point. If I was you, I wouldn't tear it out what you've done. I think you'll be ok. But hey, if your power randomly blows somewhere, you might know where to start 😉
Andrea says
Thanks so much for the reply, Sean! I think I will just leave it alone for now. Like you said, if the power blows I'll know why 🙂 I appreciate your help, and have a great weekend!
Crystal says
Hi Sean!
Thanks for the helpful information! My situation is a little different. I have an older home, built in the late '50s and the old telephone jacks in the bedrooms are causing the issue. The phone cable is very low on the wall, only about 1 - 1 1/2 inches from the floor and the wires come straight out of a small hole (only big enough for the wires). I really doubt there is an electrical box behind the drywall. So I don't believe the electrical tape and tucking would work/be safe in this scenario. The length of the wire is not long enough to just raise the phone boxes above the new base board plus I would REALLY like to just eliminate them all together. How can I safely remove/hide these cables to finish the base board? I appreciate your help, thanks!
Sean says
That is a very interesting situation. So you're saying that the phone line and the power line for the phone are just coming straight through the drywall? I personally don't think it would be an issue to just heavily wrap them in electrical tape and push them in, but that would be what you are comfortable with. Conversely, if you're going to cover with baseboard, you could just wrap them in electrical tape and hide them behind the baseboard. If they are wrapped, you shouldn't have any issues.
Amanda says
Hi! I'm a little confused about how you "cut" the wires??? Is a phone wire like an electrical wire, with a charge? What do you cut and do I need to turn anything off to do it?
Morgan says
Hi Amanda! We don't have phone service in our house so I didn't even address this but no it doesn't have a charge. Still, best practice is to wrap the ends of any exposed wires with electrical tape. 🙂 Good luck!
Donna says
Hi,
I would like a wall pass-through where the phone jack resides. Is this possible?
Sean says
Hey Donna! It's certainly possible, but you'll have to do this a little differently. You're going to need to remove the whole box (as you'll be removing a section of wall) and you'll need to just drop the phone line down into the wall when you've cut it all open.
Diane says
I removed phone, stuffed wires in and patched. It looks great but our other lines don’t work. Is this because of what I did or another problem?
Morgan says
Hmmm, I'm not sure why they would be related, however I'm not a phone line guy. Our house only had the one phone line and I just wrapped it up and put it in the hole with no issues.
MrO says
Looks great, but I'm not sure what you meant by "cut the power". Do you mean disconnecting the old phone line at the outside telephone interface? Or the line voltage in your house? I can't tell from the photos; is there a black (or red) hot wire and white neutral wire, or just telephone wires? I'm used to seeing gray ones. It would be important to make clear to other readers that a junction box with live line voltage wires (not dead phone wires) must be accessible (i.e. with a blank cover plate) and must NOT be covered with drywall or otherwise permanently enclosed, and wire ends capped.
Morgan says
Hi, so this comment is a little all over, but overall, we said turn off the power because we didn't know at the time what all was behind there. There were no live power wires that needed to be accessible after the fact. We wrapped electrical tape around the dead phone wire, just to be safe.