Happy Wednesday! I am so excited to be hosting a Thrift Games for you today - me and some of my blogger friends went thrifting with a $15 budget and found something cool to up cycle!
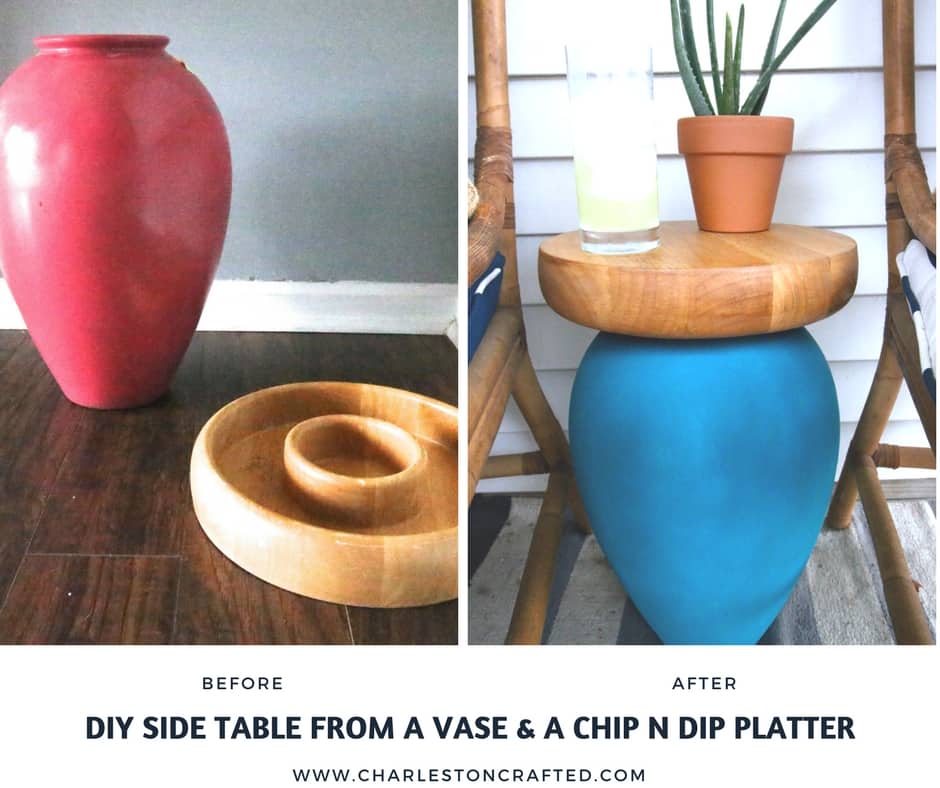
I really wanted a side table to go on our screened in porch in between two of our free bamboo chairs.
I was pretty open in what I was looking for but knew that I needed a base and a table top.
Like this project? Sign up for our newsletter here! See more DIY here!
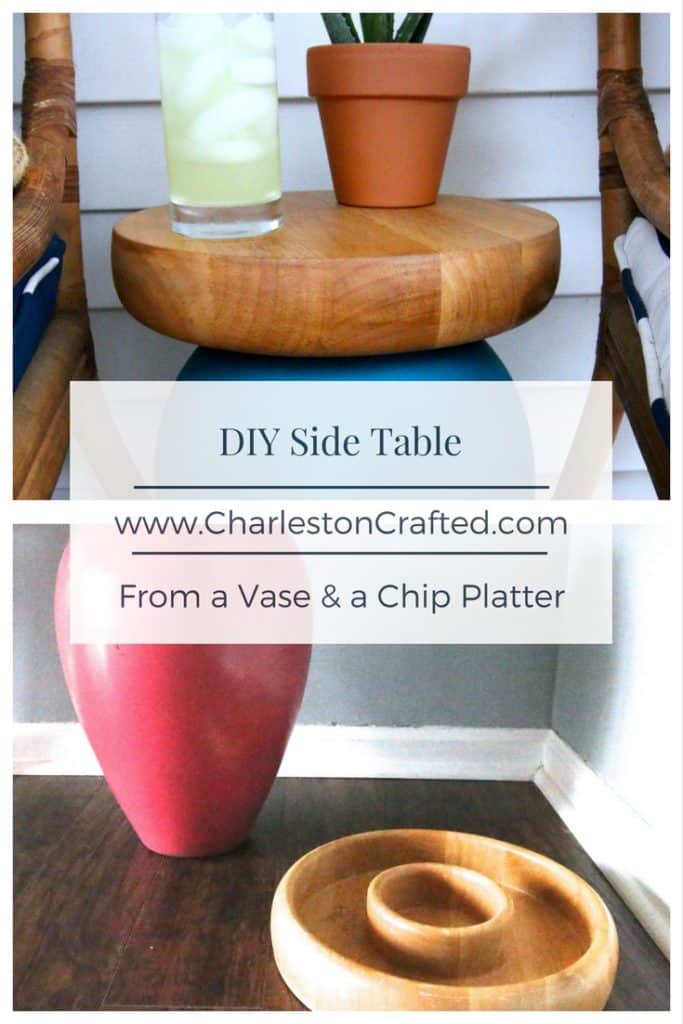
I had to be a little creative when I walked through Goodwill, but I was really inspired by this glass vase for $8.99. It was the perfect height for a side table! I wasn't feeling the hot pink (shocking for me!) but I liked the general shape and feel.
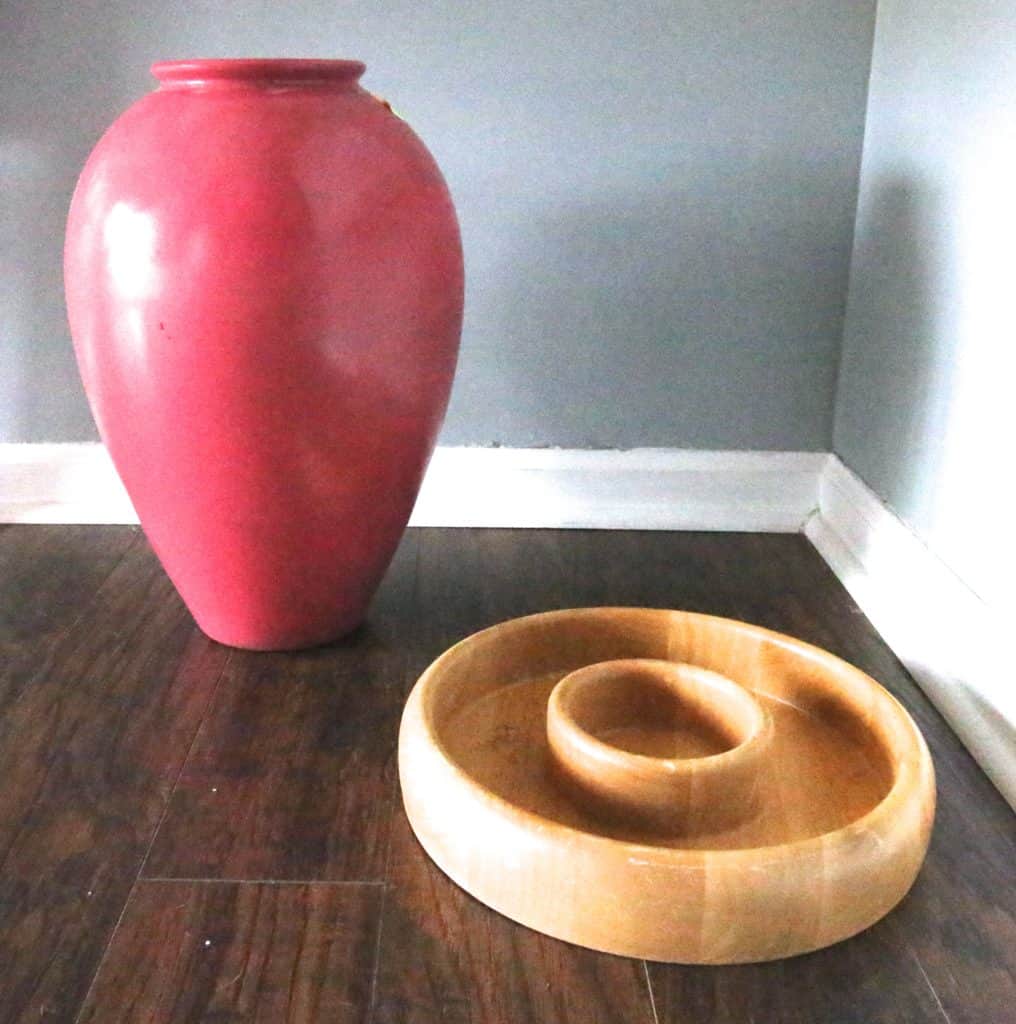
For a top, I was really hoping for a wooden tray or platter. There were no plain trays the right size, but there was this wooden chips and salsa plate for $4.99.
When I turned it upside down, it fit perfectly on the vase base! We were in business, and under our $15 budget.
I wanted to give the glass base a sea glass look so I picked up a can of Krylon sea glass spray paint in aqua.
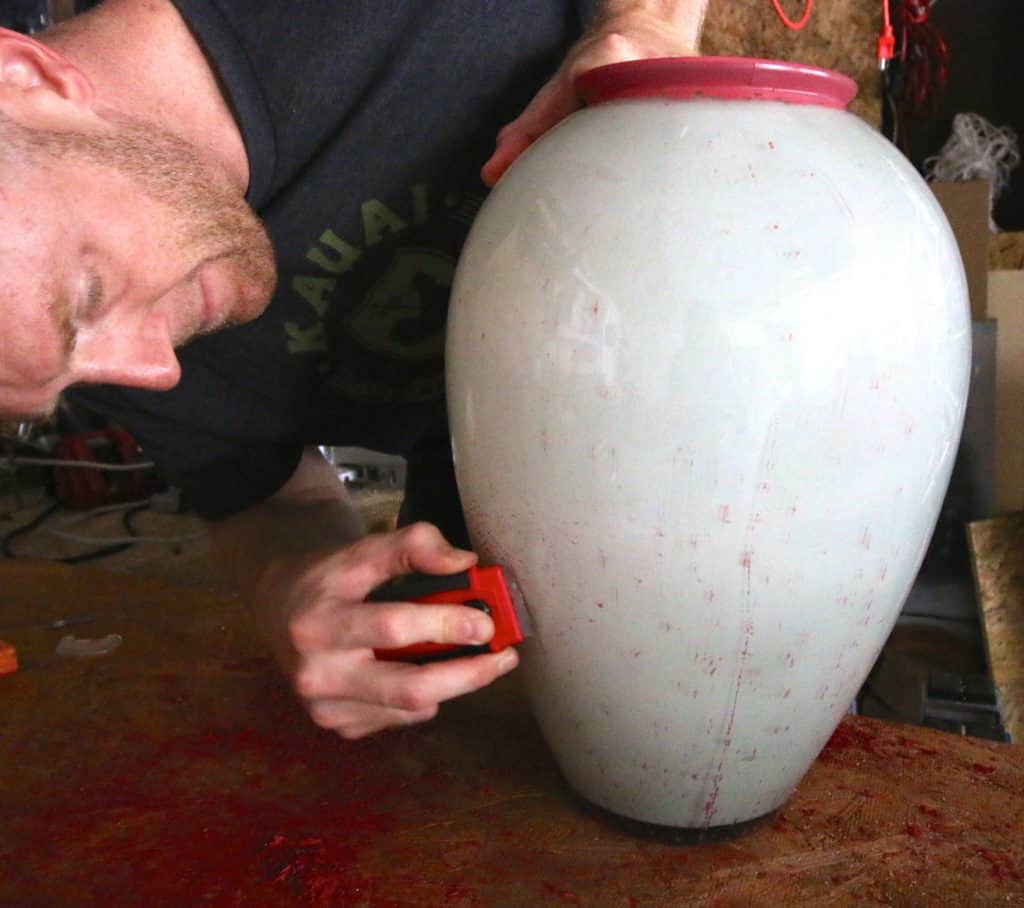
I wanted the glass to have a transparent sea glass look, so I actually used a straight edge razor blade to scrape all of the pink paint off the outside of the glass.
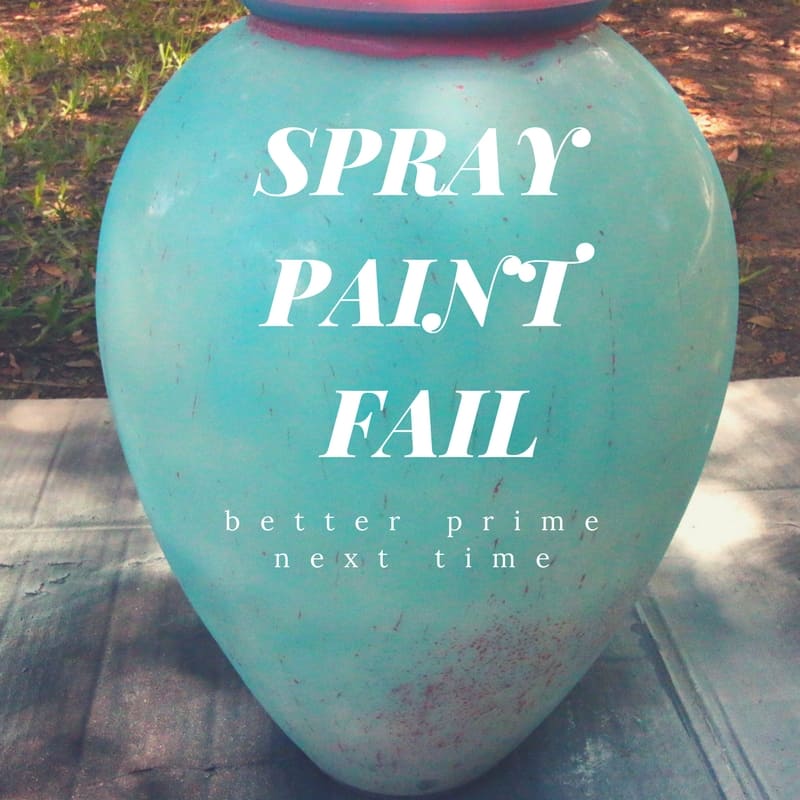
However, since I could not get it 100% off, it showed through the transparent spray paint. Whomp whomp. I ended up having to spray the whole thing with white primer to cover the pink paint, so the scraping was just an extra unneeded step.
Hazard of DIY projects!
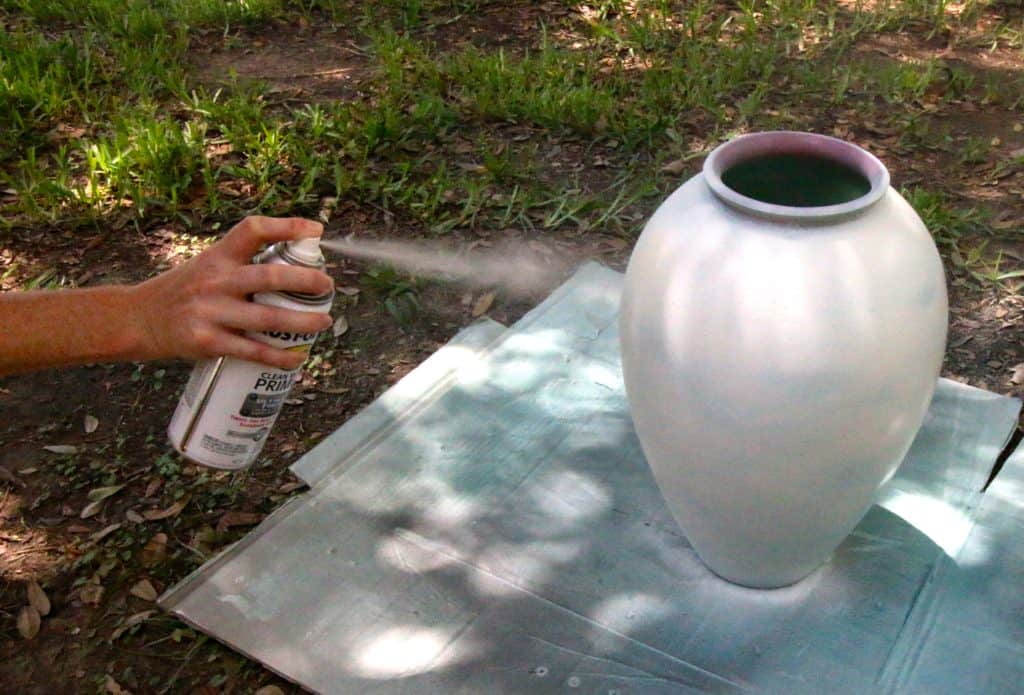
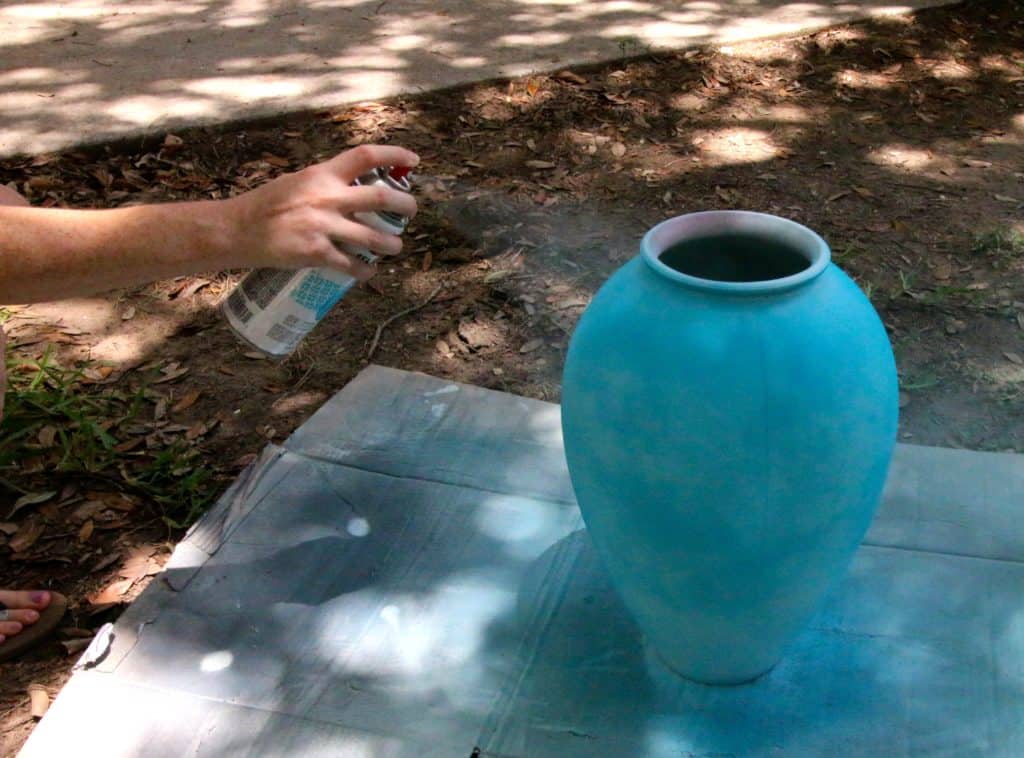
I gave the whole thing 2 coats of primer and 3 coats of sea glass spray. I topped it off with 2 coats of a clear matte sealant.
Here are my favorite spray painting tips! I love the final frosted look!
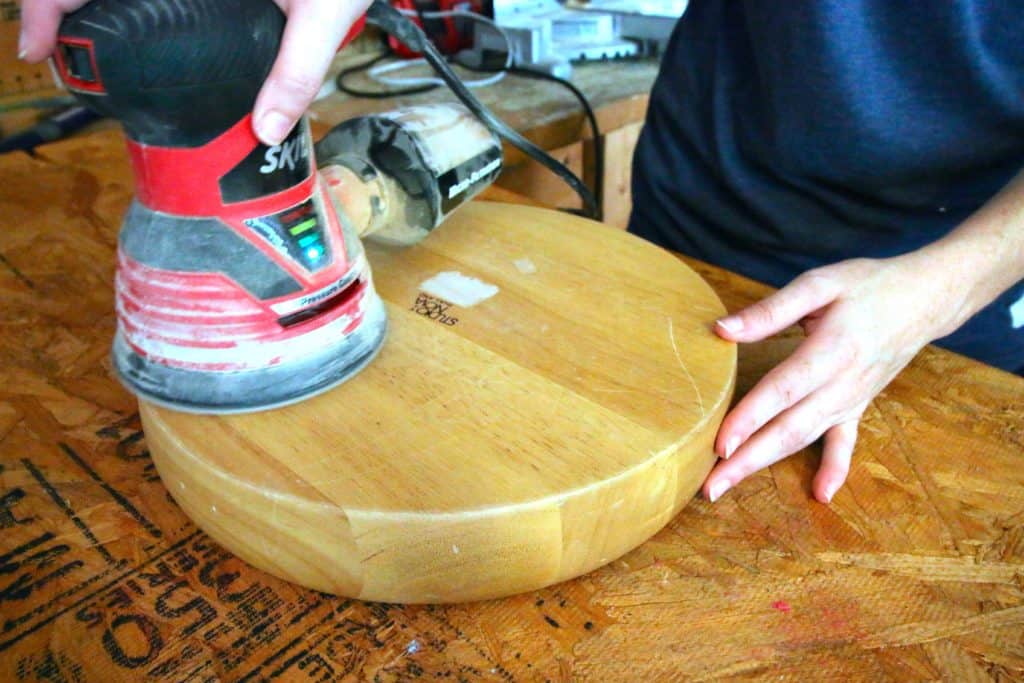
The tabletop had a brand name burned into it. I used our electric sander to sand the wood down and remove the brand name.
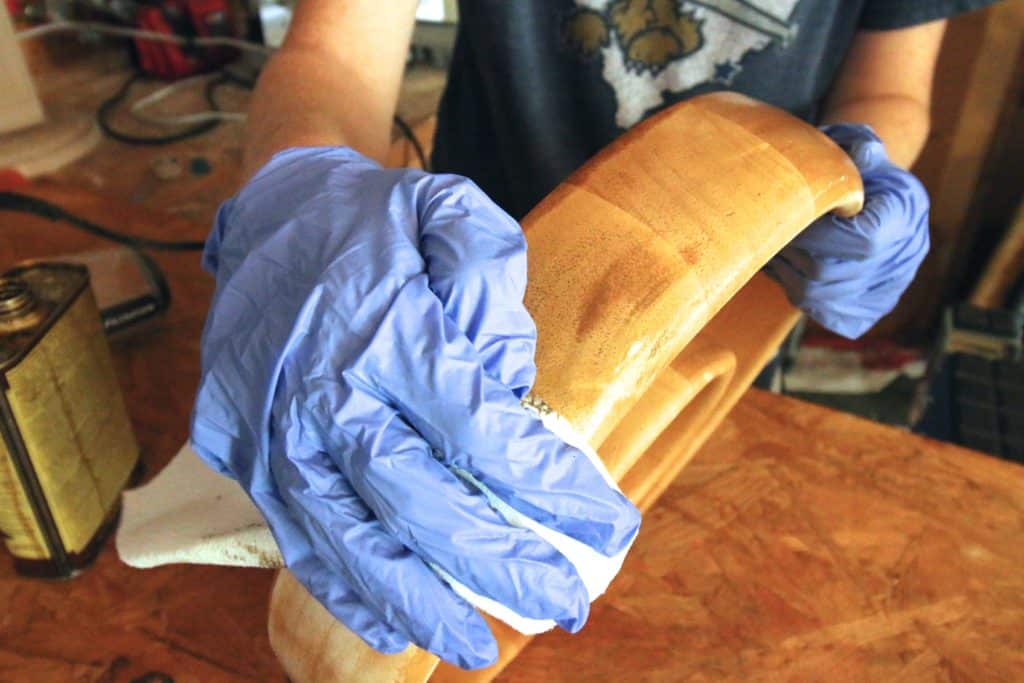
I then gave it a coat of Restore a Finish and one coat of poly to seal it.
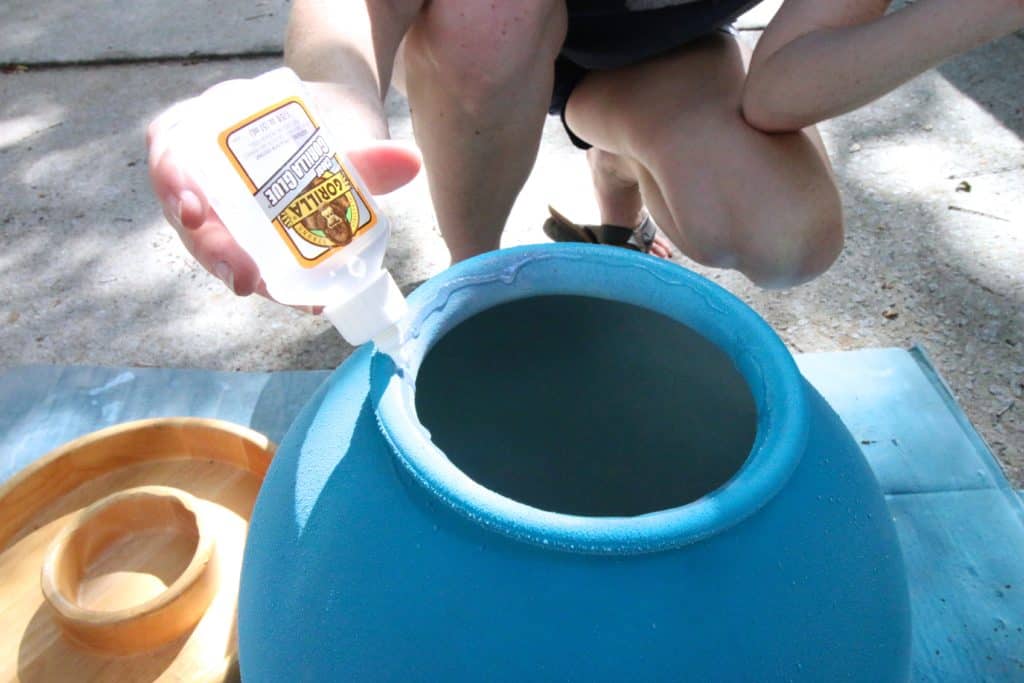
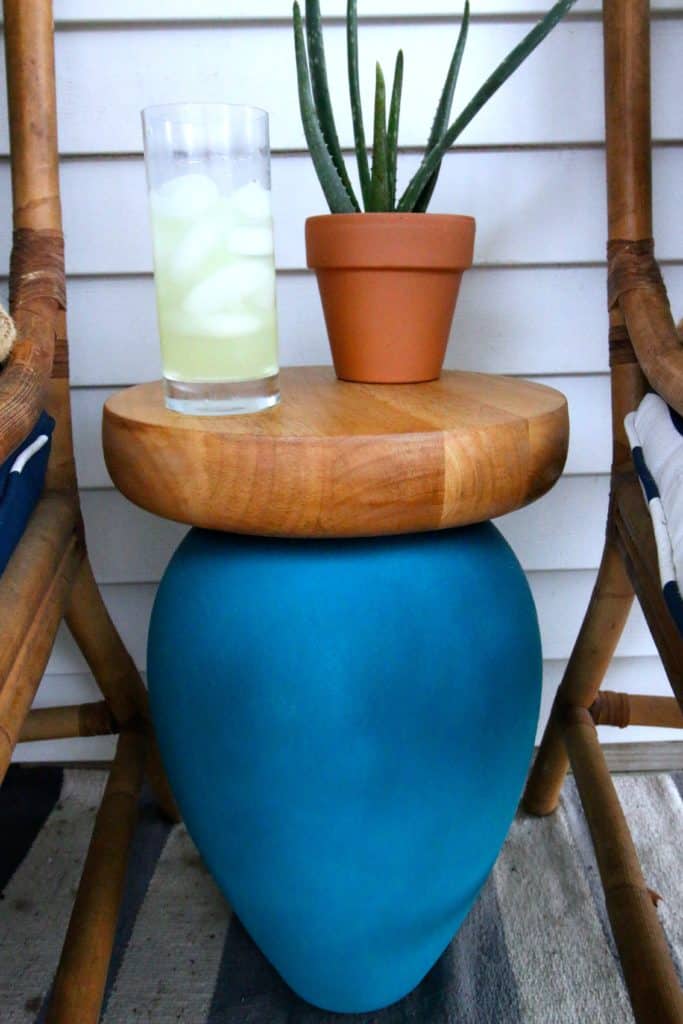
I attached the top to the base using gorilla glue. After 2 hours of dry time, it was ready to go!
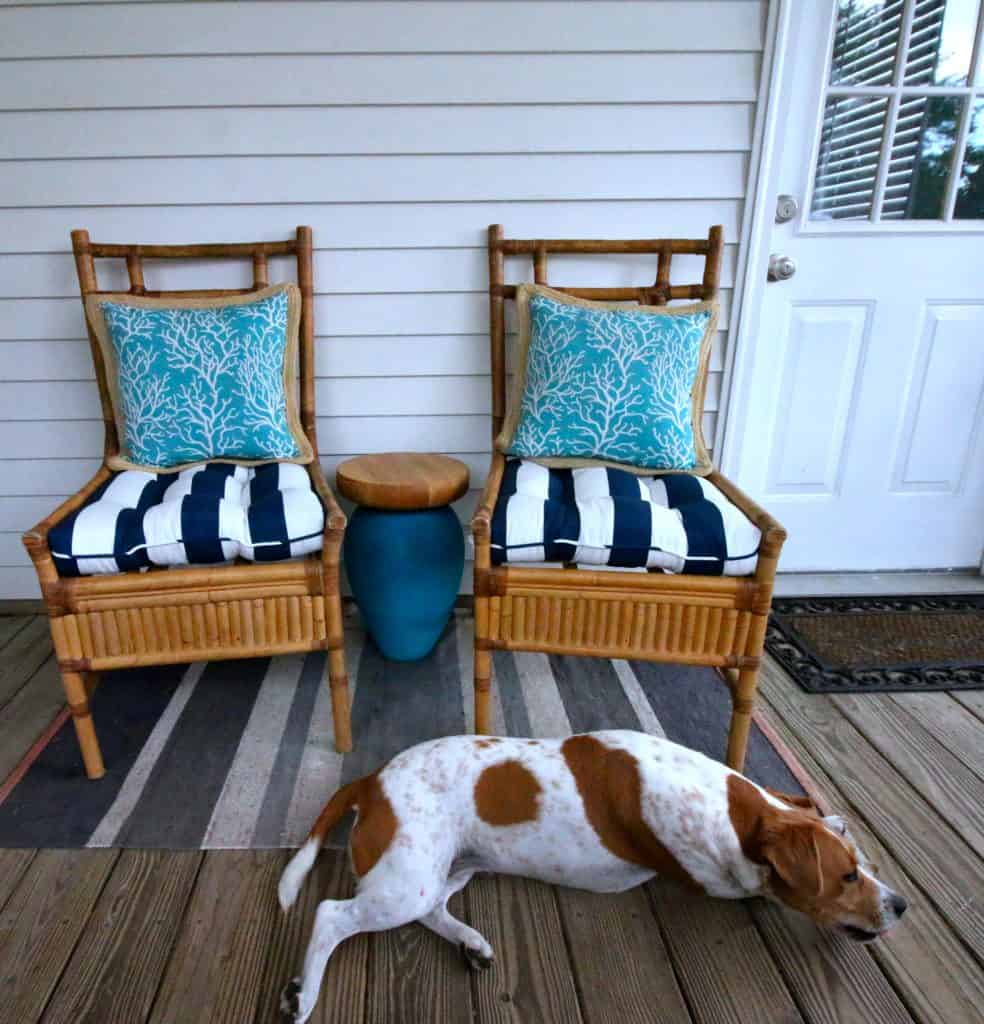
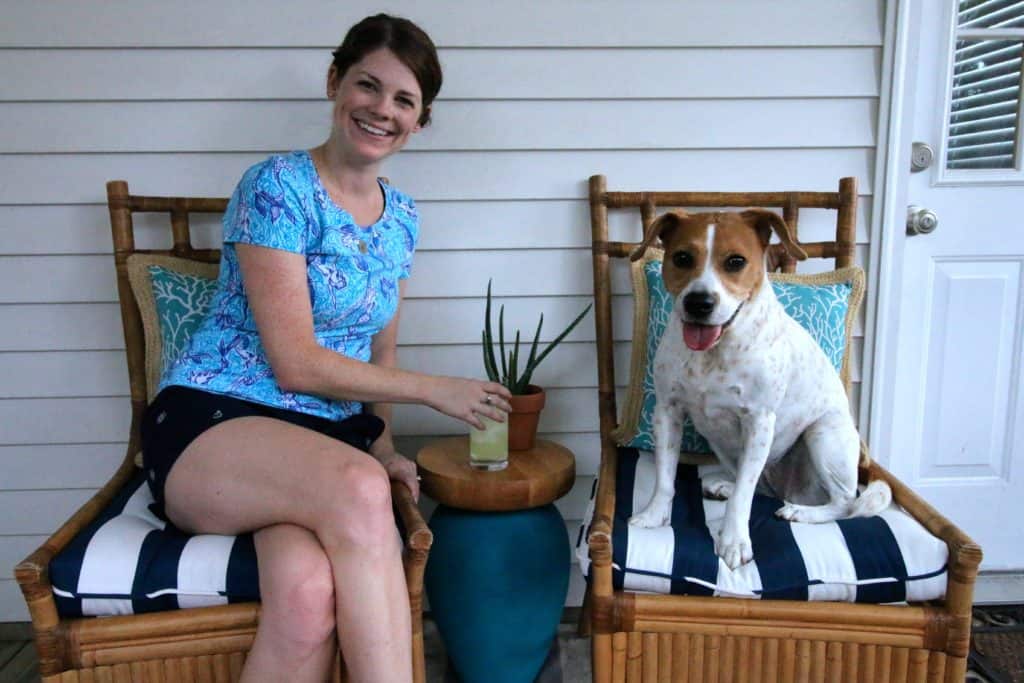
I love how it turned out and love how it fits our space. Pretty perfect for under $15!
Check out all of my ideas for how to get free furniture!
Want to learn to flip furniture for a profit? We have a whole resource library of files to help you get started! Sign up for free:
Love side tables? Here are all of our DIY side table projects!
- DIY side table with arches - woodworking plans
- Upcycled chair into a modern side table
- DIY concrete terrazzo side table
- Media side table with hidden storage and tile top
- DIY Mid Century Modern Side Table - woodworking plans
- Campaign side table makeover
- Side table from counter top scraps
- Our first side table makeover
- DIY River table with epoxy
- Spray paint side table makeover
- Waterfall style slim side table
Looking for something?
We've been doing this since 2012 so we have a LOT of blog posts!
Search stuff like: Ceiling Projects | DIY Plant Stands | Thrift Flips


Hello, I'm Morgan, half of the creative force behind CharlestonCrafted.com! With a passion for DIY that dates back to 2012, I've transformed three homes and now I'm dedicated to helping others craft their dream spaces. Let's turn your house into a home together!


Andi says
Wow, that is so cute! Perfect size too!
Tracy says
Your table turned out so cute! It looks like an easy project too!
Morgan says
It was so simple! Thanks for stopping by!
Morgan says
This was such a great idea! And it fits with your porch chairs so nicely-looks like they were bought together!
~Morgan
Morgan says
Thanks Morgan!!
Jamie says
What a great idea! I always find those trays at the thrift store and never know what I could do with them...until now! This will be perfect for our outdoor entertaining area!! 🙂
Melissa says
Oh my gosh! This is so creative and cool. I never would've thought of that and I'm pretty sure I used to have one of those chip/dip platters long ago. Wish I would've saved it now. Great job! And those chairs and the pup are pretty cool too!
Vanessa says
Very nice & easy project..i love it. I need ideas of an easy, diy inexpensive patio table/bench.
Ruth says
Your table turned out nice but it ended up costing you more than $15! All those products you used plus the $15 you spent cost you over $50.!! You could’ve bought two small tables in the end!
Morgan says
Hi Ruth! All of the DIY essentials that we used for this project we already had on hand. If you had to buy a whole can of stain or poly or a sander it would certainly cost more. We do tons of projects and keep these supplies on hand. This is just our cost for this project. Thanks so much for reading!
Denise says
I’m a thrift-aholic. Love this idea!