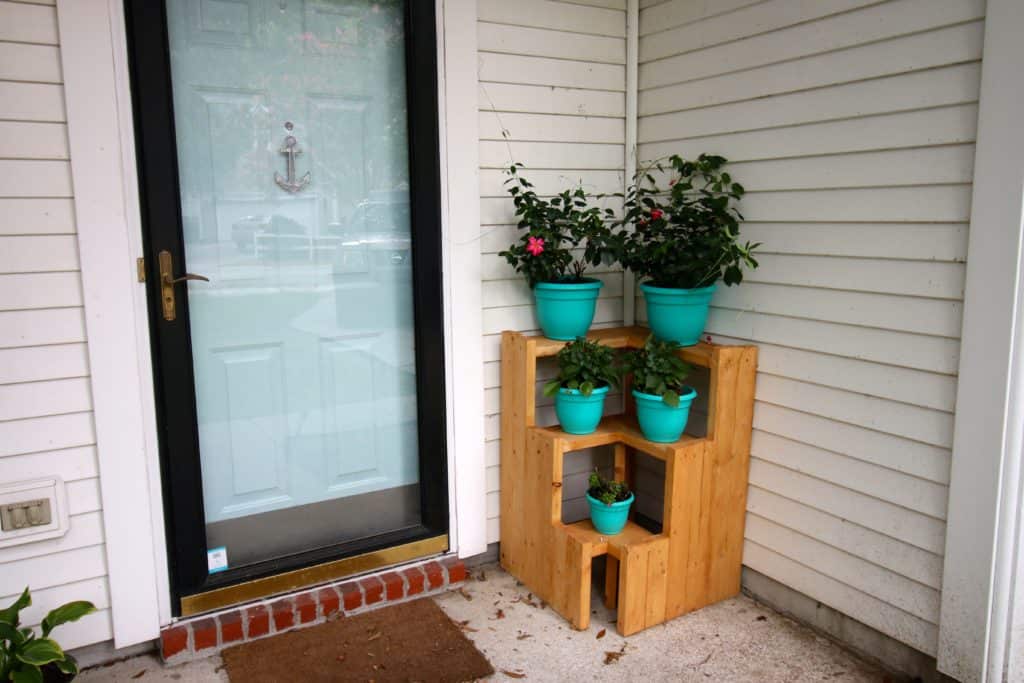
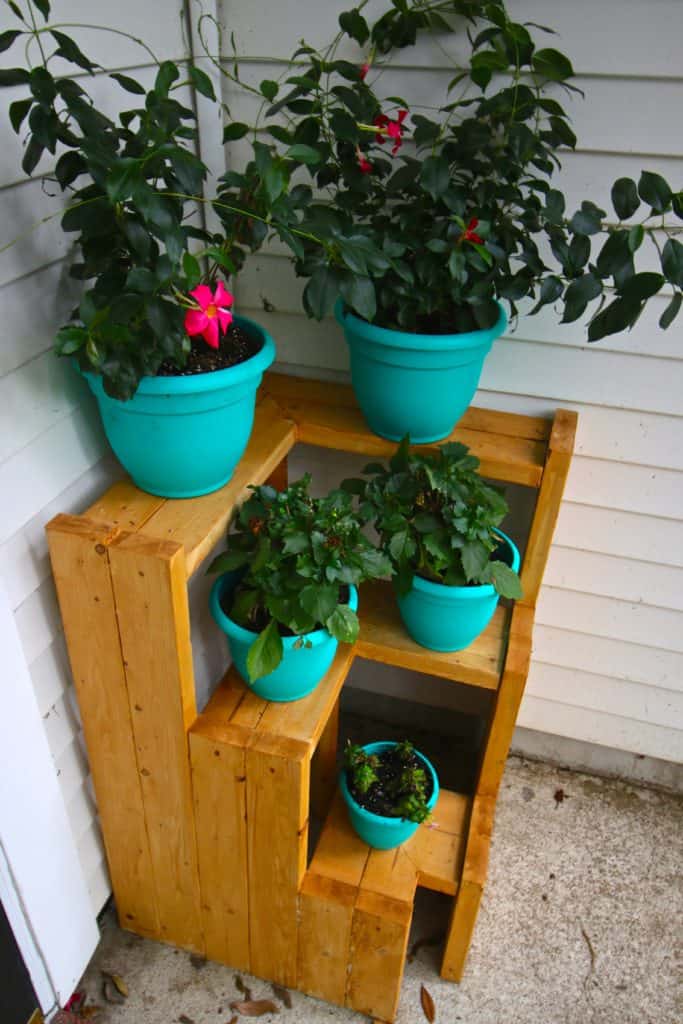
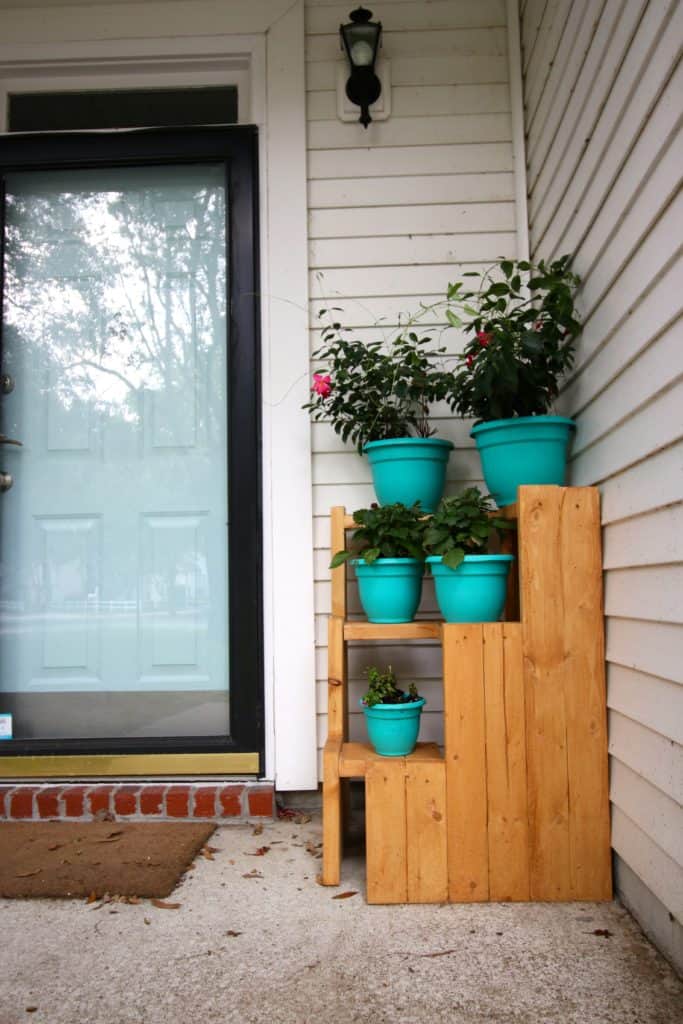
If you have a lot of potted plants, consider making this simple DIY 3 tiered corner plant stand! It is the perfect corner planter for your front porch and can hold six pots at a time. You're going to love this cheap and easy 2x4 DIY project.
Y'all know that I have been going crazy buying plants this season. I've taken a special affection towards buying "sick" plants off the discount rack.
However, even I had to admit that our front porch was starting to look like an unorganized hoard of miscellaneous store bought pots. It was a big mess and needed to be better organized.
Around the same time, we were invited to participate in the 2x4 and More Challenge with Remodelaholic and so we decided that it was the perfect opportunity to build a 3 tiered plant stand for the front porch outdoor space completely out of 2x4s!
I love the look of this modern plant stand and really love how easy and inexpensive it was to make.
This is a super doable DIY project - you don't need any fancy tools or skills. You can do this!
Love easy, do-able DIY? Sign up for our FREE weekly newsletter!
2x4s get a bad rap but they are really an awesome building material. They are cheap and sturdy and can be great for builds big and small.
The base of our dining room table and benches are 2 x 4s - they are really so versatile! Plus, 2x4s are really inexpensive.
When you are buying them at the store, just examine each board carefully to be sure that it is straight and square. Some of them can be a bit wonky!
3 tiered corner plant stand
Click here to download free PDF woodworking plans to build this project!
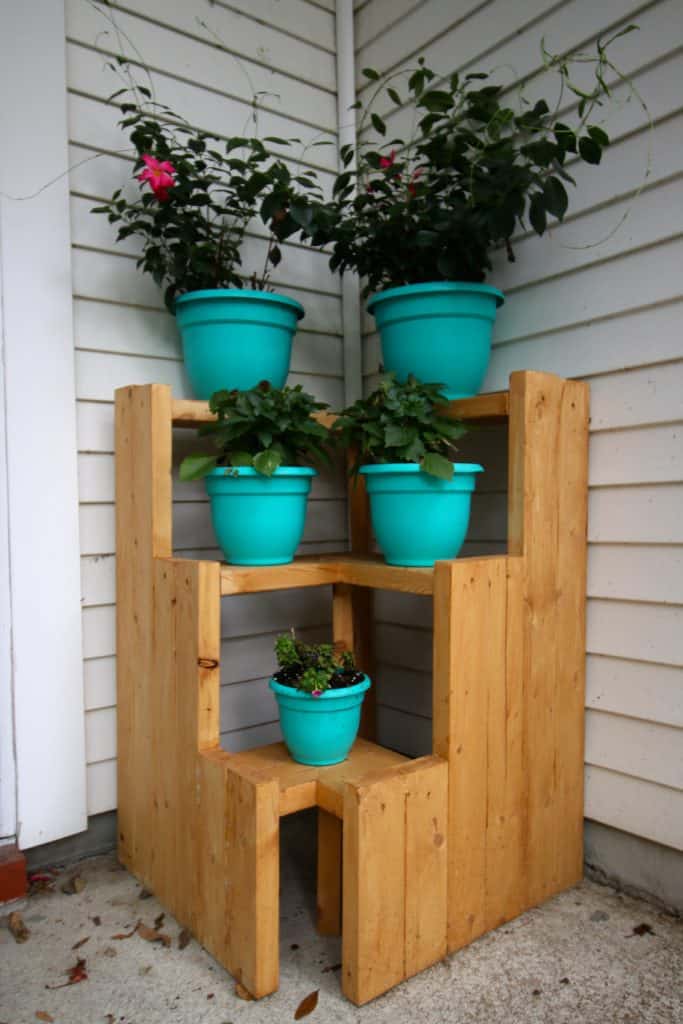
To build this DIY project, we used approximately 40 feet of 2x4s. We designed the whole thing to fit the 27" corner of our front porch with 12", 24", and 36" high tiers.
You can adjust these measurements to custom fit your space exactly! Ahh, the magic of DIY!
Each tier has two 2x4s as supports on either side as well as one in the middle (at the corner) for additional support.
Step one: make cuts
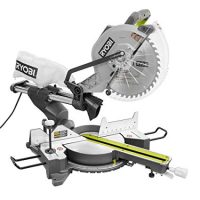
We made all of the cuts with our miter saw. You could also use a circular saw.
At the time of this build, all we had was a miter saw! Make it work!
Step two: Build platforms
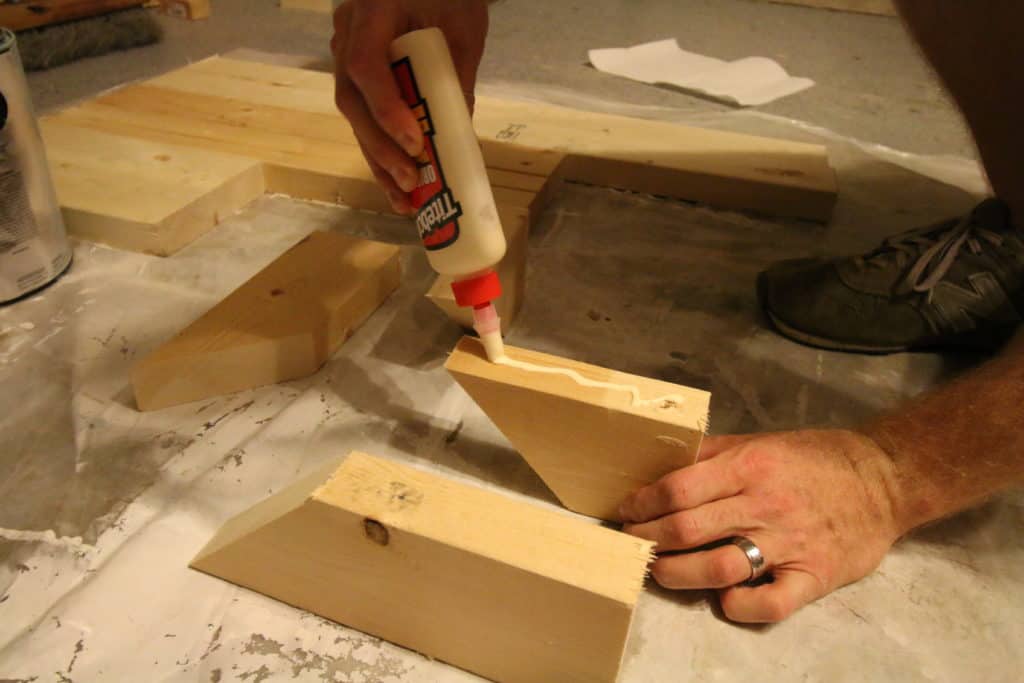
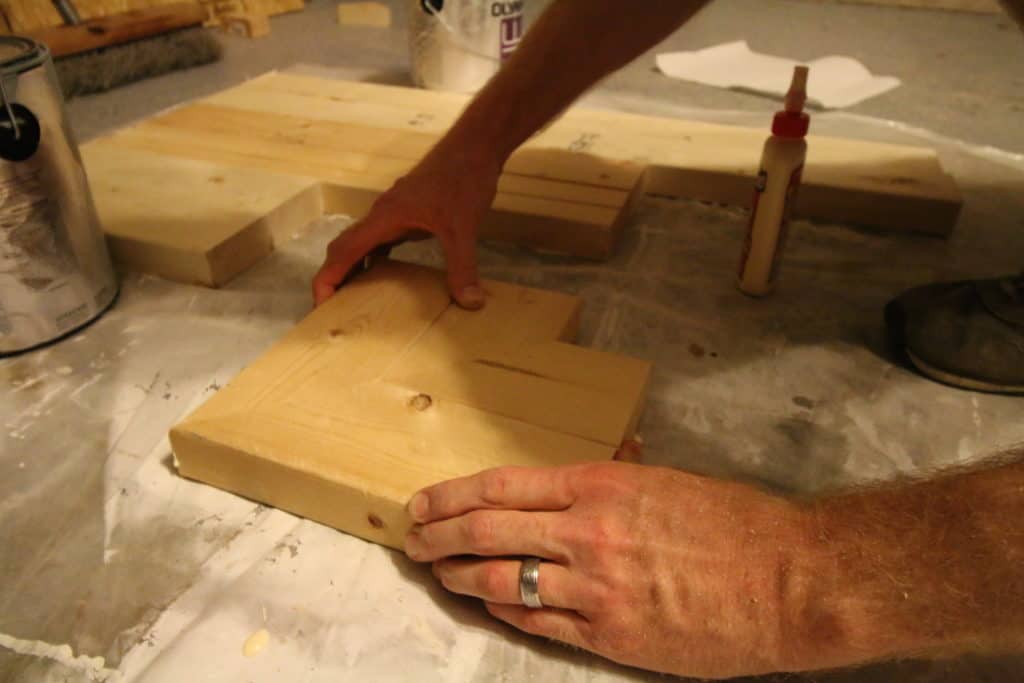
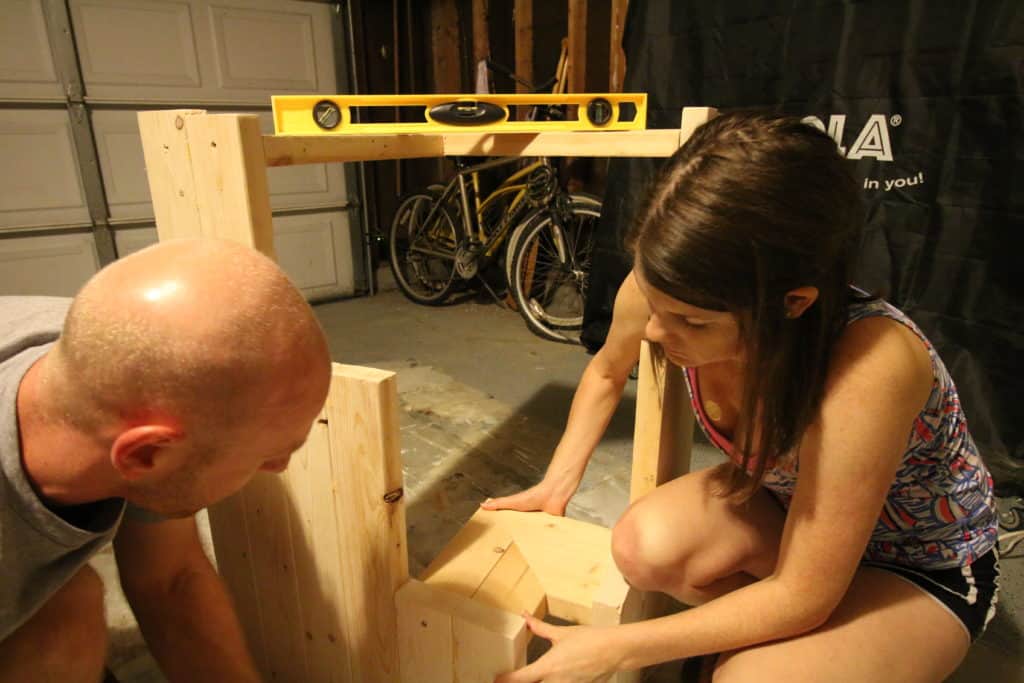
We joined the boards two ways. All of the boards that touch horizontally, we used wood glue to adhere them and allowed that to dry overnight.
Wood glue is going to really help keep the boards together, but it was important that each board be straight or they wouldn't get a flush edge.
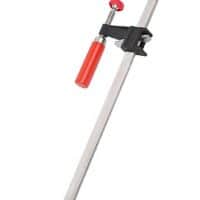
Clamp the boards together after glueing and allow them to dry really well.
Step three: attach platforms to sides
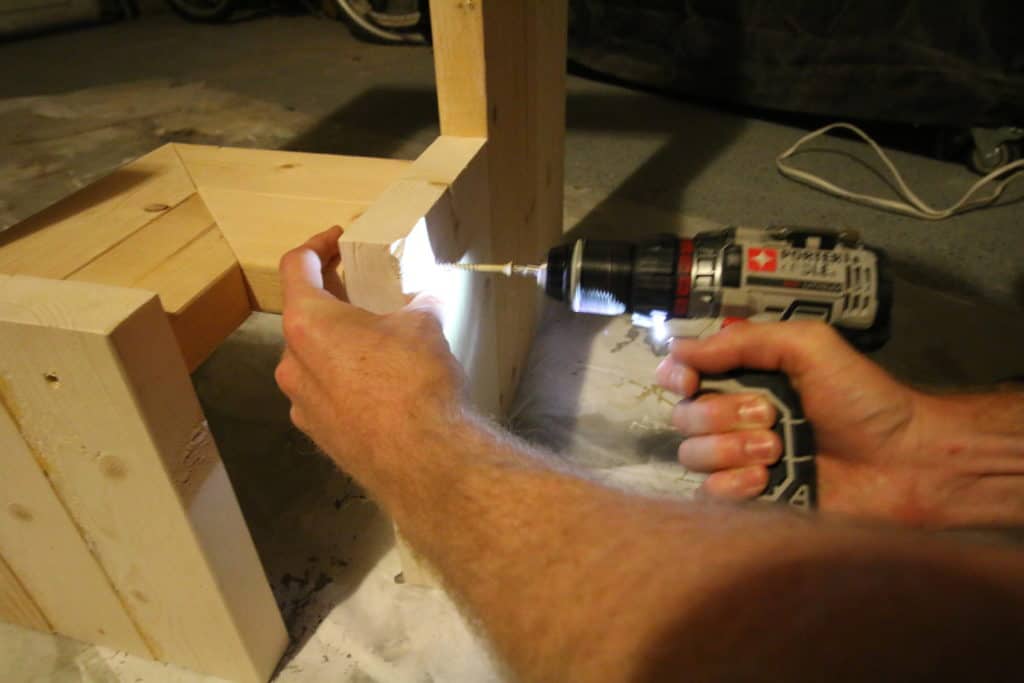
We used a drill and 2 ½" deck screws to screw all of the glued pieces together.
It came together really quickly at this point! The screws hold each of the glued together sections together.
Glue is not as sturdy on perpendicular boards like this so that's where the screws come in.
Step four: stain and seal
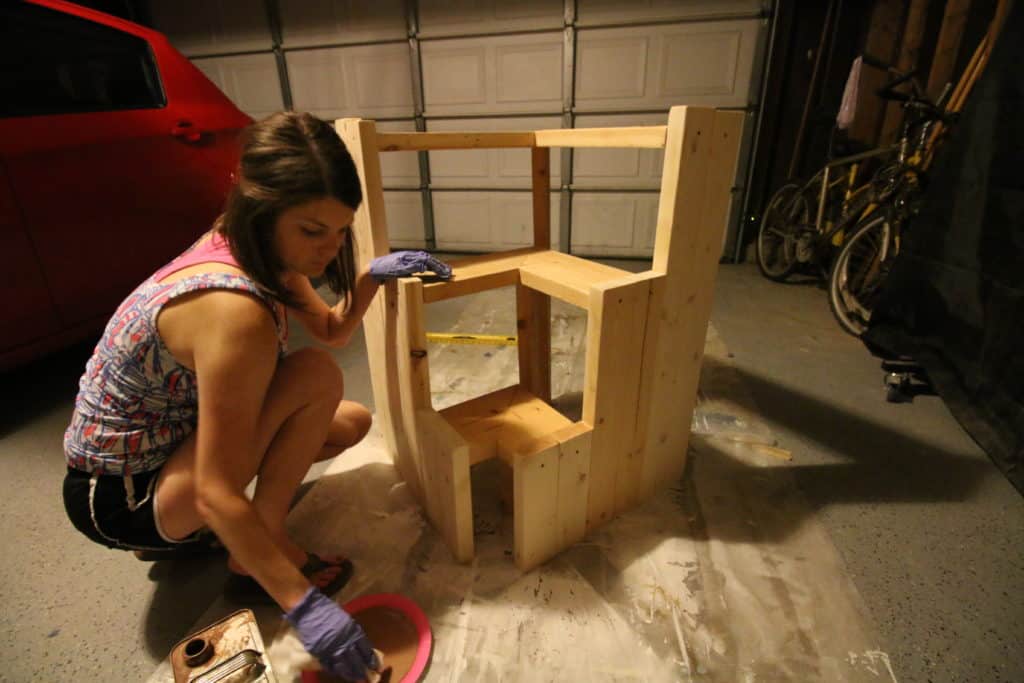
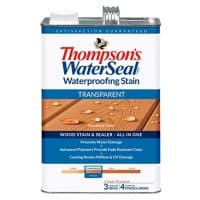
We stained and sealed the whole thing with our go-to outdoor stain, Thompson's Water Seal.
This will help water that lands on the wood bead up and fall right off and keep the piece in better shape for longer.
You could paint or stain the stand any color to coordinate with your style or decor. The world is your oyster!
DIY corner plant stand
It looks so good on our porch. I am obsessed with the vertical height that it adds to our beautiful plants!
Warning - this sucker is REALLY heavy! 2x4s will result in a bulky, but sturdy, end product.
We have already gotten compliments from our neighbors, and I have awesome visions of decorating it for the holidays!
This was such an easy DIY - you have to replicate it!
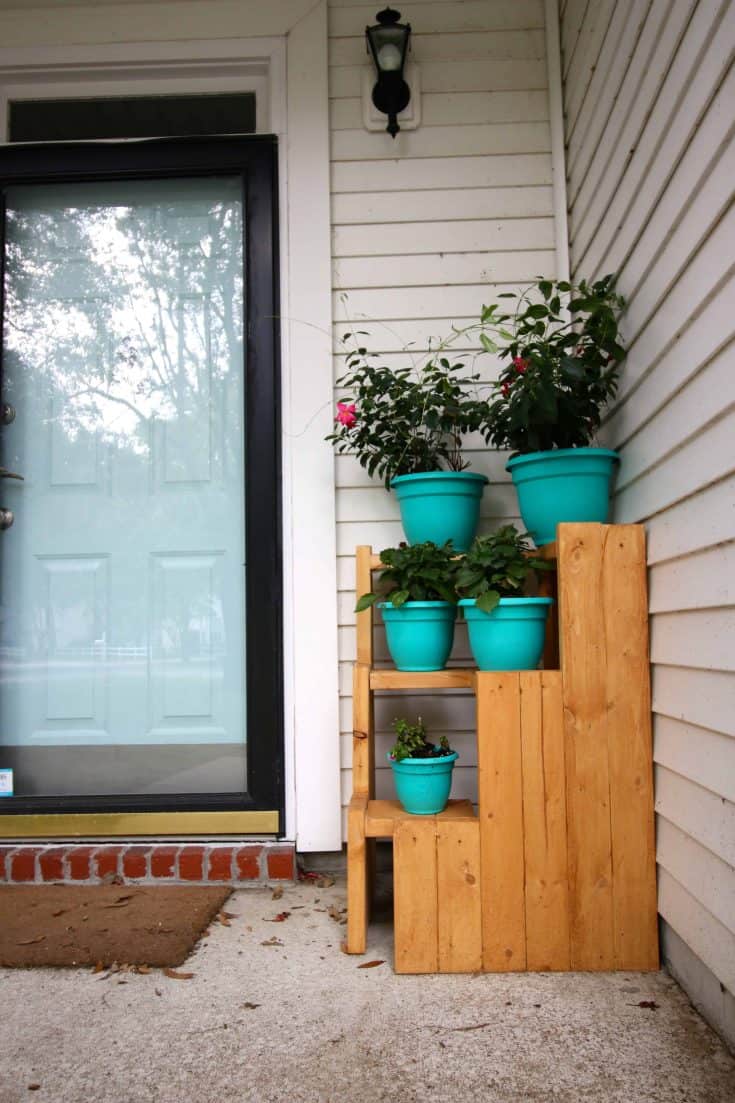
DIY 3 Tiered Corner Plant Stand
Back this beautiful and impactful plant stand for your front porch out of just 2x4 lumber!
Materials
- 40 feet of 2x4s
- Stain (outdoor grade) + brush
- Wood glue
- 2 ½" deck screws
Tools
- Drill
- Saw of choice
- Sander
- Clamps
Instructions
- Cut boards to appropriate lengths for legs.
- (4) - 36"
- (4) - 24"
- (4) - 12"
- Use wood glue to adhere horizontal edges of boards together. Clamp and let dry overnight.
- Cut boards for each tier, dependent on how big of a space you need to fill.
- Use drill + screws to screw glued pieces together.
- Cut and attach a support beam for the middle and top tiers to the ground.
- Stain+seal the entire project.
Recommended Products
As an Amazon Associate and member of other affiliate programs, I earn from qualifying purchases.
Check out our tutorial for how to make a hanging plant shelf!
Here is a video of the whole process.
Check out all of the other 2×4 and More Challenge posts here:
15 minute coffee table | The Ugly Duckling House
tiered corner plant stand | Charleston Crafted
single-board rolling bar cart | Woodshop Diaries
outdoor bench w/rope detail | At Charlotte's House
wall planter and herb garden | Making Joy and Pretty Things
upholstered x-base bench | Frazzled Joy
jumbo tic tac toe | Ginger Snap Crafts
porch bench | Everyday Party Magazine
console table | Hertoolbelt
farmhouse patio table | North Country Nest
easy flower planters | Our House Now a Home
treadmill incline | Practical and Pretty
patio side table | Small Home Soul
Before you go...
Love this project? Here are some other DIY plant holders:
- Scallop planter from pallet wood
- 3 Tiered corner plant stand
- Peacock chair to a plant basket
- Foot stool to a herringbone plant stand
- Elevated wood plant stand
- Slatted plant stand
- Wood house planter
Click here to see all of our favorite DIY plant stand ideas.
Looking for something?
We've been doing this since 2012 so we have a LOT of blog posts!
Search stuff like: Ceiling Projects | DIY Plant Stands | Thrift Flips


Hello, I'm Morgan, half of the creative force behind CharlestonCrafted.com! With a passion for DIY that dates back to 2012, I've transformed three homes and now I'm dedicated to helping others craft their dream spaces. Let's turn your house into a home together!









Anna says
This is such a smart idea for my problem of having short little planters by my door! I'm going to have to do this (maybe I'll wait till fall when it's not so hot on my porch!!)
Ginger Bowie says
Your project turned out beautiful! I think I need one for my front porch. Thank you for sharing! 🙂
Charlotte says
So cute! I love the height of this! These would be perfect on either side of our front porch... thanks for the idea!
Toni | Small Home Soul says
What a great project to display potted plants on your porch or patio. Love it and the matching pots really pop. Great project!
Denise says
What a creative solution! I love this idea! Great job 🙂
Sarah says
Such a cute idea! I could definitely use this stand on my back porch. The matching brightly colored pots really make it stand out! Love it!
Mariah says
I have small plants, which I keep in my balcony. I often gave it a though of keeping them in my living room. Now I have this amazing idea to make this plant stand for my living room. This stand is so beautiful. Thanks for this idea.
Sean says
So glad you like it! It's a simple build. We have lots of other plant stands on our site too if you search "plant stand" in the search bar in the top right corner of the page. You'll find lots of options for different types of stands!
Rick says
i like the concept, i know a few people that would love one of these on their front porch. i might just copy your concept with a few tweeks. just one thing - i think you would find future projects a lot easier if you invested in a Kreg Jig or some other pocket hole jig.....
Morgan says
Hey Rick, it's so funny you say that. This was one of our earlier builds when we moved into the house and we were still learning. Since then, we have become huge Kreg Jig fans and have done dozens and dozens of projects with it. We even have a whole page on our site dedicated to how to use the Kreg Jig and some of the cool projects we've done with it- https://www.charlestoncrafted.com/kreg-jig/. We're actually about to build a Christmas tree version of this same project, so I hope you'll check it out!