Here is a complete tutorial on how to build a raised plant stand for a single pot.
Basic betches love them some fiddle leaf figs. All I have been hearing from Morgan is "I want a fiddle leaf fig" for about six months.
I asked her why. She said, "because all the basic betches have them now."
So basically, they are popular.
BUT they are also expensive. Guess the home and garden stores have picked up on the trend. We finally found some at our local garden store and there were two choices- a medium sized one for $55 or a large one for $135.
I told Morgan if she wanted it that bad, we should just get the tall one. However, we both realize the reality that is our brown thumb for indoor plants. She wasn't comfortable spending that much money on a tree that we had heard is very finicky.
We finally decided to get the smaller one and build a DIY elevated plant stand that we could use to make it taller.
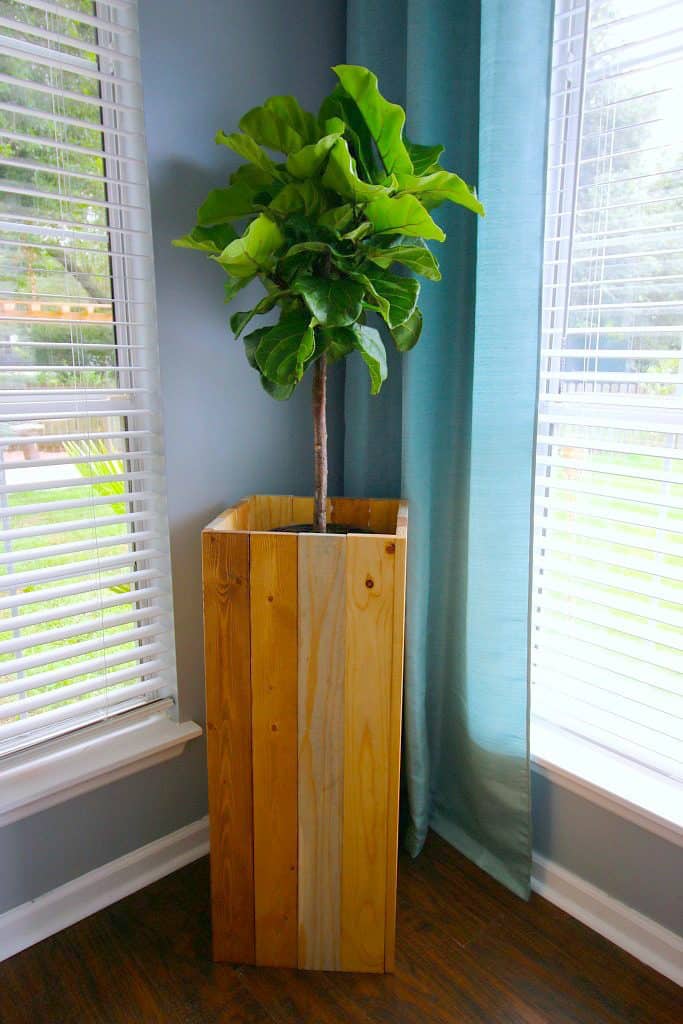
This project is very simple. All you need is:
- four 12 foot 1x4's
- wood glue
- four small L-brackets
- scrap piece of wood 13x13
- 2-3 foot clamps
- stain
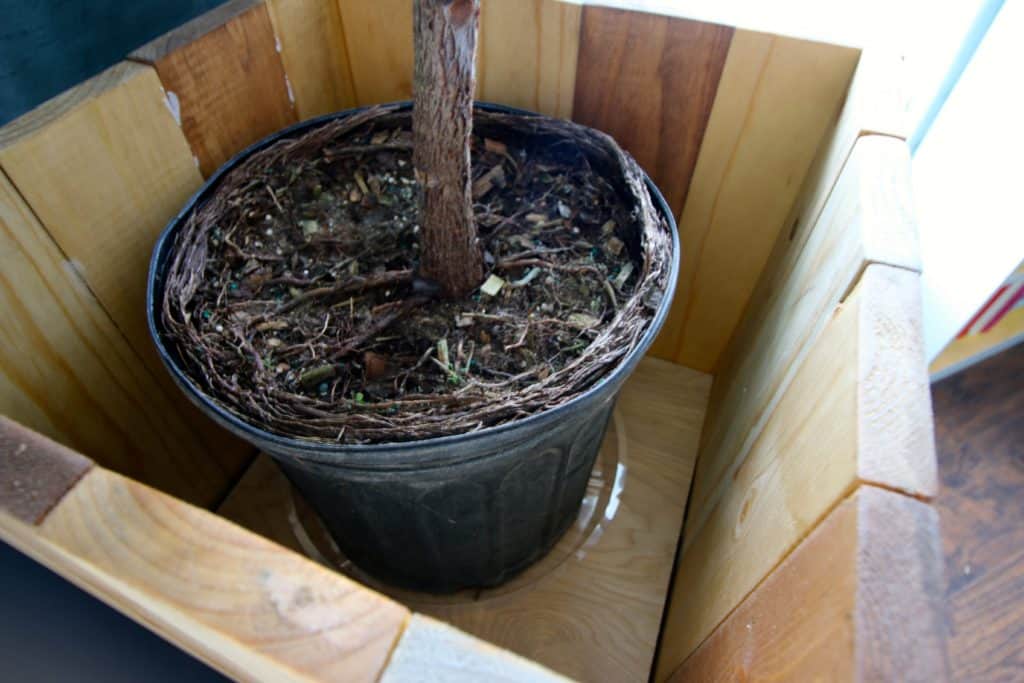
The basic idea of this project is a three foot tall box that is four 1x4s wide on each side. It's open on the top and bottom and just has a small piece of square plywood sunken down a foot into the box sitting on L-brackets that your plant pot would rest on.
To make this happen, we cut each of the four 1x4s into four 3-foot pieces.
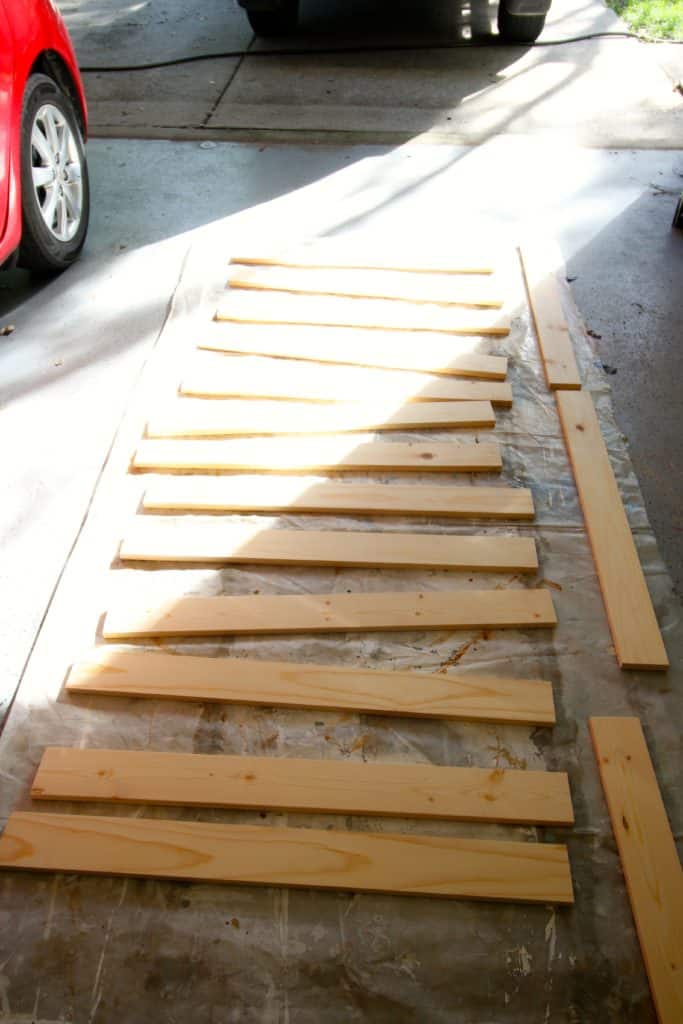
After sanding them down, we stained four sets of four of them in the same four colors we used to stain our dining room table and benches.
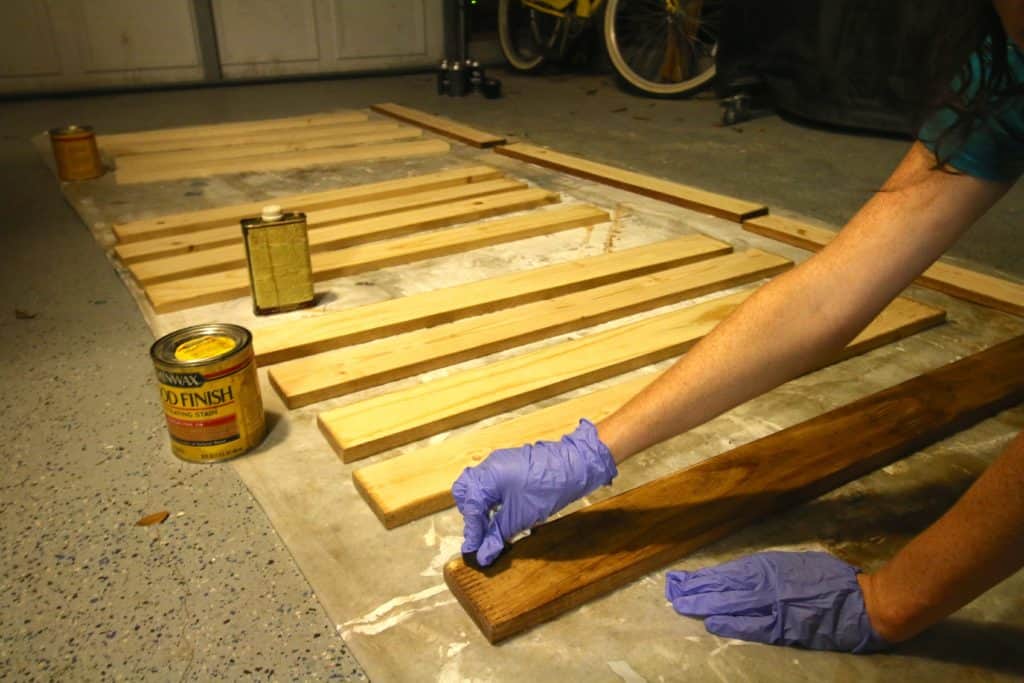
After they dry, set them up in four sets of boards with one of each color per set. Use wood glue to set each set together and use a long clamp to hold them together.
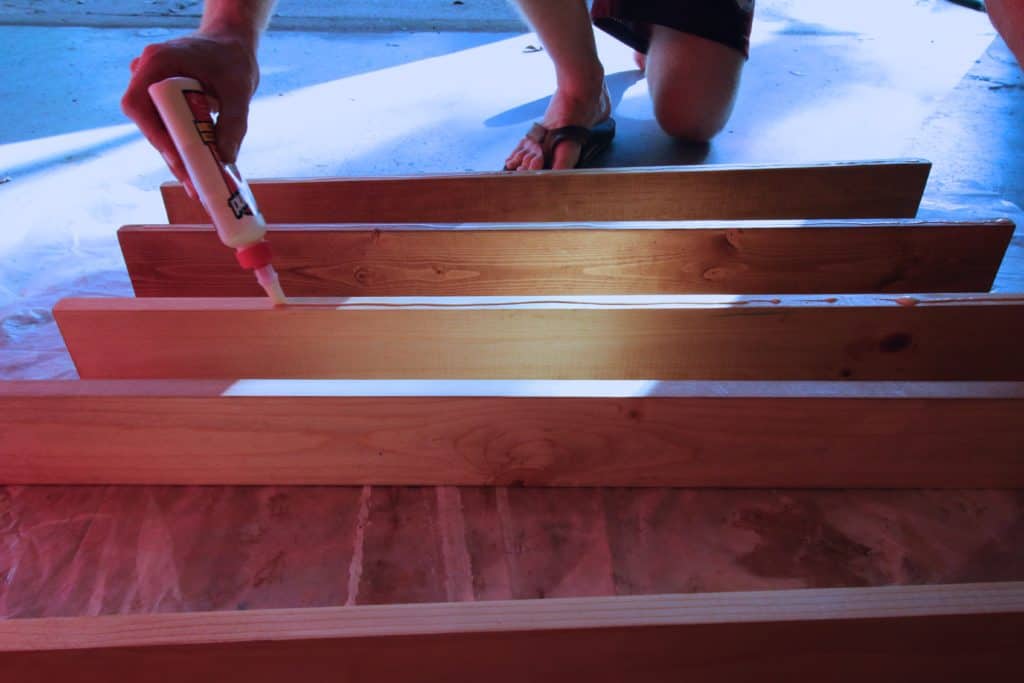
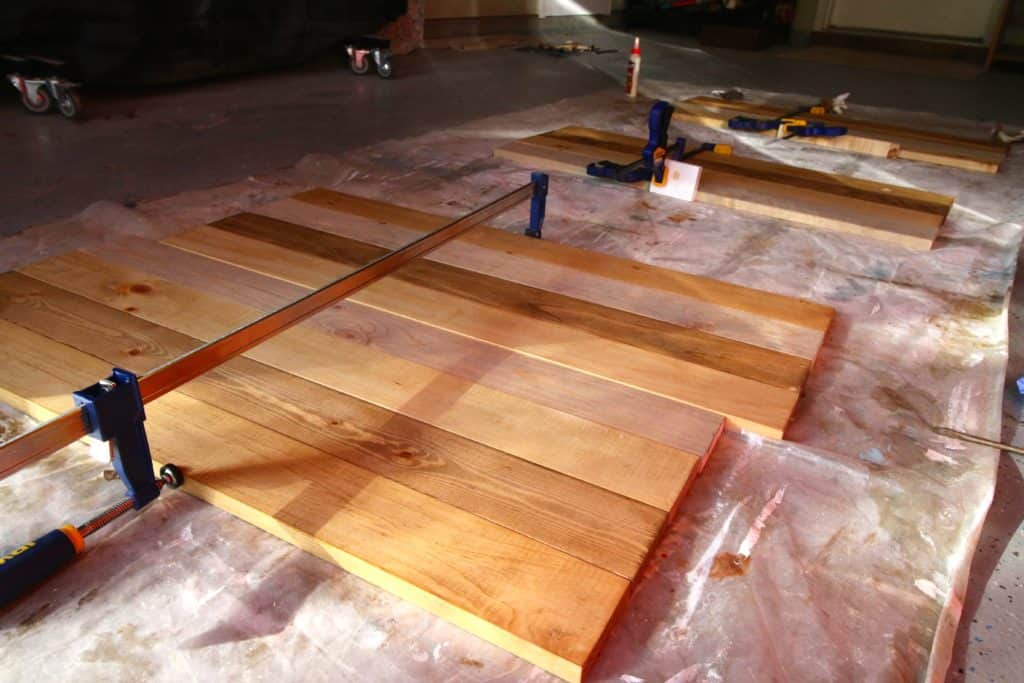
After each of the walls has dried, screw one L-bracket into each of the walls at the height you want. We had a 12 inch tall pot that we wanted to be level with the planter, so we screwed the brackets in 12 inches down.
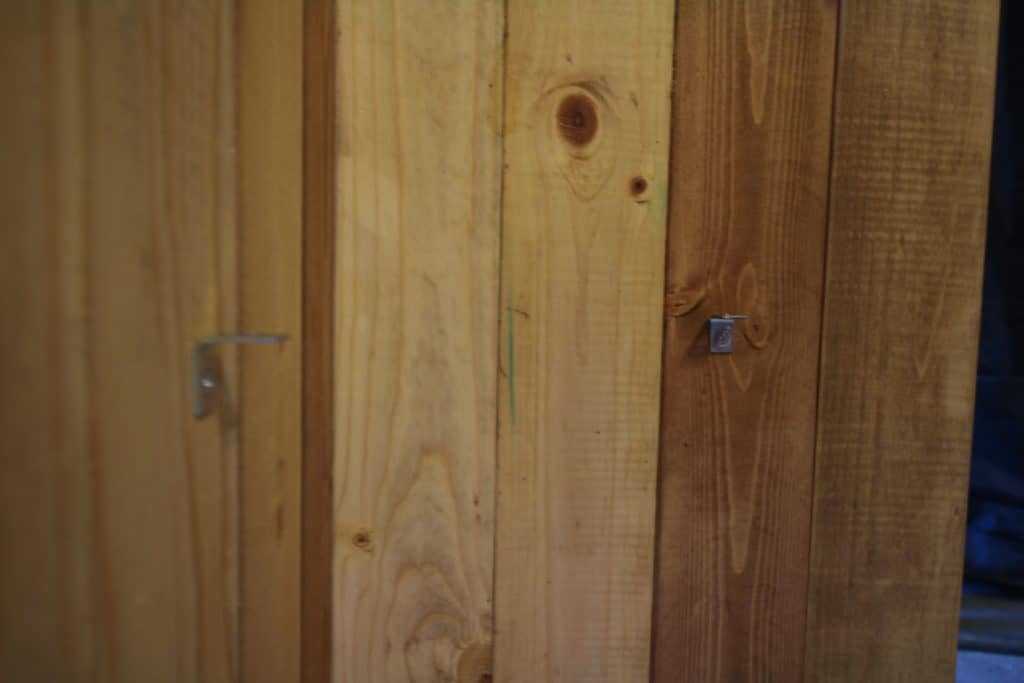
Then, using wood glue again, connect each of the four sides together in an infinity pattern and clamp them together.
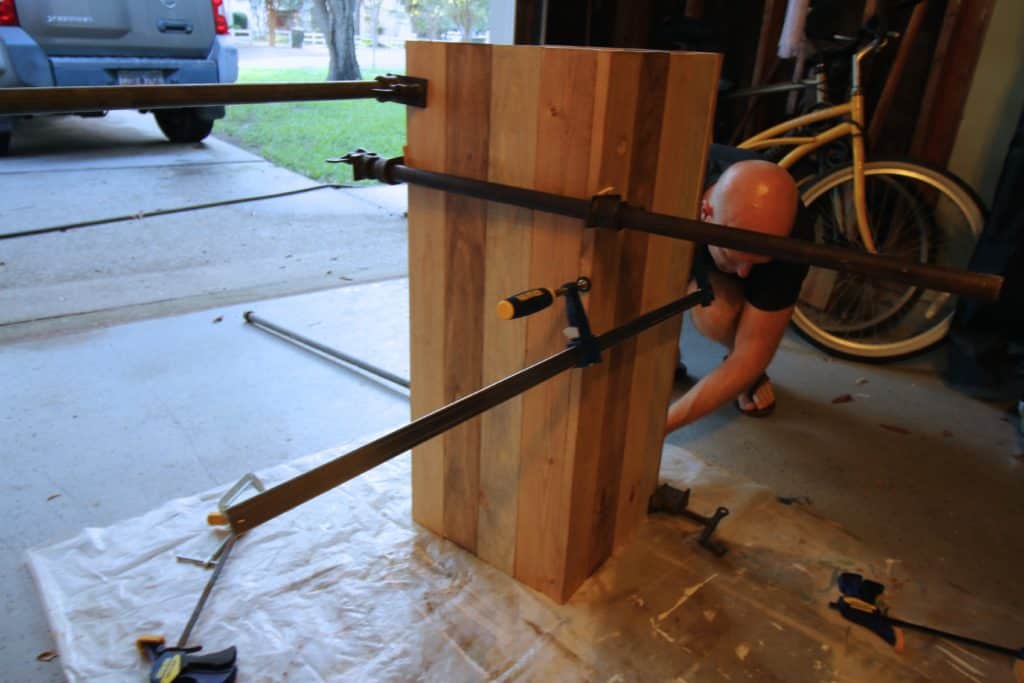
While the wood is drying, use a piece of scrap wood and cut it to be a square the size of the interior of your planter.
If you followed these instructions exactly, your piece would be about 13x13 inches with maybe another quarter inch on each side. After the glue is dry, simply drop the board onto the L-brackets and you're done.
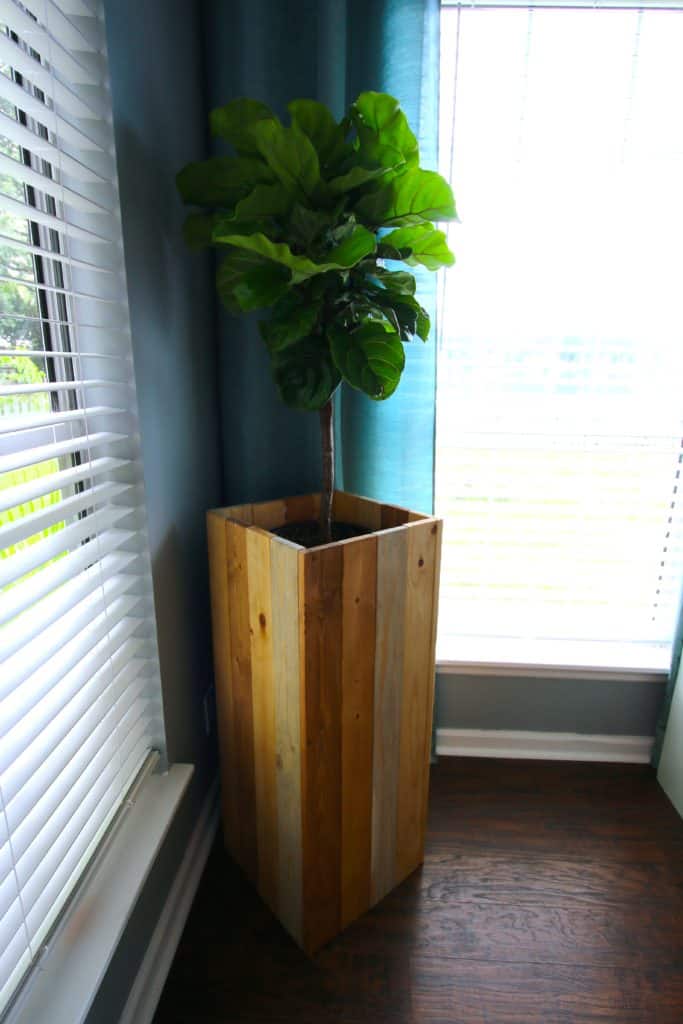
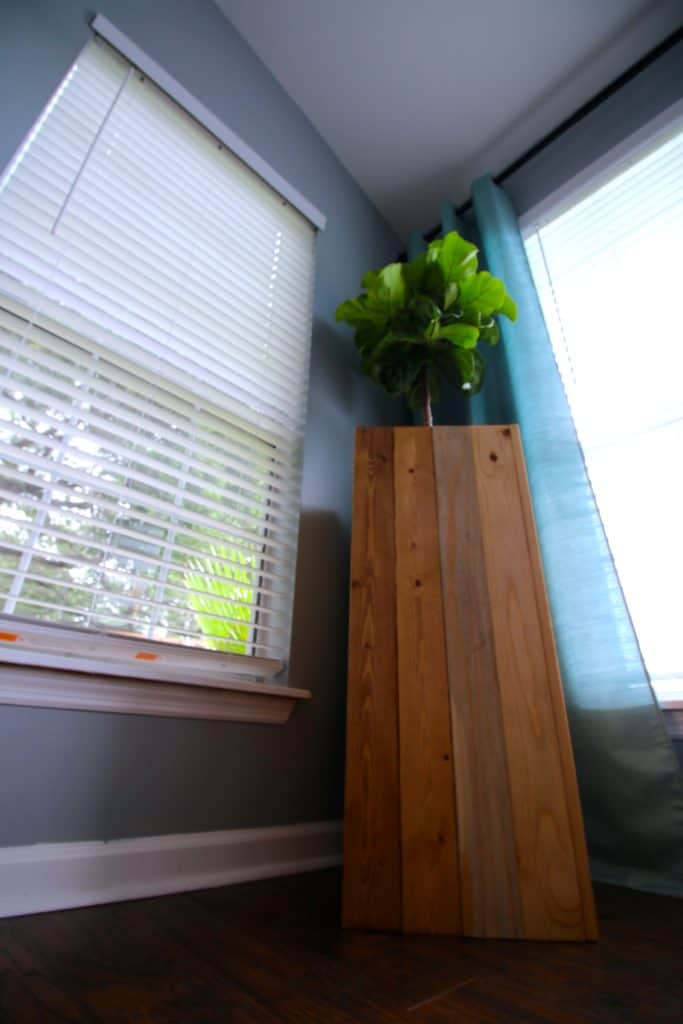
We love how the fiddle leaf fig is now elevated in our sunroom thanks to this DIY elevated plant stand. You could build one of these for a fiddle leaf fig or any shorter plant that you wanted to raise up and it would give some vertical height to your corner.
Love this project? Here are some other DIY plant holders:
Scallop planter from pallet wood
Peacock chair to a plant basket
Foot stool to a herringbone plant stand
Looking for something?
We've been doing this since 2012 so we have a LOT of blog posts!
Search stuff like: Ceiling Projects | DIY Plant Stands | Thrift Flips


Hey there, I'm Sean, the woodworking enthusiast and builder behind CharlestonCrafted.com! Since 2012, I've been sharing the magic of turning raw materials into beautiful creations. I love teaching others the art and satisfaction of woodworking and DIY. I try to inspire fellow crafters to make something extraordinary out of nothing at all.


[…] free plan.Here is the perfect solution for getting your smaller plants up off the floor. Build an elevated plant stand. Using these free woodworking instructions you can modify the plan to suit your plant […]