Want to update your house numbers with a DIY wood address sign? Here's a step by step guide on how to make a DIY modern metal and wood address sign!
This modern address plaque is a fast, easy way to add a quick pop of curb appeal to the front of your home.
We wanted to update the outdated, semi-cursive, crooked address numbers on the front of our house.
We wanted to add a new DIY address sign that incorporated wooden accents to complement some of our new raised garden beds. And, we wanted to choose new modern house numbers.
We used floating brushed silver numbers on a quick wooden base to make this modern address sign really stand out. They look like custom metal but nope, they're just from Amazon!
Want easy + stylish DIYs directly in your inbox? Sign up for our newsletter!
DIY Modern Metal & Wood Address Sign
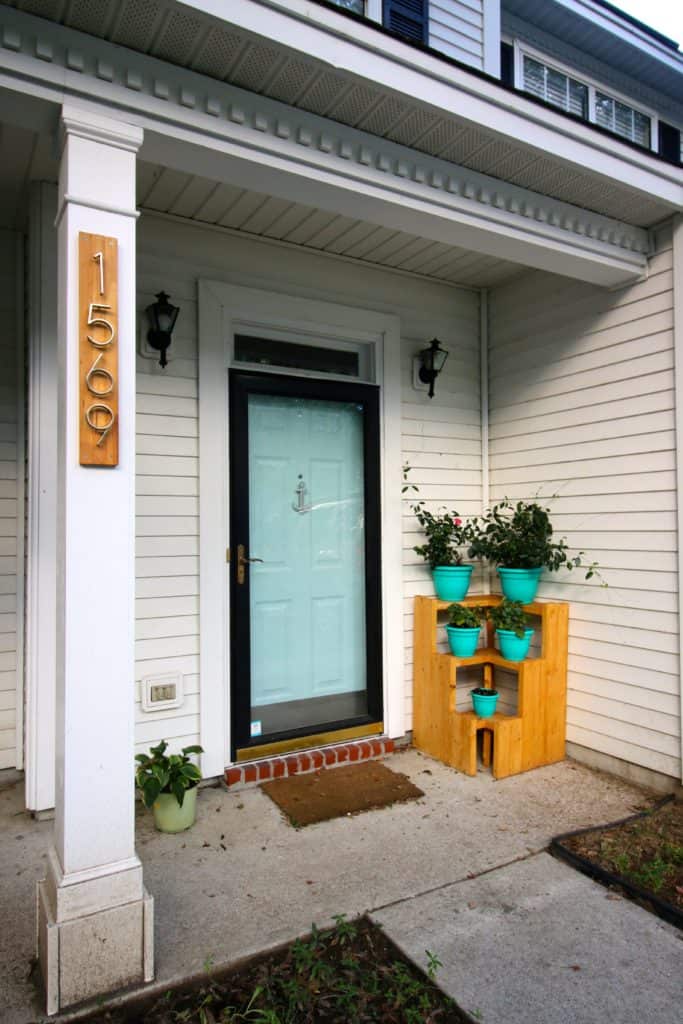
Supplies needed to make a DIY house number sign:
- 1x6" board
- 1" slats
- Outdoor wood sealant
- Wood glue
- Gorilla glue
- Modern metal house numbers
See more of our favorite DIY projects here!
How to make a DIY address plaque
STEP 1: Remove the old numbers
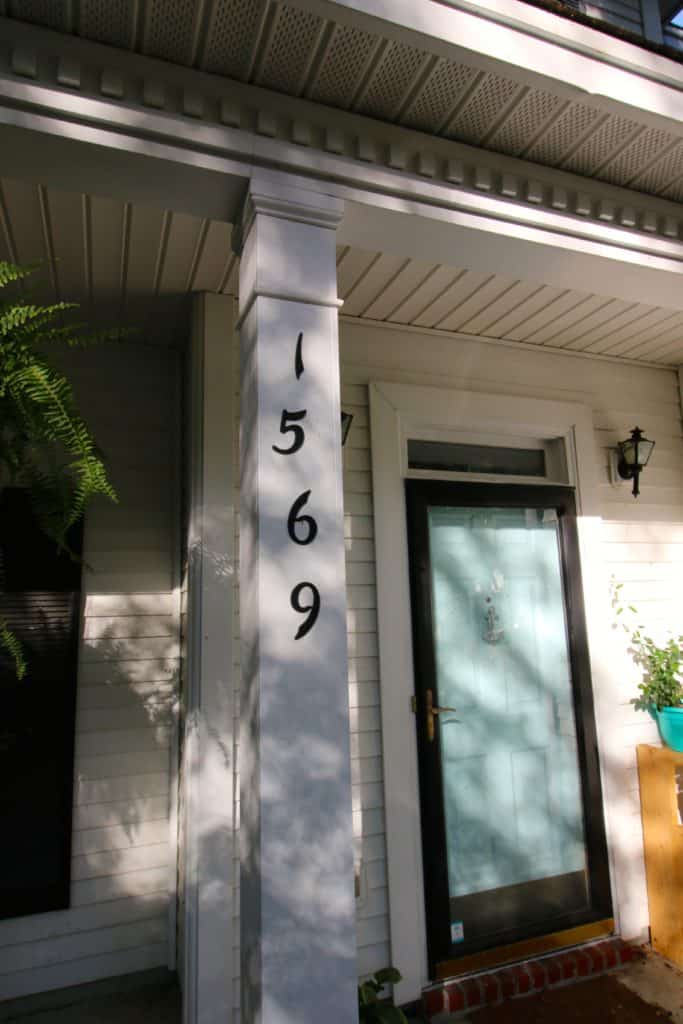
We've all seen these hammered black address numbers. You either a) you still have them on your current home, or b) you 100% had them on your home growing up.
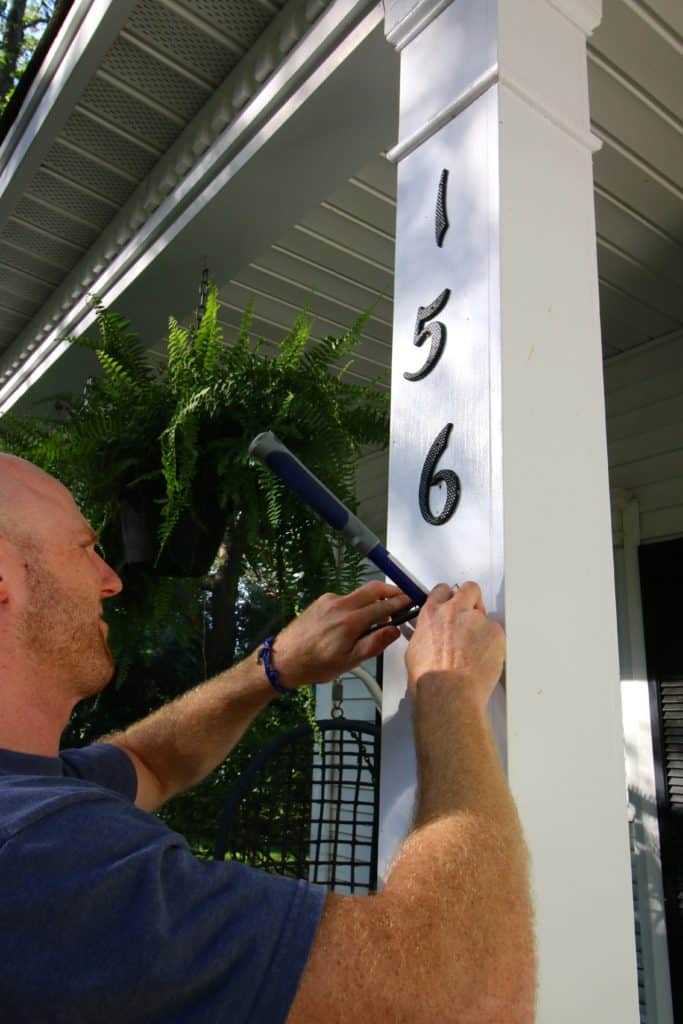
These numbers are as old as our house and needed to go. We started by popping these off with a hammer.
Then we measured the space that needed to be covered that was off-color from the old numbers.
STEP 2: Build your modern address sign
Using that measurement, we cut a 1"x6" board to 28 inches long and 4.5 inches wide to cover the space and fit our numbers.
Then, we cut down a thin wood slat into three pieces that would fit perfectly over that board. This is not necessary but just adds a bit of texture and detail to the wooden address sign.
STEP 3: Stain and seal the wood house number plaque
We stained all the pieces to with the same Thompson's Waterseal color we just used on this three-tiered planter so they would match.
STEP 4: Glue
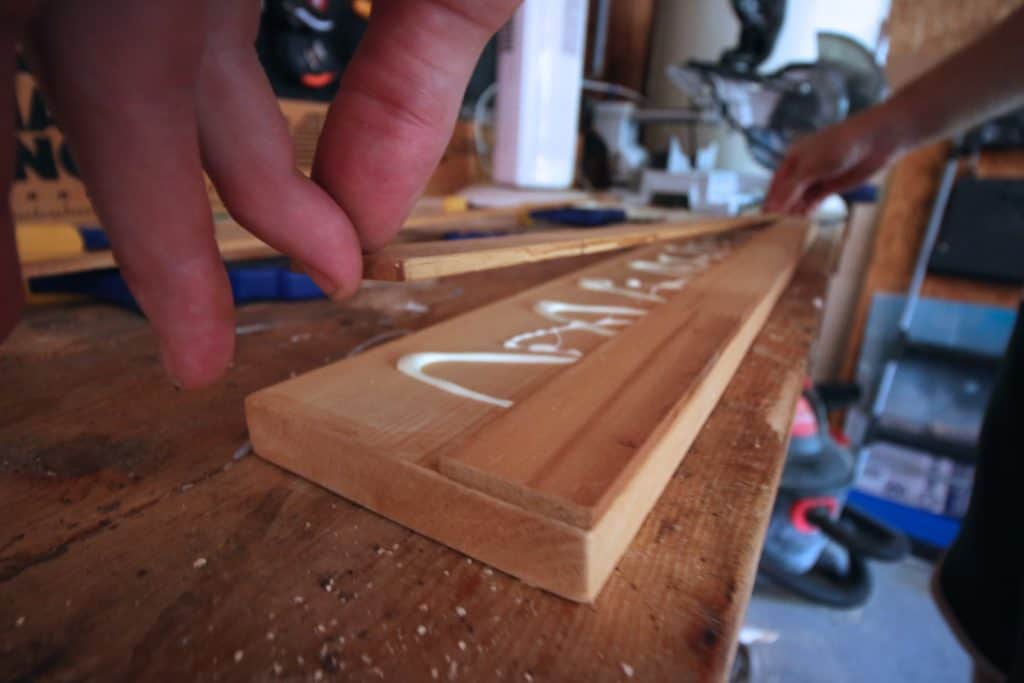
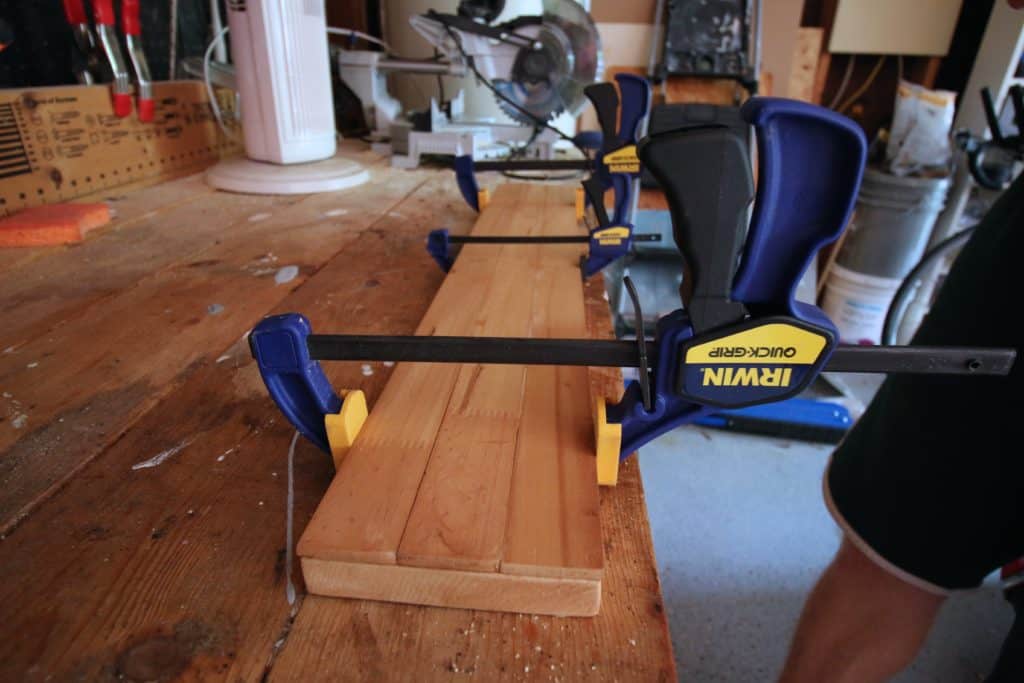
Once the stain was dry, we used wood glue and clamps to attach the three slats to the board.
STEP 5: Add the numbers to your outdoor DIY address sign
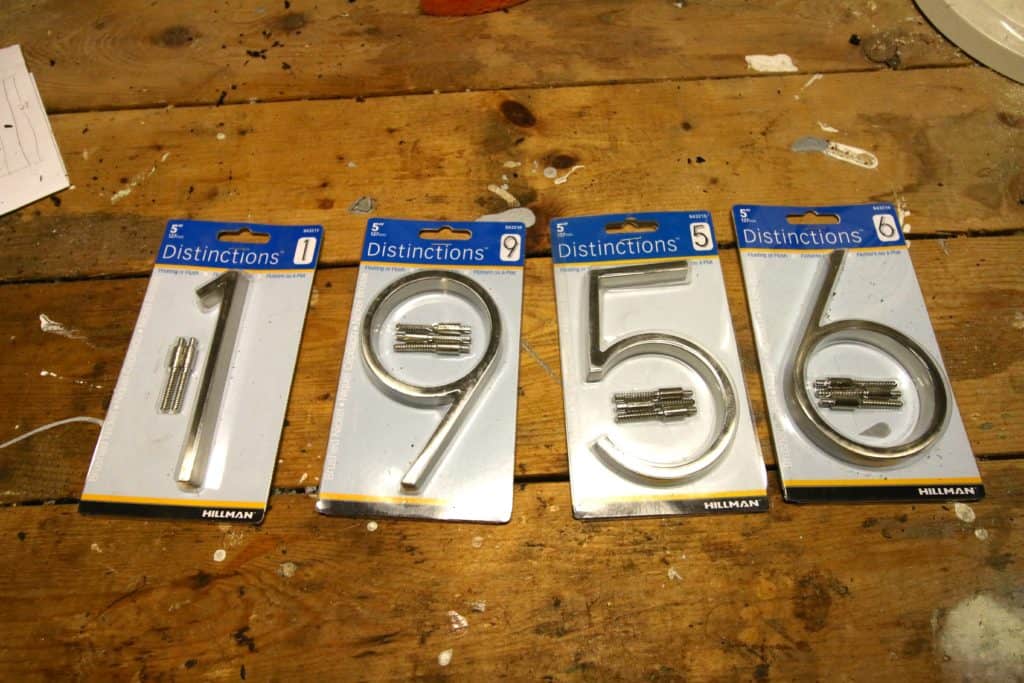
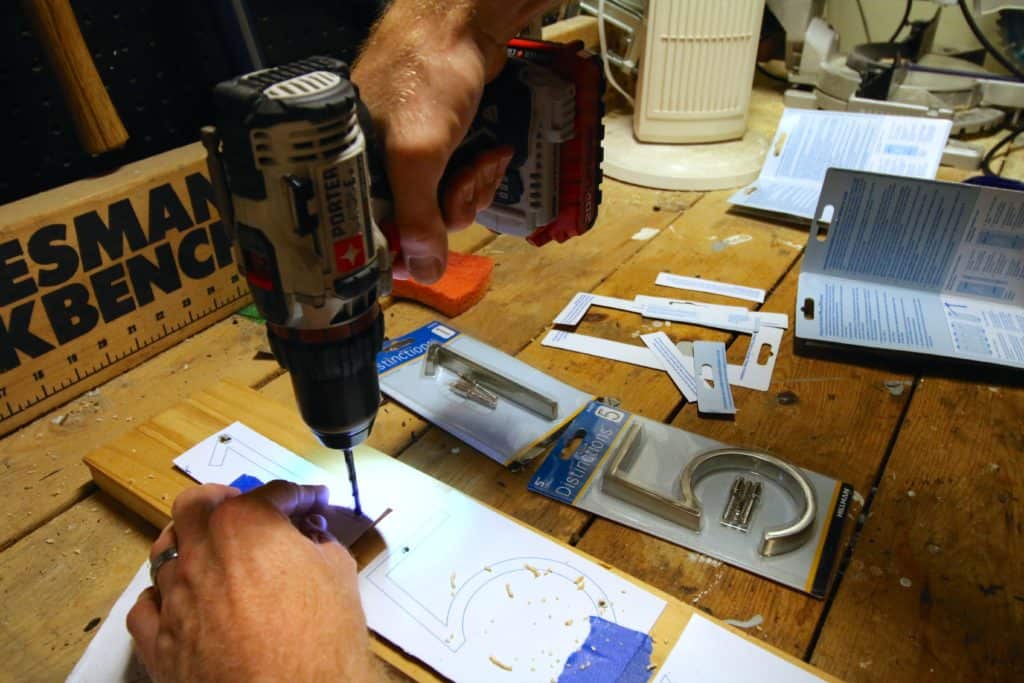
We grabbed these floating numbers, which come with great drawings so you can pre-drill your holes where they need to go.
The numbers are easy to set up and have great directions.
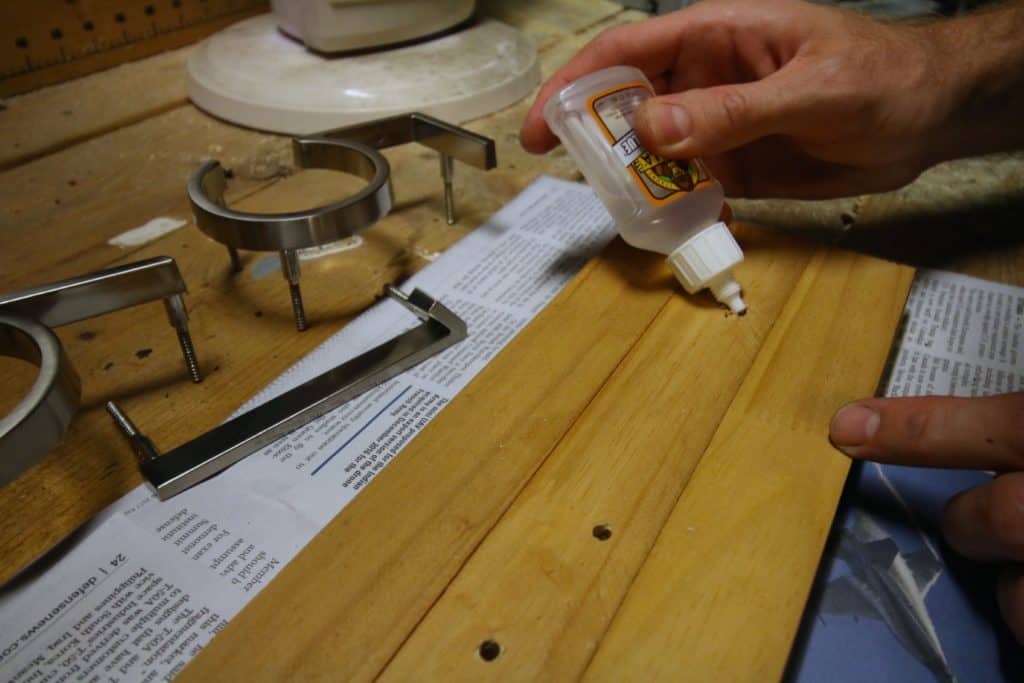
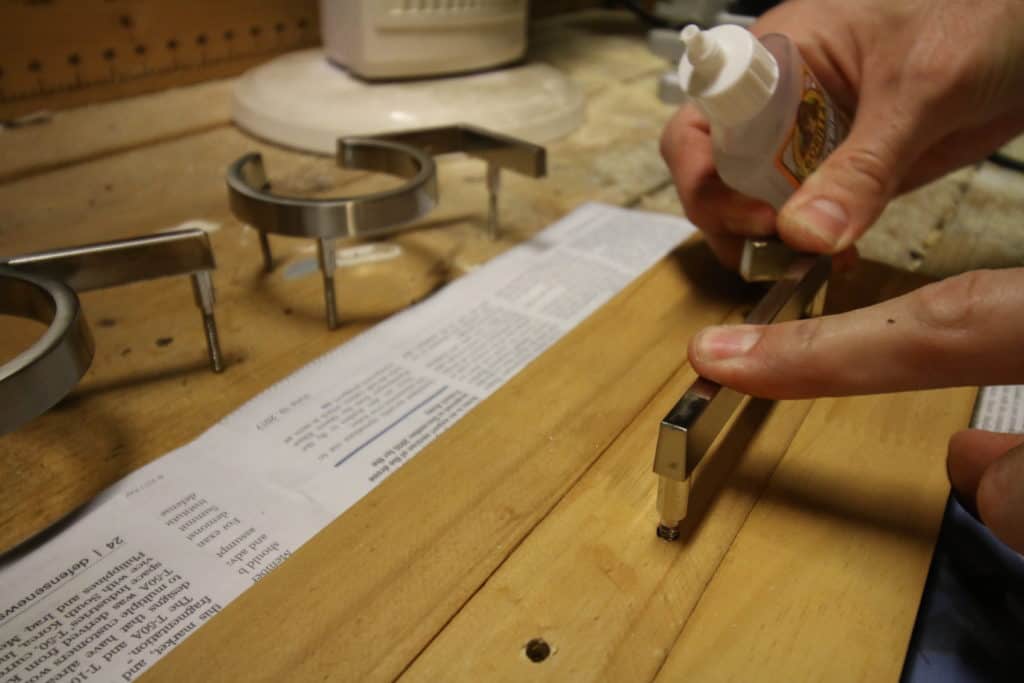
We put a quick squirt of Gorilla Glue into each hole and then popped in the numbers.
It's worth noting that we made a vertical house number to fit the column on our front porch. However, you could just as easily attach your numbers in a way to make it a horizontal house number plaque!
STEP 6: Install the gorgeous modern address sign
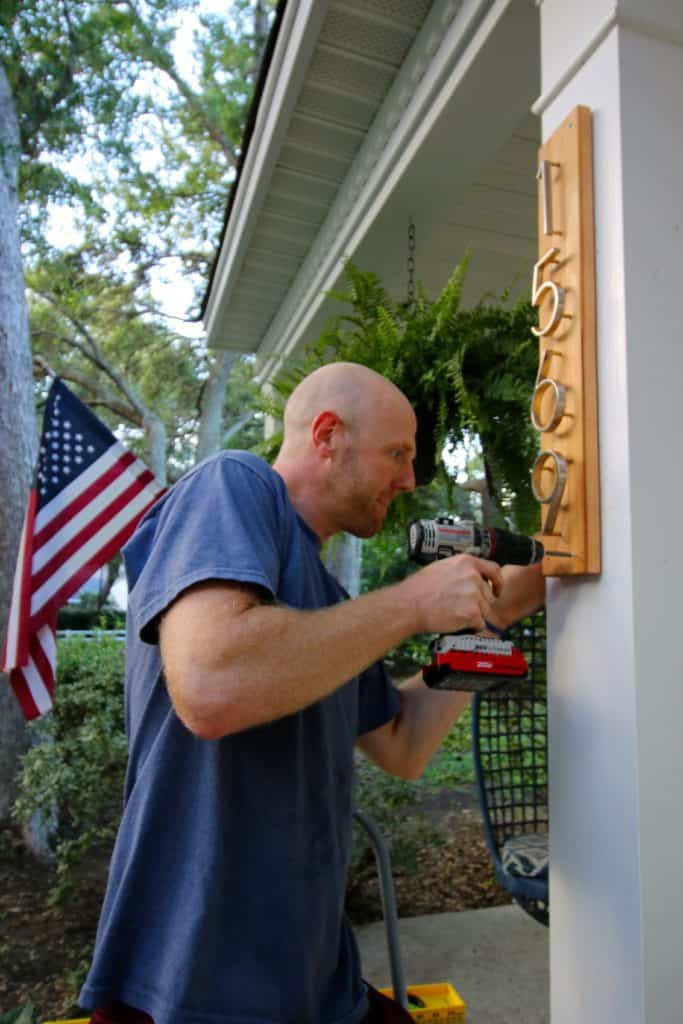
We hung up the sign with four screws drilled straight through and into our column on our porch. How's it look??
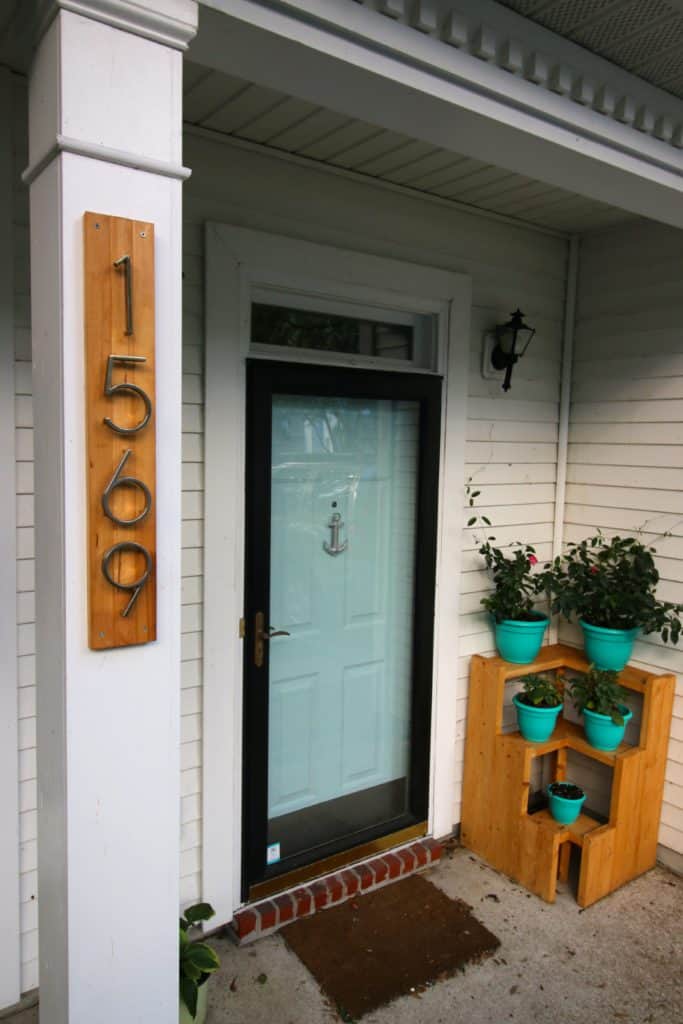
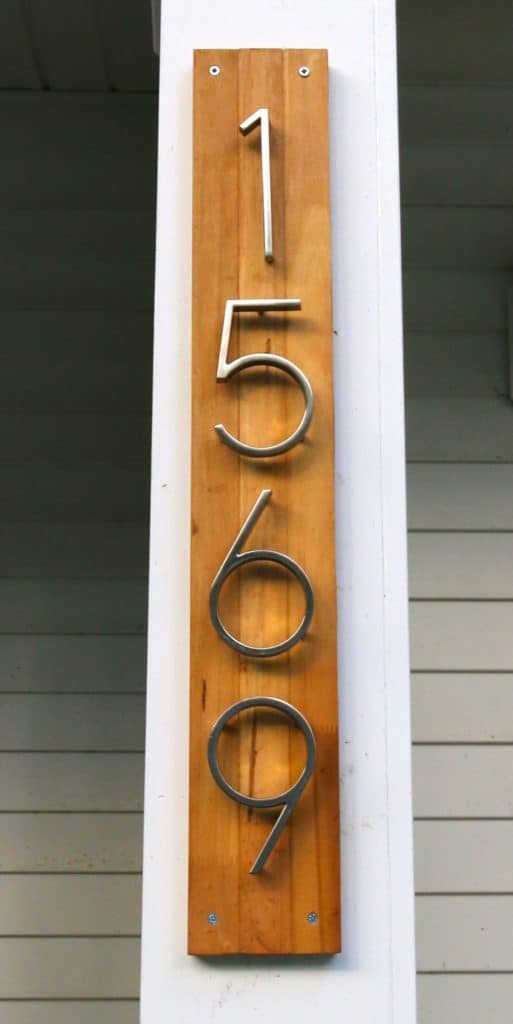
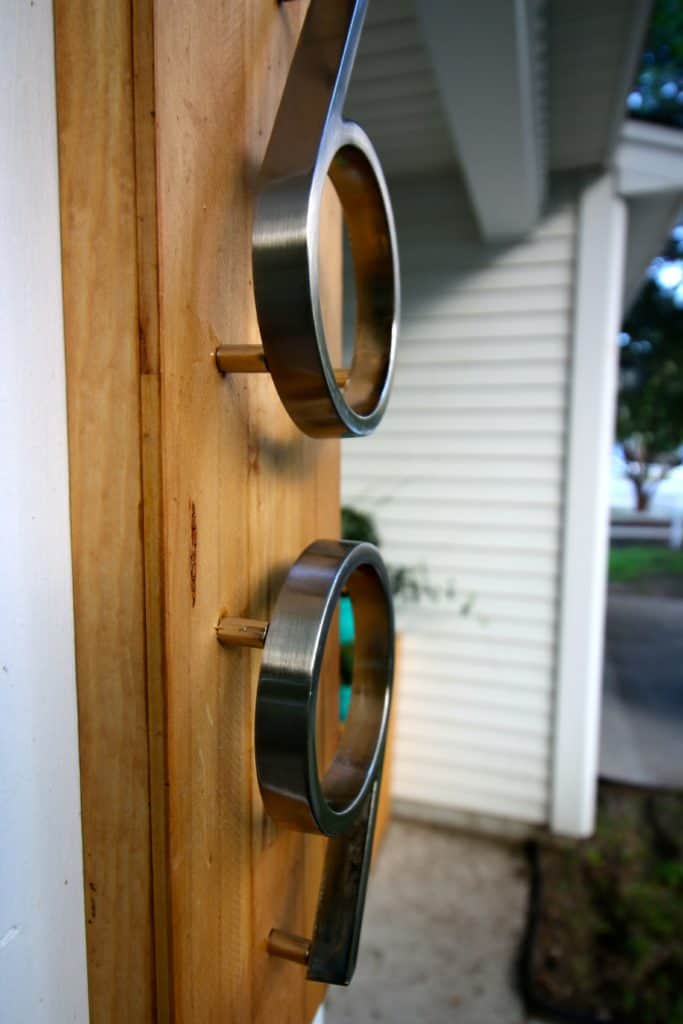
Creating a modern address sign is super easy. The number one key is to use modern numbers and give them a nice background and your house will look immediately better!
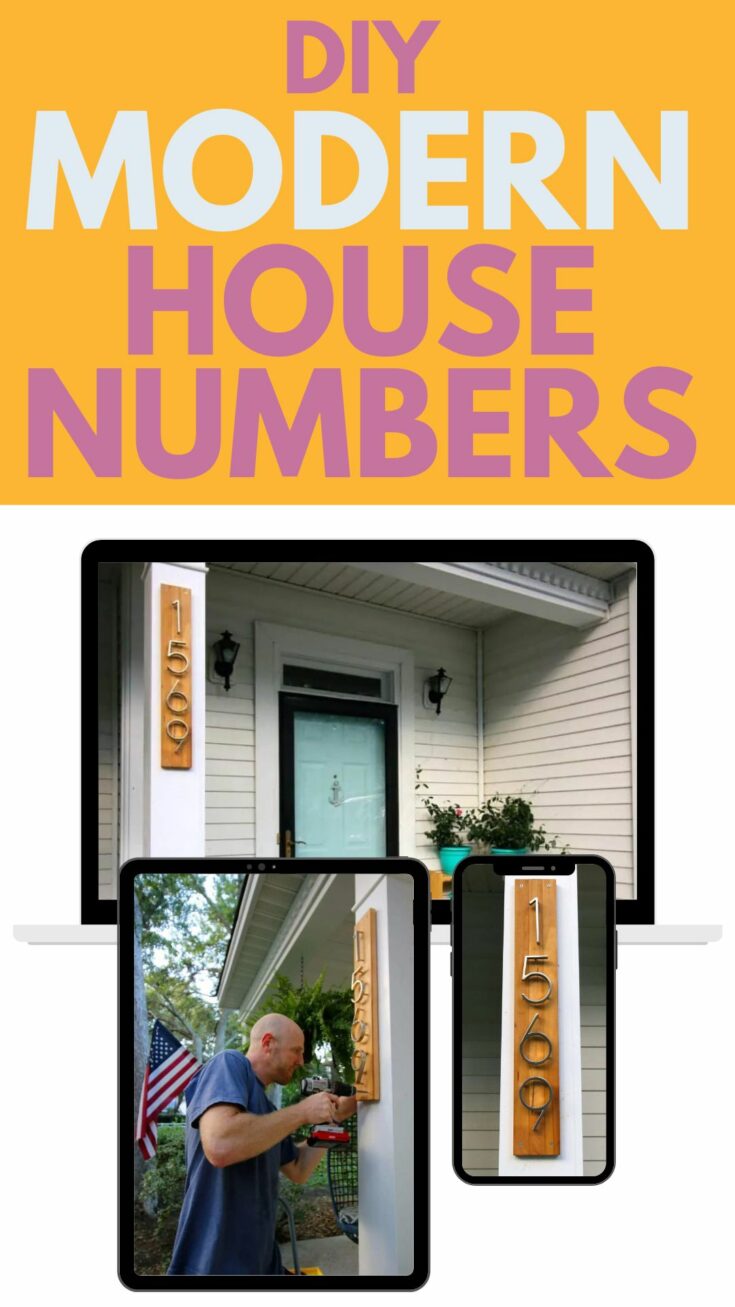
How to make a DIY house number sign
The super easiest way to make a modern wood and metal house number sign - vertical or horizontal!
Materials
- 1×6″ board
- 1″ slats
- Outdoor wood sealant
- Wood glue
- Gorilla glue
- Modern metal house numbers
Tools
- Saw of any kind
- Sander
- Paint brush
- Hammer
Instructions
- Remove your old house numbers using the back end of a hammer
- Measure the space and determine the size you want your new numbers to be
- Cut a 1x6" board to fit that size. Sand as needed smooth.
- Cut wooden slat to fit the board. This is optional but adds a textured look to the plaque.
- Stain and seal all wood.
- Use wood glue to attach slats to the board base. Clamp if needed.
- Once dry, lay out the numbers and drill into place. Add gorilla glue to hold into the holes.
- Hang with screws and enjoy!
Any questions about this address sign diy?!
Looking for something?
We've been doing this since 2012 so we have a LOT of blog posts!
Search stuff like: Ceiling Projects | DIY Plant Stands | Thrift Flips


Hey there, I'm Sean, the woodworking enthusiast and builder behind CharlestonCrafted.com! Since 2012, I've been sharing the magic of turning raw materials into beautiful creations. I love teaching others the art and satisfaction of woodworking and DIY. I try to inspire fellow crafters to make something extraordinary out of nothing at all.




Kelley @ Coastal Kelder says
Love the numbers you chose! We updated the numbers on our door at the old house and it made a huge difference to get the old brass outta there
Morgan says
It's such a small but great update!
Tori says
These are beautiful!
Danielle says
You have inspired me. We are working on our porch later this summer (paint, a flag holder and some other stuff) and I want to change up the look of our house numbers. We might not do this exactly but I sent this to my fiancé to ask him what he thinks of it as a guide for what we want to do! Thanks!
Morgan says
I am so glad! it was so simple. Please tag us or share if you make one yourself!
Angela Groves says
Love that number project. I am interested in the plant stand on th porch. Any chance you have a pattern to make that? momthegardener1@gmail.com
Thanks, Angela
9-9-18
Sean says
Hey Angela, glad you're interested! We shared the plant stand here- https://www.charlestoncrafted.com/2017/07/01/diy-3-tiered-corner-plant-stand/. Hope you enjoy!
Laura says
How much are the house #?
Morgan says
We paid about $11 a number, here they are on amazon. https://amzn.to/2G3JJZs