This post was sponsored by Kreg Jig and their DIY project website BuildSomething.com. All of the work done was by us and was our own plan. Thank you for supporting the brands that make Charleston Crafted possible.
We love building things, decorating and doing as much as we possibly can ourselves. While we have certainly built some awesome furniture pieces (like our dining table and benches, an industrial pipe bench and a vanity stool), building furniture has not typically been a frequent occurrence in our house.
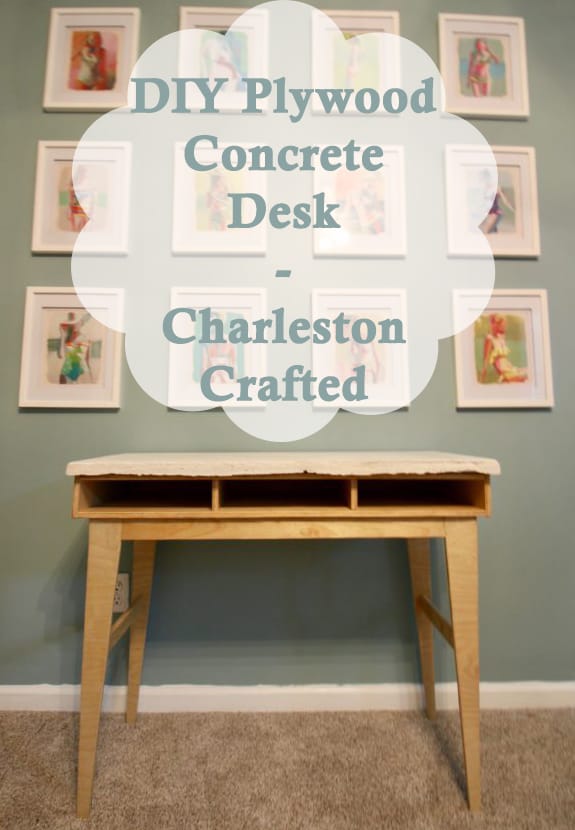
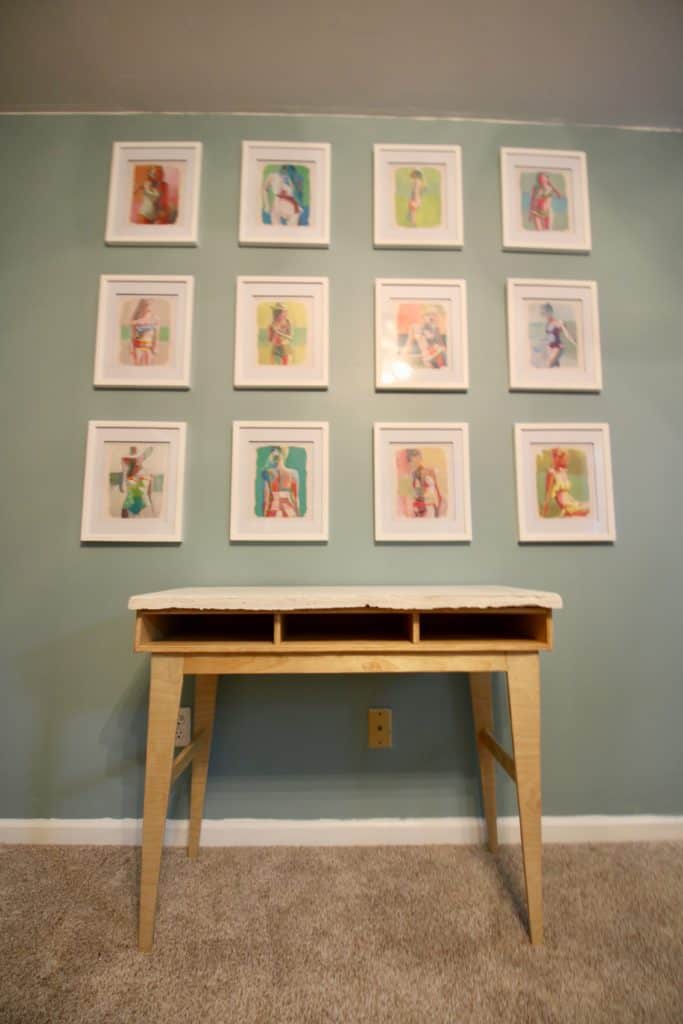
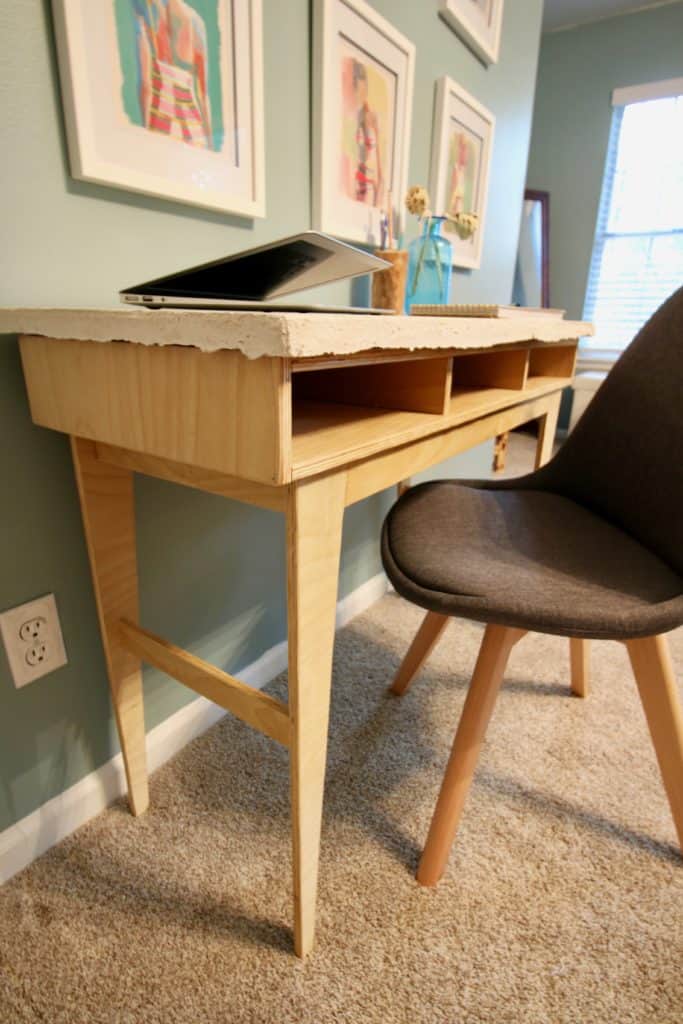
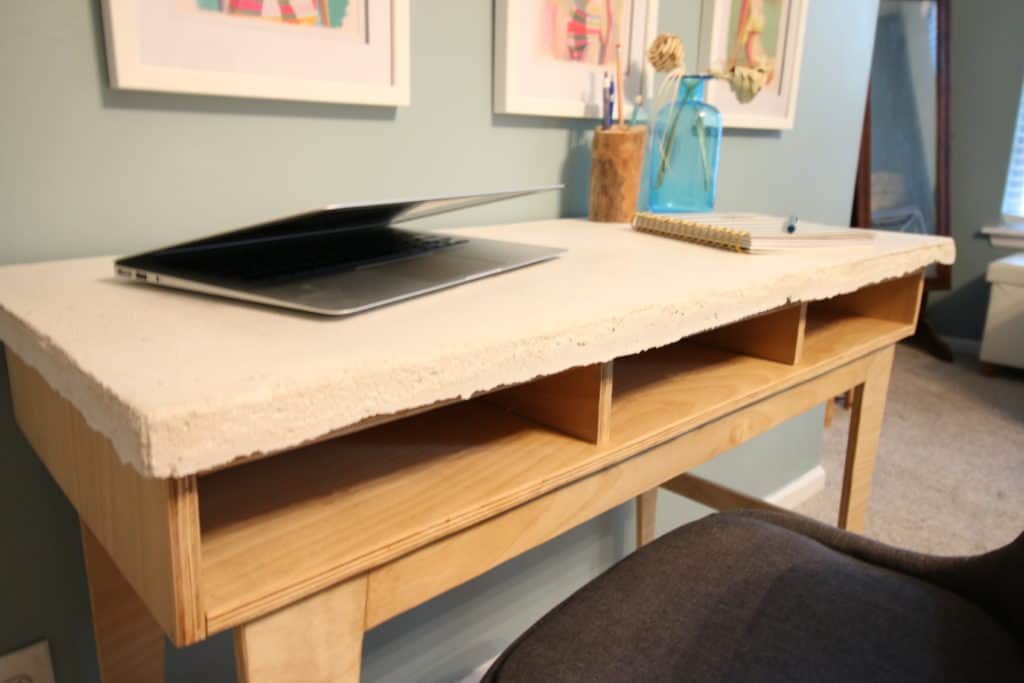
We recently purchased a new computer (a desktop nonetheless!) and needed a place to put it, so we decided to build a DIY plywood concrete desk that would be sleek and withstand what we needed to do with it.
DIY Plywood Concrete Desk
We'll give you the overview in this post, but if you want to build one yourself, we have the full specifications on Kreg's BuildSomething.com, a DIY project plan site that is a great place for finding cool projects that you can build yourself. We used one 4’ x 4’ sheet of ½ inch plywood for the entire body of the desk.
The first thing we did was draw out the cuts we needed on a piece of paper, then drew them on the pieces of plywood for the desk.
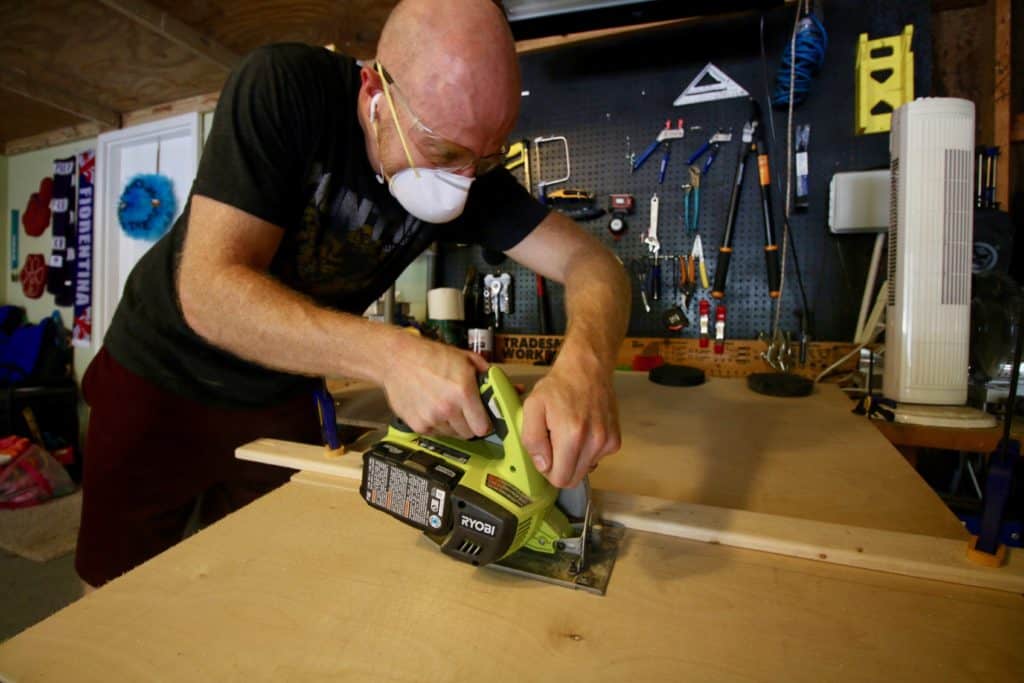
Using our RYOBI One+ circular saw, we buzzed out all of the cuts quickly and were left with all our pieces.
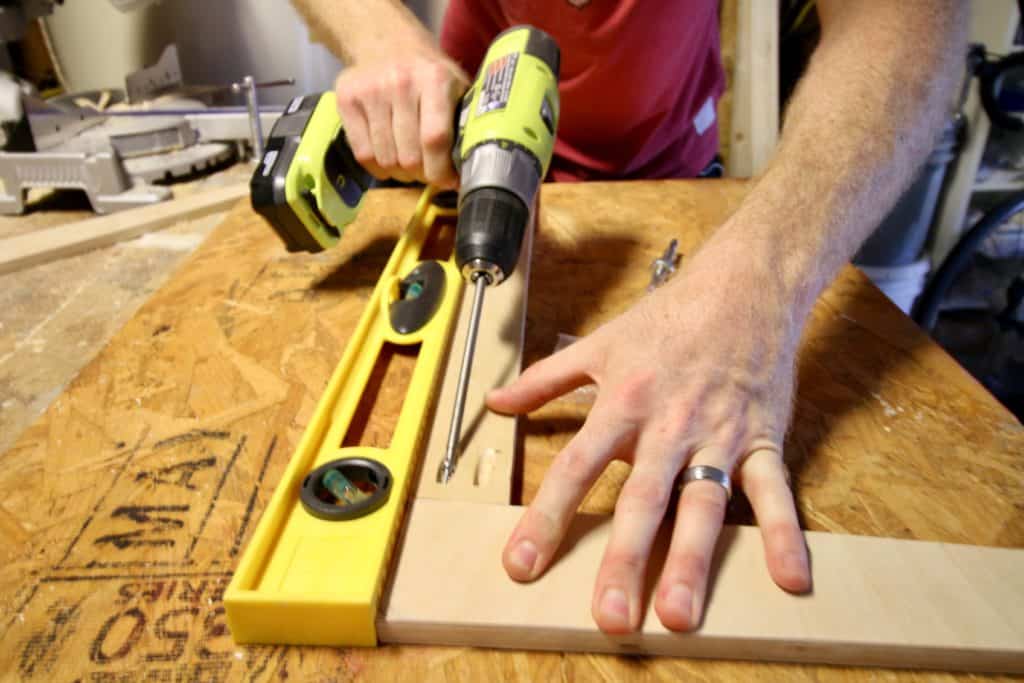
We started by building the leg structure. I used our Kreg R3 to drill pocket holes in each of the supporting braces. I had four at the top connecting each of the angled legs, one down the middle and one on each of the short sides. We connected all this together to create a sturdy leg base.
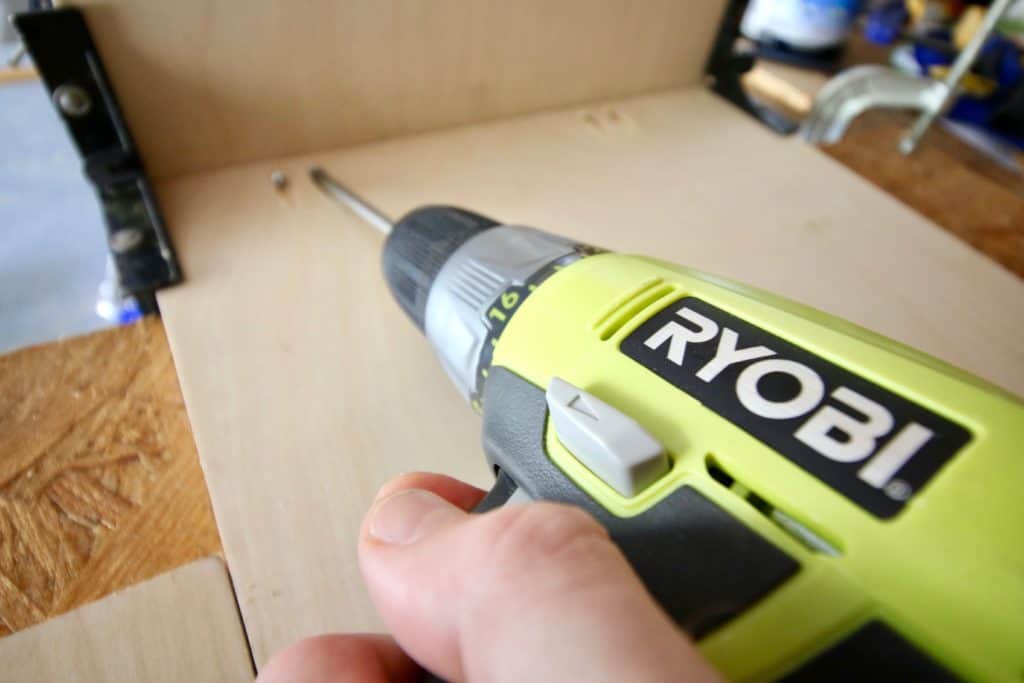
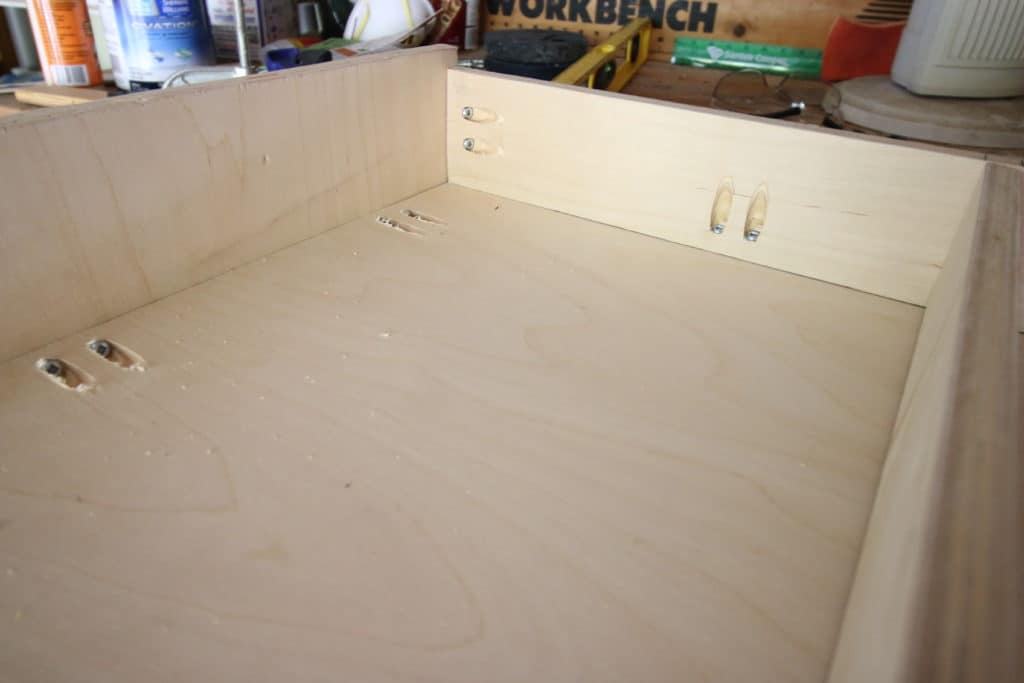
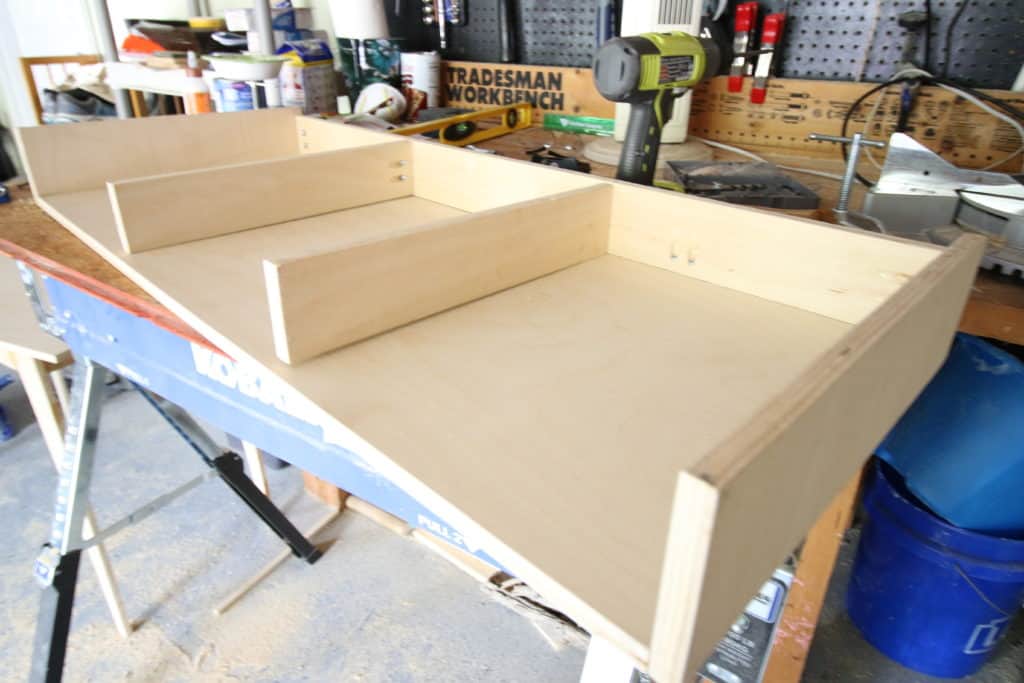
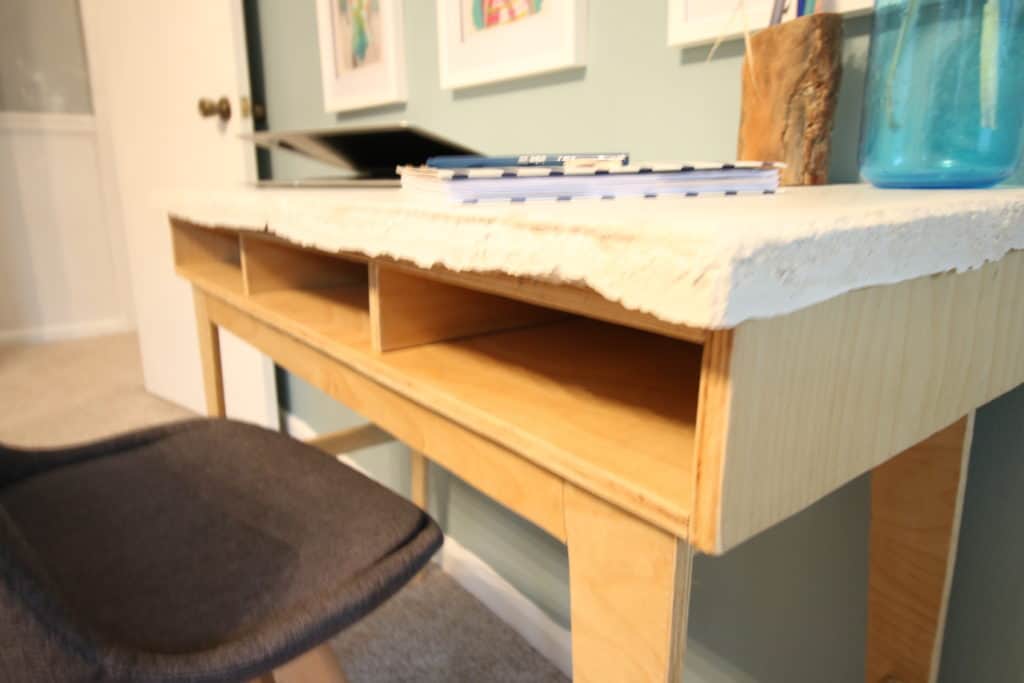
Next came the box. We gathered up all of the pieces for the box top and constructed it upside down in order to hide the pocket holes. We connected the sides to the top and the back, then added the two dividers and finally the bottom. Again, this was all done with pocket holes and Kreg screws.
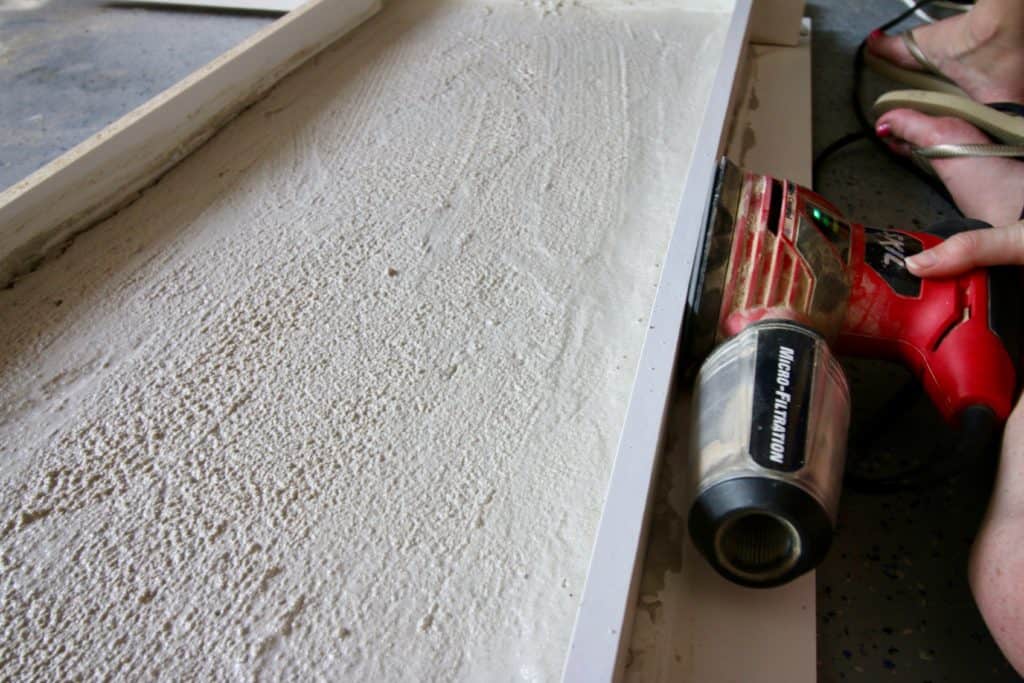
Before we put the leg base and the box top together, we rounded down all the edges using an orbital sander. We just rolled it over each edge to give it a smooth finish and make the plywood look more professional.
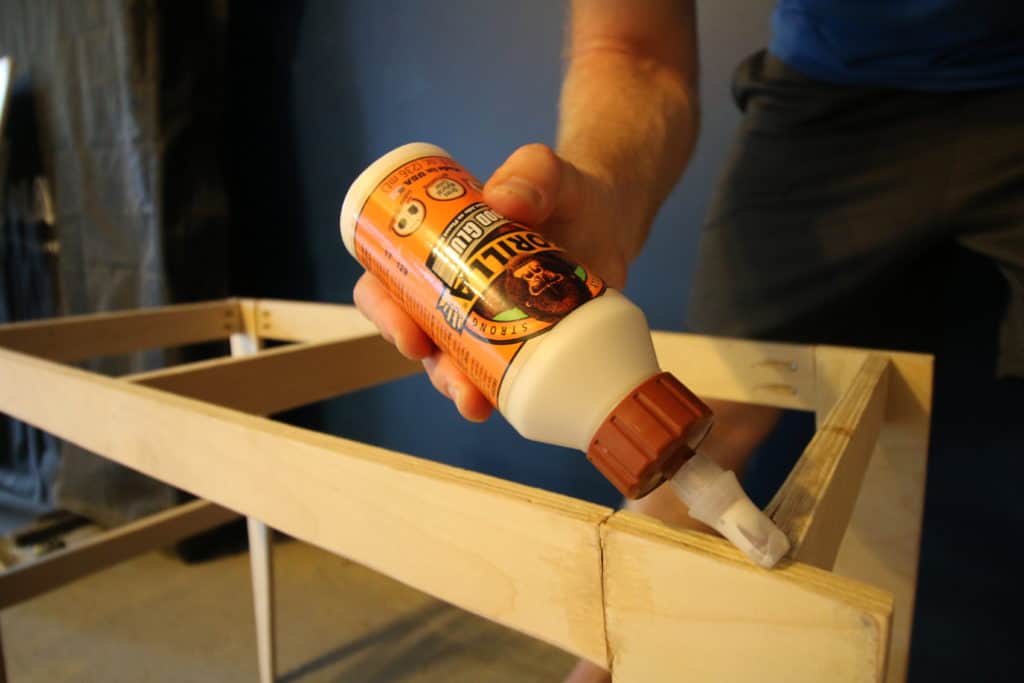
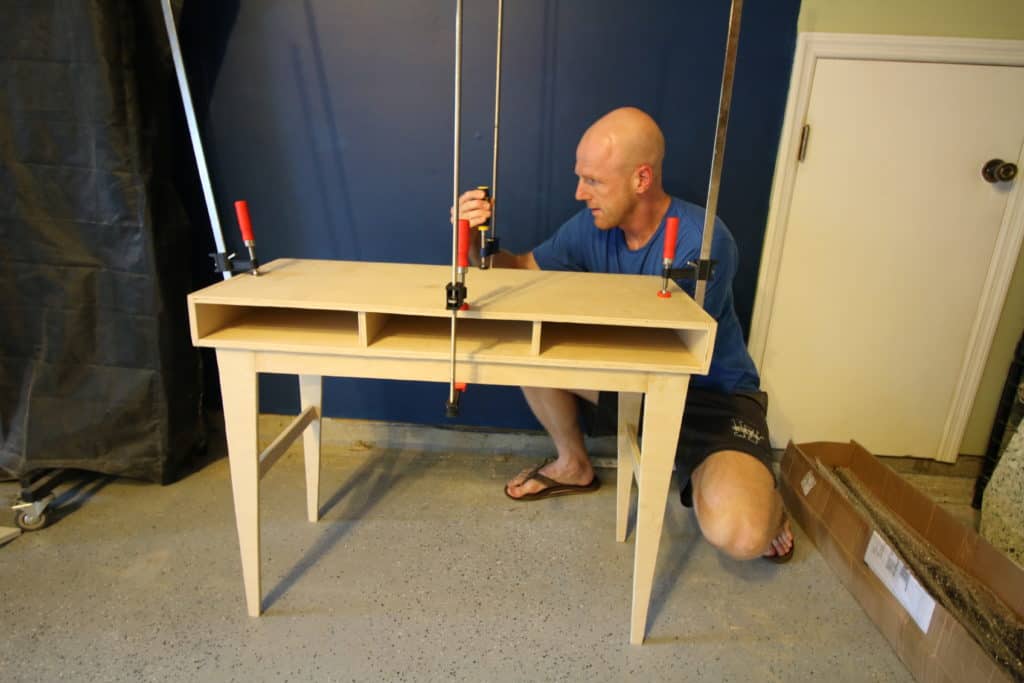
Next, we used wood glue to attach the box top to the base. We spread glue down on all the top surfaces of the legs and clamped the box top onto it.
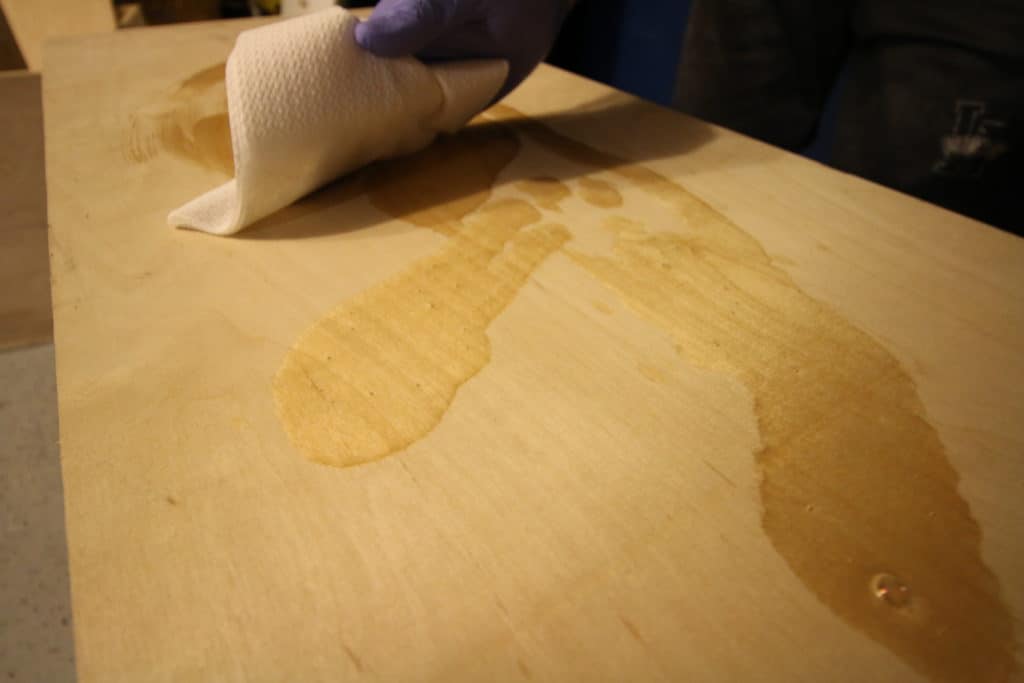
After the glue was dry, we used cutting board oil wiped down all over the entire thing to protect it. We tested a few different finishes, but we thought this one kept it light and bright, which is what we were going for.
The last step to this whole thing was our concrete top. You can’t have a DIY plywood concrete desk without concrete. For this, we created a rectangular form out of melamine boards and poured the concrete one inch deep to form the concrete desktop.
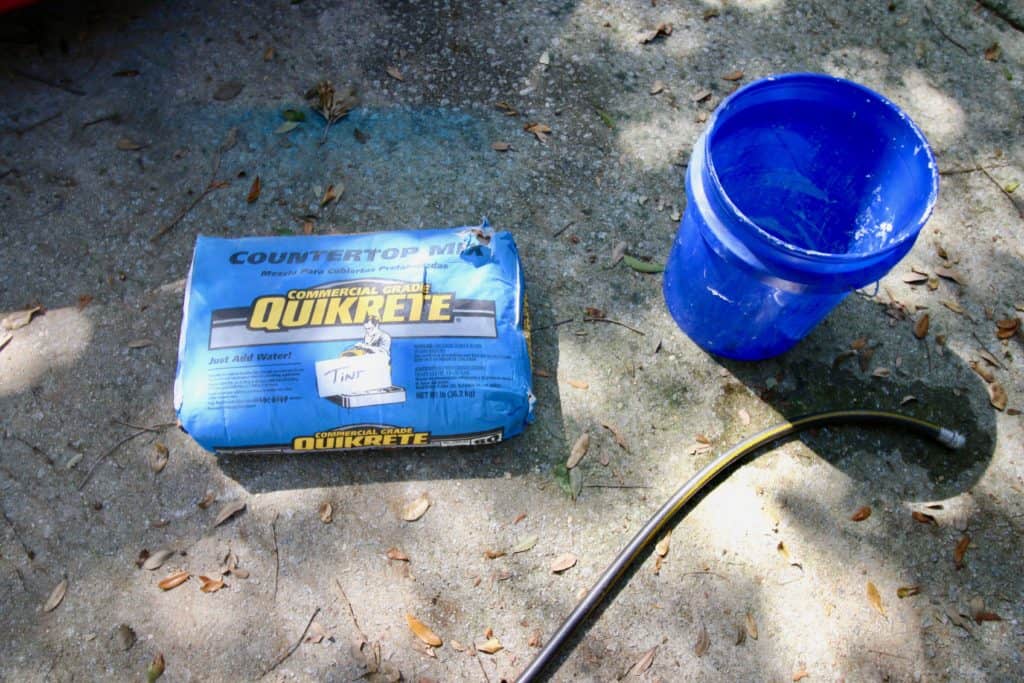
We used Quikrete Countertop Mix in white, which you can special order through the pro services desk at either Home Depot or Lowes. We’ll have some posts soon about how to make forms and pour concrete, so stay tuned.
After the concrete top was set after a couple of days, we removed it and attached it to the top of the DIY plywood desk box using Gorilla Glue and clamped it down.
After the glue was dry, we were ready to get to work, where this blog post was written.
This DIY plywood concrete desk wasn’t that difficult to make, there were just a lot of steps. A plywood desk is a really simple DIY build!
If you’re interested in the exact measurements and specifications of the desk and want to build it yourself, we have the full specifications and plans up on Kreg's BuildSomething.com where you can download them and build your own.
Kreg has an incredible community of makers at Build Something that are uploading plans for free for projects they've built that you can build yourself with step-by-step detailed instructions. There are also lots of other great projects there to check out and try yourself!
Looking for a matching chair? Here are my favorite modern desk chairs on Amazon!
Interested in the Kreg Jig? Click here to read our full Kreg Jig review and to see all of our Kreg Jig projects.
New to the Kreg Jig? Here is a step by step guide on how to use a Kreg Jig!
OR grab our FREE Kreg Jig Cheat Sheet here! Download the cheat sheet!
Looking for something?
We've been doing this since 2012 so we have a LOT of blog posts!
Search stuff like: Ceiling Projects | DIY Plant Stands | Thrift Flips


Hey there, I'm Sean, the woodworking enthusiast and builder behind CharlestonCrafted.com! Since 2012, I've been sharing the magic of turning raw materials into beautiful creations. I love teaching others the art and satisfaction of woodworking and DIY. I try to inspire fellow crafters to make something extraordinary out of nothing at all.




Haneen says
Nice work, guys! Cool project!
Brushless Drill says
The home made desk shown in the picture looks very good and strong. I will also try the same by following the above procedure.