I am back today with another furniture flip for you! I started with this small stool. It was from Target in 2013. I love the metal geometric base but the upholstered cushion is pretty worn.
Since Sean built me a new vanity stool, I decided to try to replace the top of this one and transform it into a wooden plant stand with a herringbone patterned top.
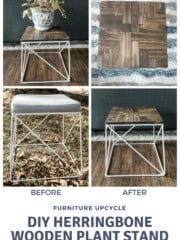
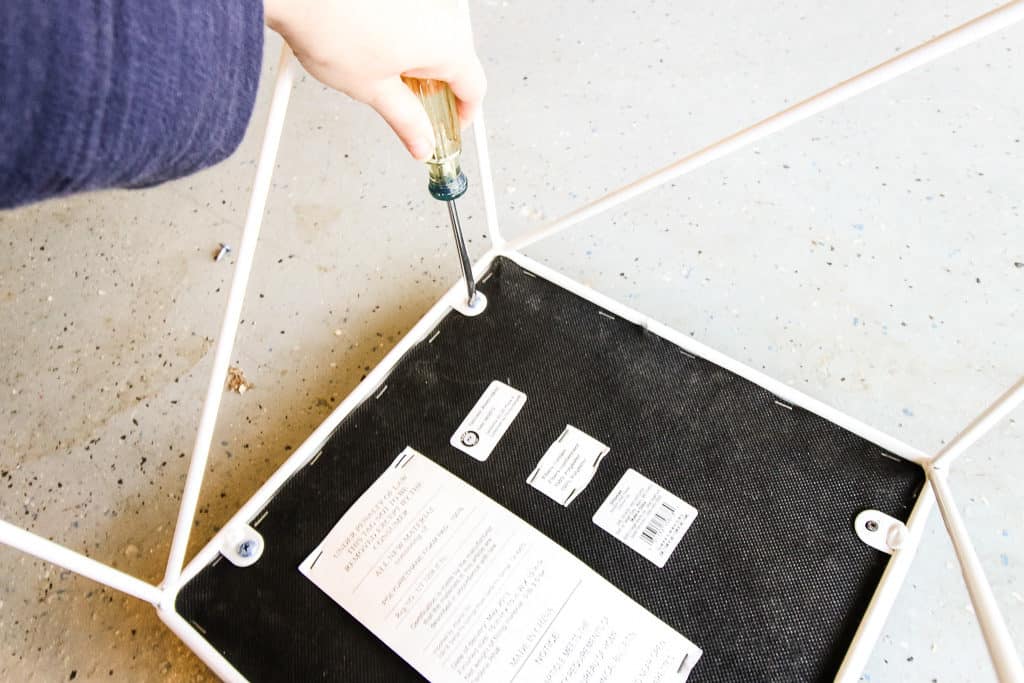
The first step was to remove the existing top. It was held into place with 4 screws that were really easy to remove.
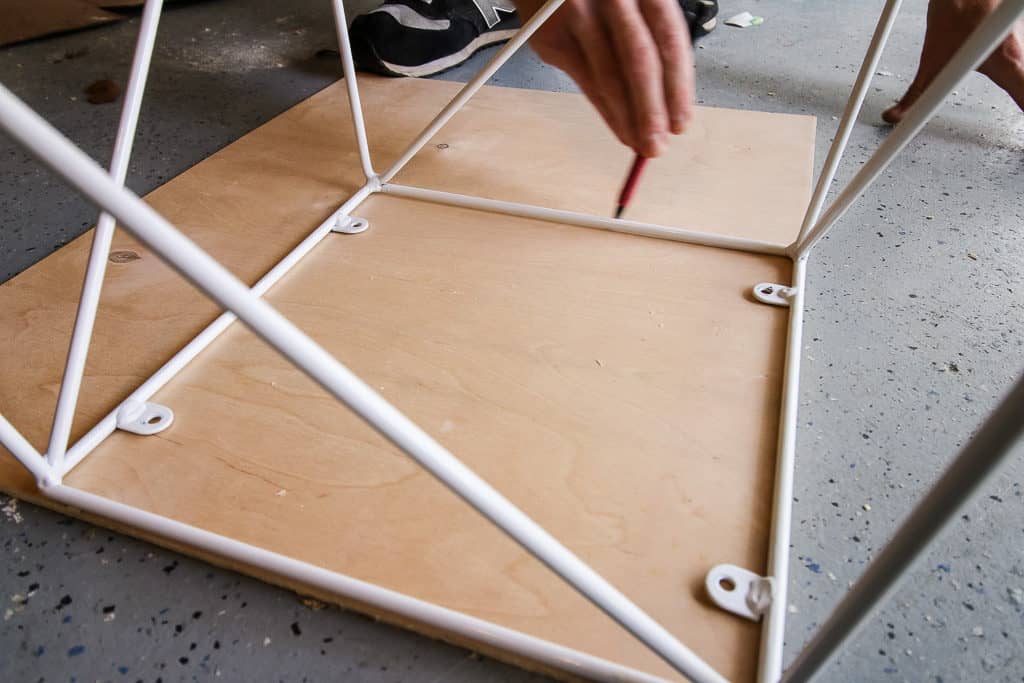
Next I needed to build the new top. I started with a piece of scrap ½ inch thick plywood. The top of the stool is 12" square, but I used a pencil to trace it exactly, just in case some of the edges were not perfect, it was more important that the top fit the base than the top be any specific size. Note: if you wanted the stool to be strong enough to sit or stand on, you might want to use a thicker plywood - I'd say at least ¾".
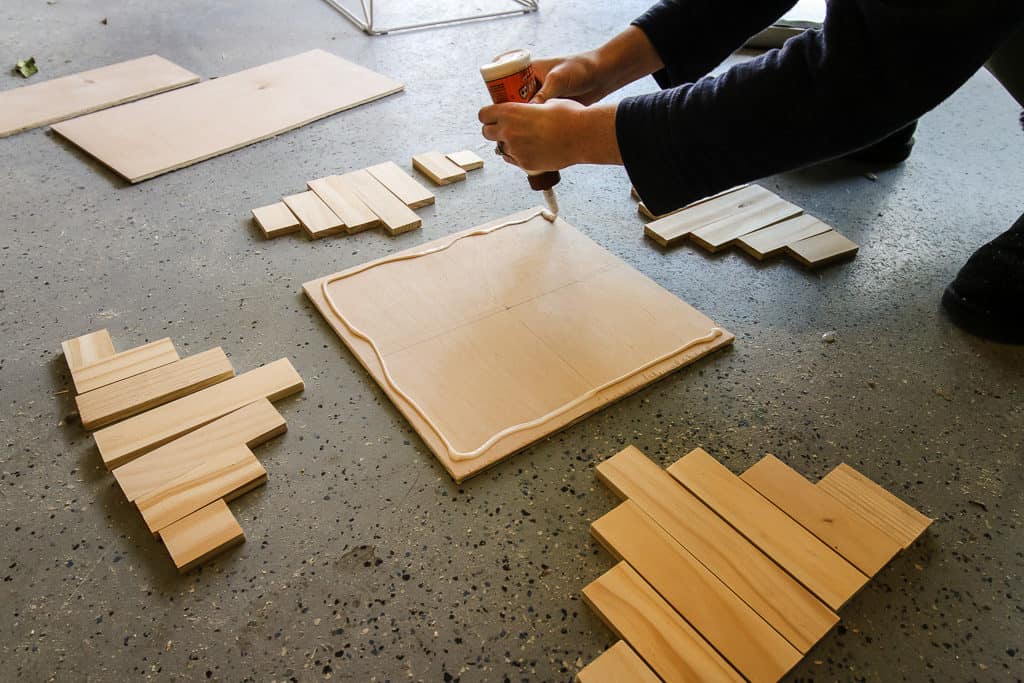
To add a herringbone detail to the new top, I used eight 2"x¼" boards. I used a pencil and ruler to mark the center of the square and used that as my starting point. I added boards in an alternating herringbone pattern to one quarter of the top at once.
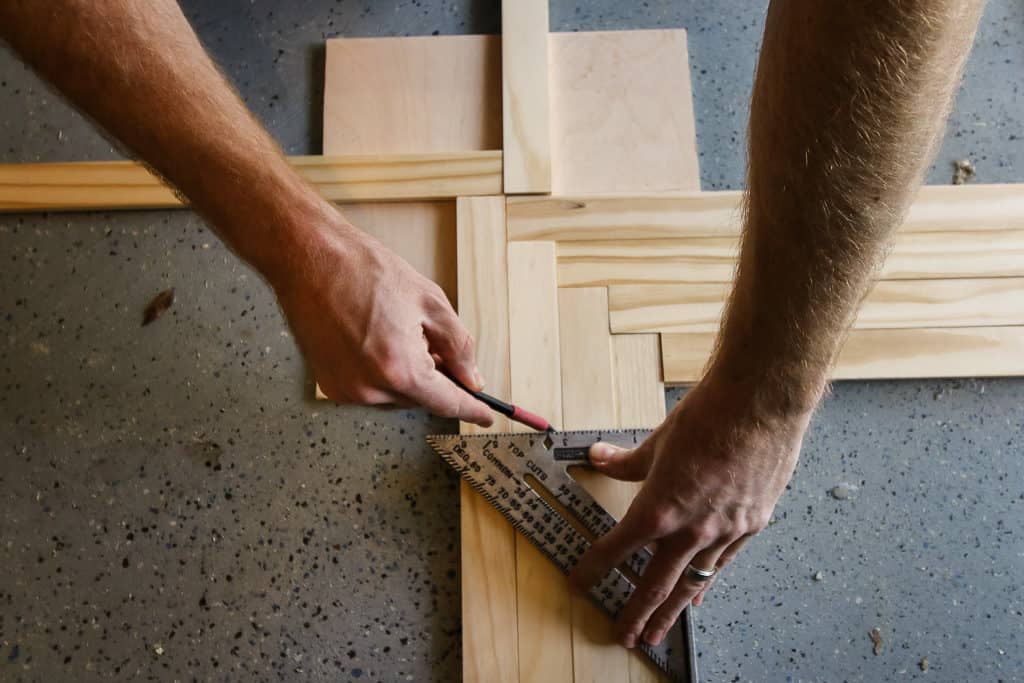
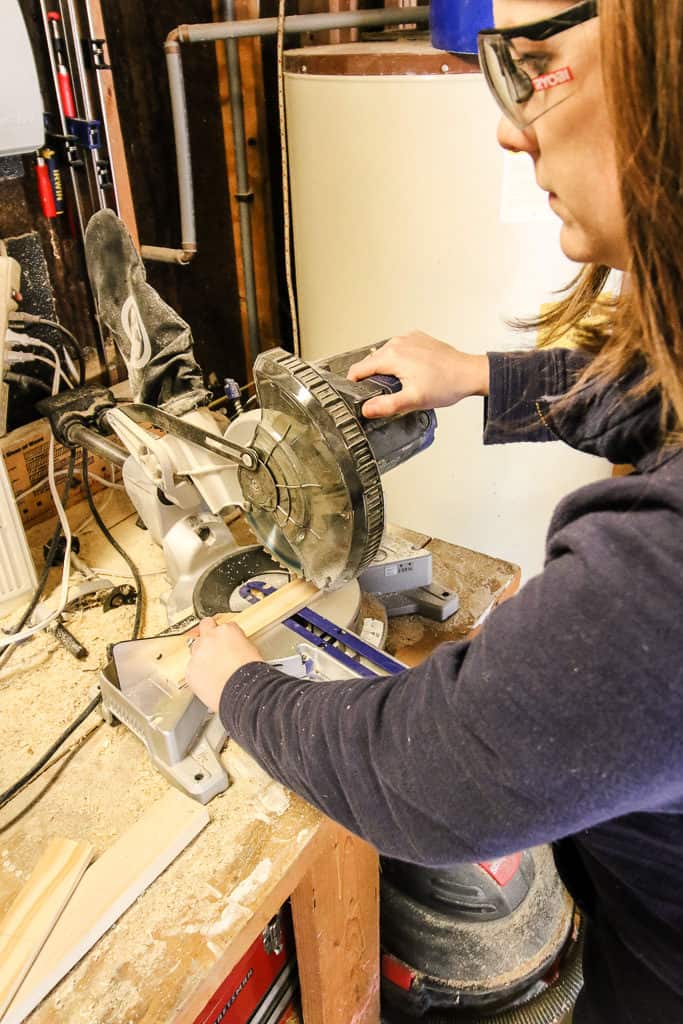
I used a speed square to draw a cut line across the boards, leaving a little wiggle room. It's better to be too long than too short! I used the circular saw to cut the boards along these lines, and then repeated this 4 times to cover the whole stool top.
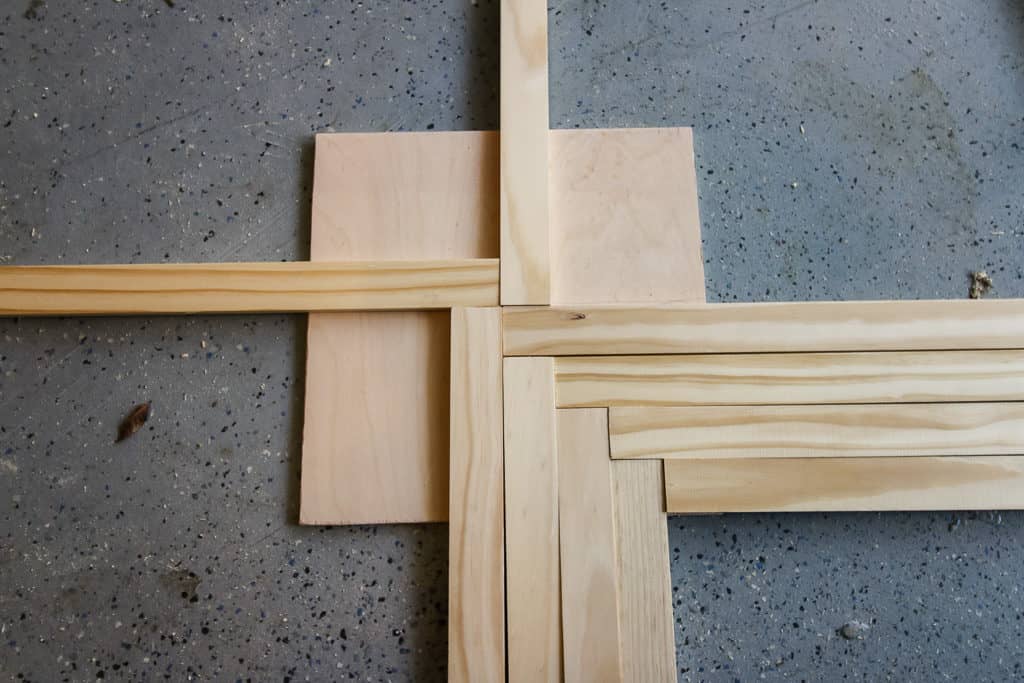
I applied wood glue liberally all over the wood square and placed each of the cut boards into place. I used clamps and allowed it to dry for 24 hours.
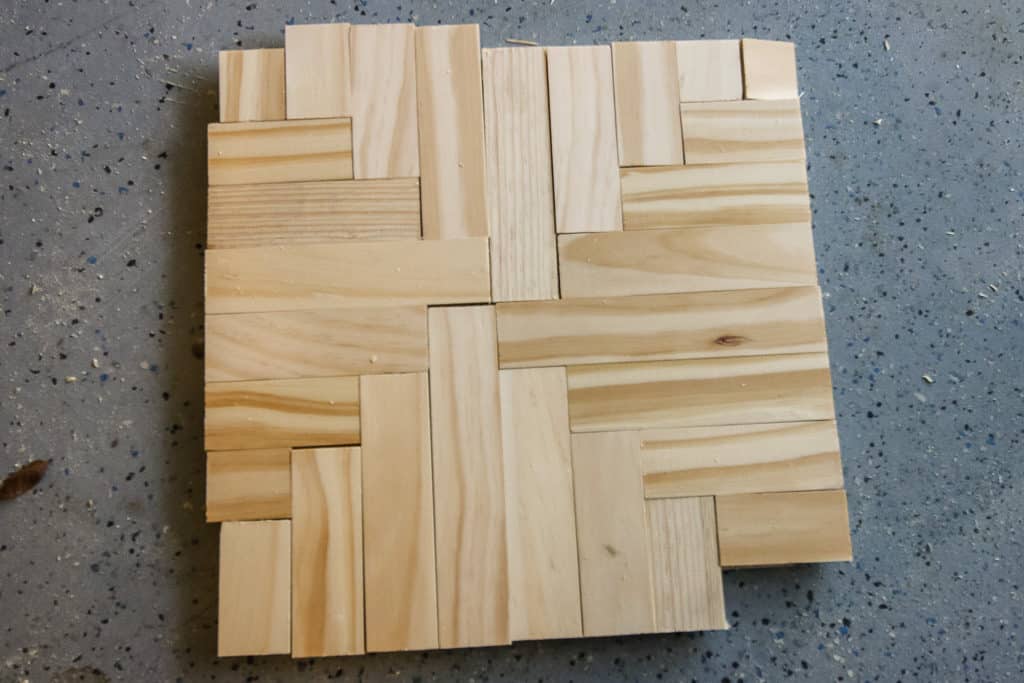
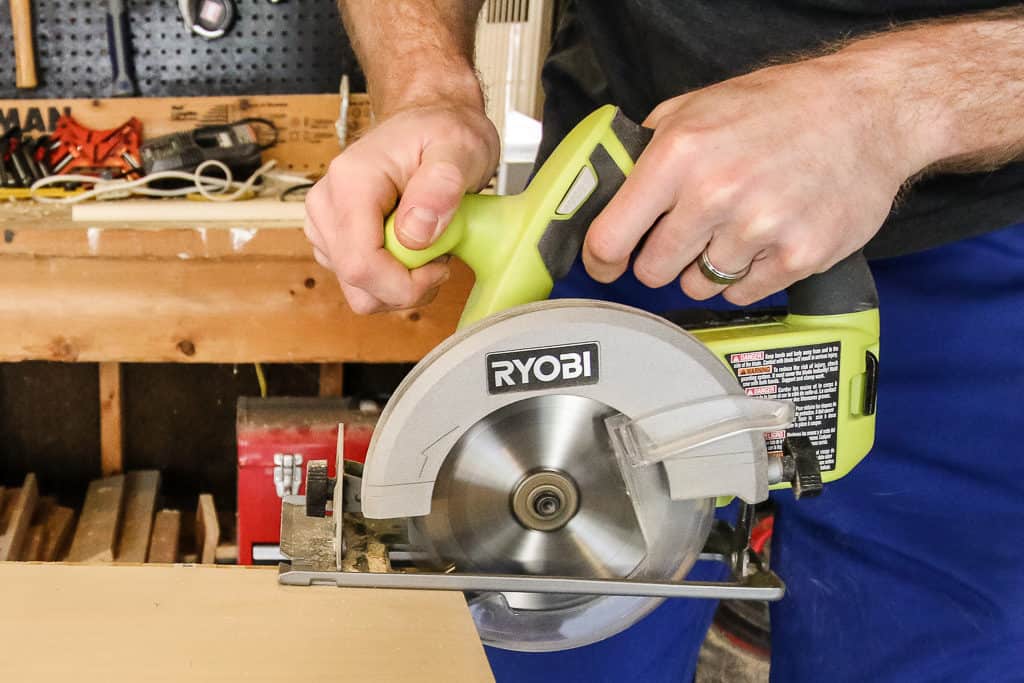
Once it was totally dry, I used the circular saw to cut any excess overhang wood off. I then used my sander to smooth the top and the edges. I took extra care to round off the corners and any sharp edges for a more finished look.
I applied one coat of stain (the color is Dark Walnut) and 2 coats of polyurethane.
Be sure to check out our Dark Walnut by Minwax wood stain review!
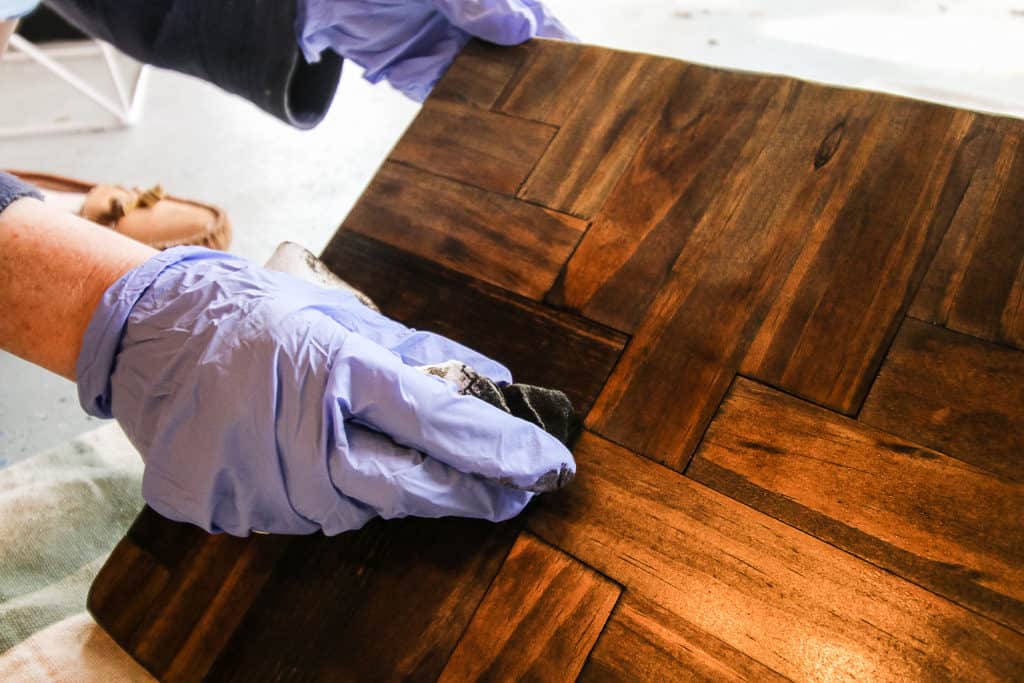
All that was left was to screw the top into the base using the same 4 screws that were holding the original upholstered top in place.
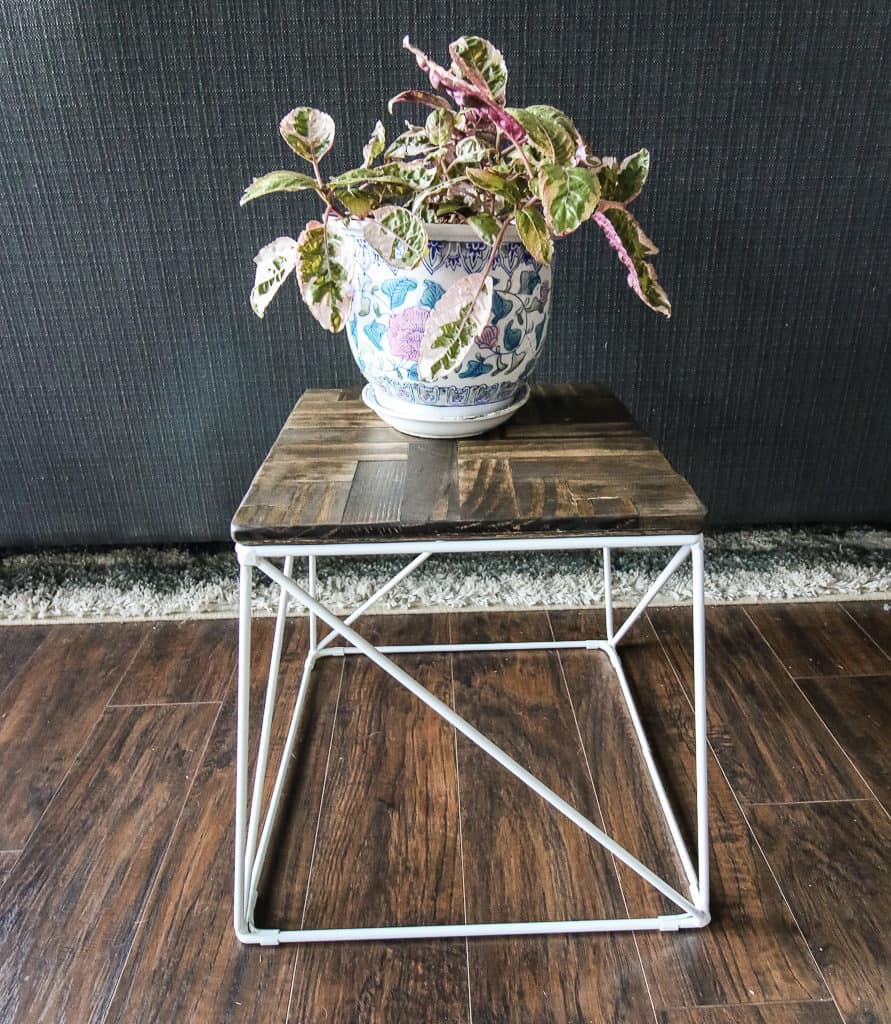
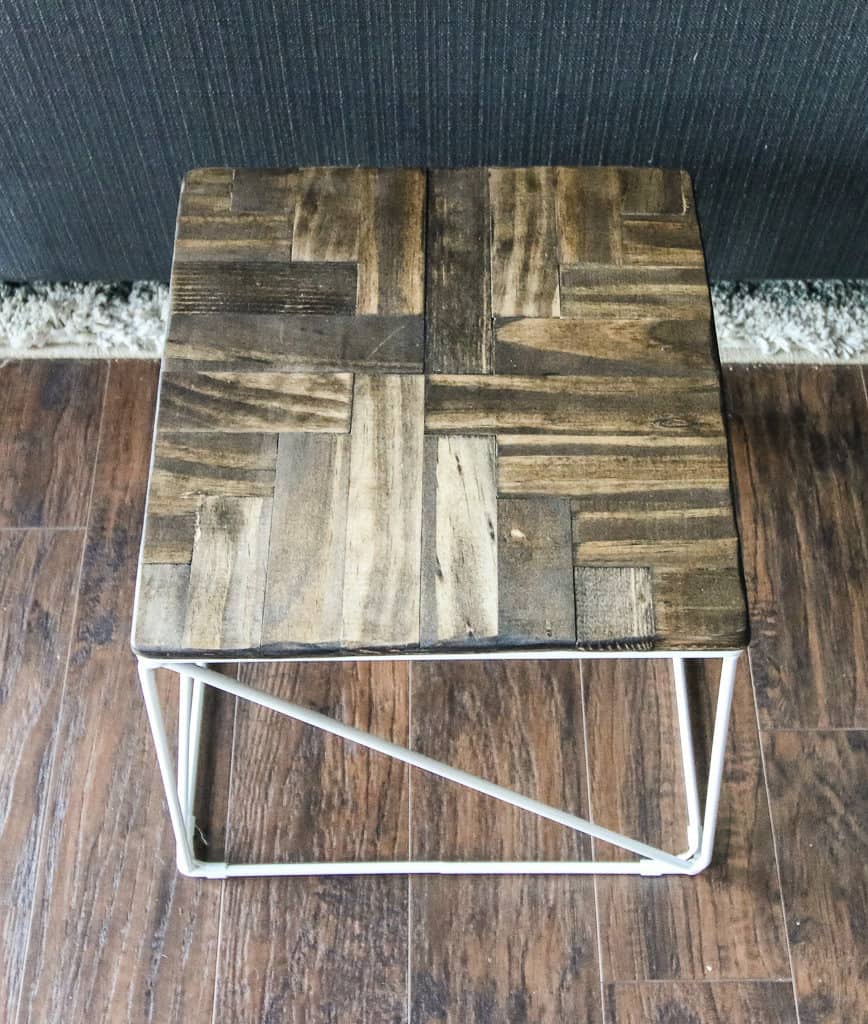
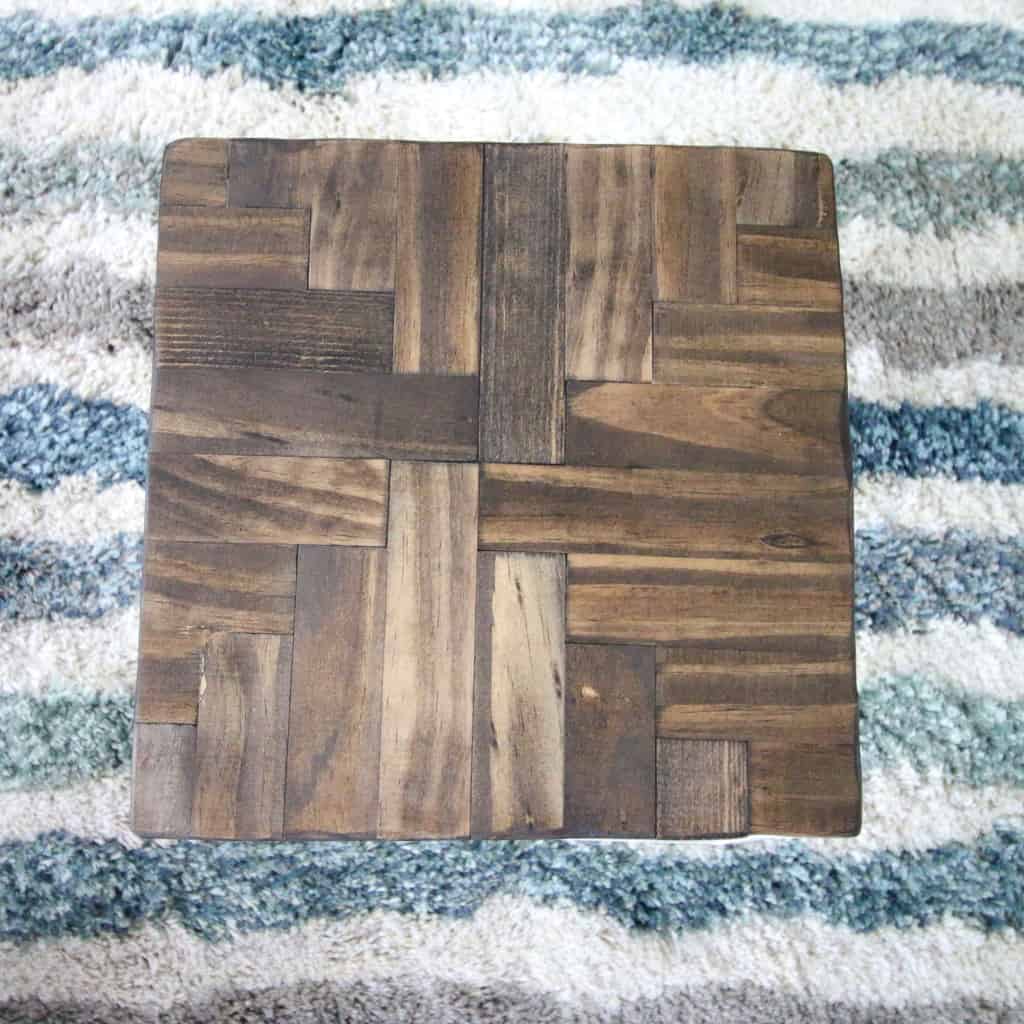
I love how the herringbone wooden top looks with the geometric white metal base! It's the perfect plant stand now and I really love how I was able to reuse a piece of furniture that I was planning to give away.
Have you been up cycling any furniture lately?
Want to learn to flip furniture for a profit? We have a whole resource library of files to help you get started! Sign up for free:
Love this project? Here are some other DIY plant holders:
Scallop planter from pallet wood
Peacock chair to a plant basket
Foot stool to a herringbone plant stand
Click here to see all of our favorite DIY plant stand ideas.
Looking for something?
We've been doing this since 2012 so we have a LOT of blog posts!
Search stuff like: Ceiling Projects | DIY Plant Stands | Thrift Flips


Hello, I'm Morgan, half of the creative force behind CharlestonCrafted.com! With a passion for DIY that dates back to 2012, I've transformed three homes and now I'm dedicated to helping others craft their dream spaces. Let's turn your house into a home together!


