This post will show you how to make a hook rail with cabinet knobs or decorative knobs that you love! Using a small piece of wood and your favorite knobs, you can have a great place to hang your jacket, bag or jewelry!
We've been trying to make our kids' rooms a fun and whimsical space ever since we moved in.
Last summer, our son Luke somehow ended up earning three participation medals in the span of like 2 months from the library summer reading program, soccer and gymnastics. He loved them, so we got him a dinosaur head hook rail to hang on his wall to display them.
He also started accumulating different cheap beaded necklaces and hanging them there. Well, since she has started walking and doing things on her own, Rory has gotten obsessed with them as well.
For Christmas, Rory got some whimsical unicorn and rainbow necklaces of her very own that she loves, but we needed somewhere to put them.
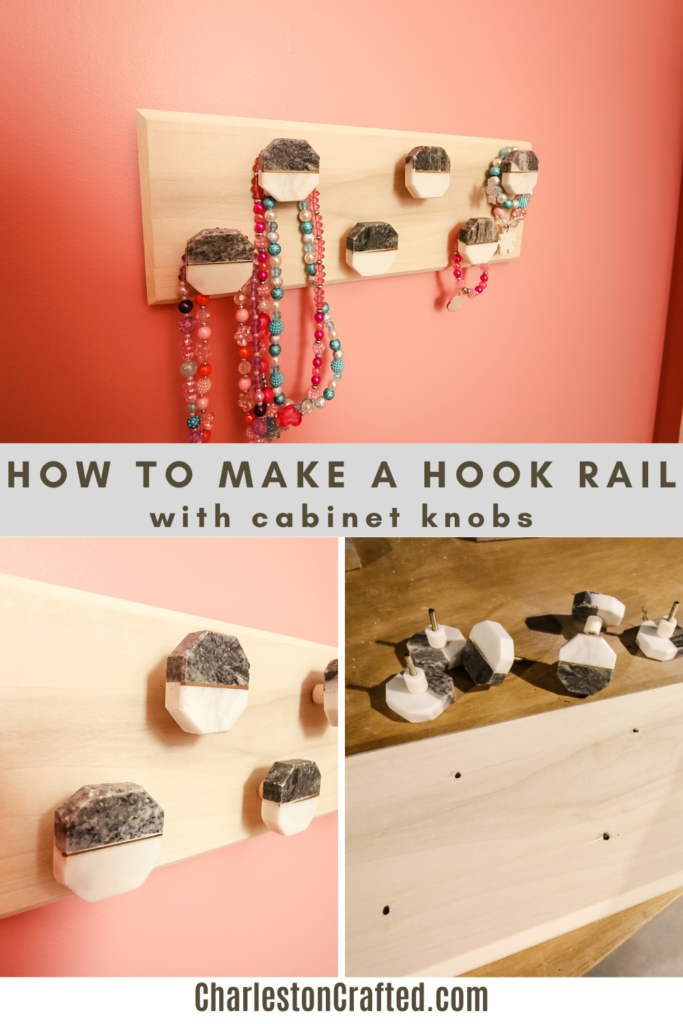
So, we put together a quick hook rail with decorative cabinet knobs that she picked out herself!
Let's show you how you can use any cabinet door knobs or pulls to make a simple hook rail and hang it up. You're going to love this idea!
How to turn cabinet door knobs into wall hooks
This is a simple project on how to turn cabinet door knobs into wall hooks! It's easy to find fun, interesting cabinet door pulls at different stores in a small pack, but it's not always clear what to do with them.
You can make a standard hook rail by attaching a piece of molding to the wall and screwing in hat hooks, but that doesn't work if you're looking for something smaller for a kids room or to use for jewelry.
How to use knobs as hooks
Here's how to use knobs to make a simple hook rack for your home.
Tools needed to make a hook rail with drawer knobs:
- Miter saw
- Cordless drill
- Sander
- Level
Materials needed to use drawer knobs as wall hooks:
- Cabinet door knobs
- Short piece of wood
- Picture hangers
- Drywall anchors
Steps to make a hook rail with cabinet knobs
Here are the simple steps to make a hook rail with cabinet knobs. Follow these to make a fun project!
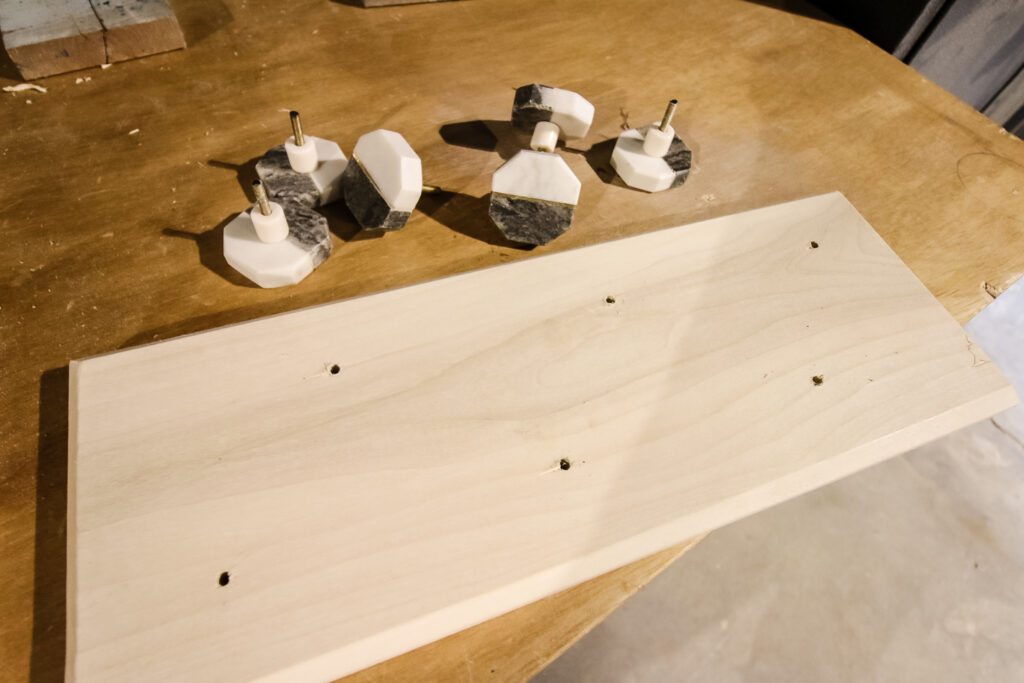
Step One: Cut wood for hook rail
The first step is to pick a short piece of wood that you like. Unless you want to paint the wood, remember that the grain will be very visible, so pick something you like the look of!
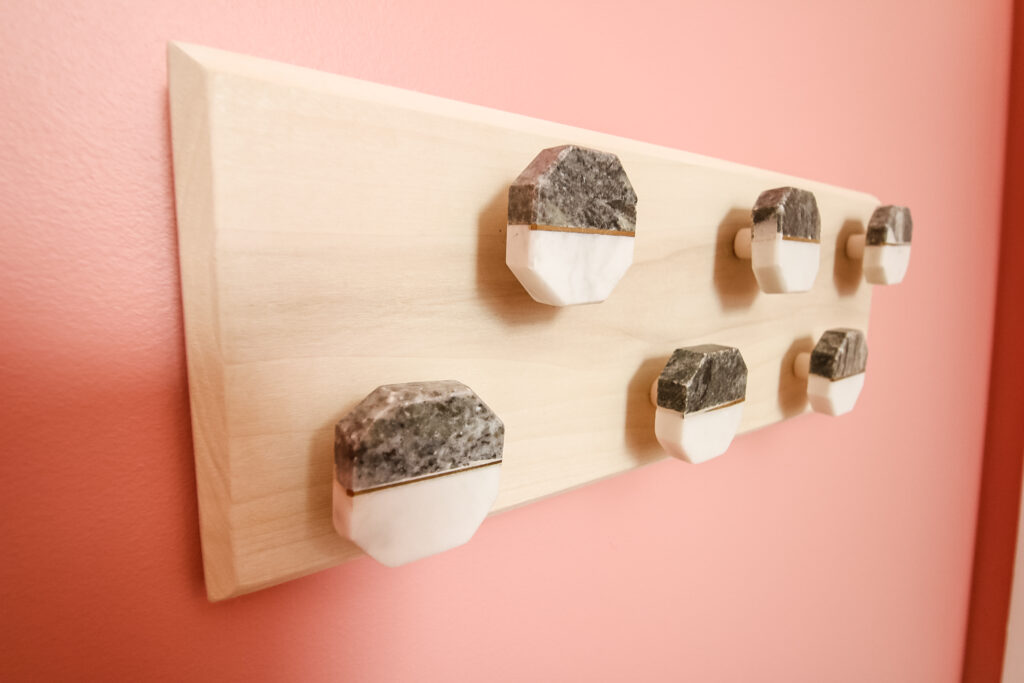
We cut our board down to about 15" and then used a router to round off all the edges. This is optional and you can also use a sander to smooth them down with the same effect.
After sanding the wood down, we opted to stain the board with a simple white wood stain to coordinate with our daughter's DIY traditional style crib (click here to get the plans!).
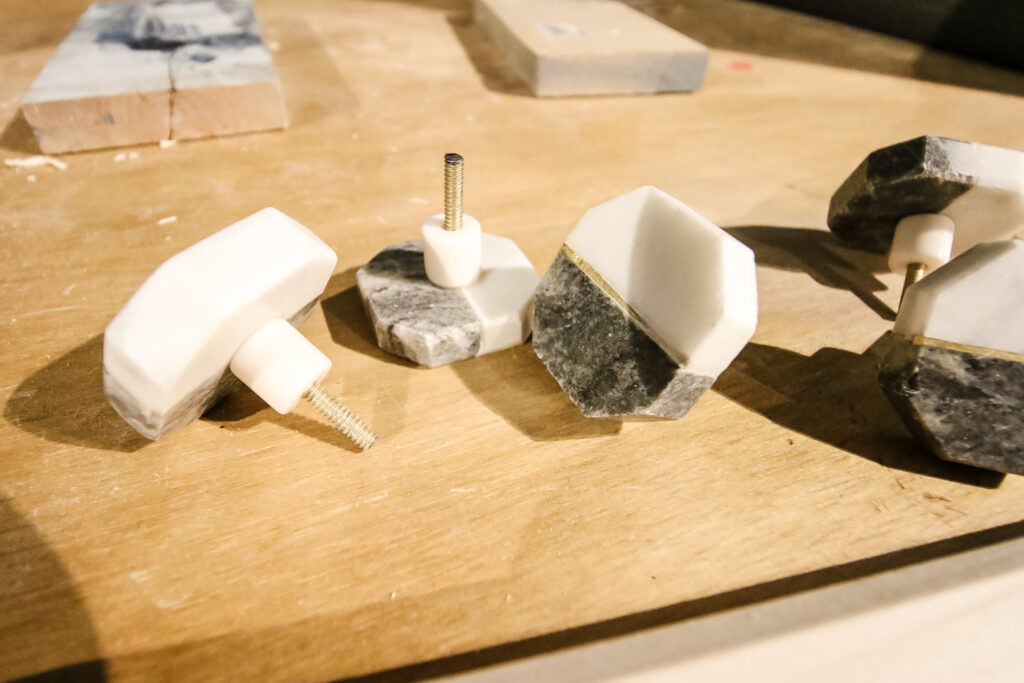
Step Two: How do you attach knobs to wood
Now it's time to actually attach the cabinet knobs onto the wood to make the rail.
First, determine how many knobs you want to install and then space them out accordingly. Best practices are usually for either a straight line or a zig zag pattern, which is what we did.
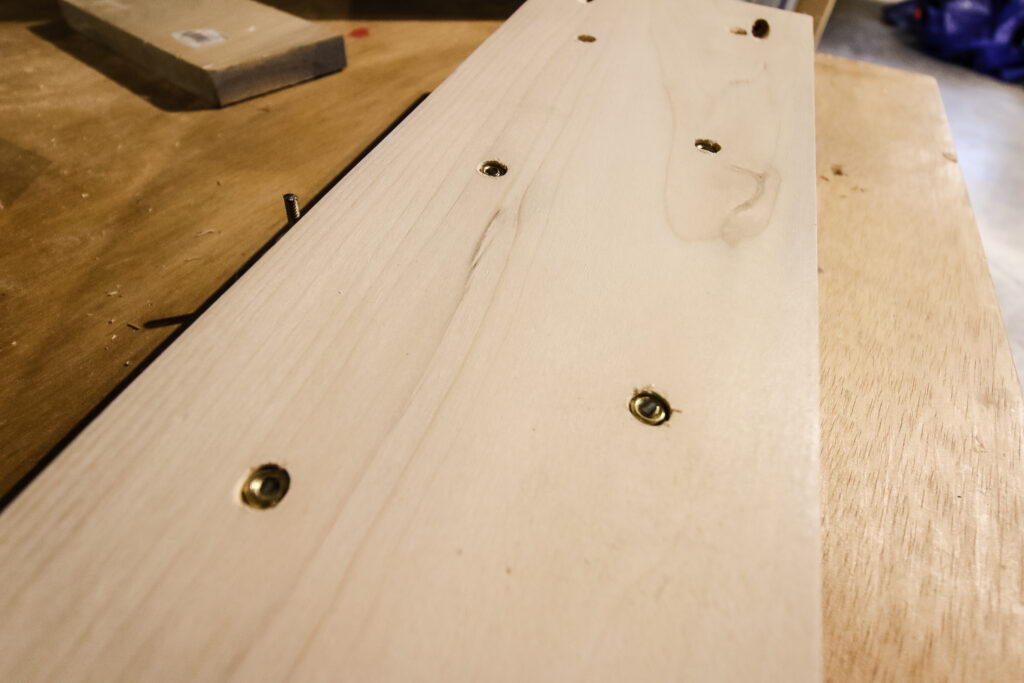
After marking each spot, use a drill that is the same thickness as the threaded screw on the back of the drawer pulls to drill a hole through each point. Then, on the back of the board, place a wider drill bit on each whole and drill a shallow countersink hole that is wide enough for the nut that tightens each drawer pull into place or the head of the screw that goes into the knob.
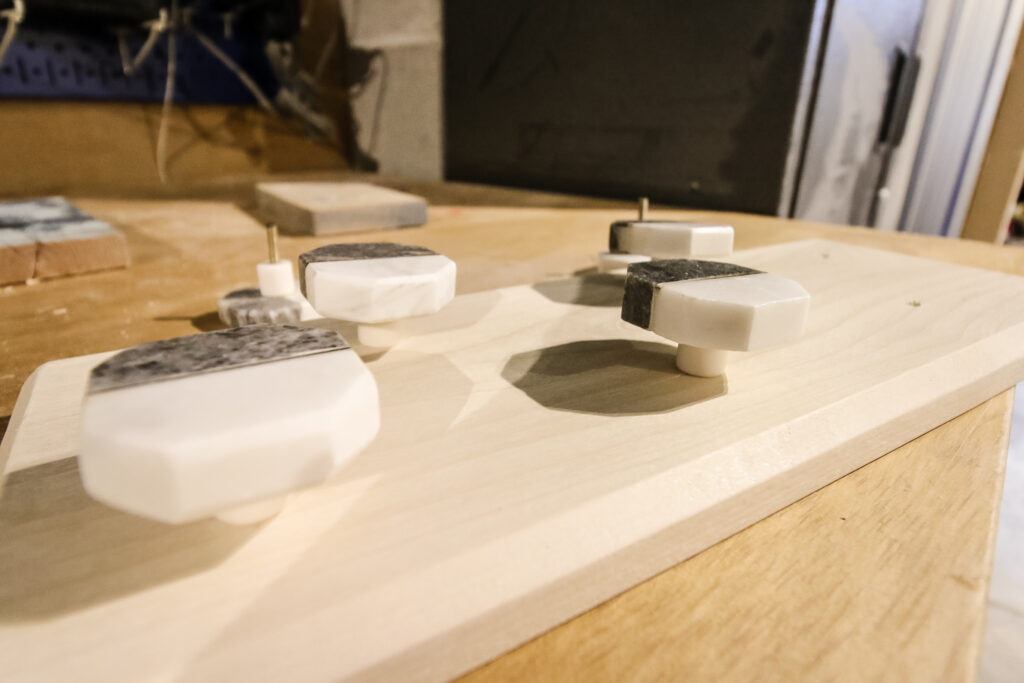
Screw the knobs through the holes until they are fully tightened to the wood.
Step Three: How to hang a hook rail to the wall
Now that the hook rail is made, it's time to hang it to the wall.
Grab two picture hangers and screw them into the back of the hook rail. Mark those spots on the wall and drill two drywall anchors into those spots.

Drill the screws into the anchors and then hang up the hook rail!
Step Four: Put this great idea to use!
Now the fun part is hanging up your accessories!
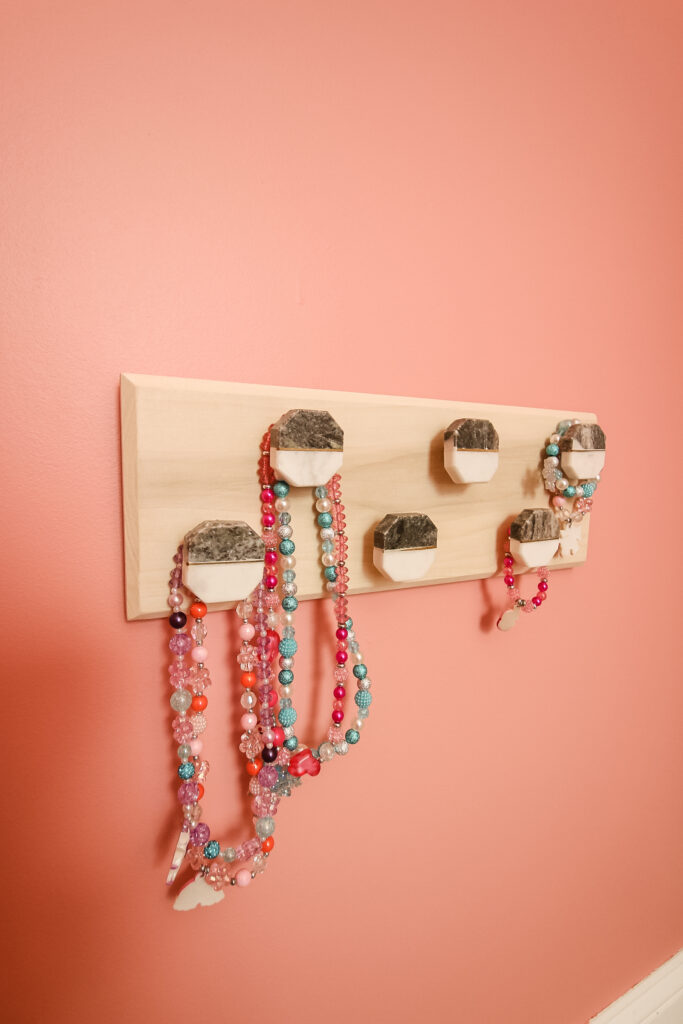
We hung up all of Rory's necklaces and bracelets and she loves it! Every morning when we get her out of her crib, she walks over and puts them all on!
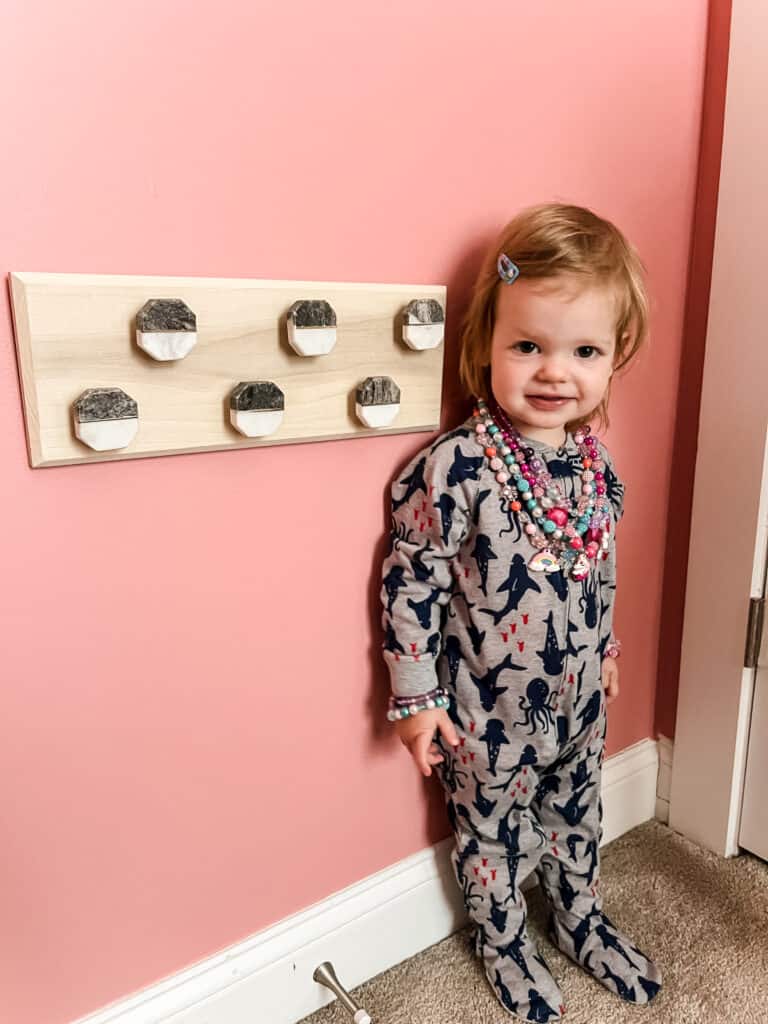
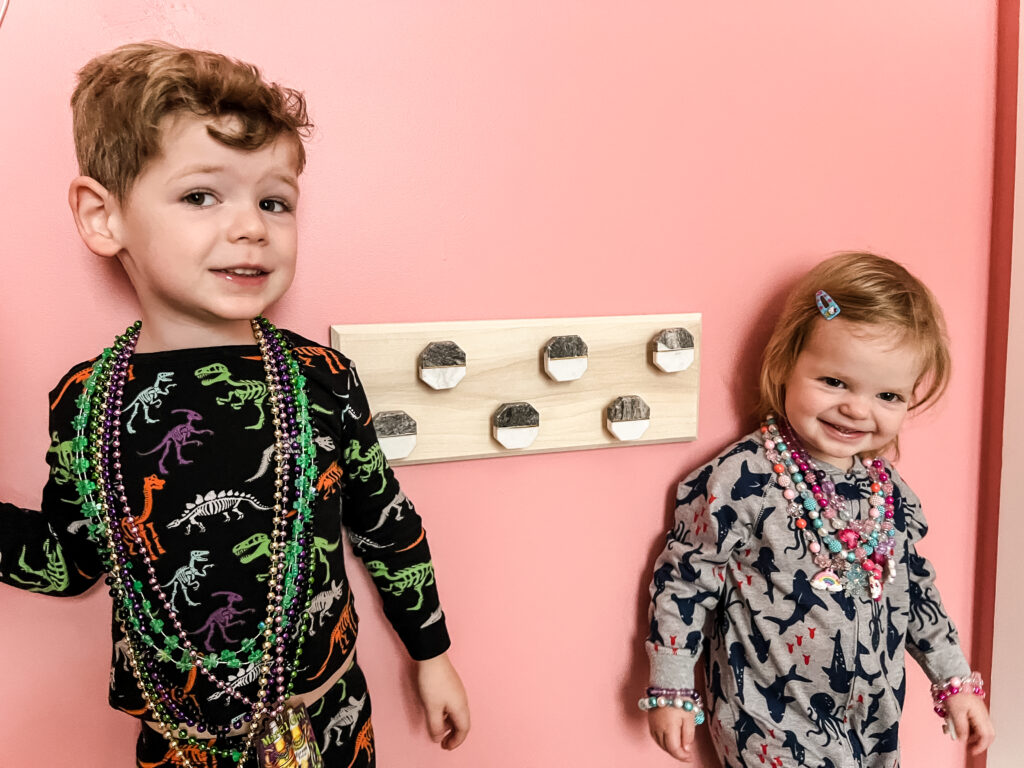
We recognize that it is a safety concern for a 1 year old to wear necklaces, so she only has them on when we are watching, but she loves them. Luke usually joins her and they have a great time!
Tag us on social media to show us how you put your new hook rail with cabinet door knobs to good use!

Looking for something?
We've been doing this since 2012 so we have a LOT of blog posts!
Search stuff like: Ceiling Projects | DIY Plant Stands | Thrift Flips

Hey there, I'm Sean, the woodworking enthusiast and builder behind CharlestonCrafted.com! Since 2012, I've been sharing the magic of turning raw materials into beautiful creations. I love teaching others the art and satisfaction of woodworking and DIY. I try to inspire fellow crafters to make something extraordinary out of nothing at all.