Want to set up a craft supply closet? Here are the best tips and tricks on how to organize your craft supplies in a closet!
One big project that I wanted to get accomplished in the month of June was to get my craft supplies under control.
When we moved into the house, we purchased two inexpensive bookcases and I stacked my craft supplies there.
Over the last 2 years, it has become a true hoarders-style junk pile.
In an effort to streamline, I decided to purge everything and move it to our unused guest bedroom closet.
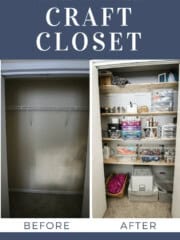
We transformed that unused closet into an organized craft supply closet really easily and inexpensively. Here's how!
If you love craft closets, check out our linen closet turned craft closet in our old condo!
How to organize a Craft Supply Closet
It's easy to organize craft supplies in a closet using these steps:
- purge
- demo existing shelving
- add new shelving
- organize in bins, baskets, and boxes
Step 1 - Purge
The number one thing that I had to do to get this project going was to purge. I got every craft supply off the shelf and sorted it into a few piles.
Options were trash, donate, try to sell on facebook marketplace, keep with craft supplies, move to garage, move somewhere else in the house.
All of the pink bins were DIYs from my craft closet in the condo, so they weren't really designed to fit this space.
I had so much trash and just stuff I'd never use again. It felt great to get rid of it and even make a small amount of money in the process.
Love DIY projects? Sign up for our free weekly newsletter here!
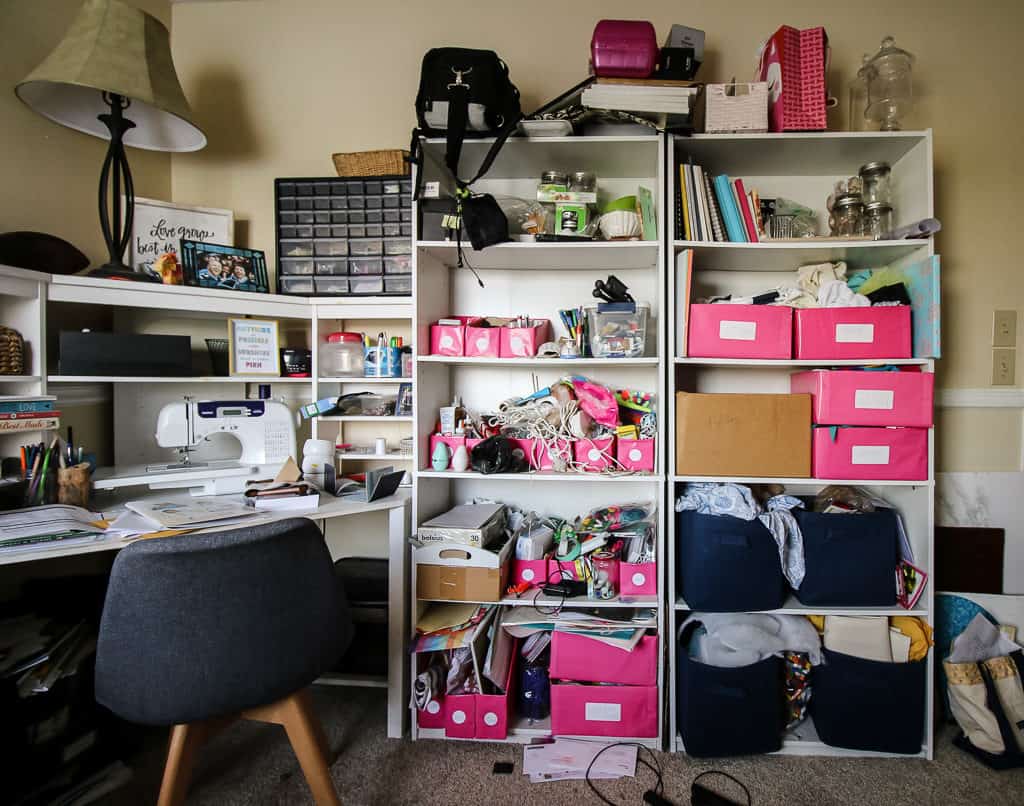
Once I purged everything, I sold the bookshelves on Facebook Marketplace. We listed them for $25 each or 2 for $40 and actually had someone offer me $50 for both.
I don't know if they didn't read the whole listing or what, but I obviously didn't offer up a discount! I paid $30 + tax each for them 2 years ago (from Walmart) so this was a GREAT return on investment.
Step 2- Demo
Now, onto the new closet!
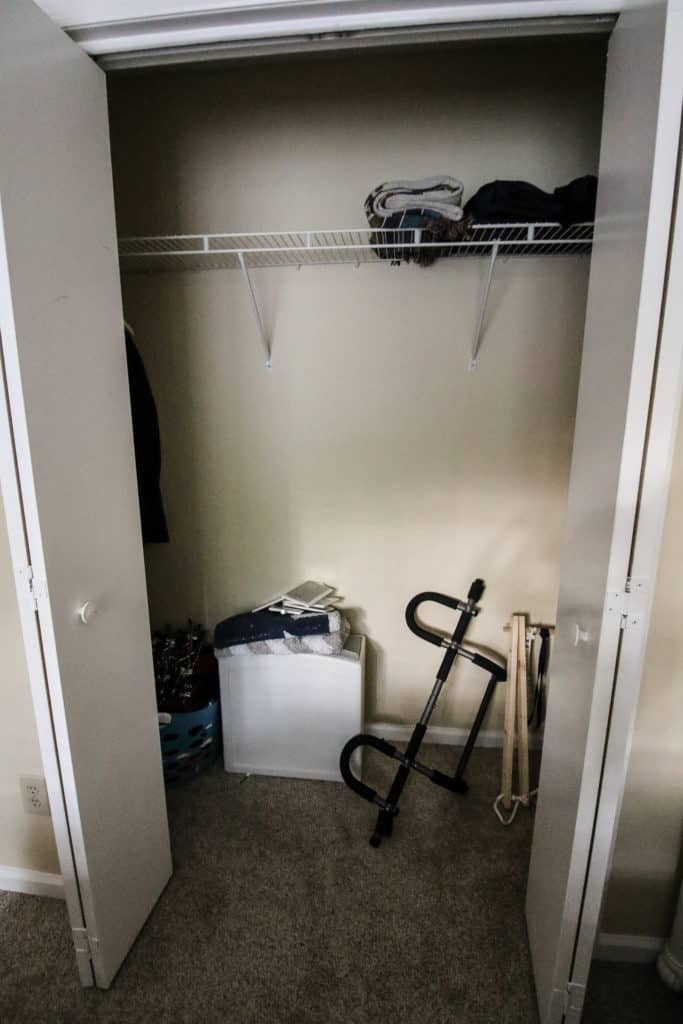
The guestroom closet was mostly empty with just a few things we rarely wear (like suits and my wedding veil...) hanging up and some old frames and bins in the bottom.
We once again sorted, purged, sold, and re-homed things until this space was empty.
Step 3- Construction
We completed the actual closet build in one weekend. Here's how we did it:
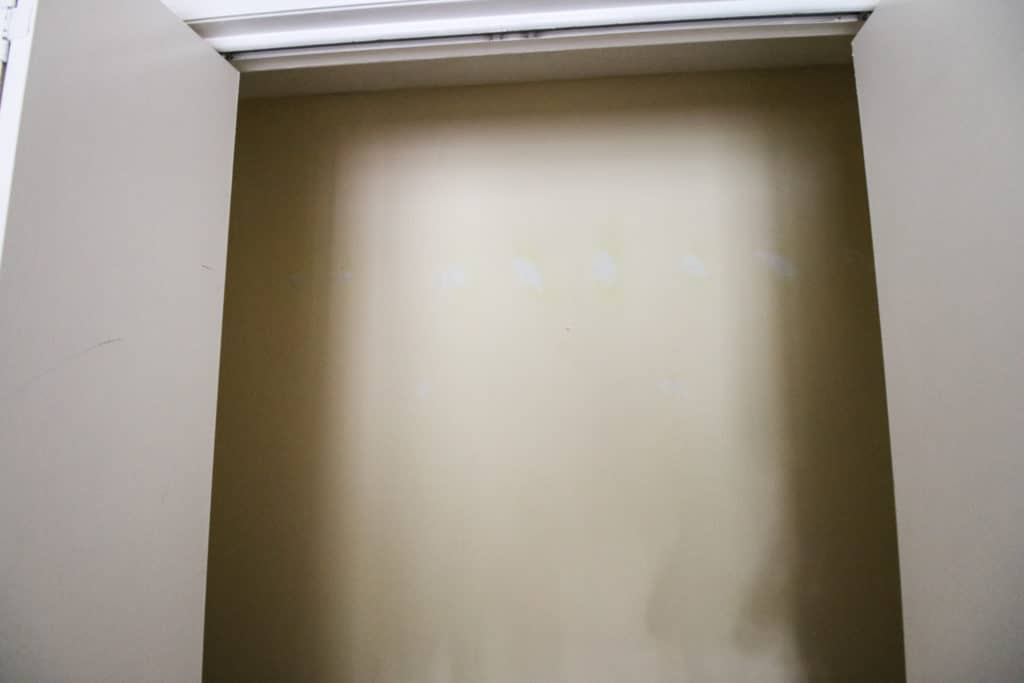
Thursday night: about 30 minutes of work: Remove shelf, unscrew brackets from wall. Sand holes in wall, patch holes. Here's a tutorial I have done on how to patch these holes.
I went Facebook Live for our closet demo - watch it here!
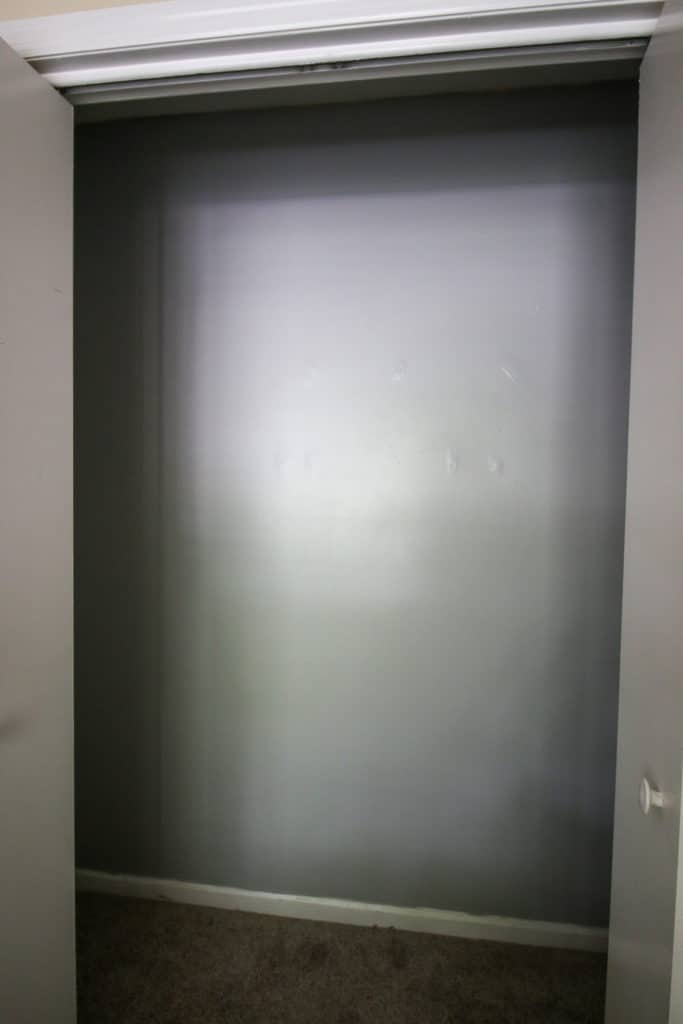
Friday night: about 1.5 hours of work: Sand dried patch on wall holes & wipe dust off with a towel. Paint closet walls - 2 coats.
We decided just to use left over paint to paint this closet. We actually wanted to use the laundry room color or the hallway color, but decided that we didn't have enough.
This grey paint was left over from the condo master bathroom and actually is semi gloss - something that I never buy any more. Not ideal, but free, neutral colored, and totally fine for the inside of a closet.
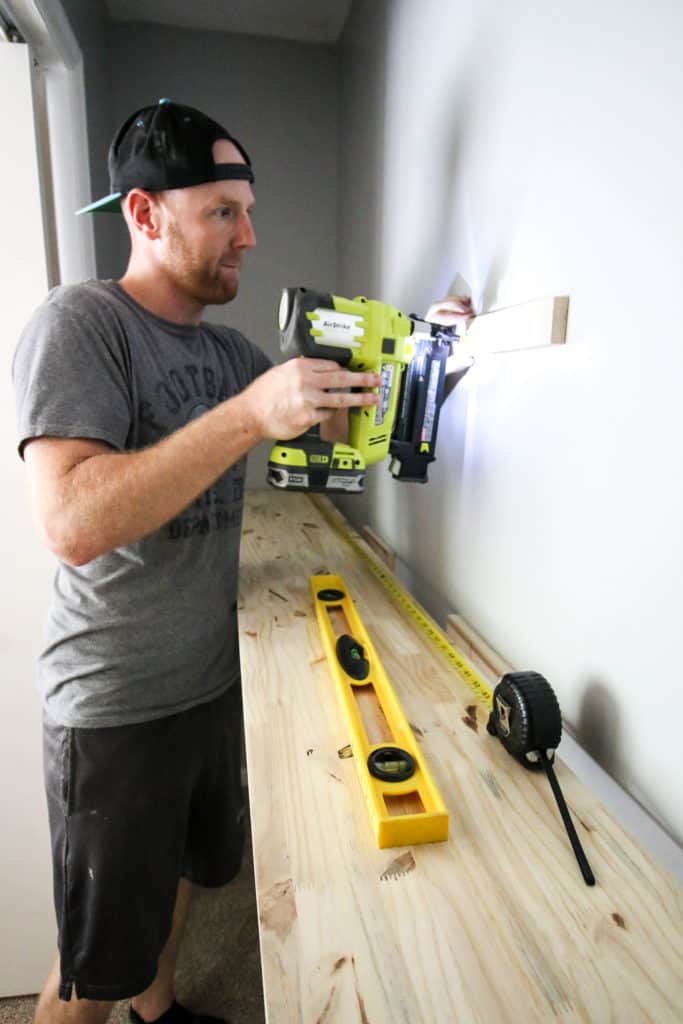
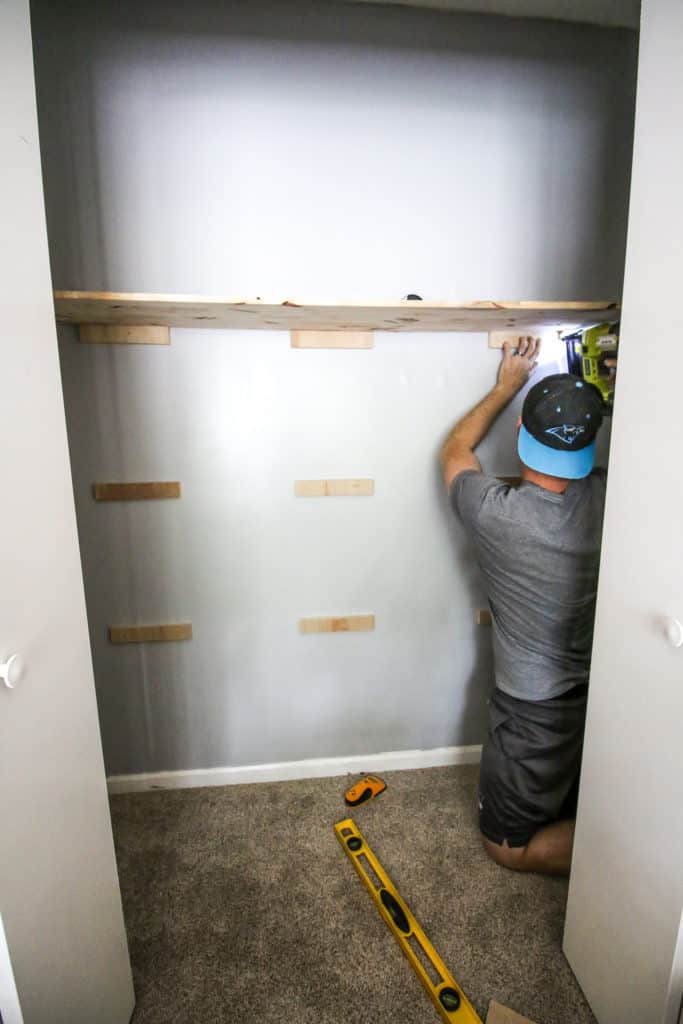
Saturday: about 4 hours of work: went to Lowes and bought wood. cut wood for brackets. Cut wood for shelves. Mounted brackets and tested shelves. Removed shelves, painted brackets to match walls. Let dry over night.
Wood used:
- 4 shelves - 12" wide"project boards" from Lowes in 8 foot length
- 20 brackets - ½ inch thick plywood, cut into strips about 2"x12"
We had to cut about 2 inches off of the length of each shelf to fit the space.
These bracket shelves worked great in the past in our pantry and worked great again here. We just nail up brackets on the two ends and three across the main section of the wall.
We attached the brackets to the wall using the Ryobi nail gun and a level. They went in very easily.
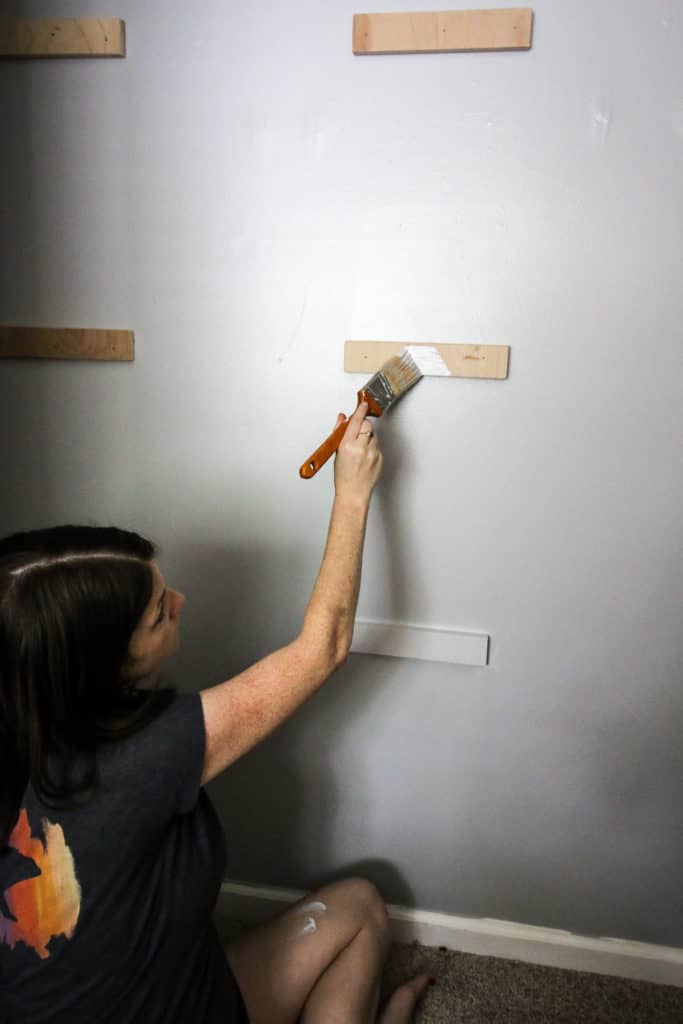
Once everything was done, I decided that I wanted to paint the wall brackets to match the walls and blend in a bit. We removed the shelves and I gave each bracket 2 coats of the same wall paint.
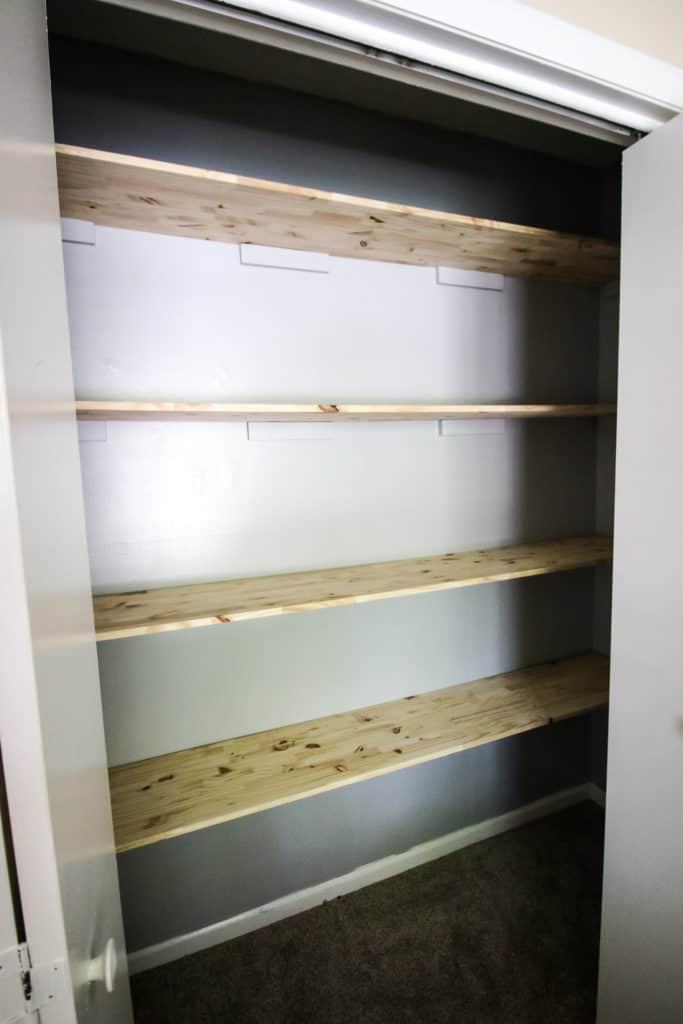
Sunday: about 30 minutes of work: Checked that everything was dry and replaced the shelves. Used nail gun to attach shelves to brackets for extra stability. All done!
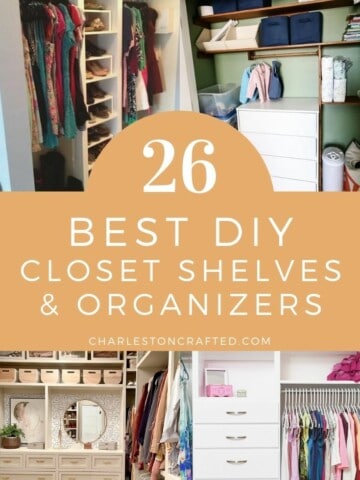
Check out all of these DIY wooden closet shelving systems!
Step 4- Organize
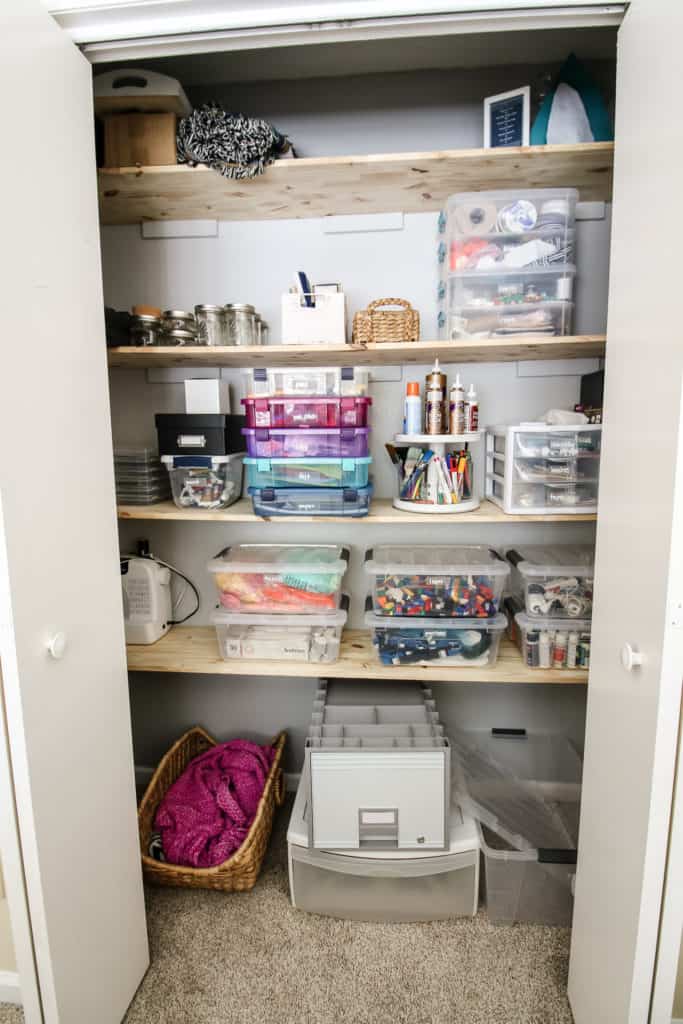
I used a variety of containers to sort my supplies. Here's my best summary of where everything is from:
TOP SHELF: extra decor items
2ND SHELF: mason jars, old baskets from HomeGoods, stacking bins: Walmart
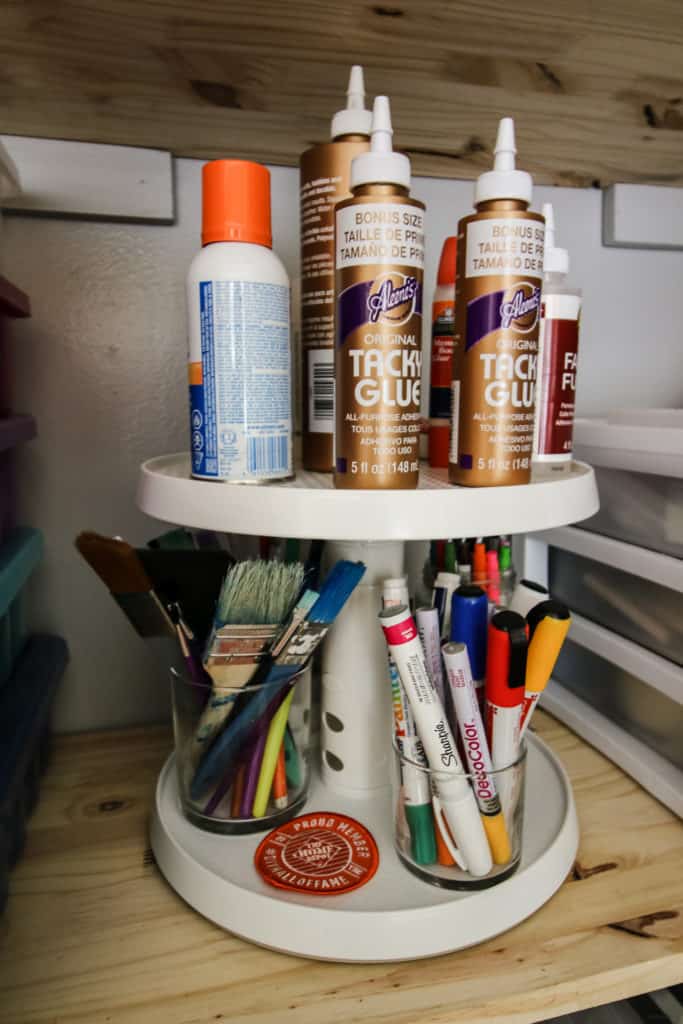
3RD SHELF: Rainbow stacking paper bins - Costco; Drawers - Amazon; Double Decker "Crazy Susan" - Amazon
4TH SHELF: Sewing machine, Clear stacking bins - Costco
FLOOR: Basket - vintage, file storage - Wayfair, and even extra empty bins!
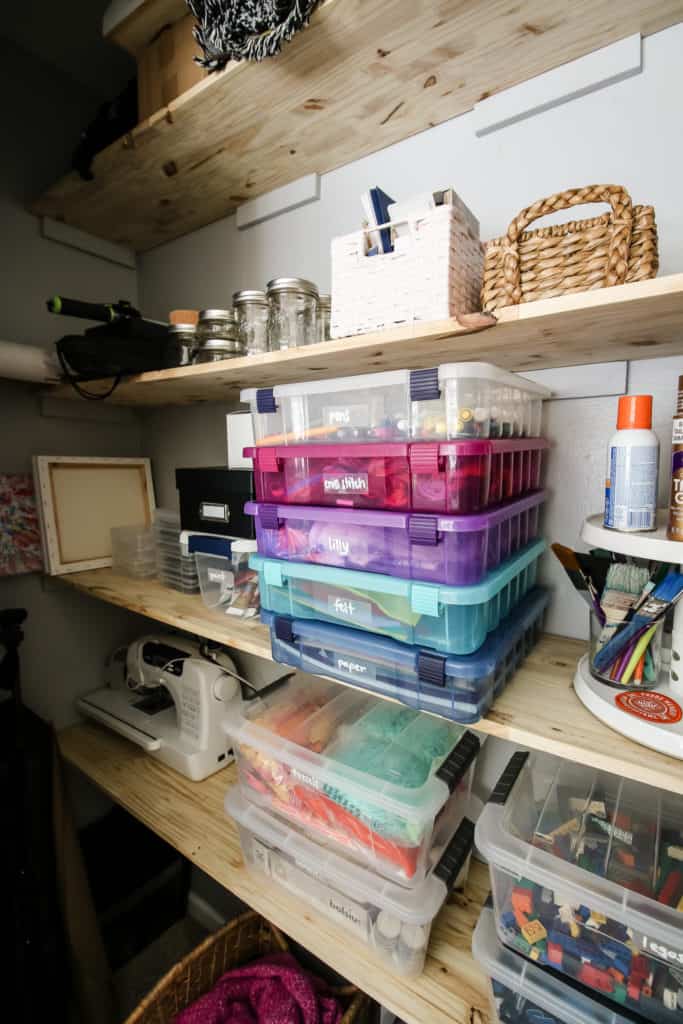
I decided to add labels to the plastic bins to make it easier to identify the colorful contents. Taking a page out of the Home Edit playbook, I ordered these clear labels from Amazon.
I just wrote on them with a regular paint pen and stuck them on the containers. They blend right in but make it easy to find a home for everything.
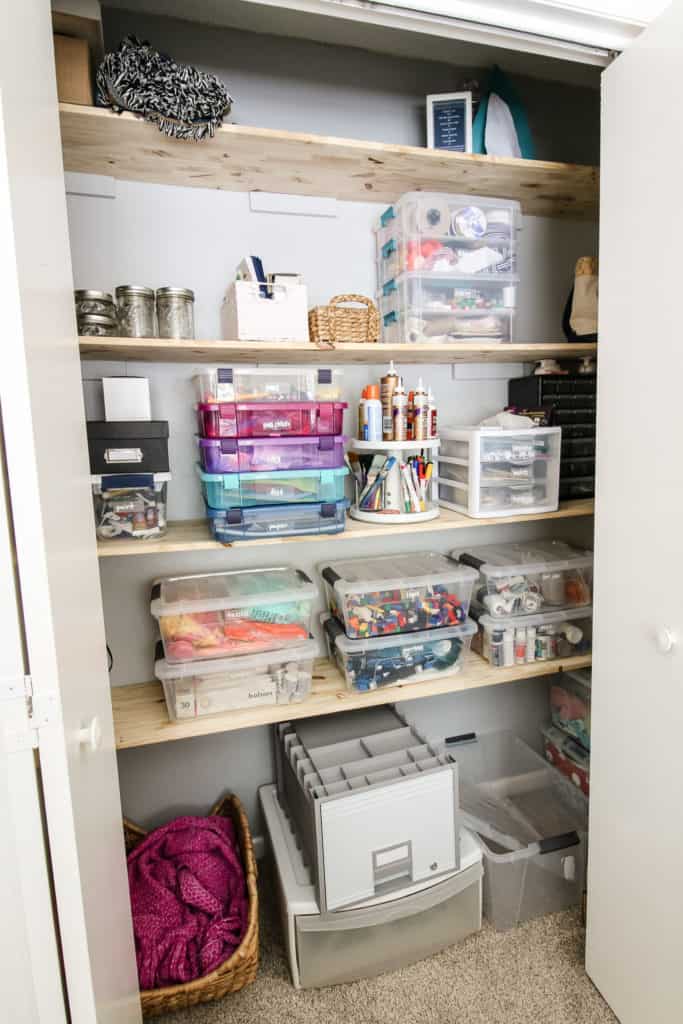
I am really thrilled with how these shelves turned out! They are such a better use of space than the single rod and I am glad to have the space back in the office!
We did however decide that we do sometimes have guests with hanging clothes that might miss the closet hanging space.
Since we usually only have guests for a weekend, Sean whipped up some fifteen minute hooks from things we had in the garage and they give a nice space for a few hangers or a towel!
How do you store your craft supplies?
Looking for something?
We've been doing this since 2012 so we have a LOT of blog posts!
Search stuff like: Ceiling Projects | DIY Plant Stands | Thrift Flips


Hello, I'm Morgan, half of the creative force behind CharlestonCrafted.com! With a passion for DIY that dates back to 2012, I've transformed three homes and now I'm dedicated to helping others craft their dream spaces. Let's turn your house into a home together!


Edward Kuchle says
I would add a one inch strip on the front of each shelf to keep from wrapping over time.