We did a simple and fast bi-fold closet door makeover that we think you'll love and would quickly spice up your doors if you wanted to give it a try!
Bi-fold closet doors are typically what most people would consider "very ugly." We did a simple and fast bi-fold closet door makeover that we think you'll love and would quickly spice up your doors if you wanted to give it a try!
love this project? check out all of our nursery projects here!
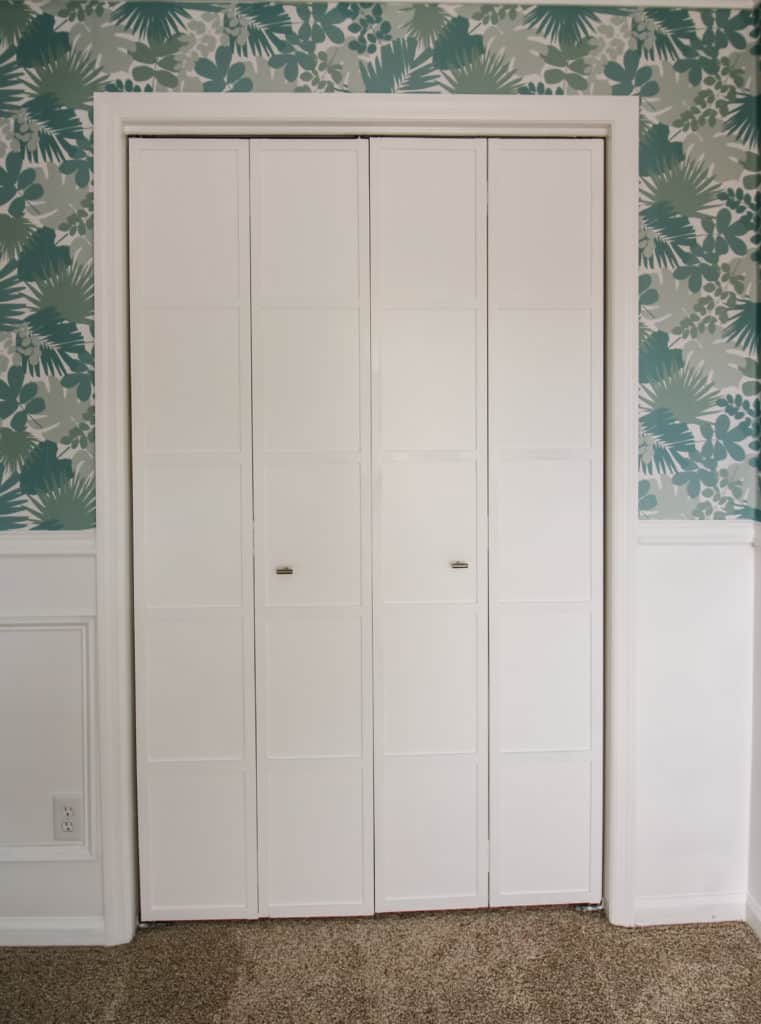
Bi-Fold Closet Door Makeover
The bi-fold closet door makeover for our nursery was so easy, y'all. Using ¼ inch thick by 1 ½ inch wide slats, we totally transformed our doors. This look is easy to replicate or slightly alter. We love the eastern feel that these doors have now!
Click here to pin this project to your pinterest board
What you need for a bi-fold closet door makeover:
- ¼"x1 ½" slats enough for your door. Ours required approximately 77 feet (79" vertical pieces and 12" horizontal pieces) and yours likely will be right around this.
- Brad nailer
- One inch brad nails
- Caulk
- Paint
- Replacement knobs, if desired
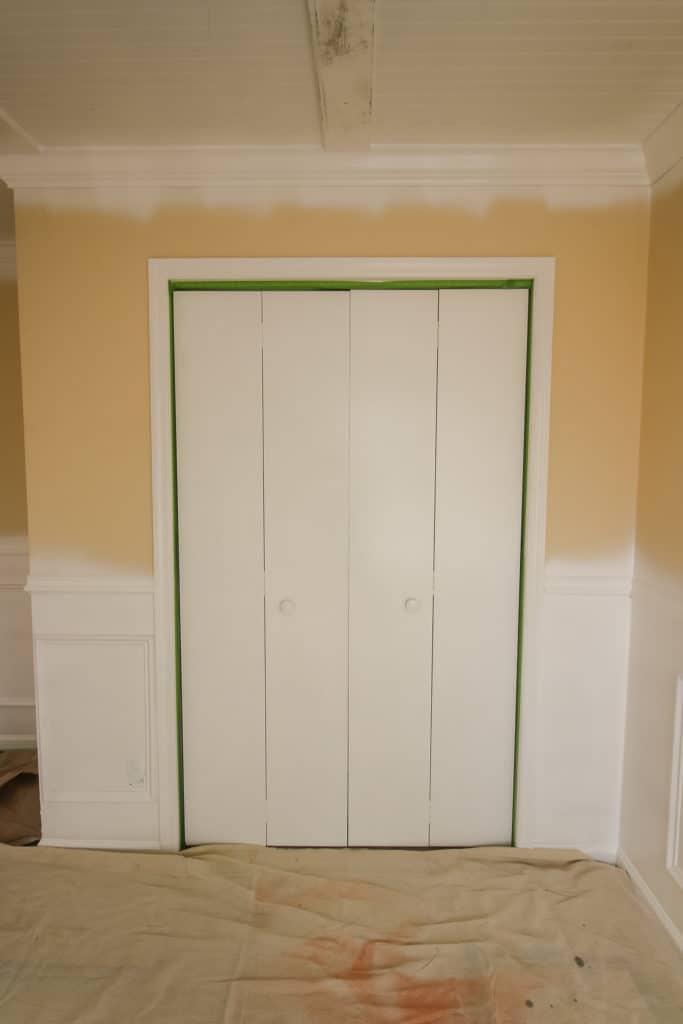
How to do a bi-fold closet door makeover:
- Measure one of your four door panels. Measure the height and cut two long slats for each side.
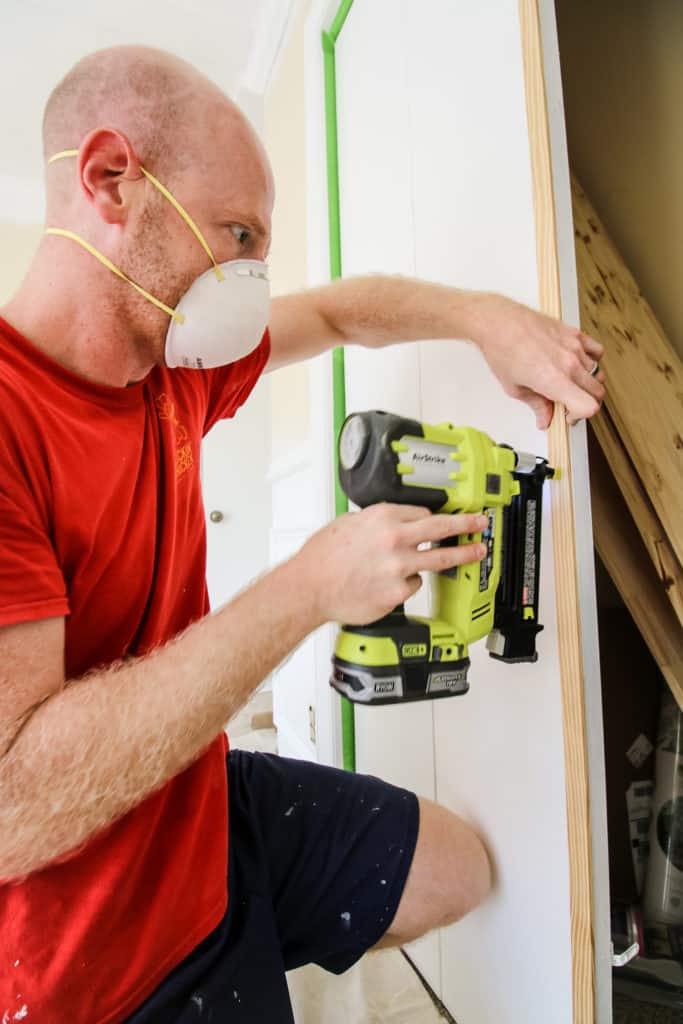
- Use your brad nailer to tack in the slats on each side so that they are flush with the outside edge.
- Measure the space between the two vertical slats.
- Cut six pieces of slats to that length.
- Nail in the horizontal slats, starting with the top and bottom flush along the edge, and then evenly spaced on the door to create five equally-sized panels.
- Repeat steps 1-5 for the remaining doors.
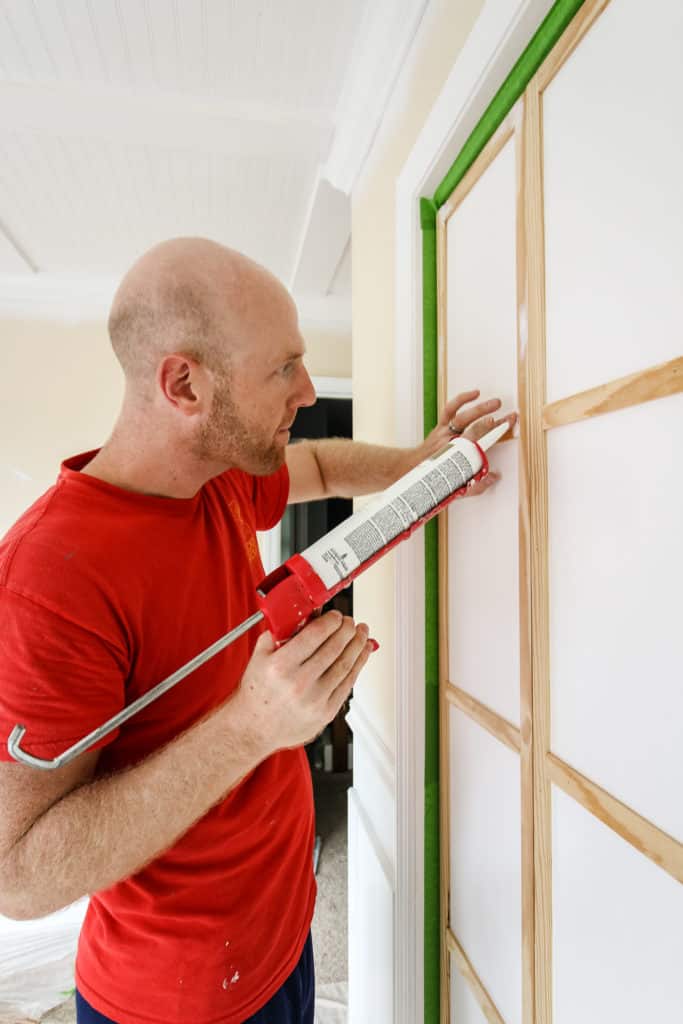
- Use caulk to cover up the seams and nail holes.
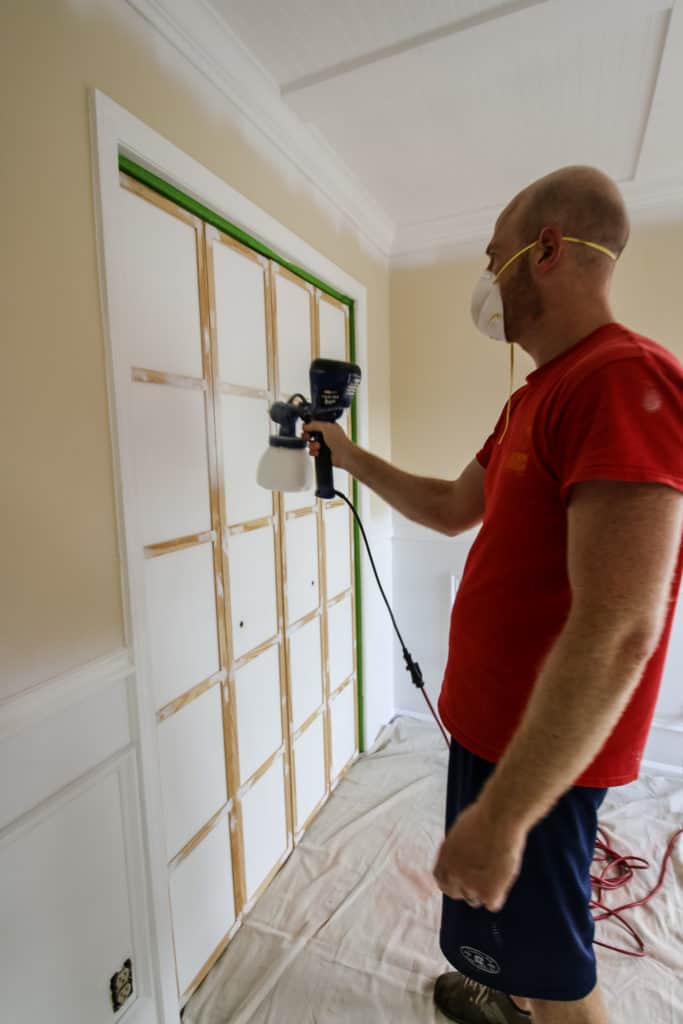
- Paint the entire door to match.
- Add new hardware. We used
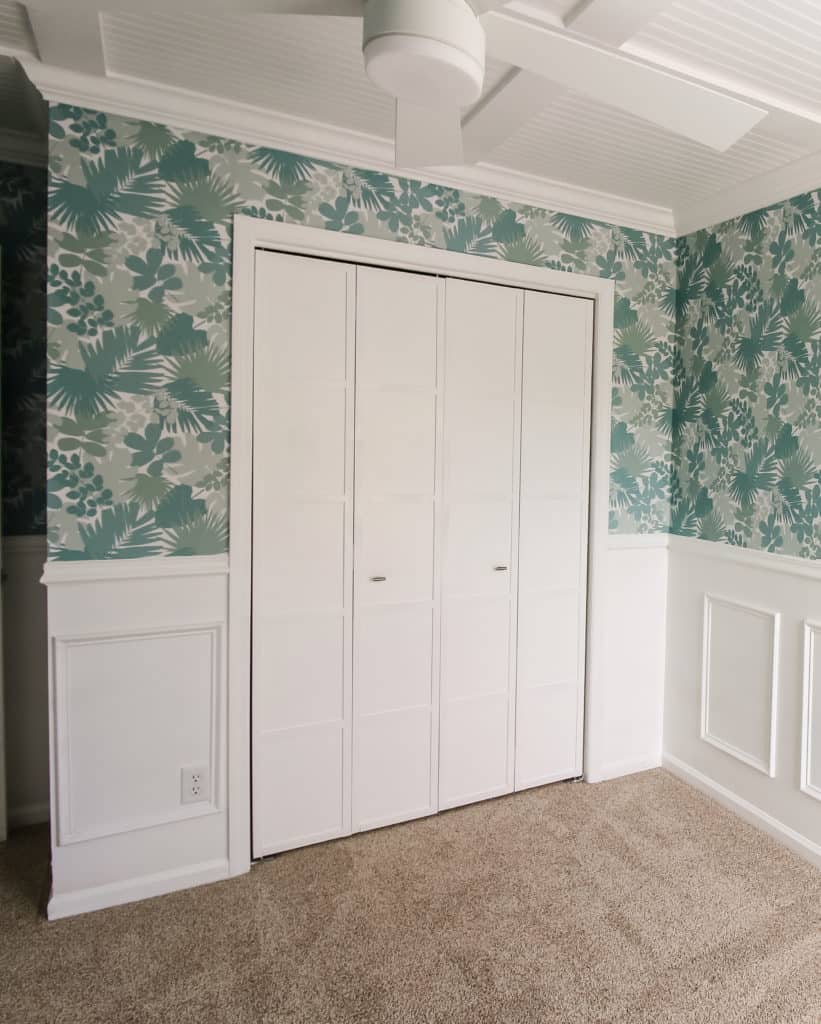
Look at that transformation! This bi-fold closet door makeover took us less than an hour to complete the entire thing and it is absolutely completely changed.
We hadn't planned to do this project for a week but we finished our DIY wainscoting project early one Saturday morning (because that project was super simple too) and decided to start this one and accidentally finished before lunch!
If you're looking to do a bi-fold closet door makeover, consider this option. The eastern look to the doors fits with lots of styles and is so easy to make your room look like a million bucks.
Be sure to click over and check out our Jungle Theme Nursery Reveal!
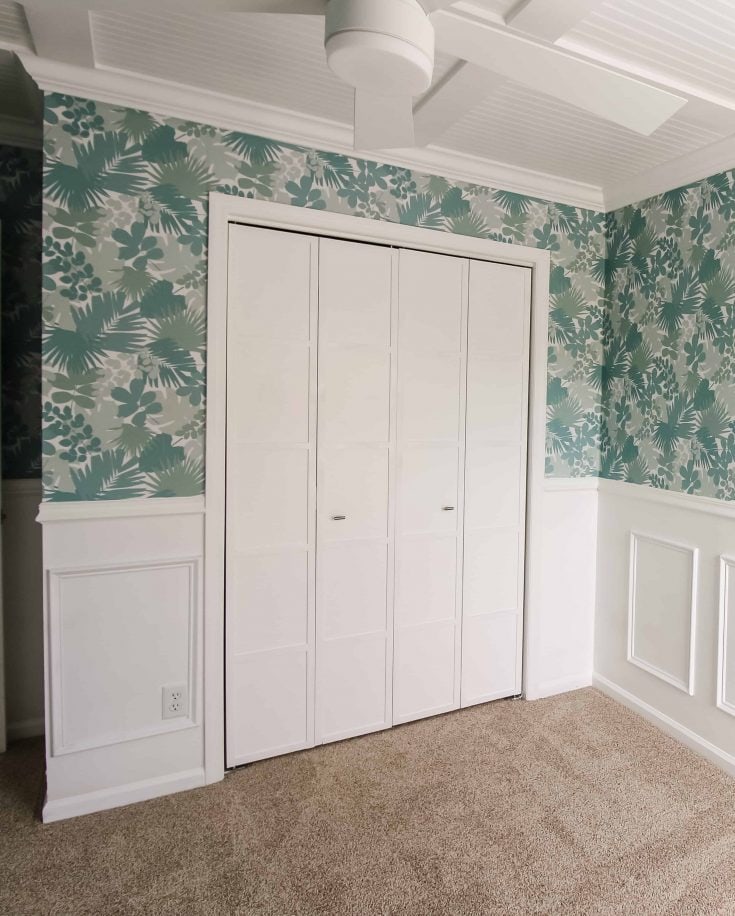
How to make over bifold closet doors
It is easy and inexpensive to update boring old bifold closet doors. Here's how!
Materials
- ¼″x1 ½″ slats enough for your door. Ours required approximately 77 feet (79″ vertical pieces and 12″ horizontal pieces) and yours likely will be right around this.
- One inch brad nails
- Caulk
- Paint
- Replacement knobs, if desired
Tools
- Brad nailer
- Paint brush or paint sprayer
- Screw driver or drill
Instructions
- Measure the height of each door panel and cut two long slats for each side.
- Nail up the slats using the brad nailer so that they are flush with the outside edge.
- Now measure the horizontal space between the two slats that you just added. Cut six slats to that length.
- Nail in the horizontal slats that you just cut. Start with the top and bottom and then add them evenly spaced until you have created 5 sections.
- Repeat steps 1-5 for the remaining doors.
- Use caulk to cover up the seams and nail holes.
- Paint. We used our paint sprayer for an even easy finish.
- Add new pulls or knobs.
Recommended Products
As an Amazon Associate and member of other affiliate programs, I earn from qualifying purchases.
Looking for something?
We've been doing this since 2012 so we have a LOT of blog posts!
Search stuff like: Ceiling Projects | DIY Plant Stands | Thrift Flips


Hey there, I'm Sean, the woodworking enthusiast and builder behind CharlestonCrafted.com! Since 2012, I've been sharing the magic of turning raw materials into beautiful creations. I love teaching others the art and satisfaction of woodworking and DIY. I try to inspire fellow crafters to make something extraordinary out of nothing at all.



Sara Dwyer says
Love how it works with the other trim on the walls/ceiling!