Has your couch seen better days, but no budget to replace it? No problem! Here is how to restuff sofa cushions - for cheap - to easily and quickly give your couch new life!
Since being pregnant, I have really increased the amount of time that I spend laying on my couch.
We have had this couch for only about 3 years, but it hasn't held up.
As my friend told me, "buy cheap and weep." The sofa has just really not held up well and is saggy and you can feel the metal springs in your butt when you sit down.
I would really like to buy a new sofa. But, it's just not in the ($$$) cards right now.
If you are in a similar situation - stuck with a pancake sofa that you can't afford to replace - look no further.
I am going to show you exactly how I replaced the stuffing in both the cushion seat backs and the foam seat cushion to give our couch the extra padding that it desperately needed.
This is a budget friendly, easy hack. Look how pregnant I am in these pictures! If I can do it, so can you 🙂
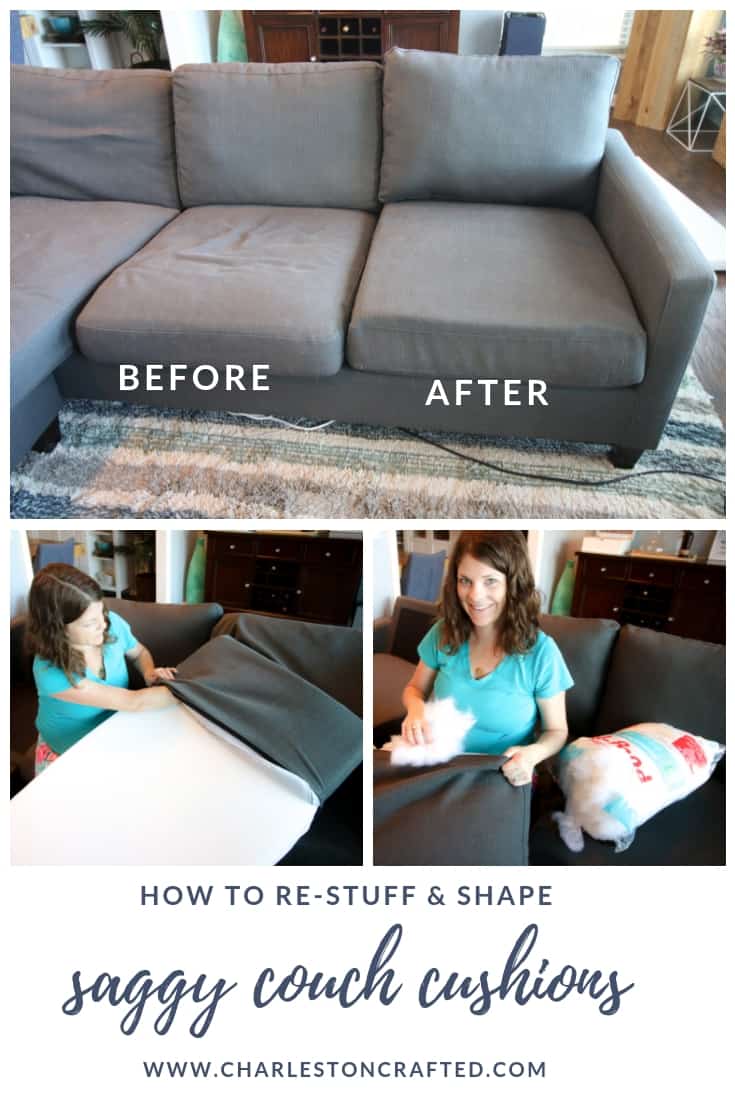
DIY way to make your couch firmer
Since I decided to try to save our current couch instead of buying a new one, it was time to get to work.
I did a little research and decided to order some new foam and stuffing to try to replenish the saggy pillows.
I spent about $100 on replacement foams for this project.
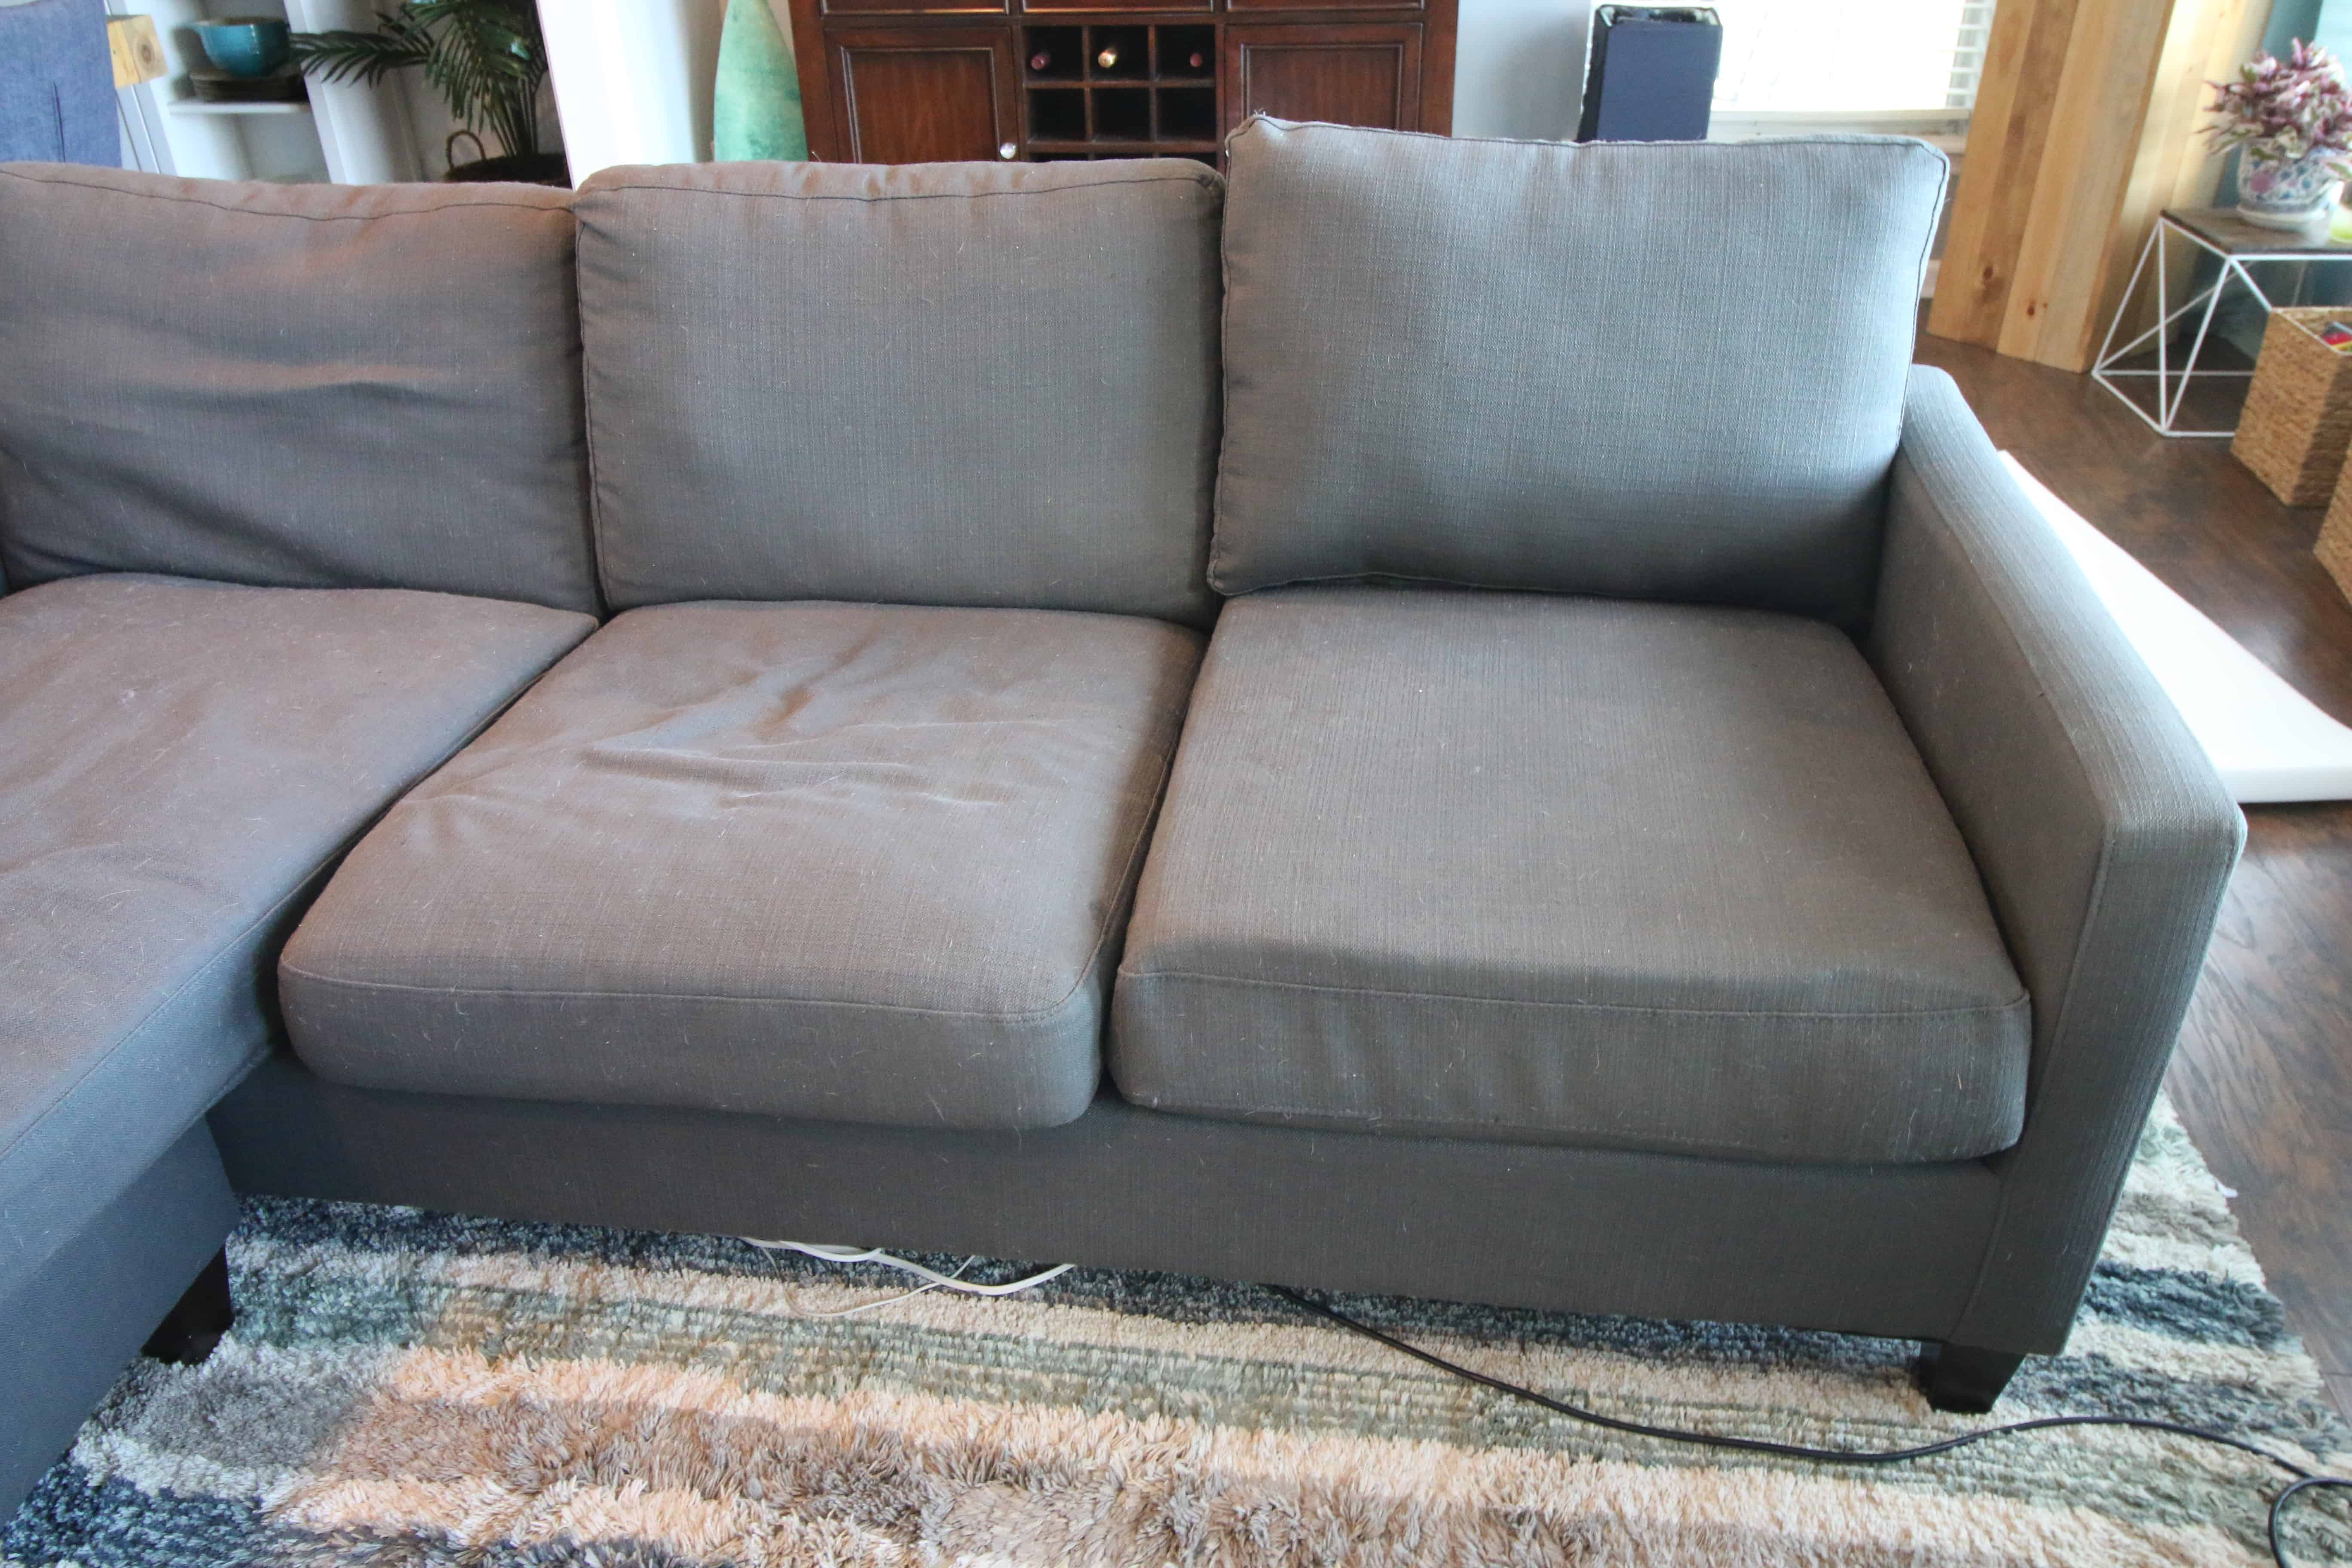
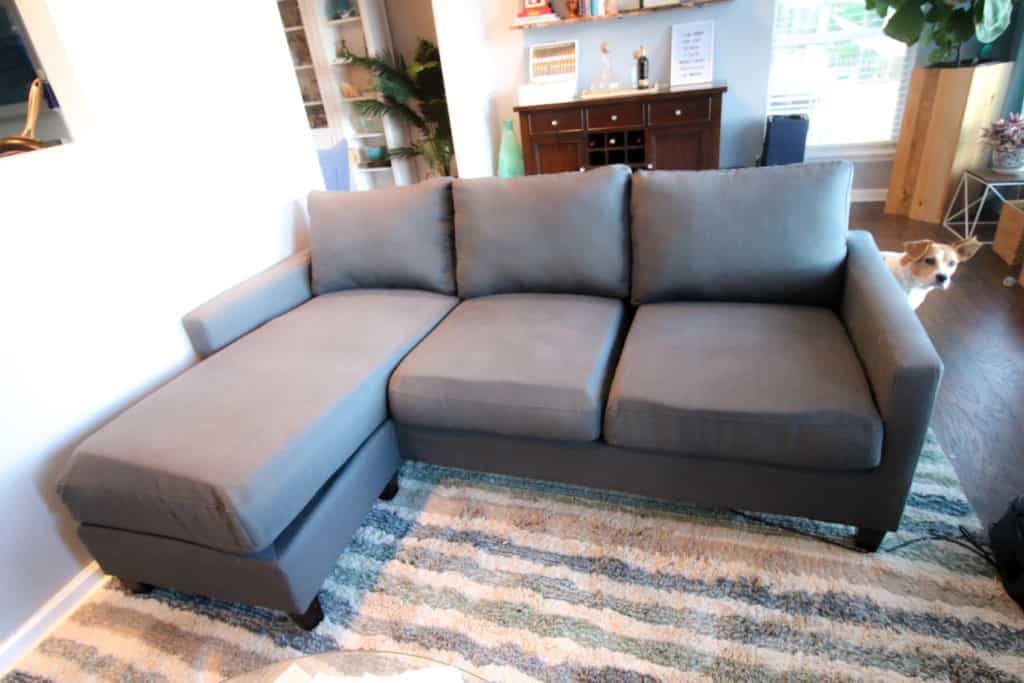
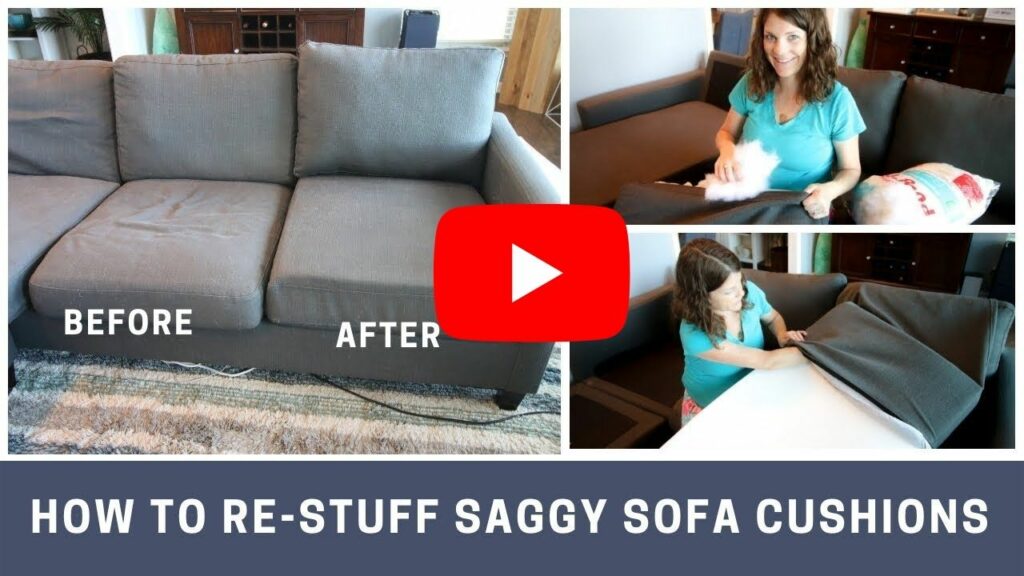
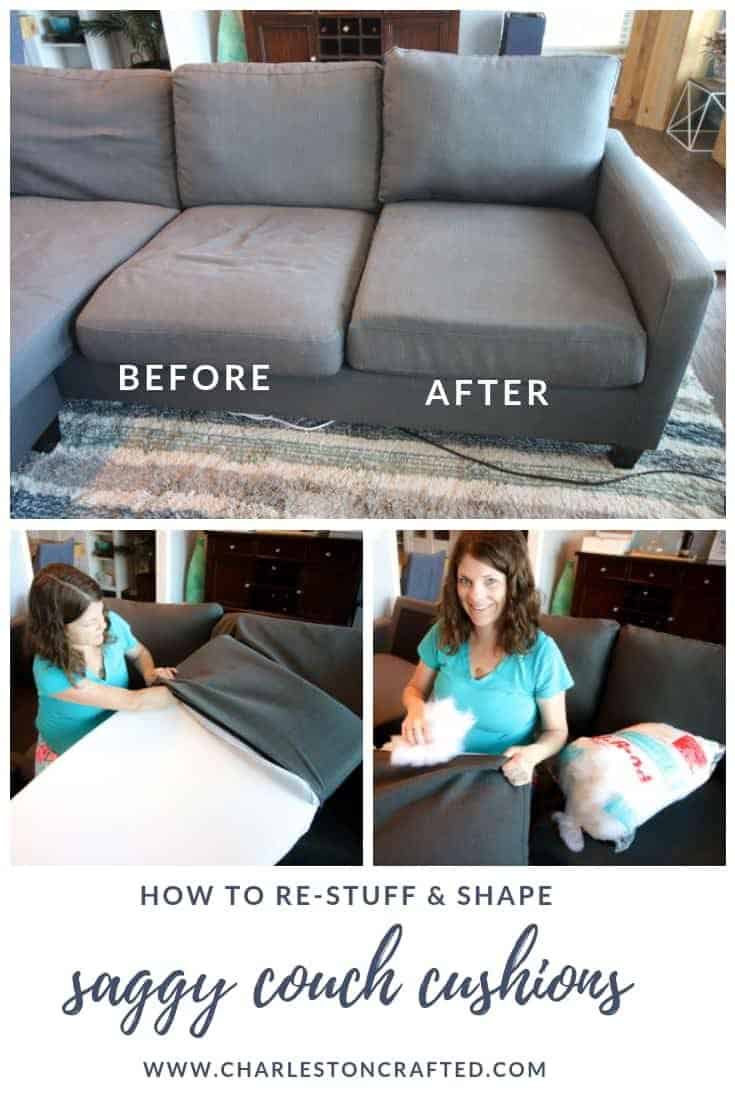
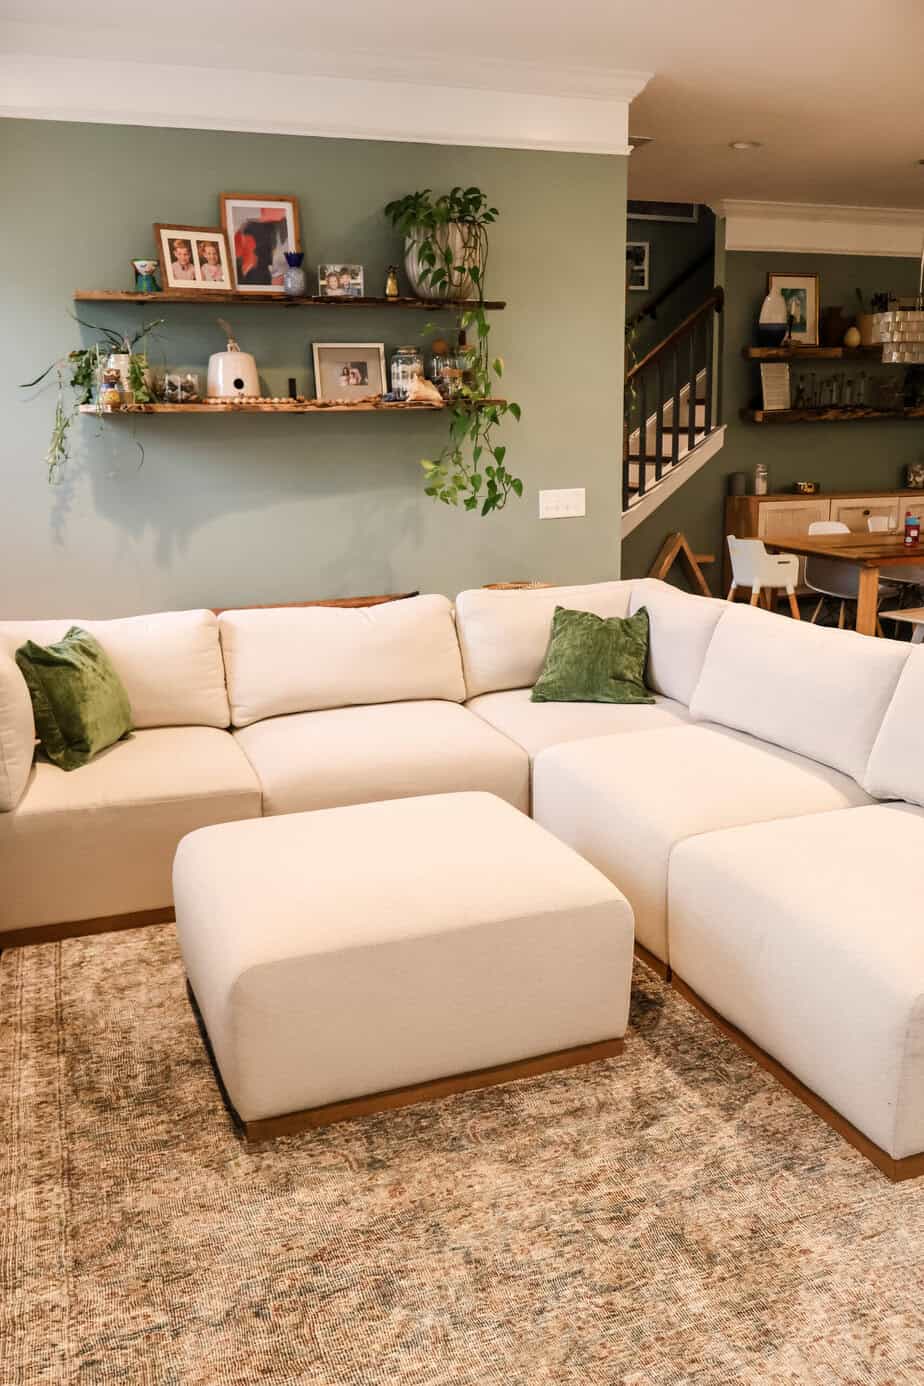
In the above photo, you can see the original cushions on the left and the re-stuffed cushions on the right.
It's not gone from Walmart to Pottery Barn, but it is looking - and more importantly, feeling - 100% better.
This process will definitely make couch cushions look tighter and more full! It's a great way to make your couch cushions firmer.
What to use for couch stuffing
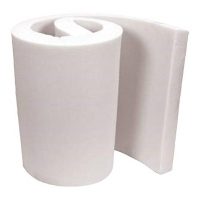
To re-stuff seat cushions, you should use high-density foam. High density foam packs a lot of cushion into a thin little pad.
Of course, you can use any sheet of foam, but you don't have much space inside the cushion cover, and regular foam doesn't give much cushion per-inch. High-density foam is more expensive, but you will really feel it!
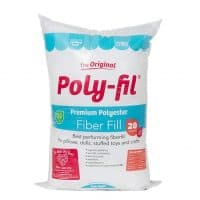
To re-stuff pillows, you will want to use polyfil. This is like traditional pillow fill and is easy to add by the hand full. This is also the best filling for sofa back cushions.
Polyfil will help your seat backs - or any pillows - keep their cloud like feeling. It just gets compacted over time, which makes it less soft and fluffy.
Where can you buy foam for seat cushions?
You can get high-density foam at most craft and fabric stores. I prefer to order on Amazon since it's convenient and they have easy free returns!
Also consider checking Facebook marketplace. You never know if someone might be selling a foam mattress pad that you could repurpose! That's how to get a real deal on this project!
What you need to stuff sofa cushions
- 2" upholstery foam to the size of the seat of each couch cushion
- Polyfil - I used 2 20oz bags for my 3 seat back cushions
- Scissors
- Spray adhesive
- Optional: Vacuum, lint roller, dog hair remover, etc. for cleaning the couch
Examine your couch
Before you begin, take a minute to plan so the process goes smoother! Take some time to get familiar with your couch. What is removable? What opens up?
On our couch, the seat cushions came off and unzipped. The back pillows did not come off, but did unzip.
If anything does not unzip or open up, I'm not sure what to tell you. I guess you could cut it, stuff it, and resew it but that seems like ~a lot~ with a high potential for things to go wrong.
Assuming your cushions come off or at least open up, you are ready to begin.
Prepare the area
Also, prepare a clean area to work. You might want to lay a blanket or tarp down on the floor. You don't want to clean and repair your couch just for it to get nasty if the ground isn't clean!
Next, pick up the area. You need enough floor space to lay out all of your cushions!
How to stuff sofa cushions & give new life to a saggy couch!
Here is our complete, step by step guide to restuffing couch cushions.
Click here to get this project tutorial in a free printable PDF.
How to re-stuff sofa cushions
Here's the exact steps that worked well for us to re-stuff our sofa cushions!
STEP 1: REMOVE & CLEAN
First, remove your cushions and clean the couch. I vacuumed under each cushion (there was a lot of dirt + sand in there).
I also lint-rollered the pet hair from all of the pillows and cushions.
Is this required? No. But there's no better time to do it. You want a dramatic before and after, right? Cookie crumbs gotta go!
This is a great time to tighten the legs of your chair or throw any pillow covers into the washing machine for a really fresh start.
STEP 2: REMOVE A SEAT CUSHION
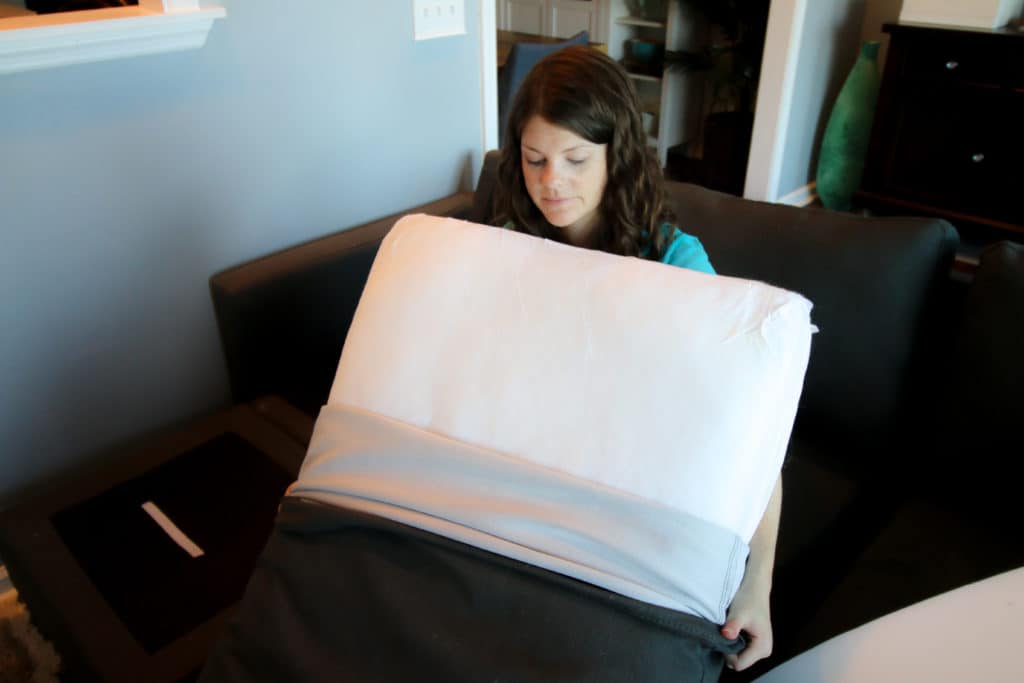
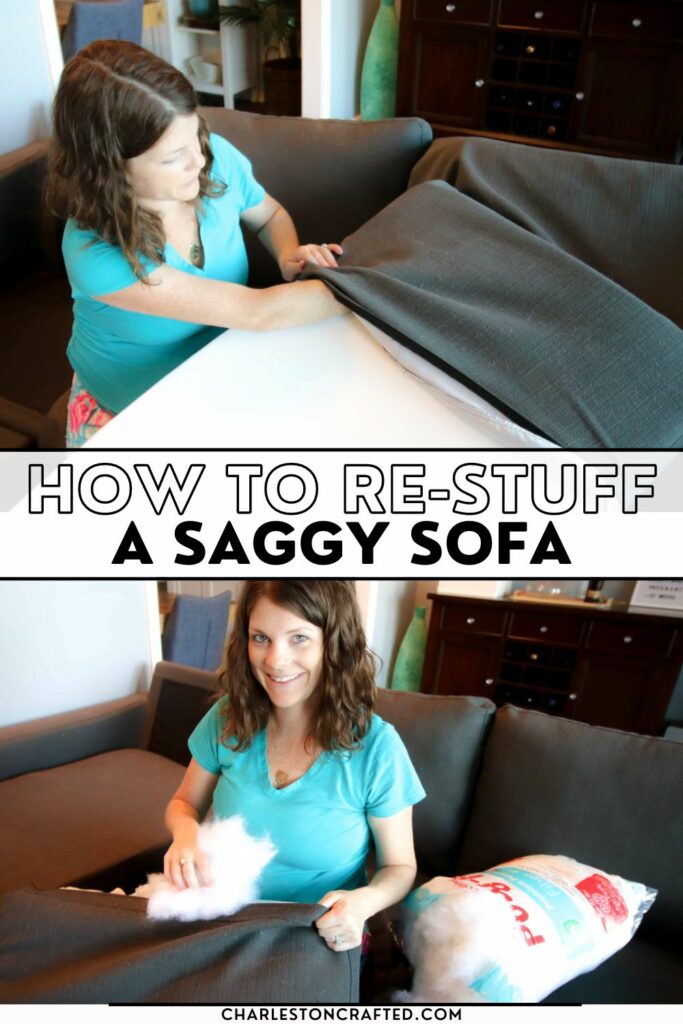
Start with a seat cushion. Unzip the cover and pull out the insert.
Remember, this is a great time to throw those covers in the wash!
STEP 3: MEASURE
Measure the length and width of the cushion. This is the size of foam you are going to cut.
Go ahead and repeat this for all of the cushions. They are probably the same but if you have a corner piece, for example, it might be slightly different. Better safe than sorry!
STEP 4: CUT THE FOAM
Cut a piece of foam to the size of the top of your cushion. You can use sharp scissors or an electric knife if you have one.
Take your time to get a clean cut. and not too jagged of an edge, but it will be hidden inside the cover anyways!
STEP 5: ADHERE THE FOAM TO THE CUSHION
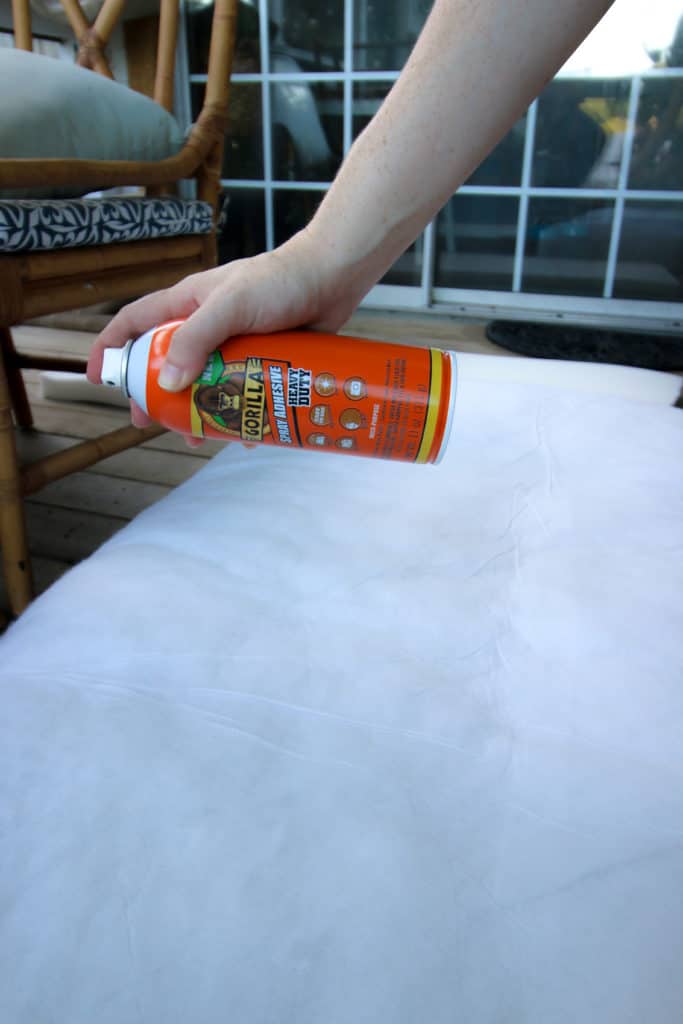
Use spray adhesive to attach the foam to the top of the cushion. Spray a coat of glue, let it sit, then place the foam over top. Press it in firmly to adhere.
Follow the instructions on your can of spray adhesive and give it time to dry - you'll be glad that you did!
Let it dry completely before putting the cover back on. If you try to start stuffing it before it's completely dry, it won't stay together with the effort you have to use to push it into the cover.
Some people prefer to wrap their cushion in batting before putting it back in the cover. I did not do this. In my case, the cover was TIGHT enough as it is. I could not fit in another layer!
I do not think that batting would hurt if it fits, but I also do not think that step is necessary!
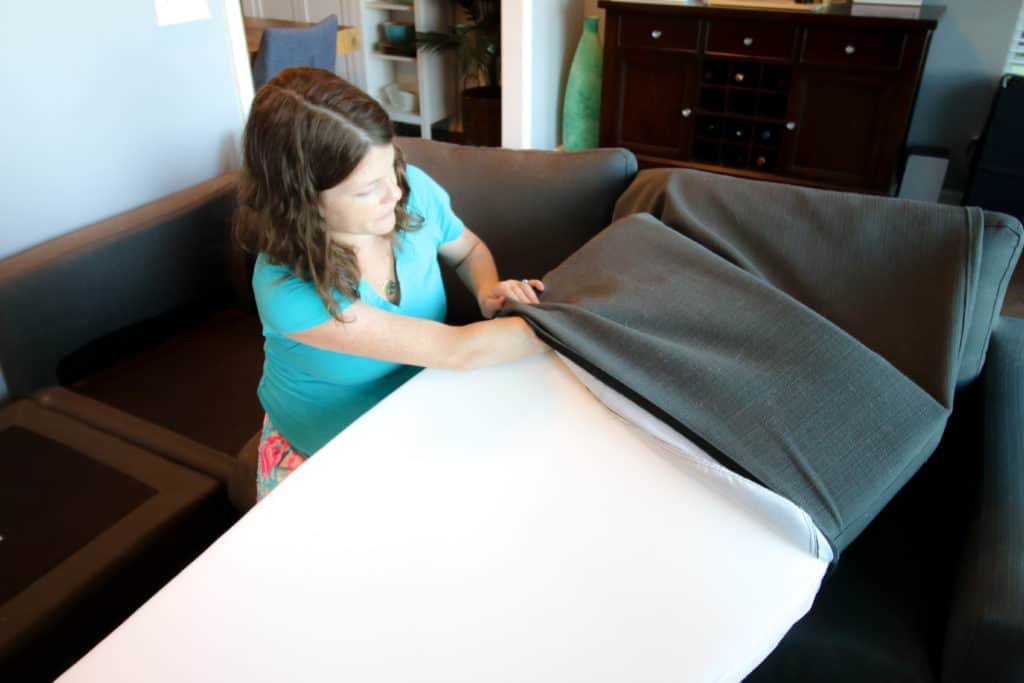
STEP 6: REPLACE THE CUSHION IN THE CASE
Insert the cushion back into the cover. This might now be a really tight fit.
STEP 7: REMOVE THE BACK PILLOW
Now address the seat back cushions. Unzip each cover.
If these cushions come off, you might want to wash them. Mine did not come off of the couch, but they did unzip and open up.
Go slowly so you don't damage the cover and it can help to have a second set of hands! Zip up the cover and you are done.
STEP 8: ADD POLYFIL
Add polyfil to the side of the cushion that will face your back. I used about ⅔ of a 20oz bag on each seat back.
Be sure to shove it into the corners and edges and then zip the cover back. Push and shove like you mean it - the more polyfil, the cushier your seat back will be.
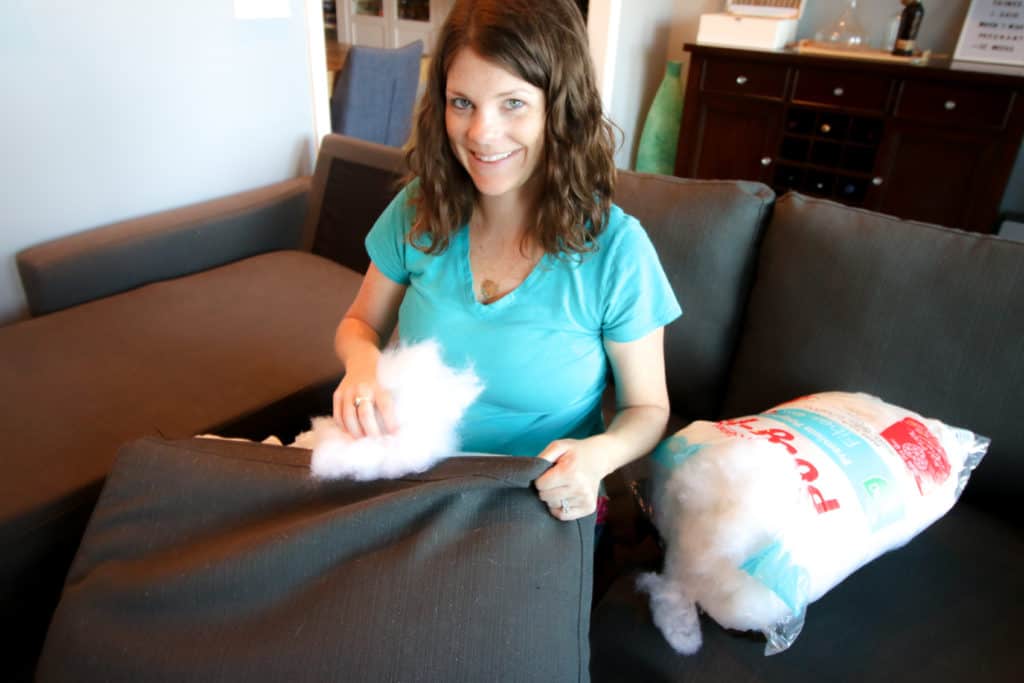
STEP 8: REPLACE THE PILLOW
Replace all of your cushions and repeat until you are done! Your couch should now look a lot tighter and less saggy and feel a lot more comfortable to sit on.
Click here to get this project tutorial in a free printable PDF.
Any questions about how to restuff couch cushions?
Video demonstration
Be sure to check out my video demonstration of stuffing our sofa!
How to stuff sofa cushions & give new life to a saggy couch!
Sofas are expensive to replace! Here is how to save some money and re-stuff your saggy couch instead.
Materials
- 2" upholstery foam (linked below)
- Polyfil (linked below)
- Spray adhesive (linked below)
Tools
- Scissors
Instructions
- Remove your cushions and clean the couch.
- Unzip the seat cushion cover and pull out the insert. Measure and cut foam to fit.
- Use spray adhesive to attach foam to cushion.
- Insert cushion back into the cover.
- Unzip seat back cushions. Add Polyfil until they are fluffy. Re-zip.
- Replace all cushions on couch.
Recommended Products
As an Amazon Associate and member of other affiliate programs, I earn from qualifying purchases.
Do you have a saggy couch? Would you try to update it or just replace it?
Be sure to click over and check out my favorite cheap couches!
Looking for something?
We've been doing this since 2012 so we have a LOT of blog posts!
Search stuff like: Ceiling Projects | DIY Plant Stands | Thrift Flips


Hello, I'm Morgan, half of the creative force behind CharlestonCrafted.com! With a passion for DIY that dates back to 2012, I've transformed three homes and now I'm dedicated to helping others craft their dream spaces. Let's turn your house into a home together!




Kelly Mahan says
Perfect. I love my couch, but it was clearly starting to sag in the middle of the cushions.
kristen says
Great Job, It looked so much better! I may try this at home.
Jenny says
Hi! I want to try this but I'm confused about something. In your top description under where it says "Optional: Vacuum, lint roller, dog hair remover, etc. for cleaning the couch"
It said, all the supplies you will need, and it's a link to 4" h foam. Then at the bottom you have a link to 2" h foam. Which height did you use?
Morgan says
You could use any thickness, depending on what you have space in your cushion cover to add. The thicker the foam, the more plush the outcome will be!
Sharon says
I’m gonna try this mine too was a cheap L-shaped and boy some of the cushions sag! Will post results thanx for the idea❤️
Sean says
Hi Sharon! I really hope this works for you, too! Good luck! Morgan
Barbara McGurn says
Oh I’m definitely doing this for my sons sofa. Looks amazing
Naureen says
Hi Sharon- I love this!!! I’m assuming the # of foam pads depends on the length of the sofa involved... but did you end up needing more than 1 pack of the foam for your project?
Also, I’m considering quilt batting vs the foam- but wanted to know if you did similar research! Would you say the foam top cut is easier to apply and insert back into the cushion than quilt batting?
Sean says
Hi! Yes we used less than one pack of foam - about 2/3 a pack. Quilting batting would not have the same effect. It would fill in any looseness in the pillows but would not provide the extra cushioning that high density foam adds.
Mariko says
This is the ONLY tutorial that I can find that does what you did. I have ordered my 2" foam, thank you!
The only thing I would add is I did just order some dacron batting to put around the cushion so it "fills up" and doesn't look like we added foam on top.
Thanks for also pointing out to add the foam to the top of the cushion where we sit and not the bottom like some other items you'd add make it seem.
Really appreciate it!
Morgan says
Glad to help!
Rajiv says
Hi Sharon, thanks for this tutorial. Out of curiosity, why did you glue the foam to the old insert, rather than replacing the entire insert with thicker foam? Is there a benefit to keeping the old insert (e.g. is it more comfortable than getting entirely new foam)? Thanks!
Morgan says
We were trying to add more thickness and fullness and didn't have new foam that was that thick. The foam is sold in a much thinner form than what is in the sofa, so we added to it.
Amanda Massey says
I’m currently pregnant with number 2 and could barely get off of our couch, which has down feathers on both sides of the existing foam. After stuffing two cushions I cannot rave enough about how perfect this process is!
Morgan says
I am so glad that it helped!!
Jackie Wallace says
I needed this tutorial! I am totally going to try this out this weekend in my home here in Polk County. I am having my carpets cleaned next week too, it is going to feel like a whole new living room. Can't wait!