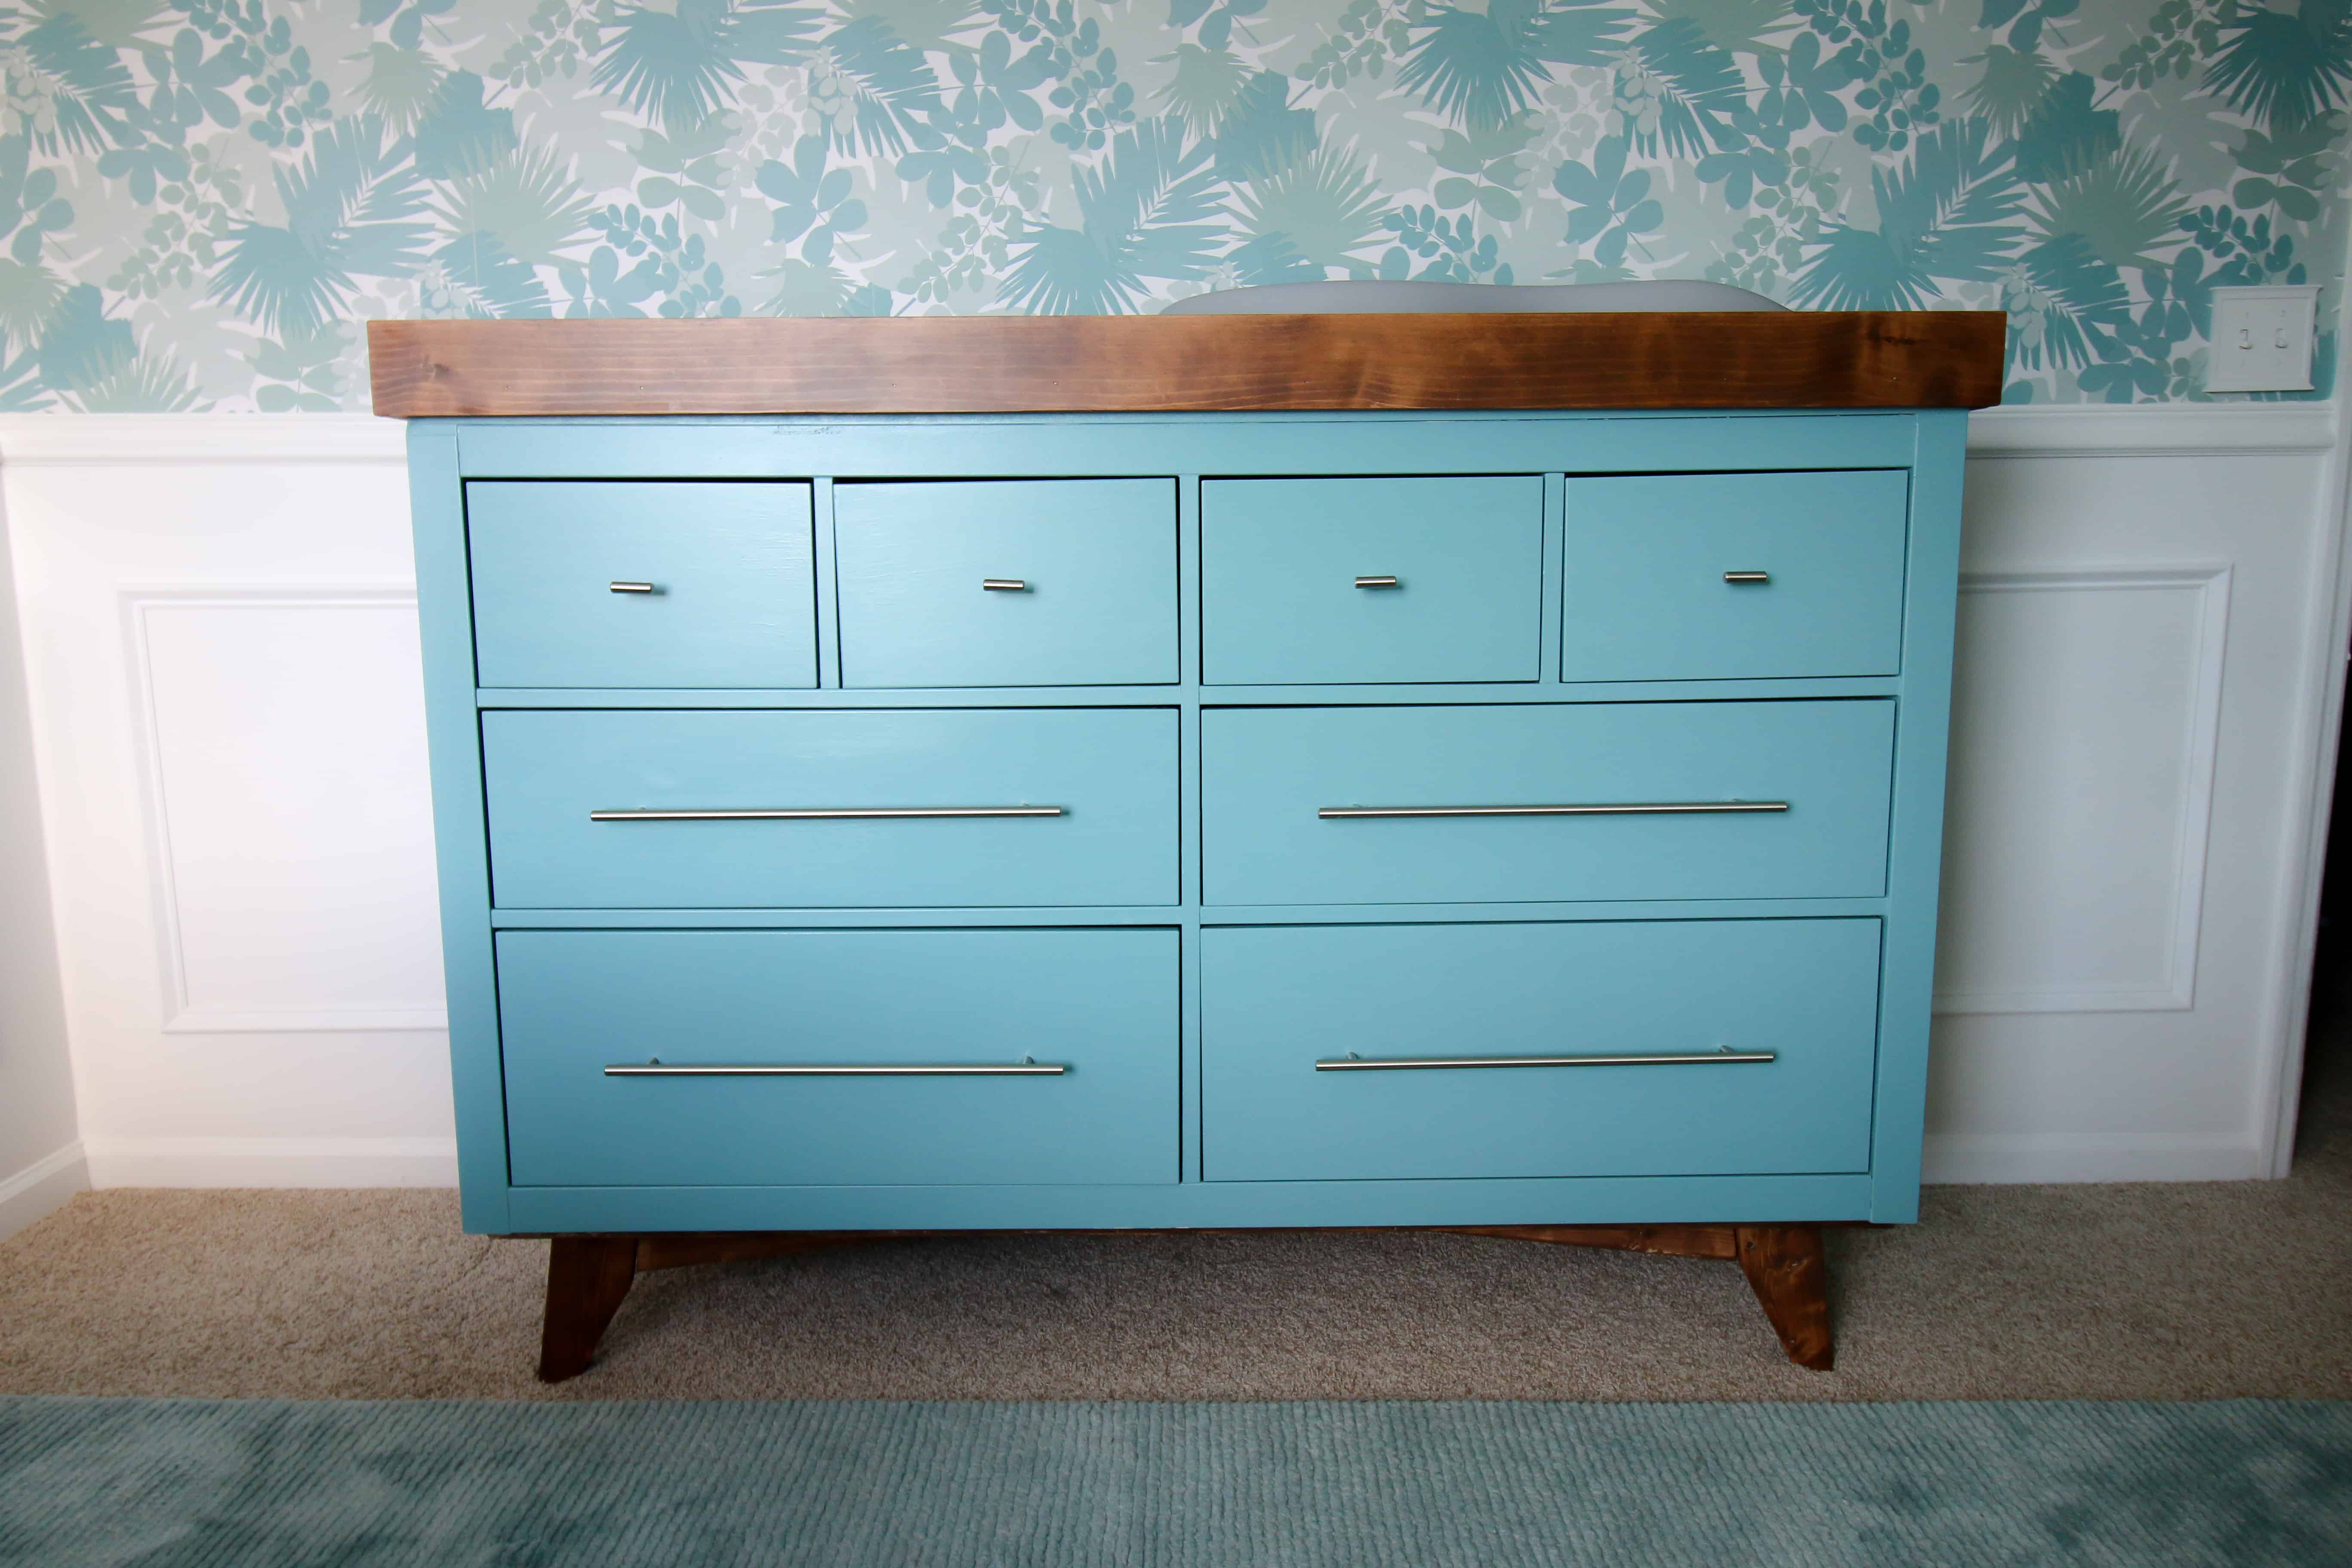
Today we're bringing you our DIY changing table topper! Last week, we shared our IKEA Hemnes dresser mid century modern hack, but since we're using it as a changing table, we needed a topper. This DIY changing table topper is super easy to build and can be easily scaled for any dresser.
Click here for all of the progress on our jungle nursery!
Our changing pad is the Keekaroo Peanut Changer in grey.
DIY Changing Table Topper
Most changing table toppers sit on top of a dresser, but I wanted to design this topper to sit around the top of the dresser. I don't want this changing table topper to move, so it sits around the outer edge of the dresser.
The way to do this is to build the topper with a false bottom and the inner dimensions matching the dimensions of the top of your dresser.
Constructing the DIY Changing Table Topper
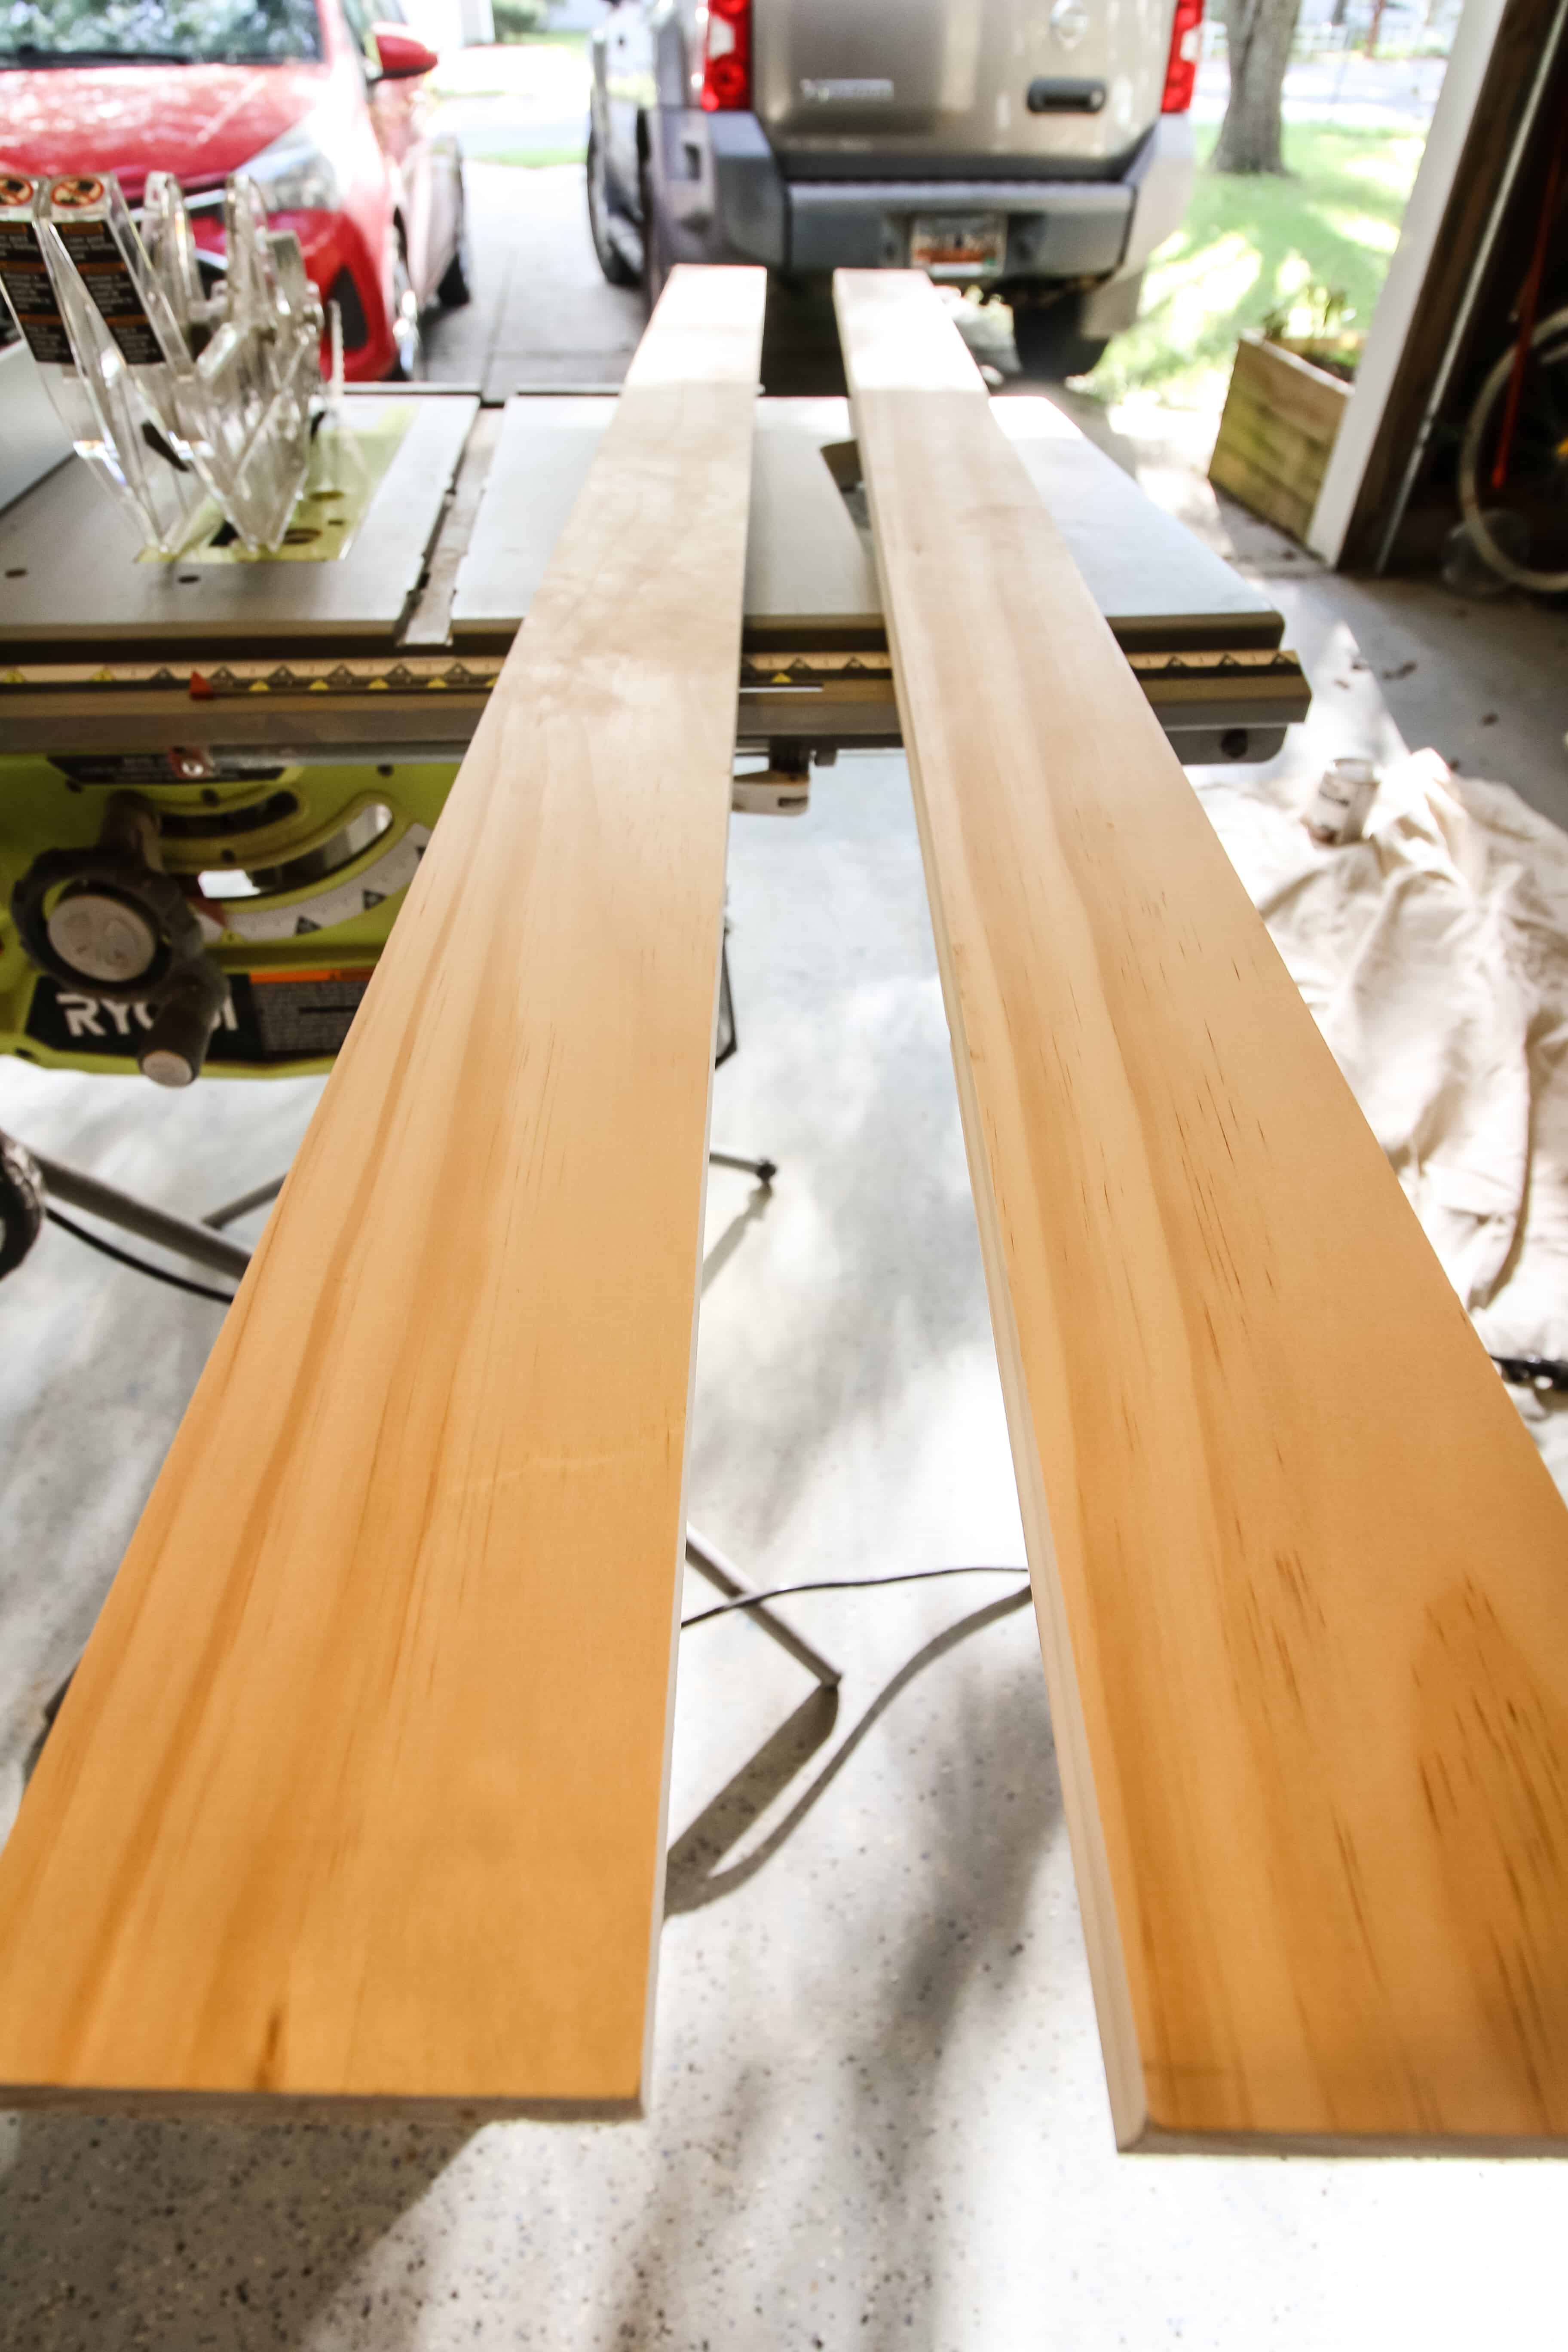
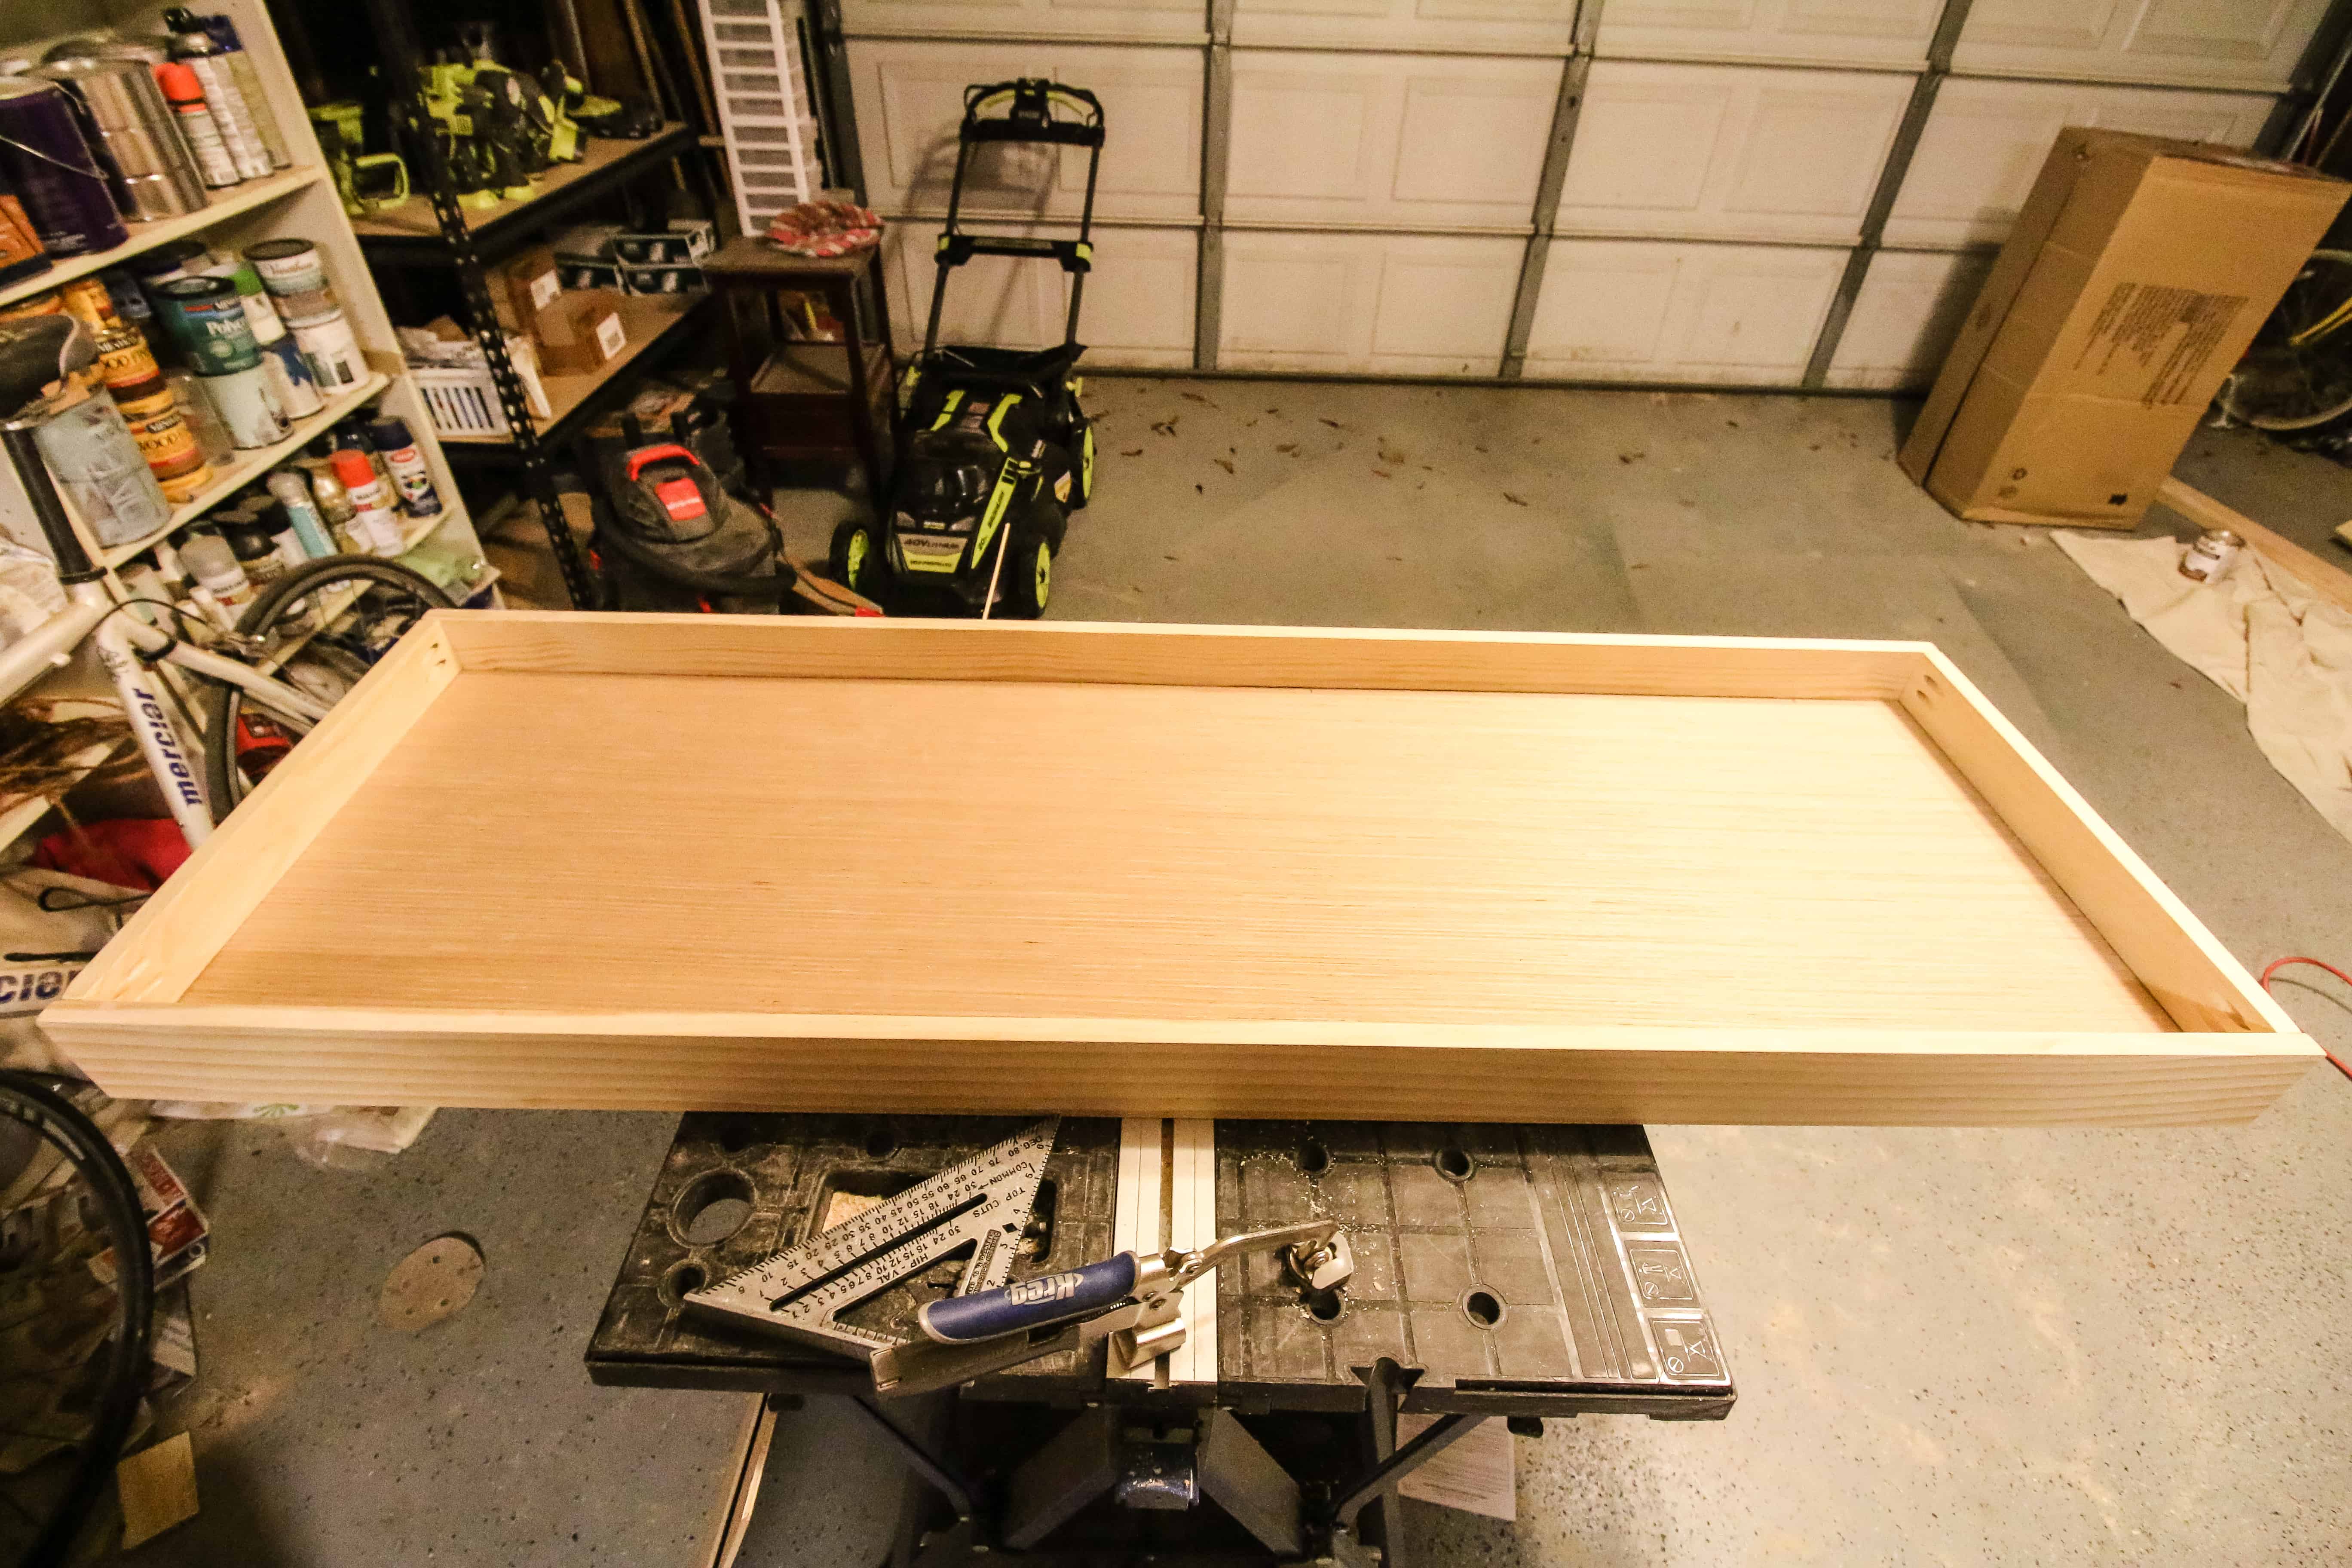
For ours, I cut two 1x4s at 60 inches and two at 19 inches.
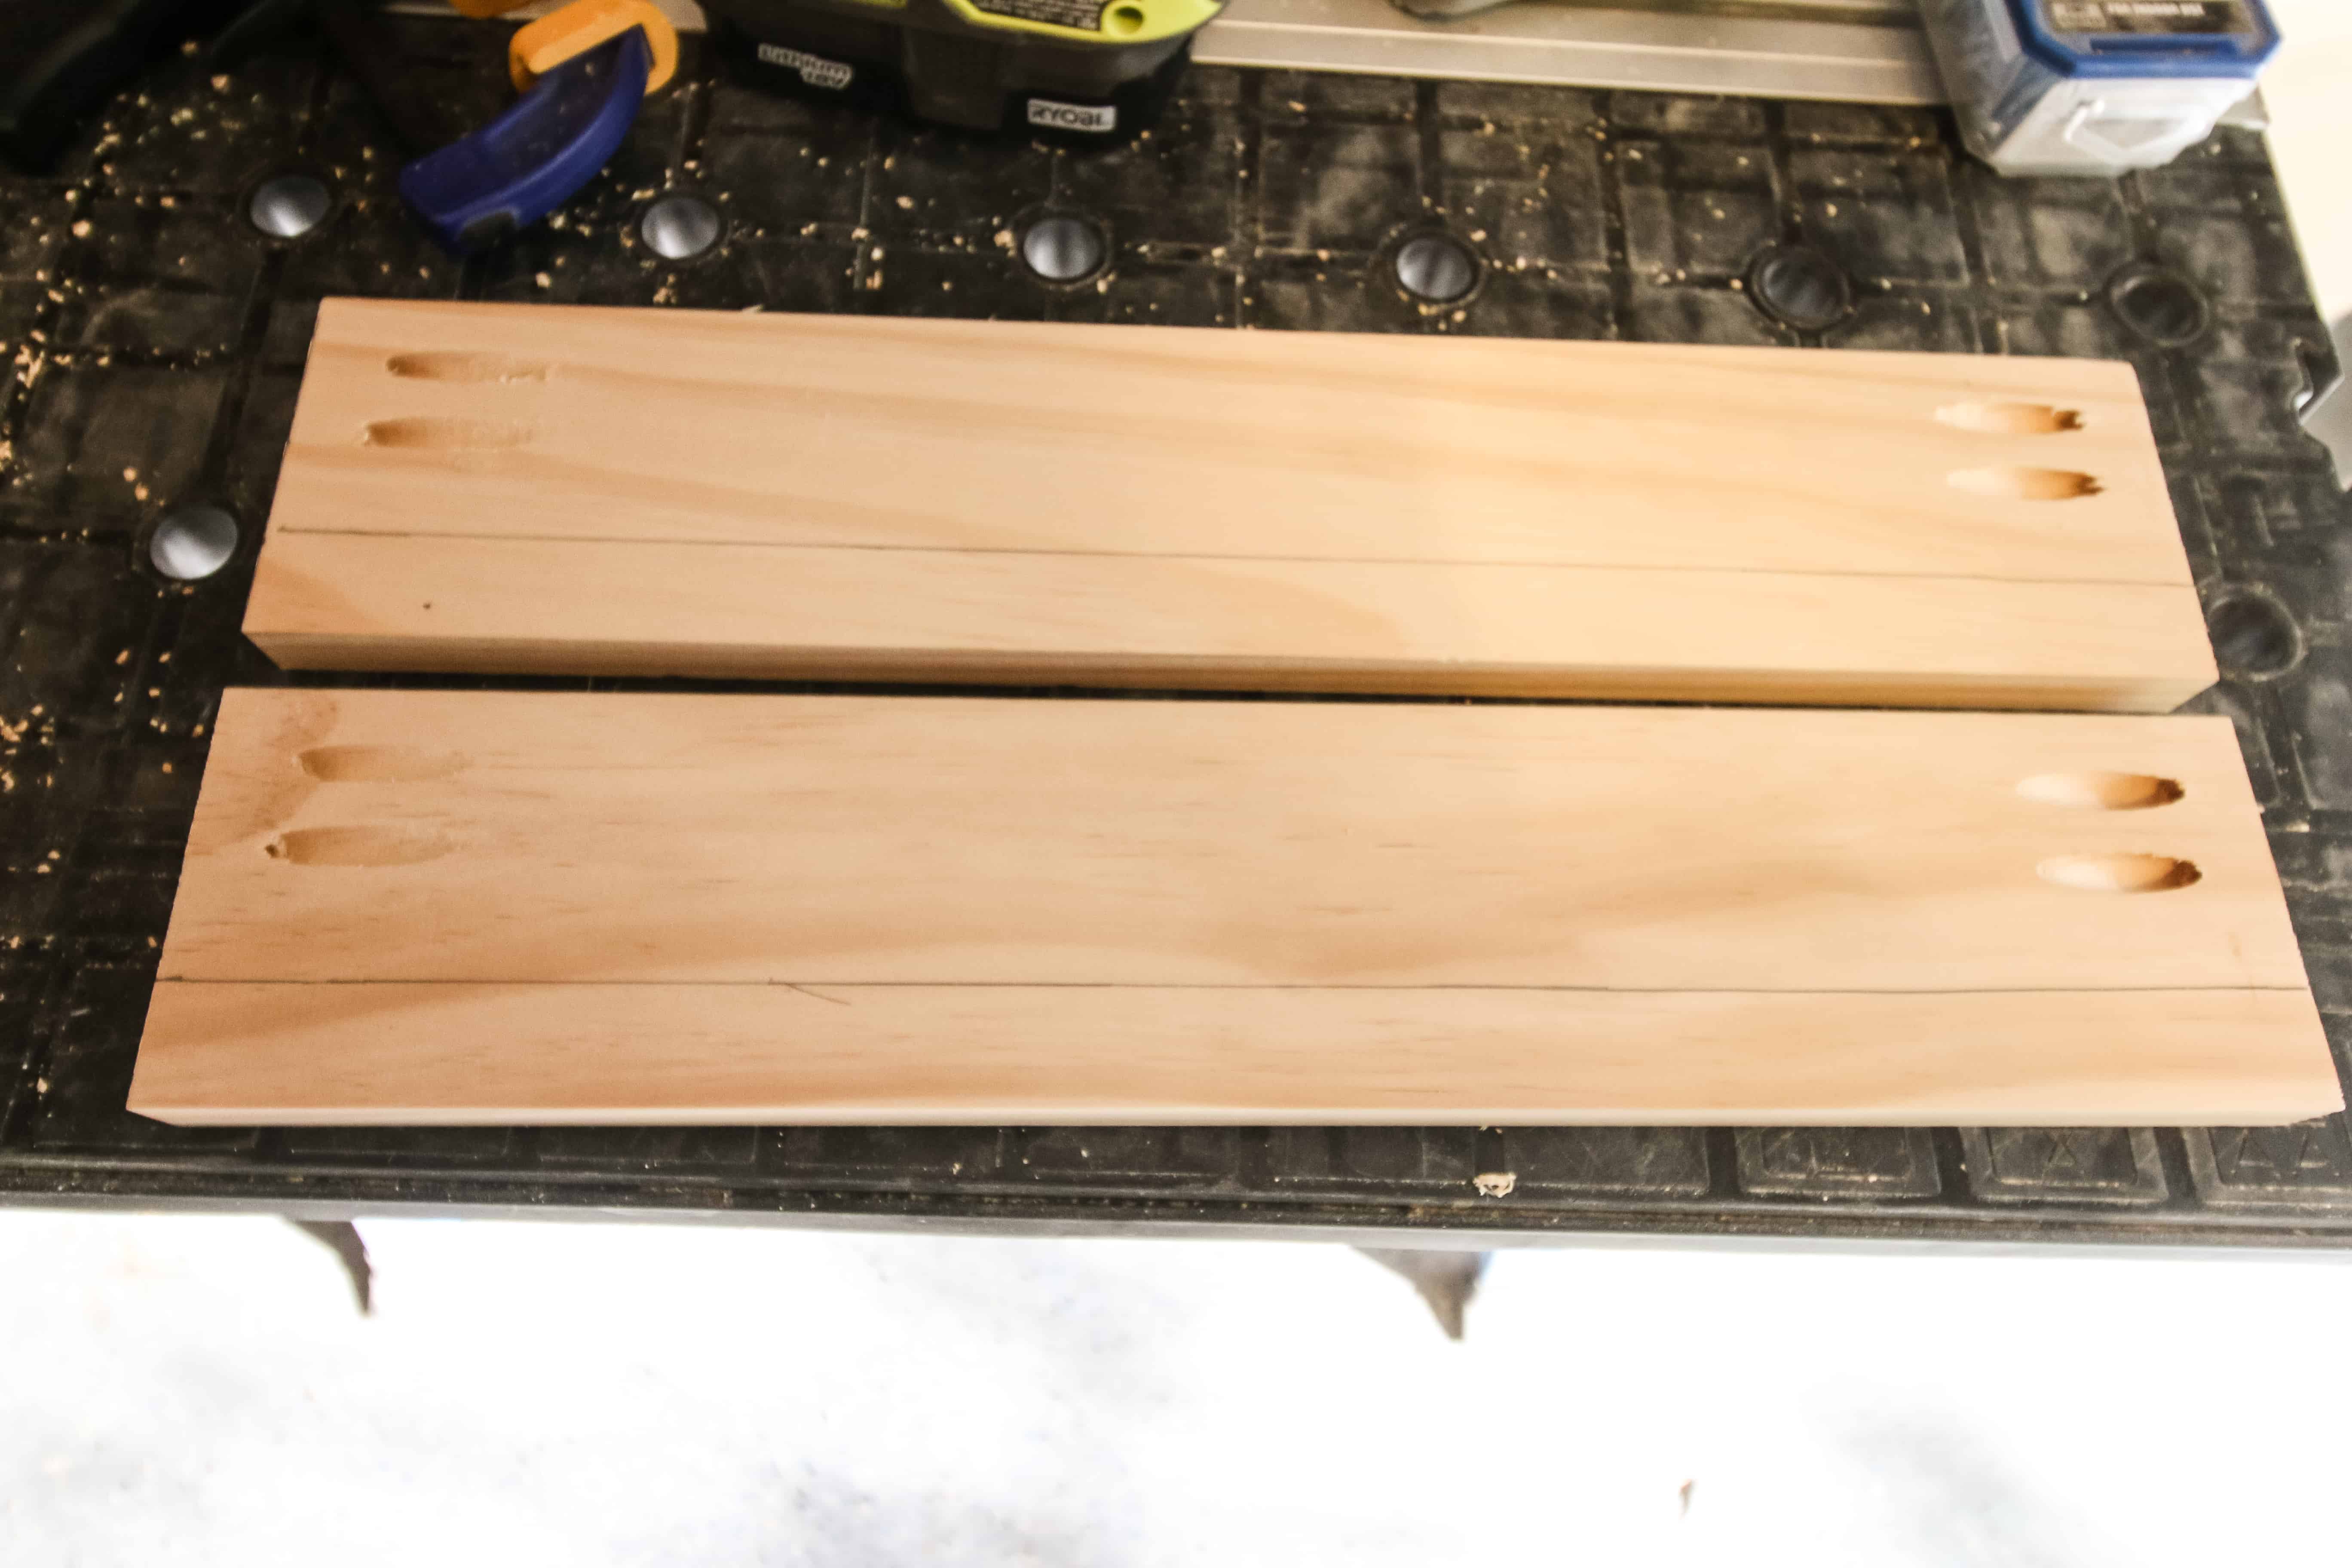
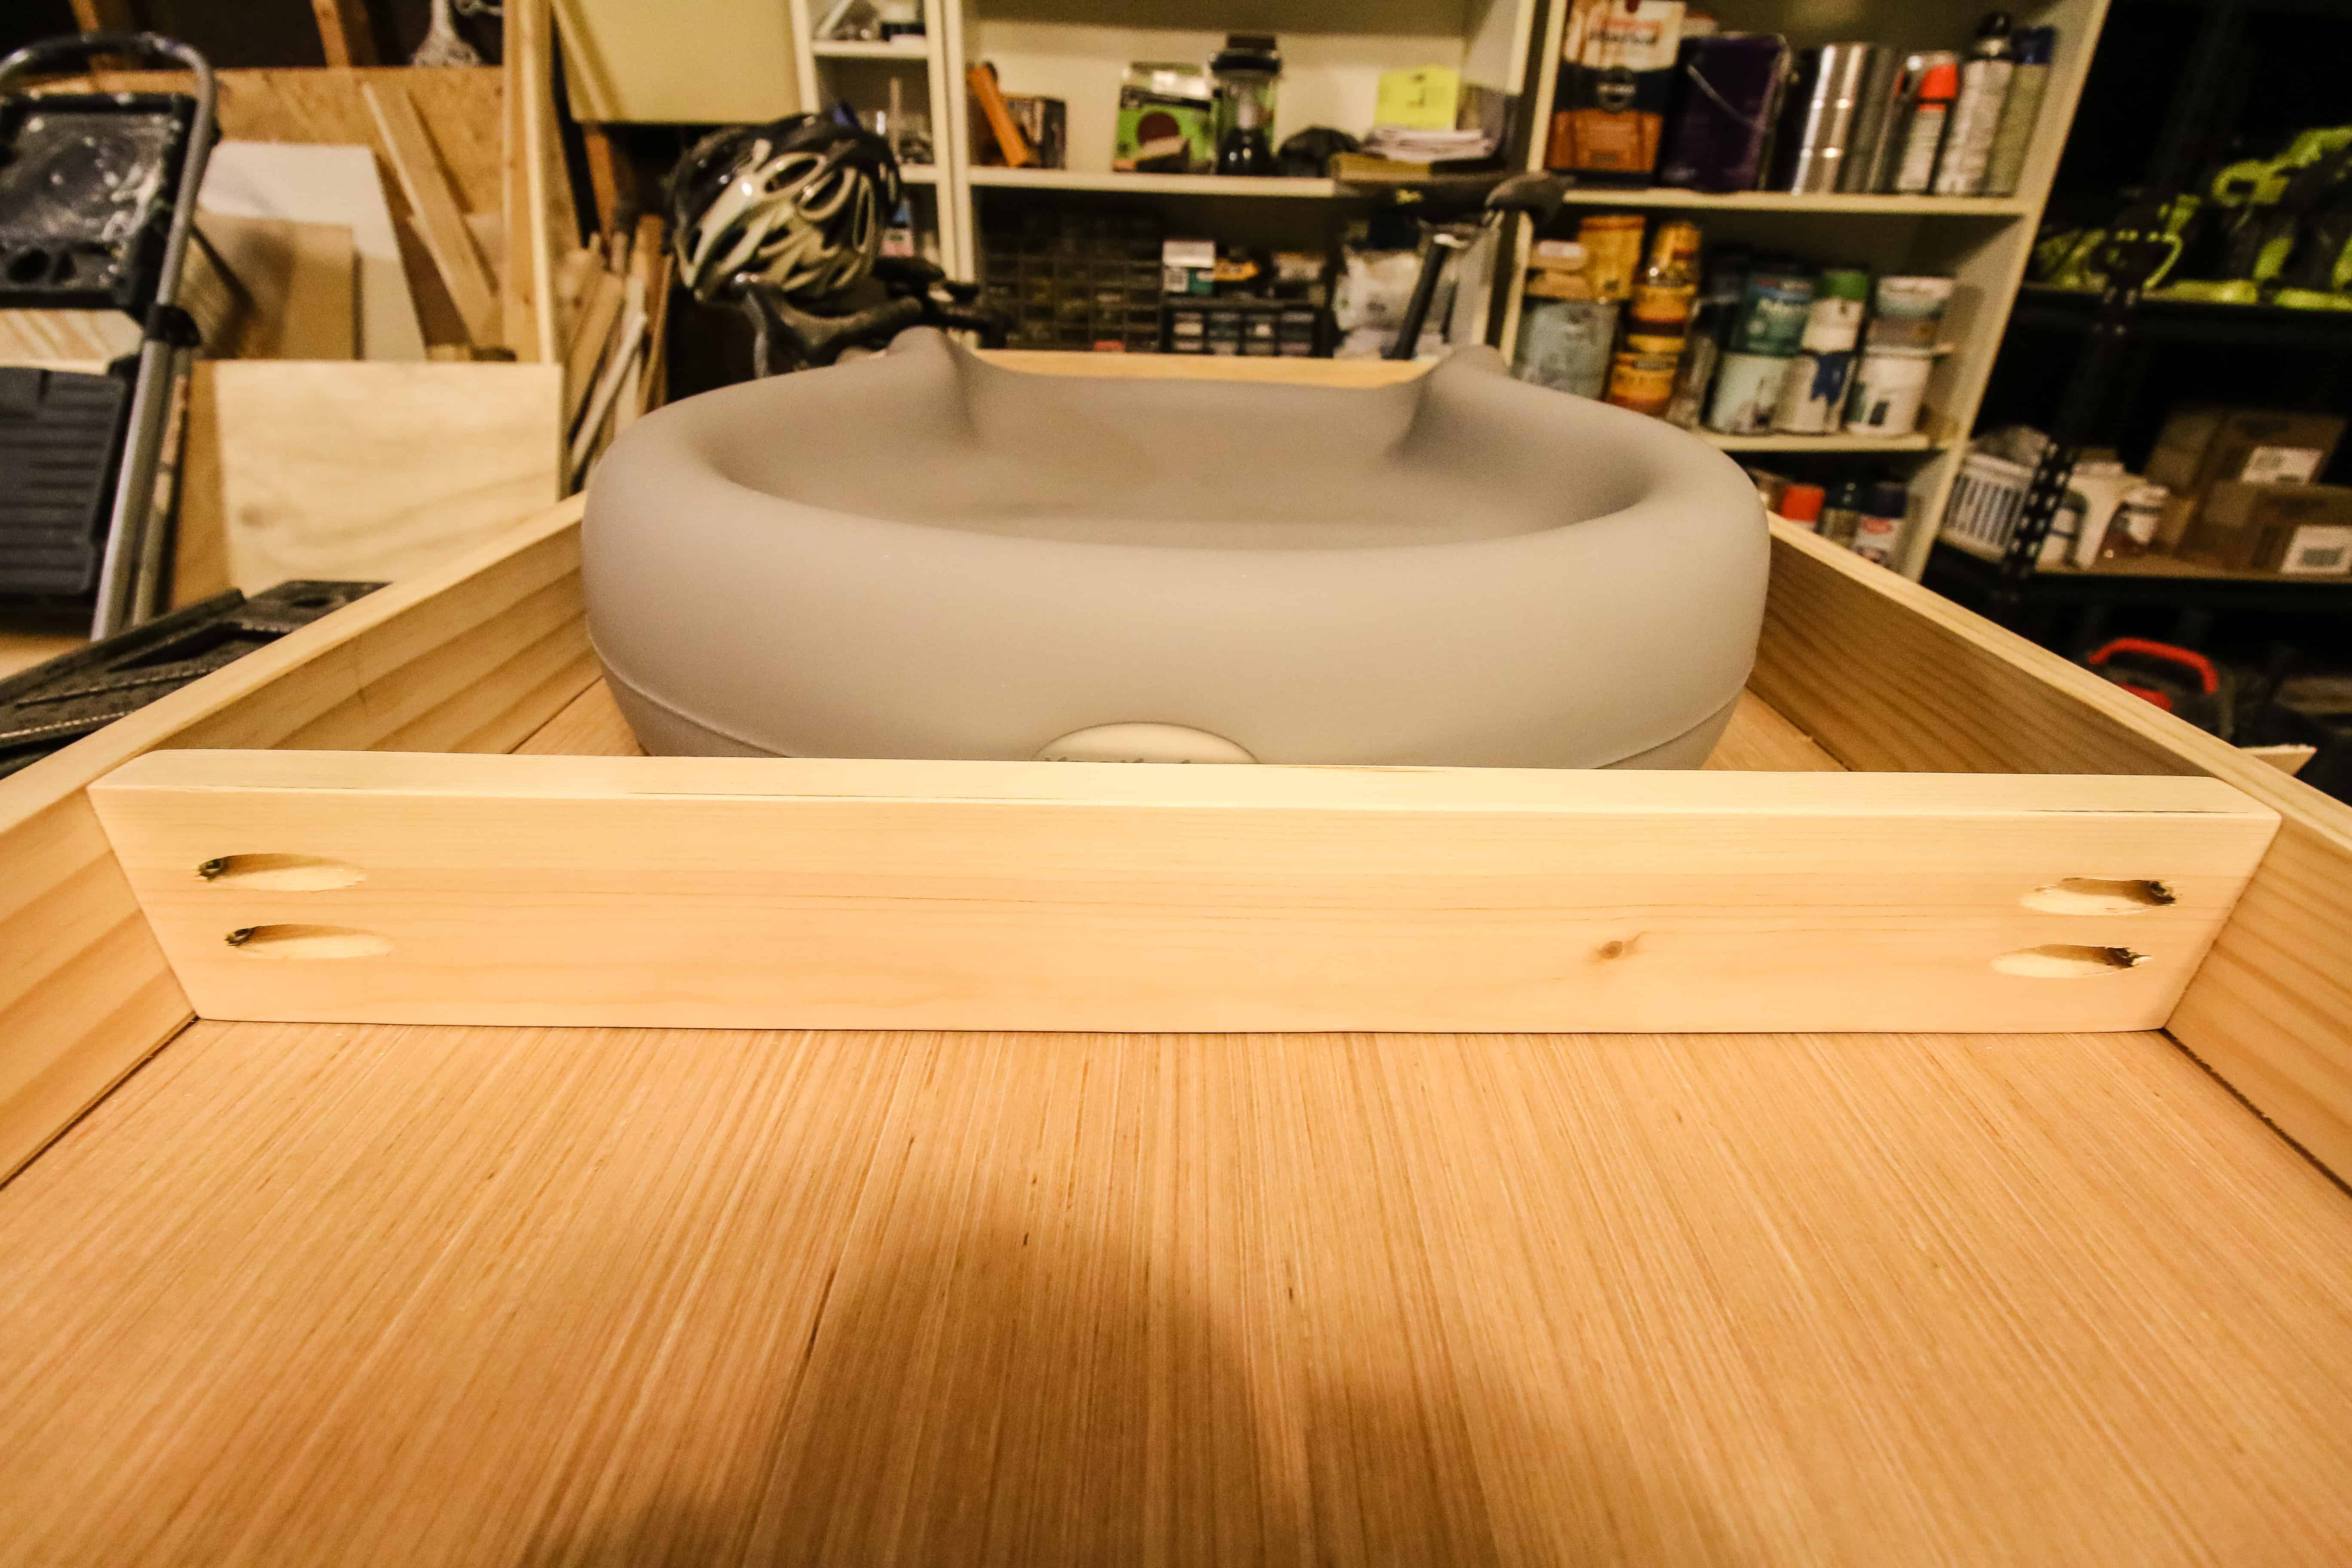
On the two shorter boards, I drilled pocket holes near the top half of the boards on both sides.
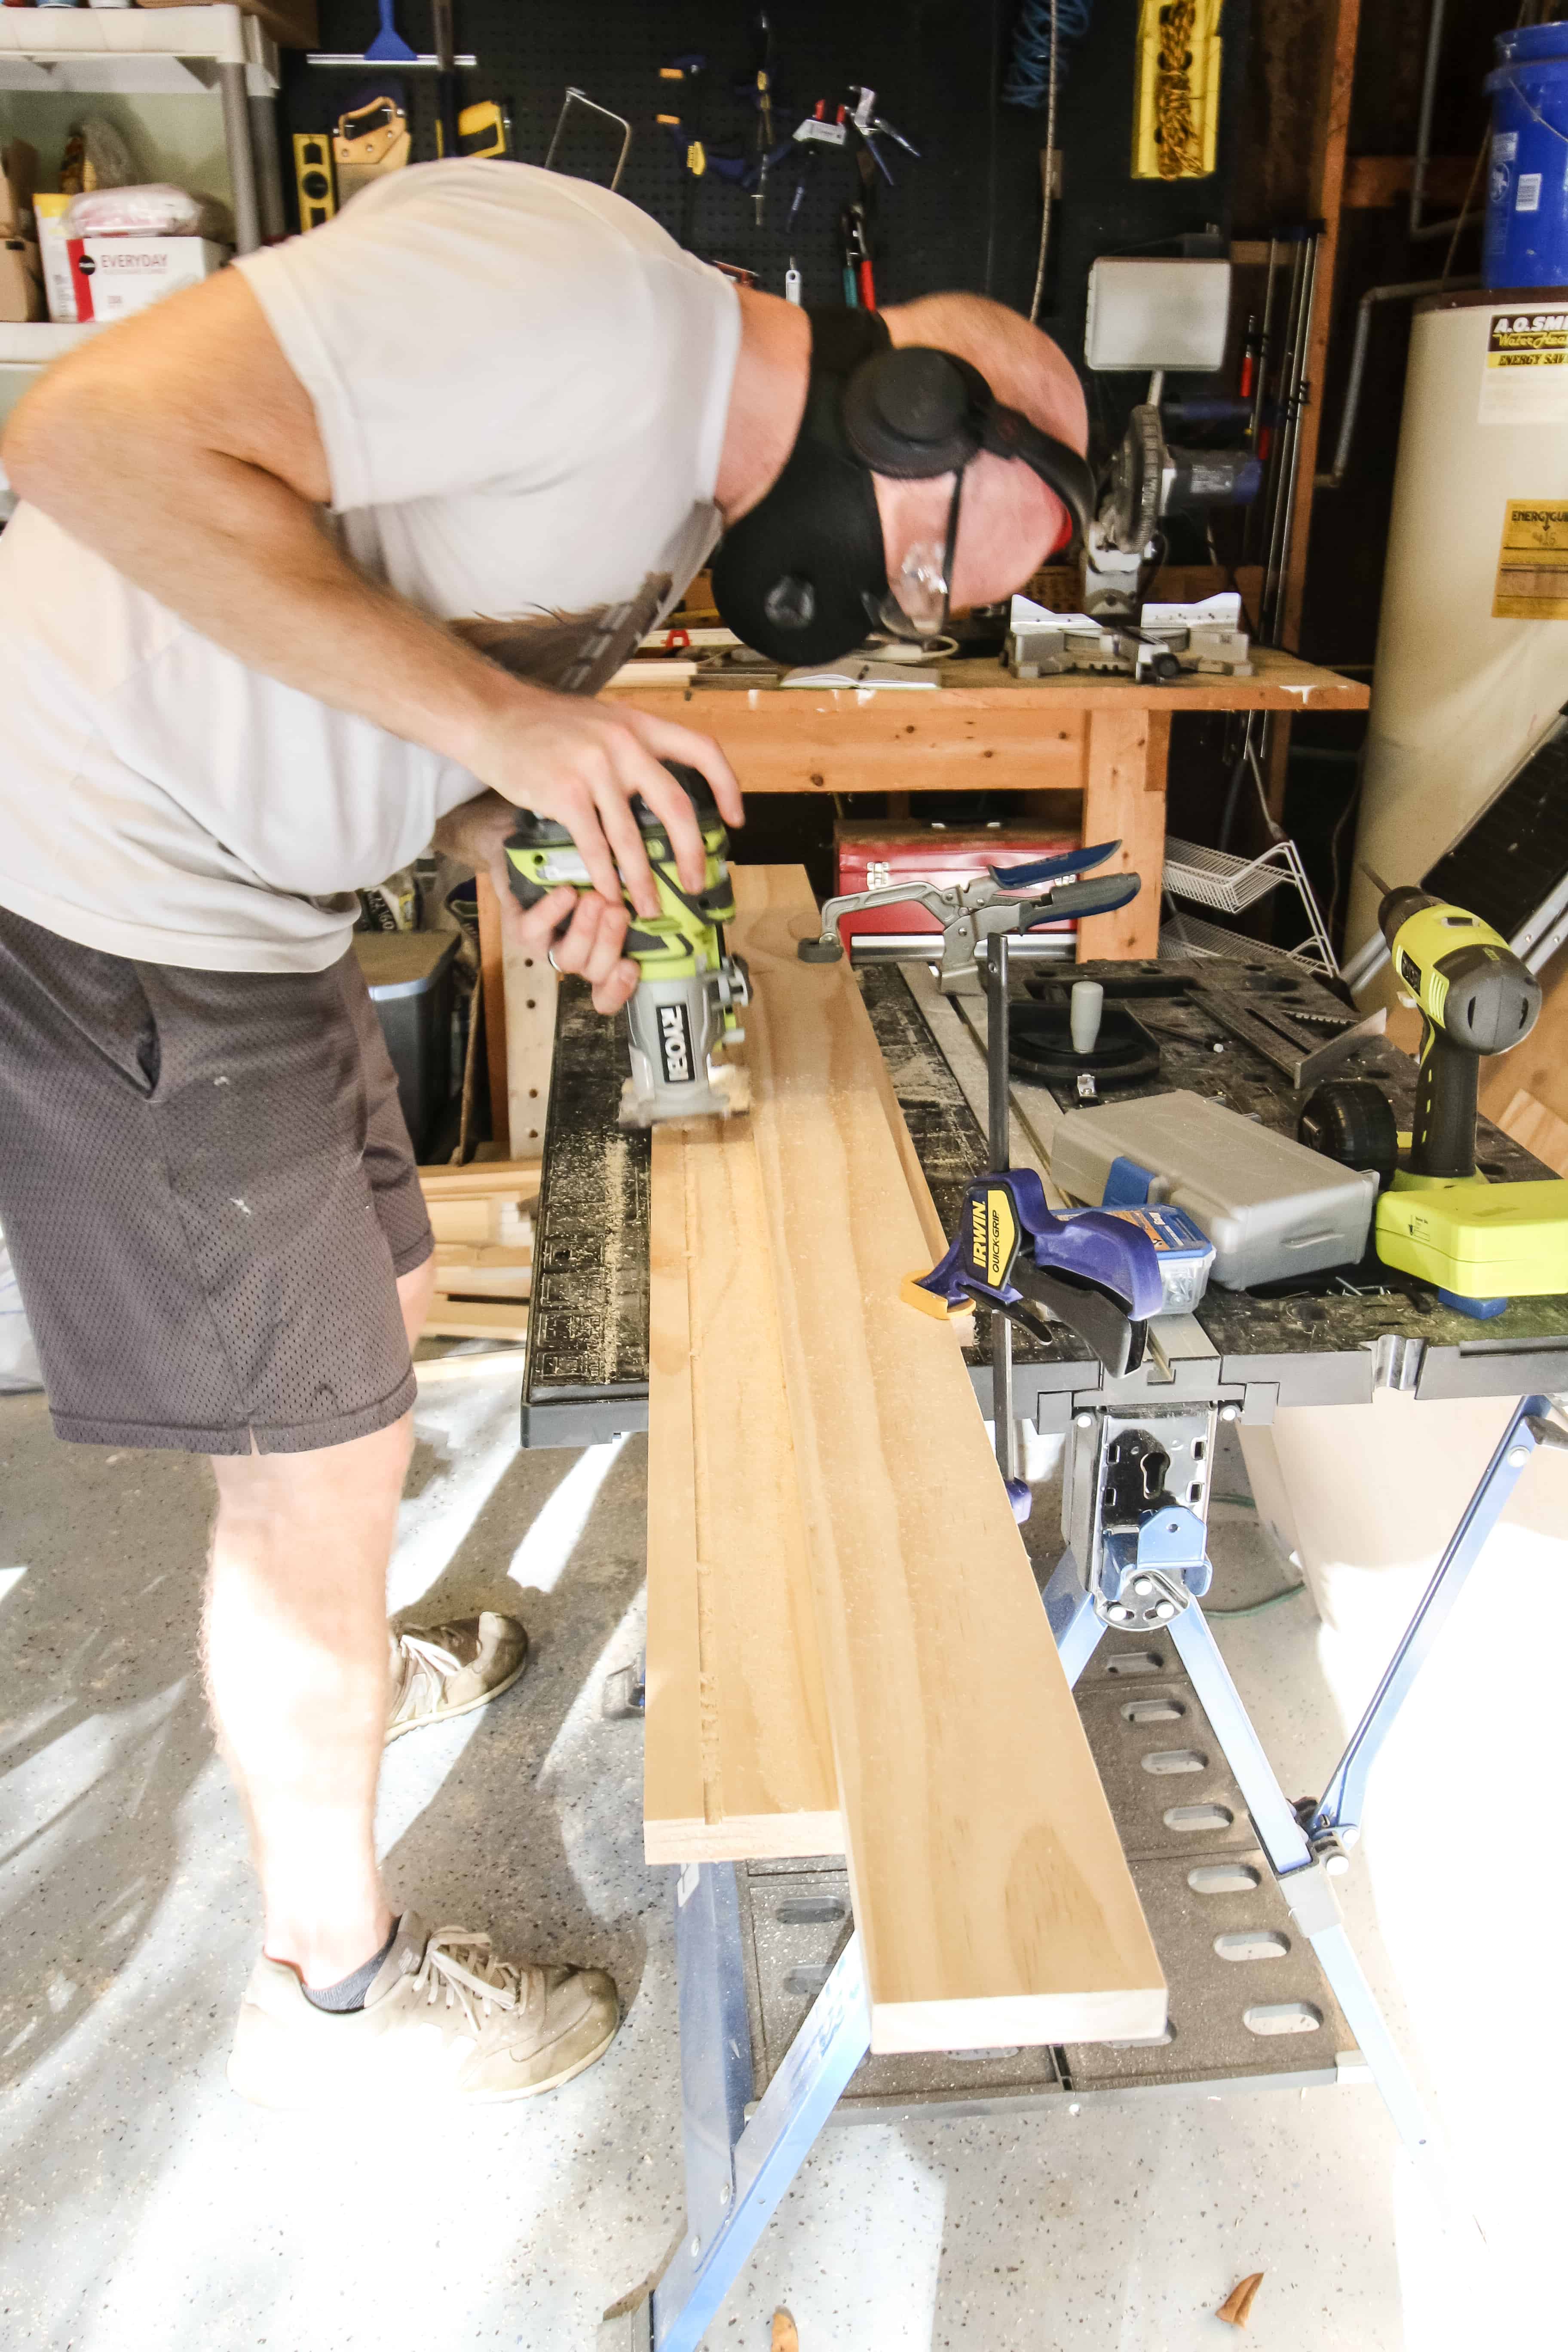
In order to create the false bottom, I routed out a small ⅛ inch deep line an inch from the bottom on all four boards.
I screwed one of the short boards into the inside of the two long boards. Then, I slid a piece of ¼ inch plywood through the grooves and attached the other short board to the outside.
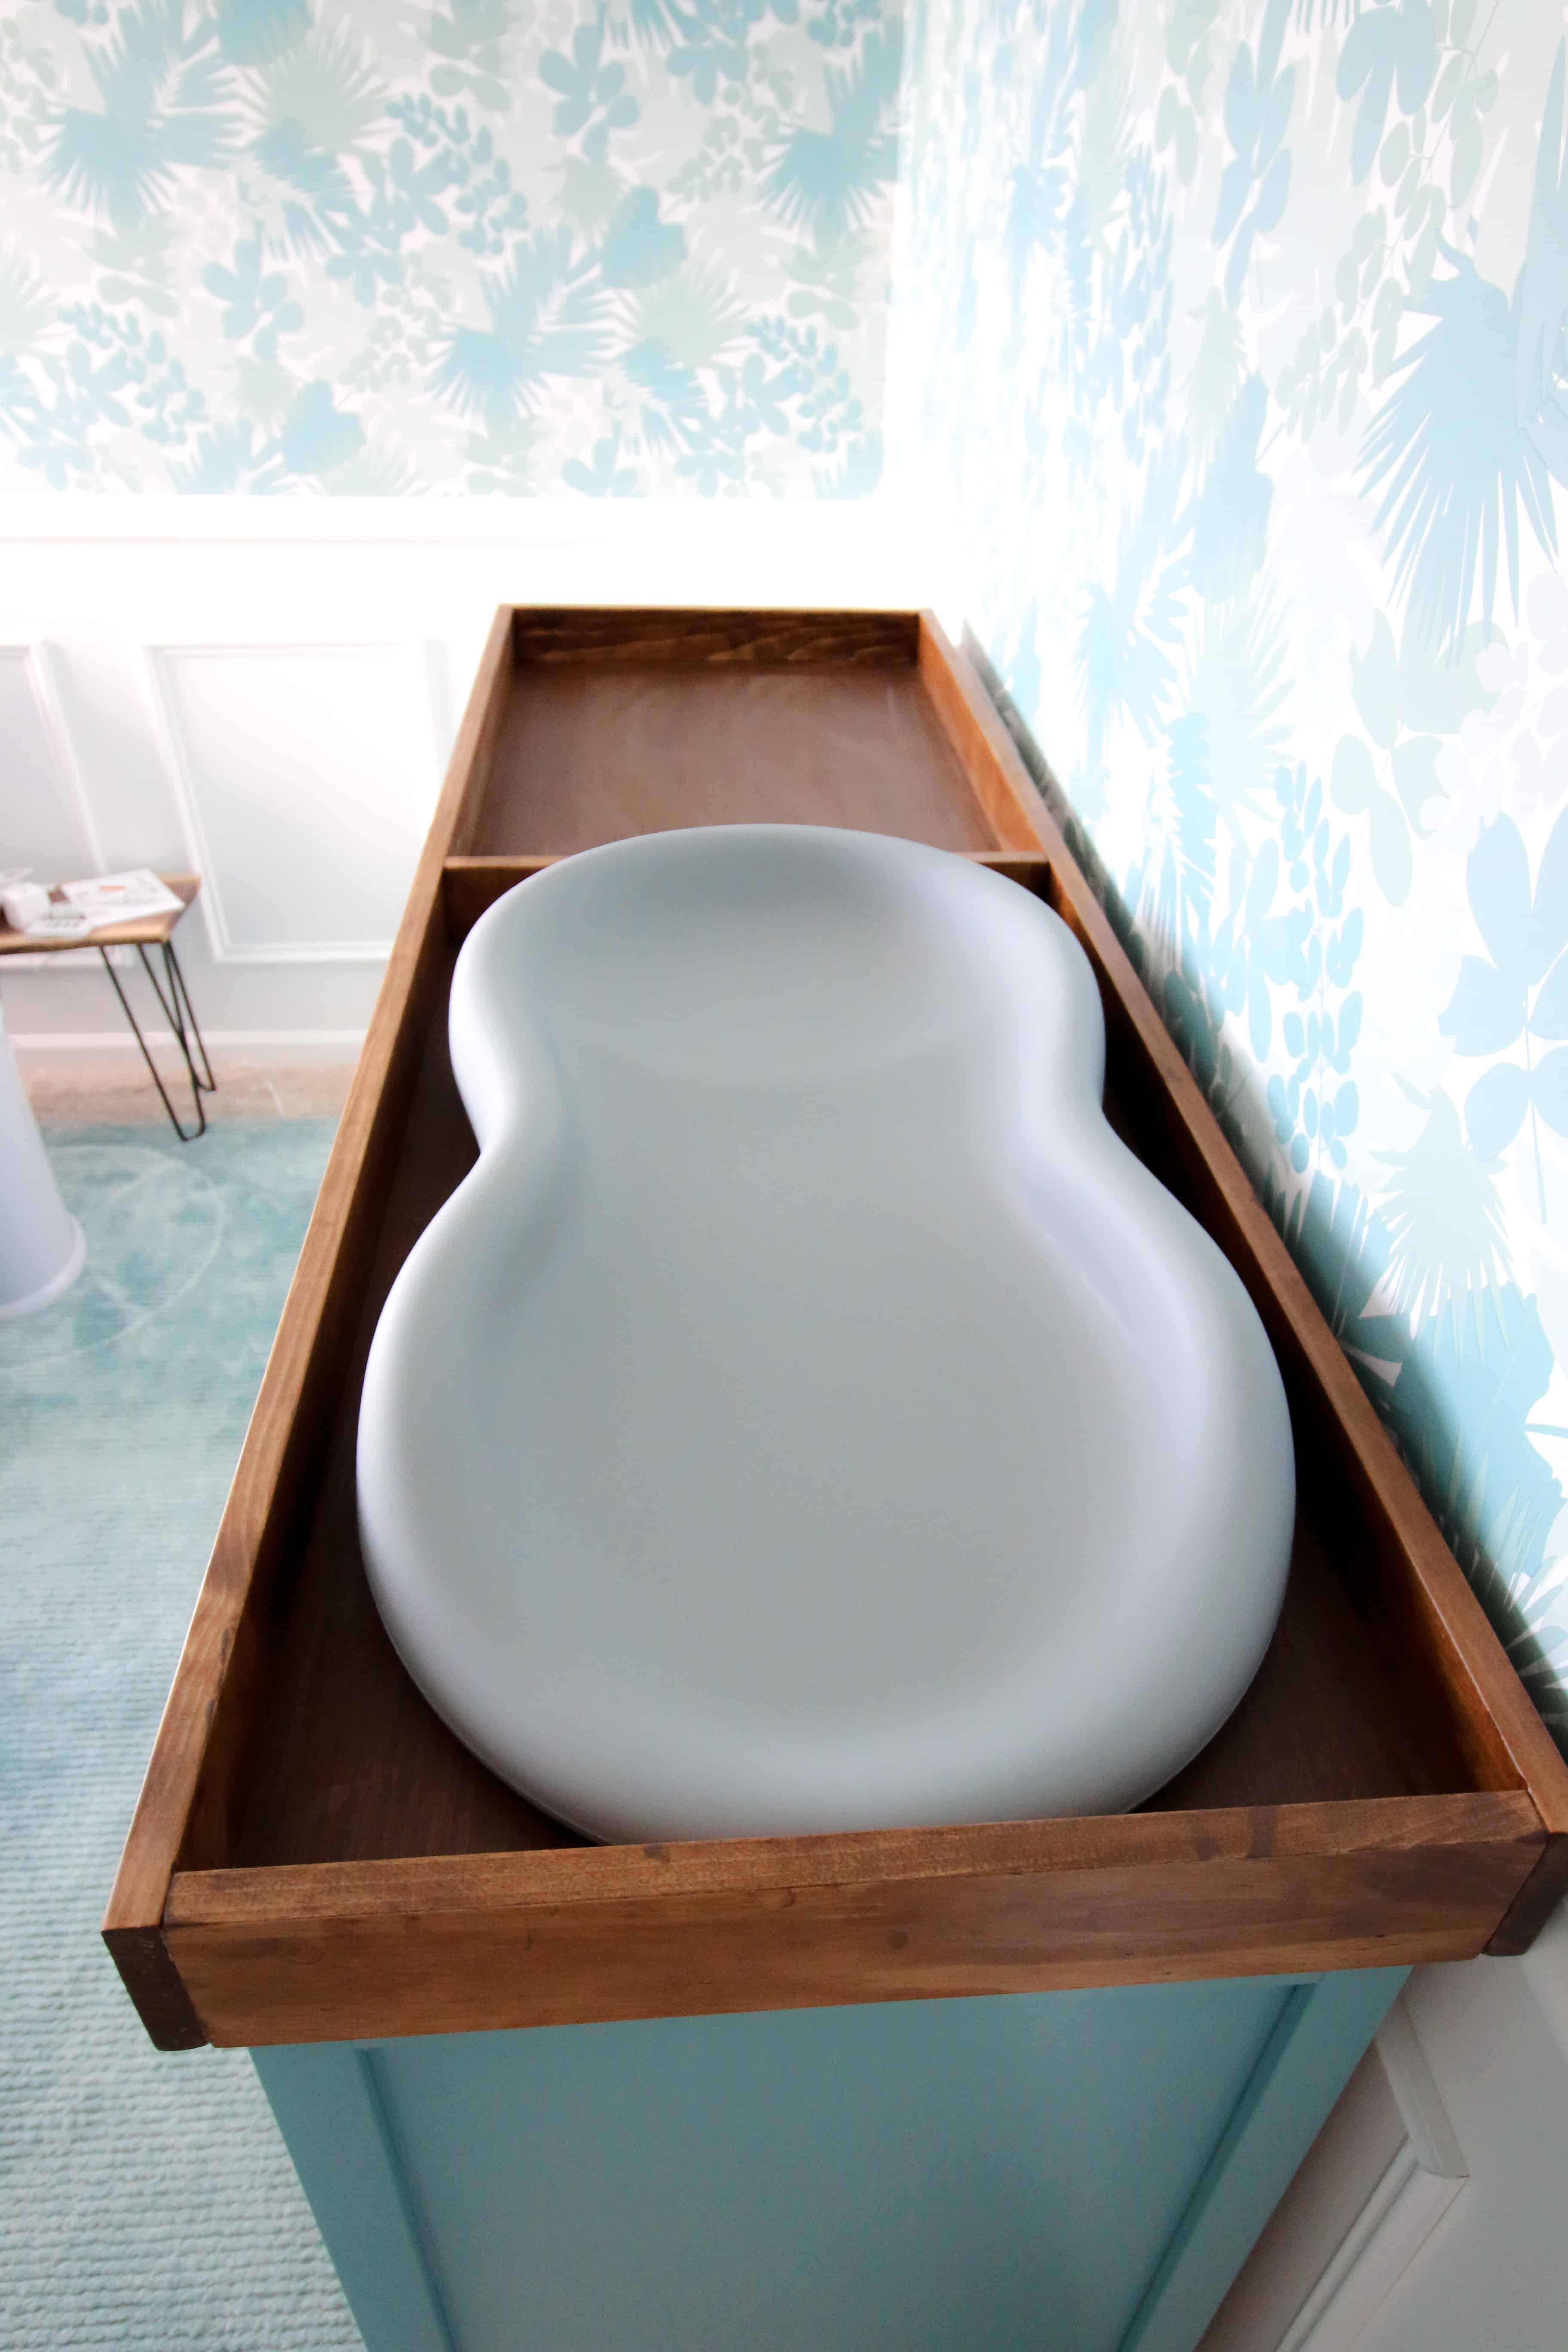
I then attached a 1x3 to the middle to keep the changing pad in place.
We stained the whole thing with Rust-Oleum's Varathane Early American to match the legs on the dresser and the nursery closet system.
Read our full review of Early American wood stain by Varathane!
Final Look
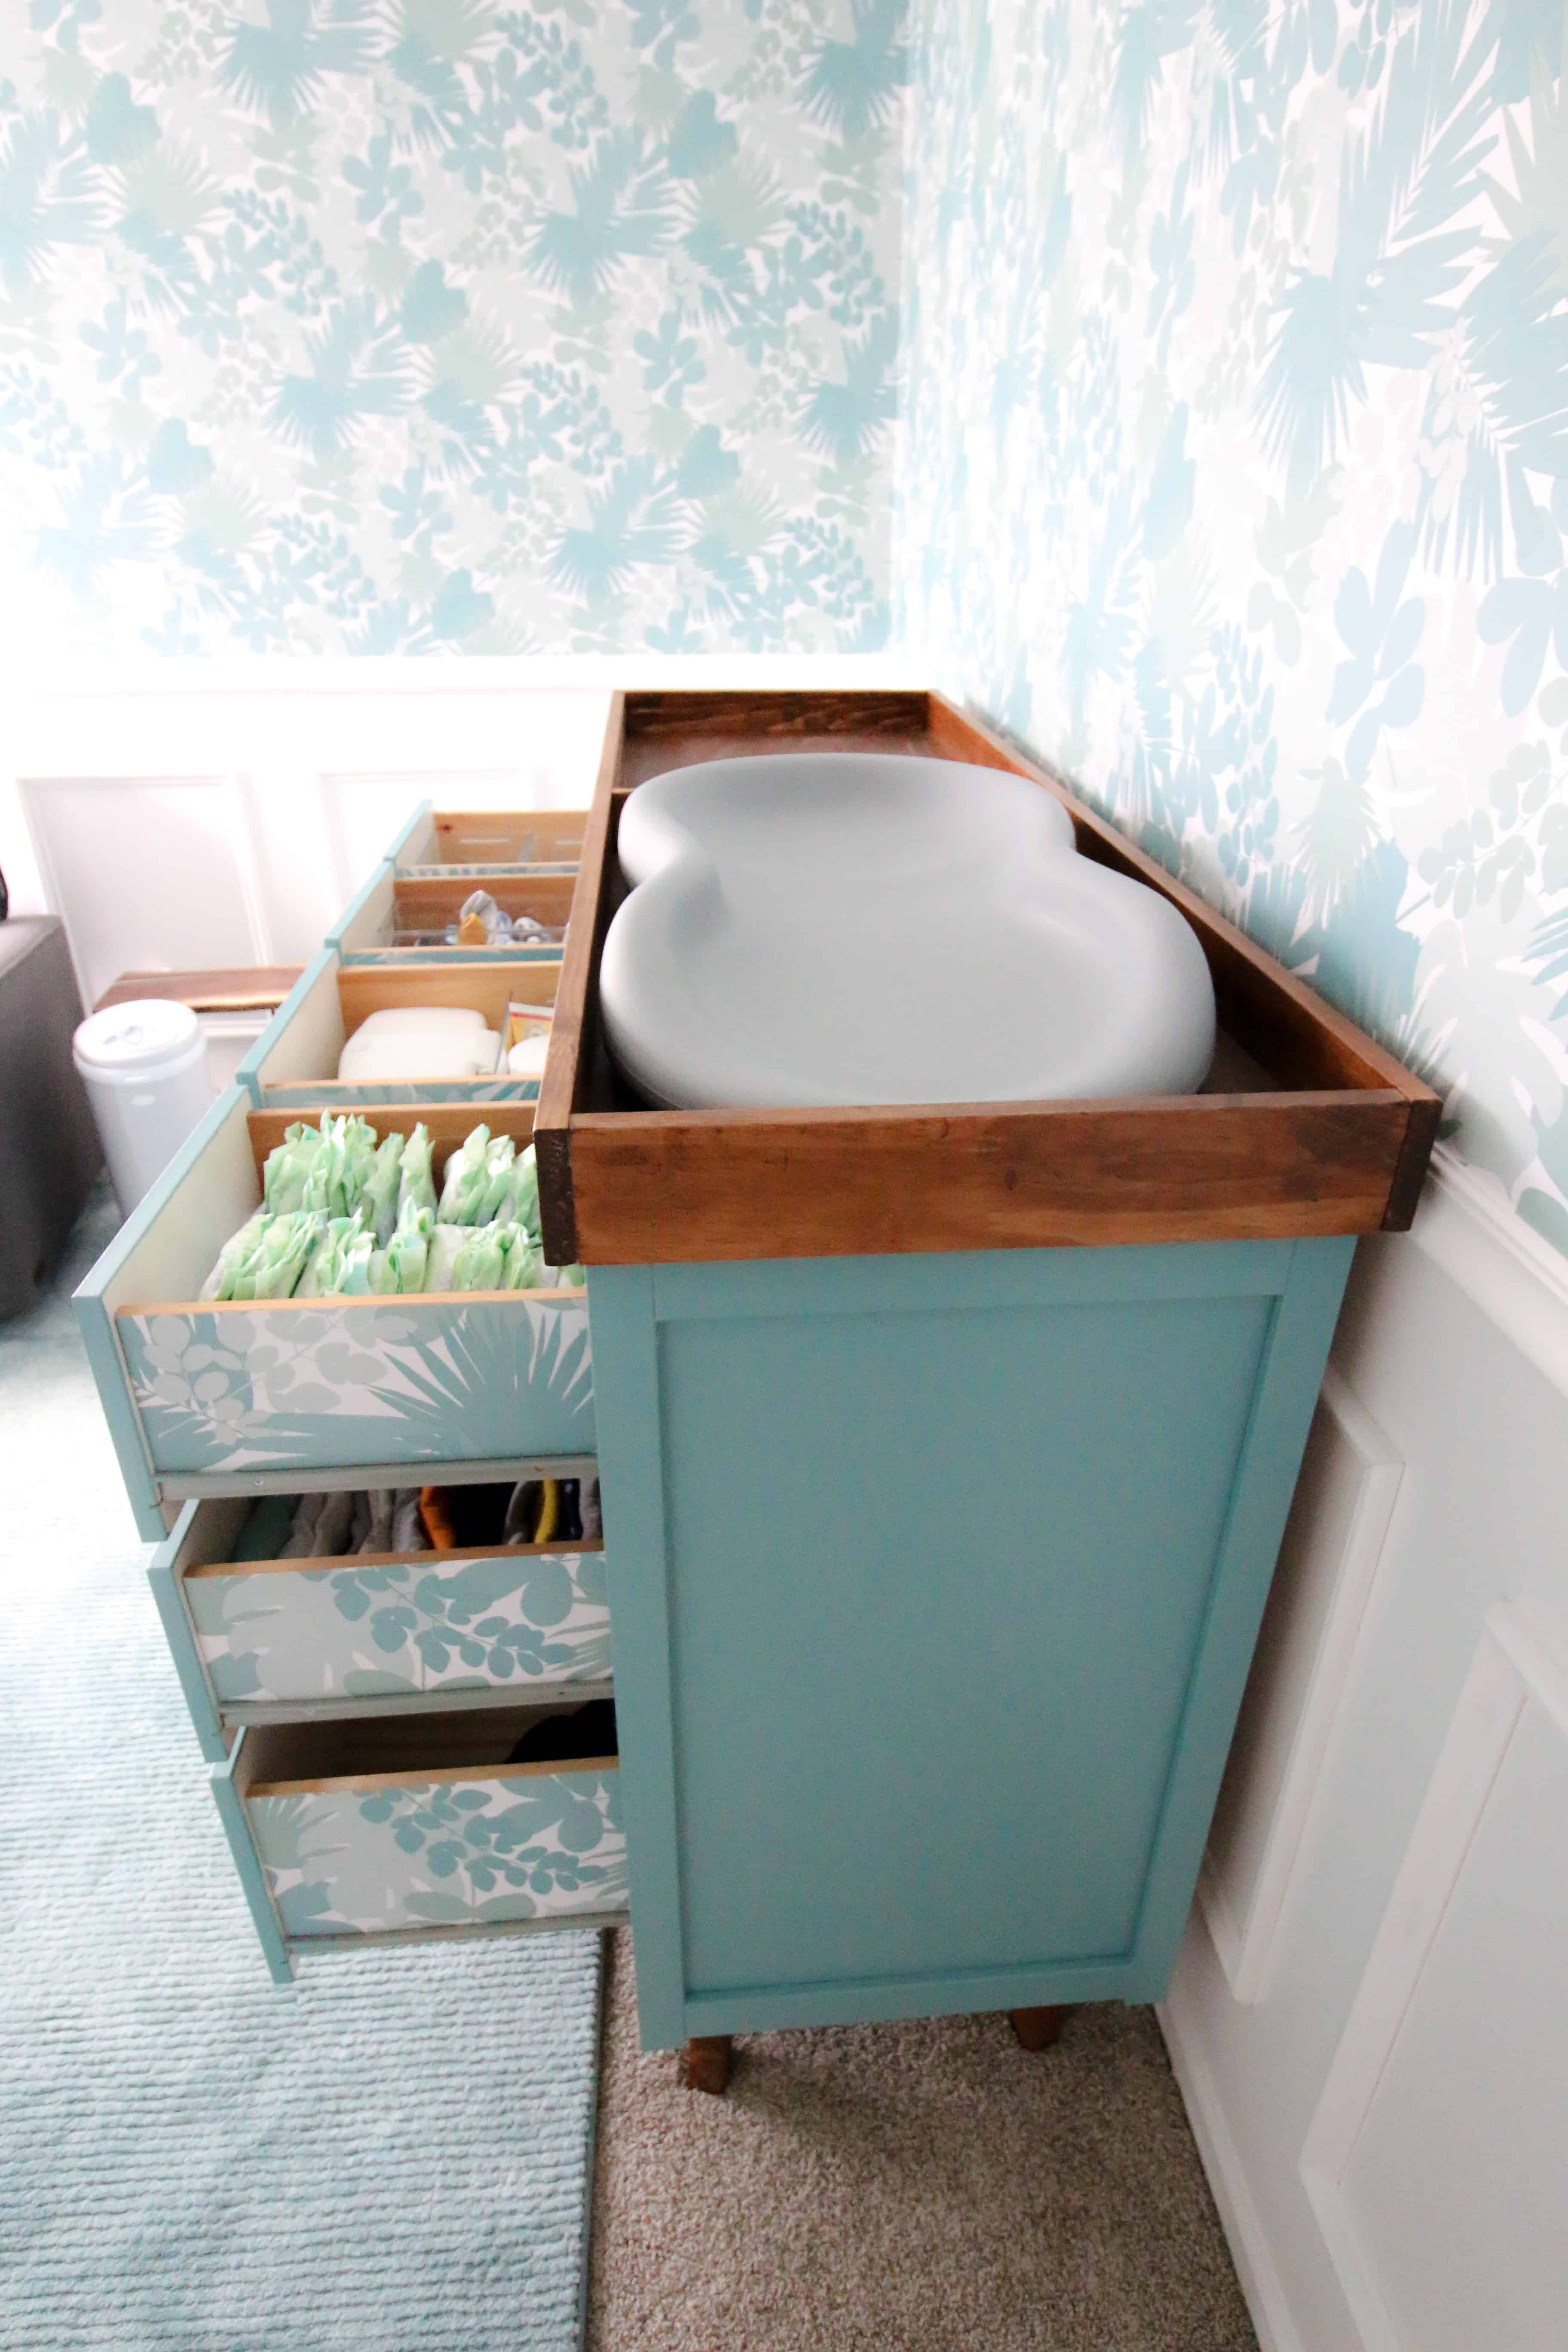
Our DIY changing table topper looks fantastic!
It sits perfectly around the outer edge of the dresser so it can't move thanks to the false bottom. We added some felt pads underneath so that it wouldn't scratch the dresser.
We love the look of our DIY changing table topper and the whole look of our dresser. It fits perfectly into the nursery!
Be sure to click over and check out our Jungle Theme Nursery Reveal!
 |
|||
 |
 |
 |
 |

Hey there, I'm Sean, the woodworking enthusiast and builder behind CharlestonCrafted.com! Since 2012, I've been sharing the magic of turning raw materials into beautiful creations. I love teaching others the art and satisfaction of woodworking and DIY. I try to inspire fellow crafters to make something extraordinary out of nothing at all.


Melanie & Daniel says
Hello
How did the height of the tray rails worked out for you ? Was it sufficient ?
We are making a tray ourselves and were thinking to make the rails higher than the pads (we also have the same Keekaroo changing pad). If you were to do it again, would you think higher rails would be safer or cumbersome ?
Sean says
We used a standard 1"x4" board and it is totally sufficient. I would not recommend bigger or it will get in the way of changing. I don't think adding a higher lip would keep the baby any safer either. Just make sure to use the strap and buckle that comes with the Keekaroo!
Melanie & Daniel says
Thank you so much for your quick feedback !
Maria says
I love this! I’ve been wanting to cut off excess top on my hemnes dressers for a long time now! Can you share the easiest way for me to accomplish this in the house while it’s attached to dresser? When I assembled I used wood glue so I don’t want to attempt removal. Can (My friend) use a circular saw and buzz it off? Would we have to take it outside to do so avoid a huge mess? Thank you!!
Sean says
Hey Maria, I would use a circular saw and draw a line on the top of the dresser to follow. You can do it in the house and it will make a little bit of a mess, but you can always vacuum it up.