Whenever I'm at the beach, I always see people crouching down, ignoring the beautiful ocean, scrambling to collect sea shells. I know I do this all the time! Then you carry them home, hope they don't break... and then what?
Well, I have lots of suggestions for that. However, today I'm going to focus on a pretty simple idea- displaying your shells in basic frames. And I've got 3 ideas for ways to arrange and display your finds.
Click here to pin this project to your Pinterest boards!

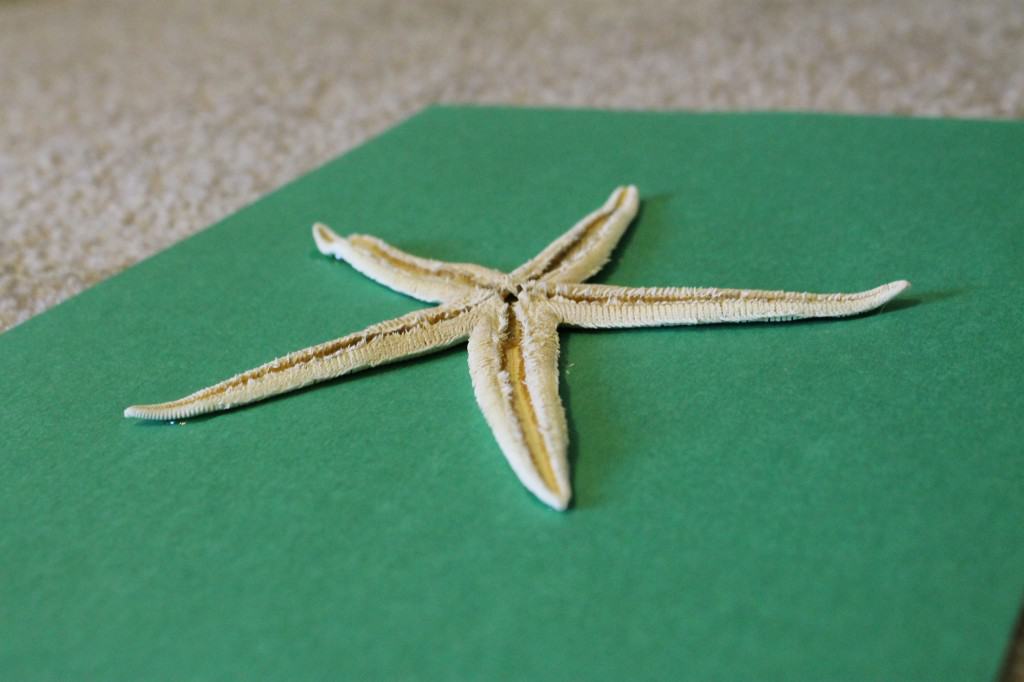
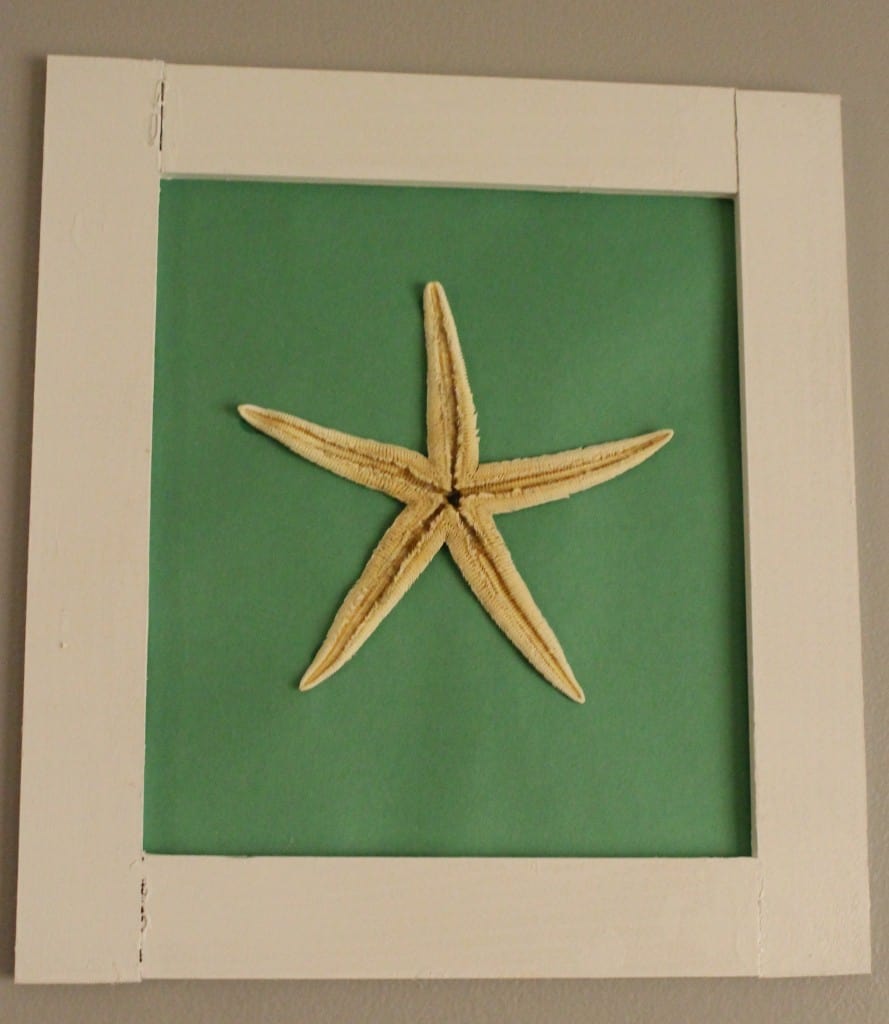
Frame a big beauty by herself.
This is ideal if you have something big, beautiful, or especially meaningful. I framed this starfish by itself. We never find starfish around here but one day at Folly there was literally a hundred washed ashore.
Most were alive & Sean and I rushed to set them free in the sea. However, two had unfortunately passed & we brought them home as a reminder of that special memory.
Group together like shells.
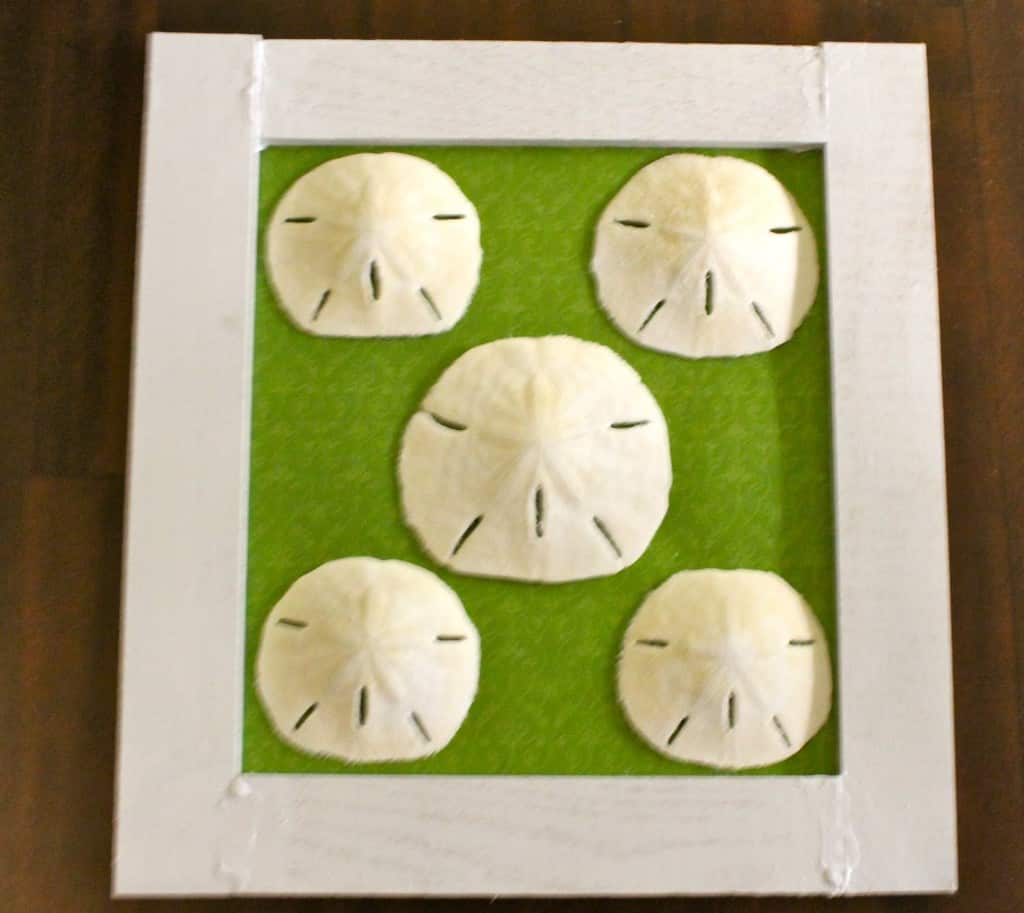
If you got a handful of similar shells- frame them all together. Sean found a bunch of sand dollars in Hilton Head & so I framed them all in one frame together.
Make a big design.
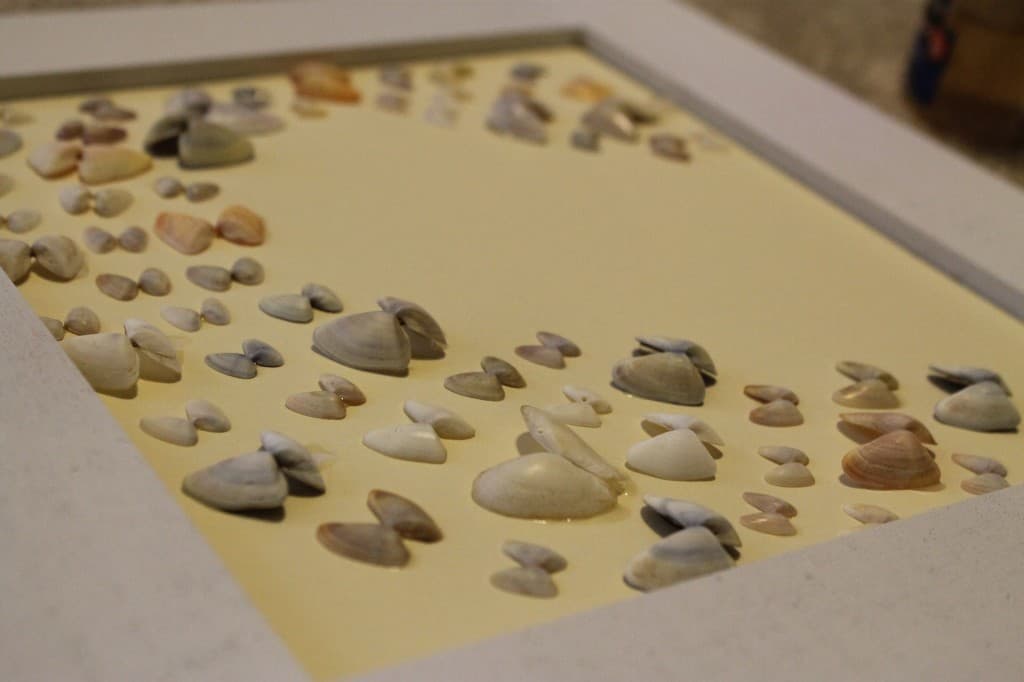
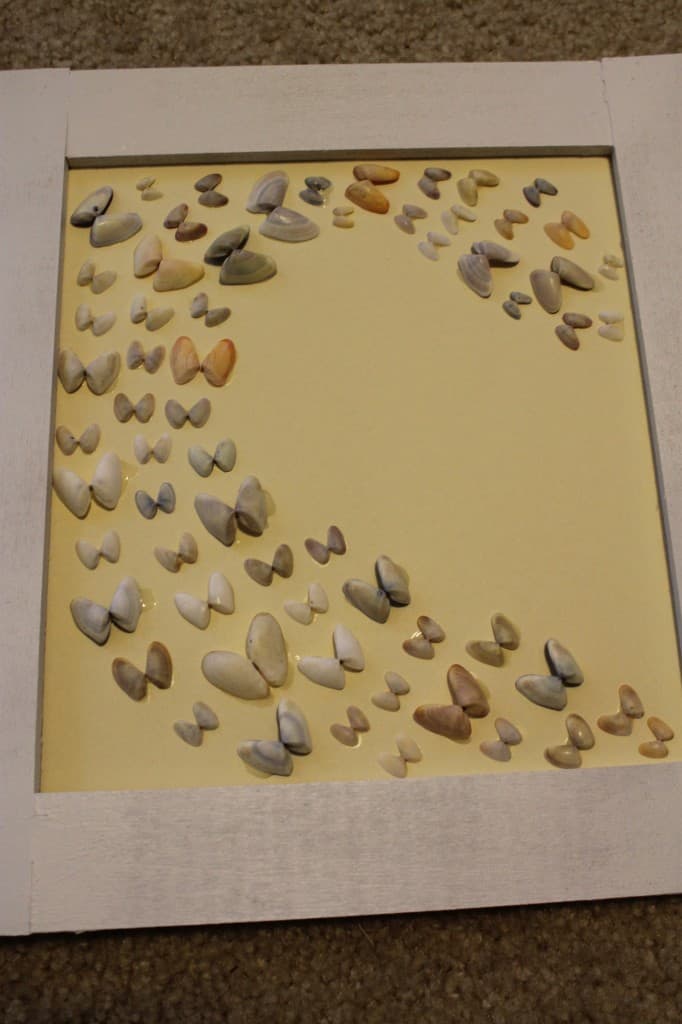
I have hundreds of these "butterfly" shells. Since they're tiny, they're much more of a statement in a big cluster. I arranged them so they look like they're in flight, just like some butterfly posters that I've seen before.
Tips and Tricks for framing seashells
I framed all of these shells by using tacky glue to attach them to card stock & letting them dry on a flat surface.
It’s worth noting that we make a really big effort to not collect any living shells. Sand dollars, starfish, and crabs are living things and it’s not cool to kill them just to decorate your coffee table. We don’t pick any shells (especially the aforementioned ones) out of the water.
Sean is “most likely to be seen running around the beach returning sand-trapped horseshoe crabs and starfish to the ocean.” I am “most likely to yell at people for killing live sand dollars.”
Funny story side note- Sean’s mom recently visited us for a weekend after spending a few days in Hilton Head. Her first day here, we went to Folly beach. While sitting on her chair, she proudly pulled a giant hermit crab shell out of her bag – about 9 inches long and perfect. We oohed and ahhed and she complained that she had found another one, also in Hilton Head, but someone had stolen it from beside her chair the day before.
As we were sitting there, admiring the waves, something began to stir in his mom’s bag. Lord behold, the day-old crab shell had come to life! There was a crab as big as a grown man’s fist emerging from the shell, scrambling to get the heck out of her bag. We stood in shock and awe as this guy, who she had found the day before, kept in her car over night, and driven almost three hours, escaped to a whole new habitat. Sean returned him to sea and we can only hope that he was adopted into a new crab family… Needless to say, we have concluded that the other shell she found in Hilton Head was not stolen, but was just a better escape artist.
How to clean seashells
Back to the shells. When we get the shells home, I clean them all. I don’t like to use bleach if I don’t have to. Instead, I rinse each on in fresh water and then soak them all in a plastic bucket of warm water, dish soap, and white vinegar. After soaking overnight, I rinse each one off again and lay flat on a towel to dry.
Click here to pin this project to your Pinterest boards!
Do you collect shells at the beach? How do you display them?
Looking for something?
We've been doing this since 2012 so we have a LOT of blog posts!
Search stuff like: Ceiling Projects | DIY Plant Stands | Thrift Flips


Hello, I'm Morgan, half of the creative force behind CharlestonCrafted.com! With a passion for DIY that dates back to 2012, I've transformed three homes and now I'm dedicated to helping others craft their dream spaces. Let's turn your house into a home together!




Linda says
I love your work. Nice job. I live on the Gulf of Mexico and have many shells of all sizes. Want to put them on a wire metal wreath. Any suggestions. Thanks..