Almost every year I get requests for DIY, homemade gift ideas.
I always struggle with this question because, truth be told, homemade gifts are hard. Sure, if you’re six, anything that you make is adorable and your mom will treasure it. When you’re twenty six, that lumpy knitted scarf becomes more of an awkward obligation-to-wear gift than anything really appreciated.
So, what makes a good homemade gift? I think that it falls into one of two categories. Either 1) it doesn’t really look homemade or 2) it’s really unique and personalized to the recipient. Of course, this doesn’t apply to you if you are a professional in your craft – if you paint for a living or create jewelry so nice that it’s sold in boutiques, you can definitely just ignore my whole formula and gift me any products that you see fit. But, for the rest of us, it’s definitely a fine line.
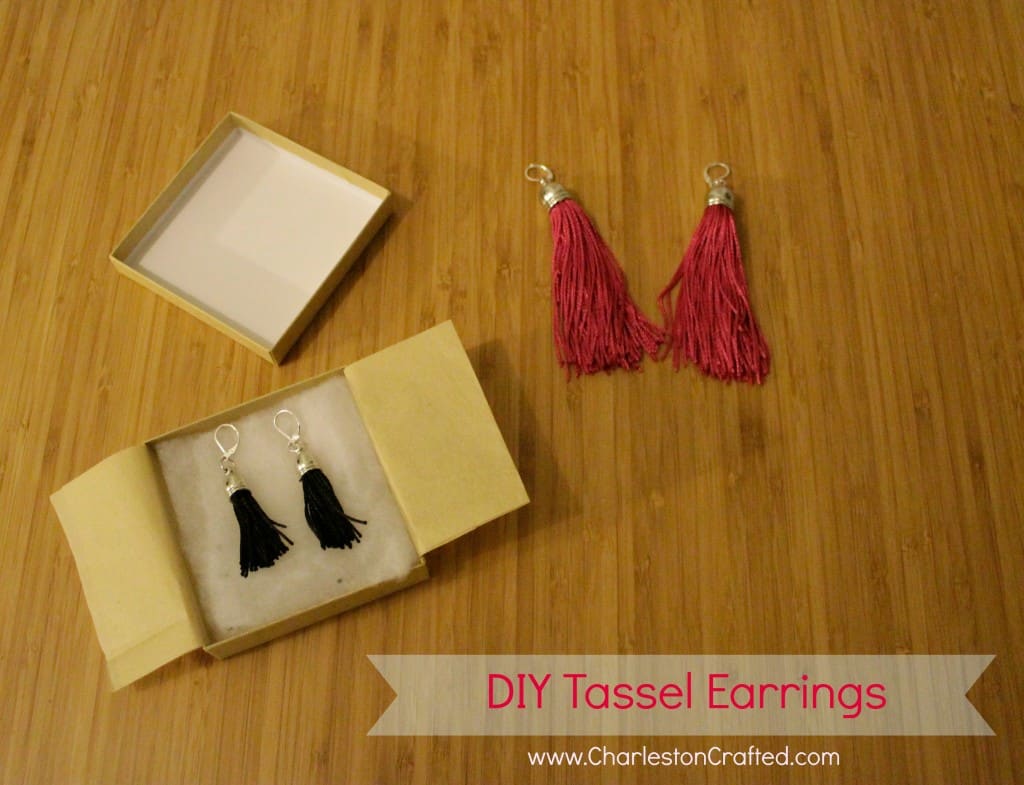
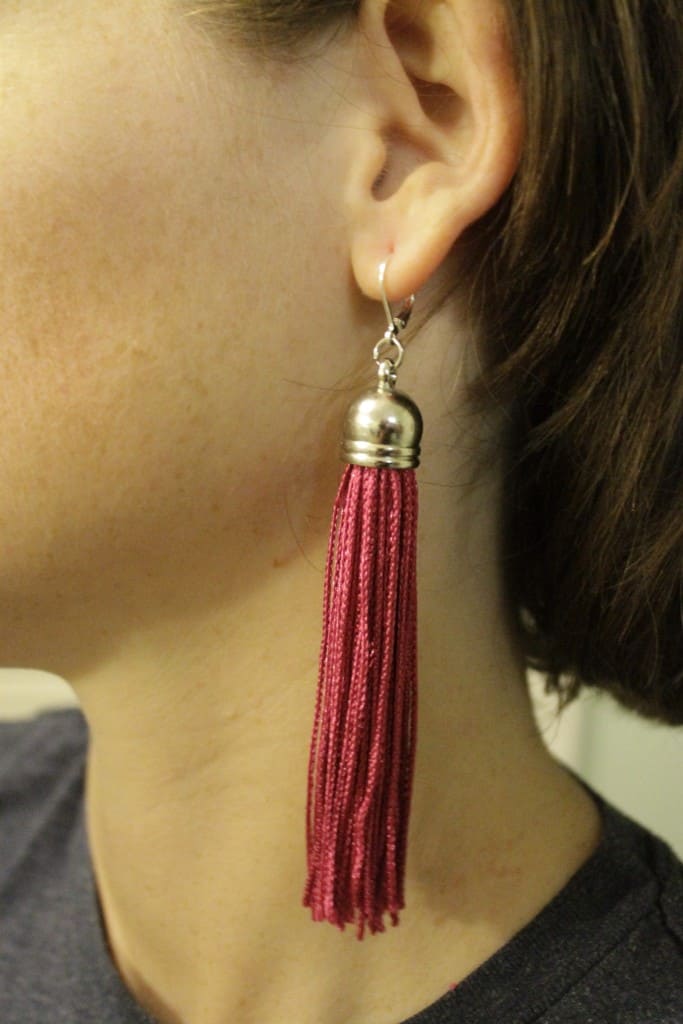
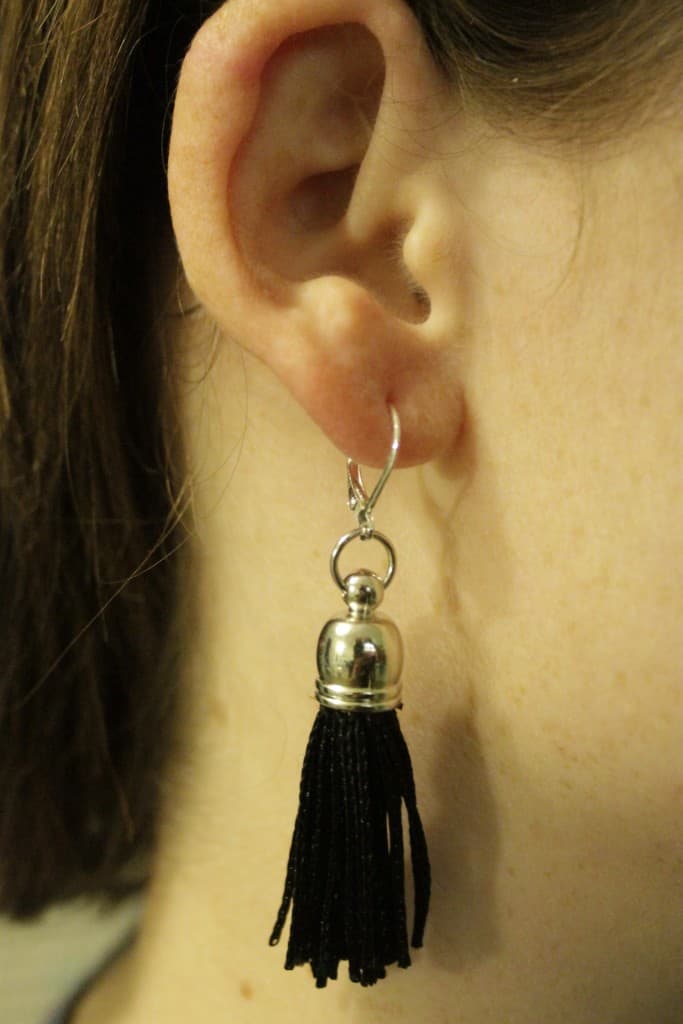
I was recently inspired to make tassel earrings after seeing some cute ones on a blog. They ended up being so very simple, and turning out so nicely, that I decided that they would make really great gifts.
Another tip that I have for homemade gifts is to try to package them up as if they were purchased. For example, putting homemade jewelry in a small box with tissue or in a drawstring bag makes it feel much more luxurious than just wrapping it in tissue and putting it in a gift bag.
You’ll be shocked at how simple these earrings are to make. I've made a fun video of the whole tutorial. I hope that you are enjoying watching these videos! We are working on figuring out the best way to use the video feature and I think that short tutorials such as this one are great for the platform.

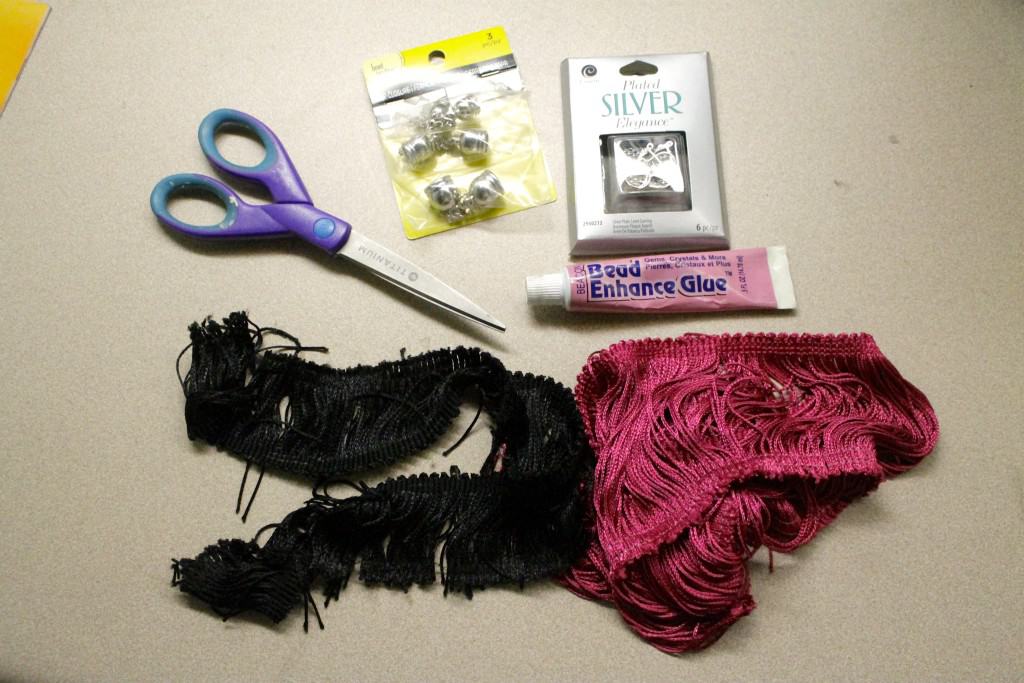
What you need:
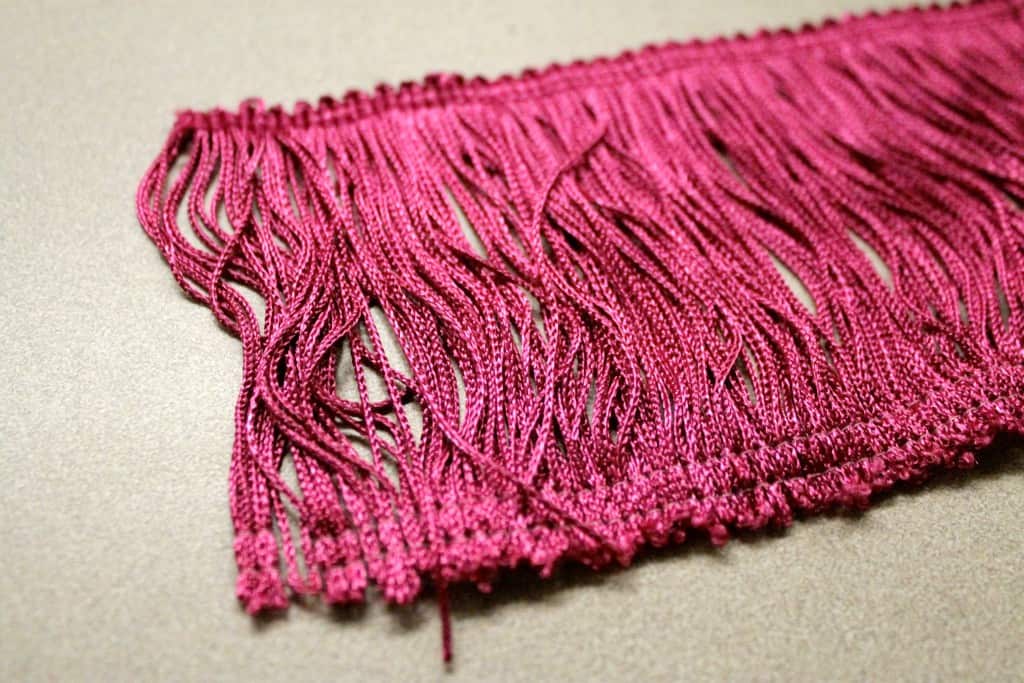
- Fringe trim. I got two different colors and sizes at Joanns. There are tons of options on Amazon.
- Earring hardware. I recommend getting at least silver plated as many people have a nickel allergy.
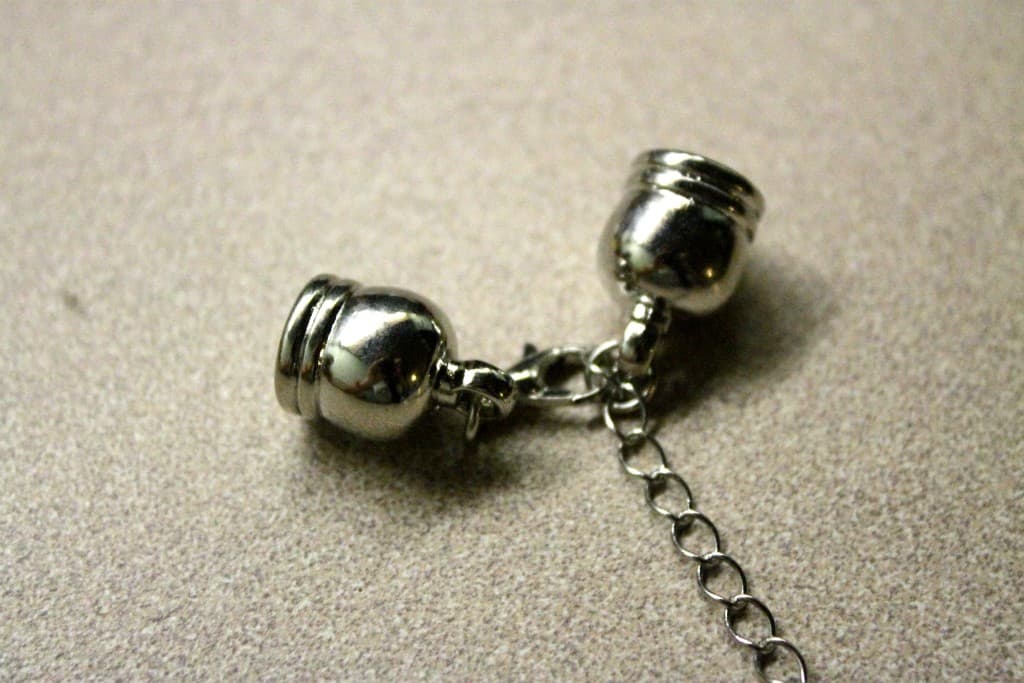
- Jewelry endcaps
- Glue
- Scissors
- Small pliers
- A toothpick or small pointed object
What you do:
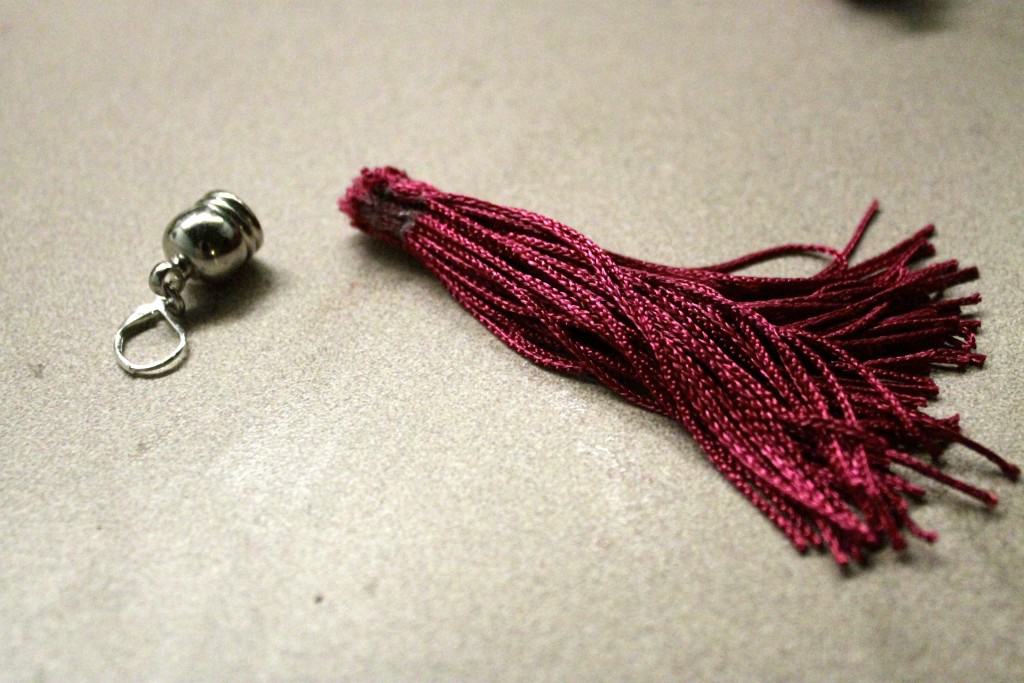
First, connect your endcaps to your earring hardware. My endcaps came with hooks and chains attached, so I used my pliers to gently open the loops, remove the chain, and slip on the earrings before re-closing the loops.
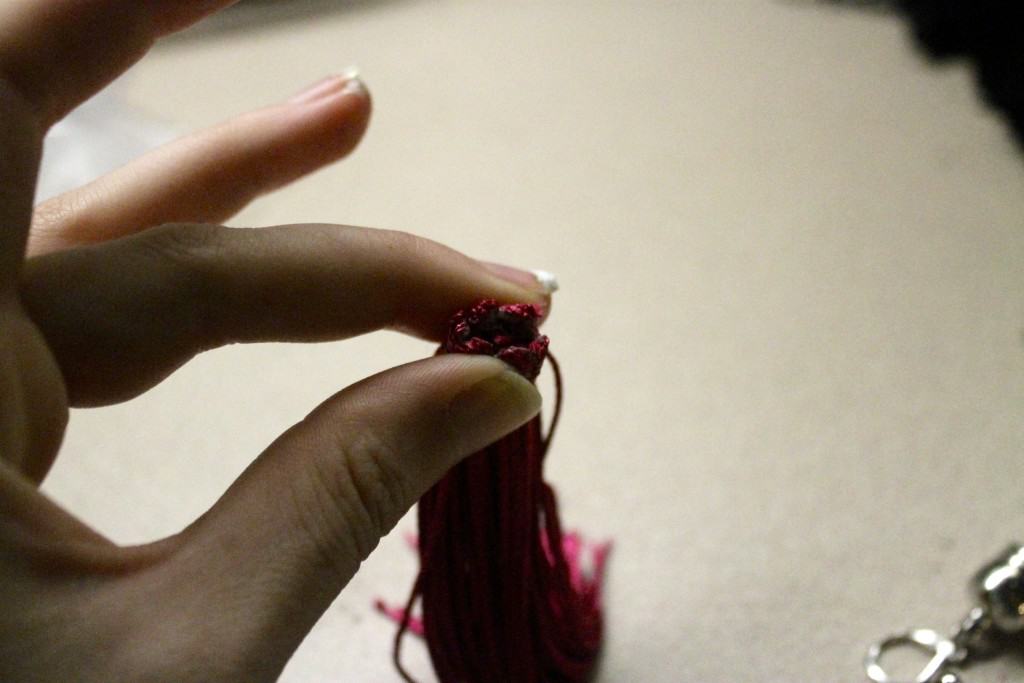
Next, create your tassel. To get the size right, tightly roll the tasseluntil you get a size that will fit snugly inside your ball cap end. Trim the tassel at this length, then cut a second one the same length.
My trim was sewn together on both sides, so I had to cut one of the sewn sides off.
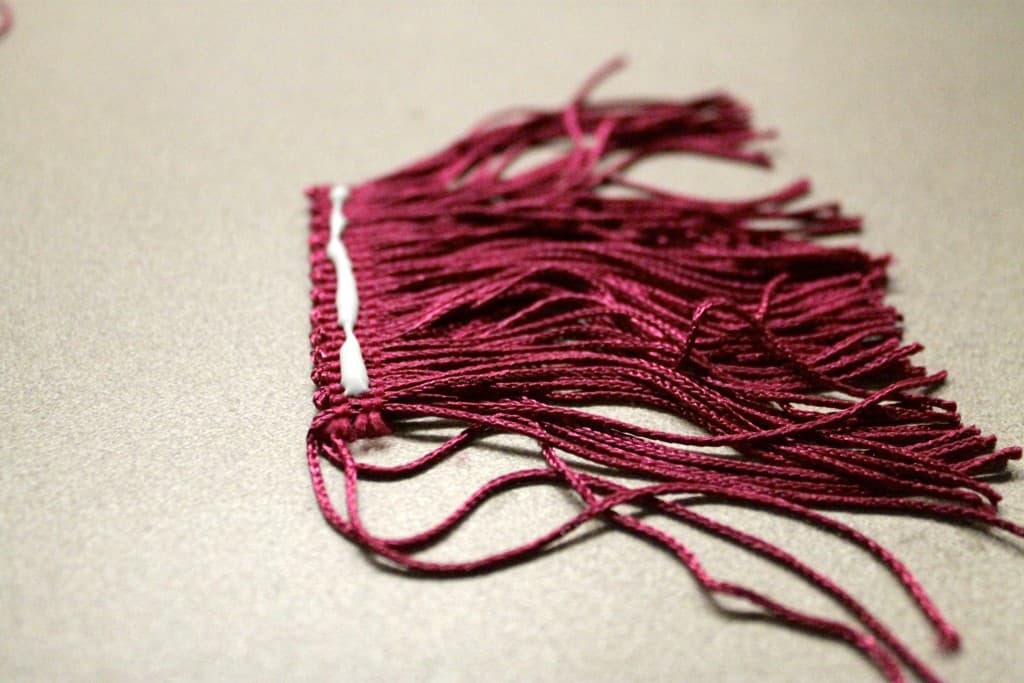
Now, apply a line of glue to the hem on the top of the tassel and roll it together tightly. You could use a quick drying glue here, but I didn’t want a glue like that to seep out and get on my fingers, so I used a white beading glue with a really long drying time.
Now, squirt a blog of glue into the ball cap and insert your tassel. You might need to use a toothpick or a pencil to push it all of the way in.
Let the tassel dry completely before messing with it.
Ta-da! Tassel earrings. You can trim the length of the tassel to even it up or just to make it shorter.
Now, how about making a DIY small gift box tube to gift these in, too!
Now, tell me, are you making homemade gifts this year?
This post contains affiliate links, meaning that we receive a small percentage of any purchases made through the links. Thanks for supporting the brands that make Charleston Crafted possible.
 |
|||
 |
 |
 |
 |

Hello, I'm Morgan, half of the creative force behind CharlestonCrafted.com! With a passion for DIY that dates back to 2012, I've transformed three homes and now I'm dedicated to helping others craft their dream spaces. Let's turn your house into a home together!


[…] up was a tutorial on a blog called Charleston Crafted , written by a couple remodeling their first home. This method looked like the simplest one I […]