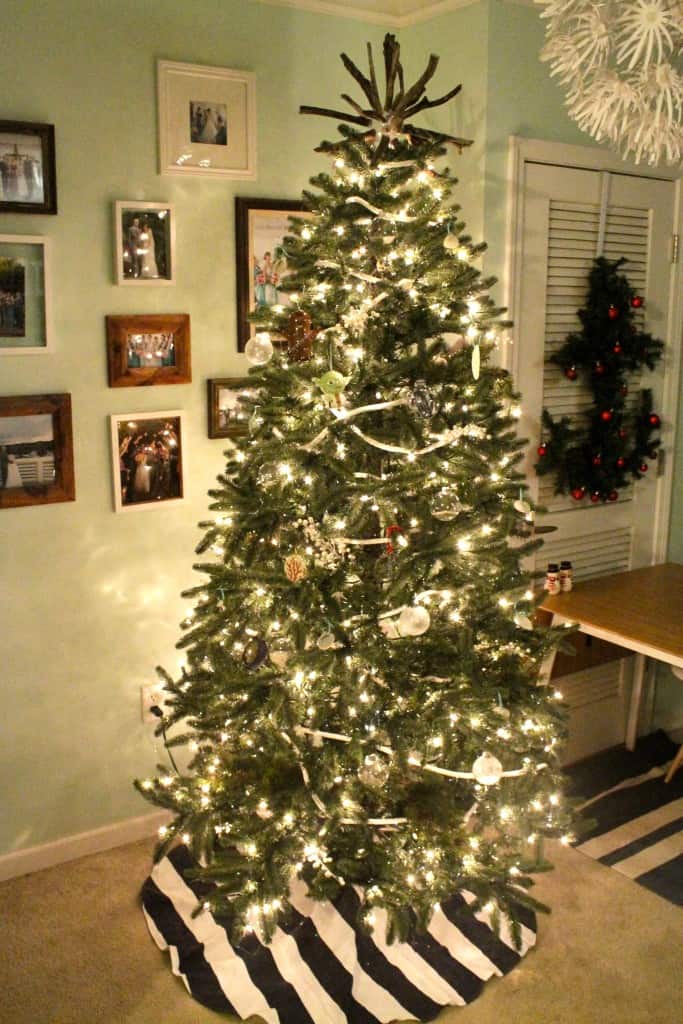
Happy holidays, y’all. We are excited to share our Coastal Christmas tree with you here today.
We re-used a lot of ornaments and décor from prior years. I got this (fake) tree about 5 years ago for $20 at a thrift store in July. We both love real trees & hope to have one as soon as we are in a house. In the meantime, this faux tree has served us well.
Since I am getting into videos lately, we made a fun time lapse video of us decorating the tree!
We started by wrapping the entire tree with our “garland” which was actually a long spool of thick white rope.
This was originally from Lowes and we’ve used bits for crafts over the years but this long spool just chills in my craft closet most of the time.
Next, we added the sort of new feature for our tree this year – picks. These were all over the place at Michaels and I had a great coupon so I decided to try them out. I only got 5 of the “branches” with fake pine cones (they were $10 each before the coupon and sales, so I paid about $3 each for them but it still adds up).
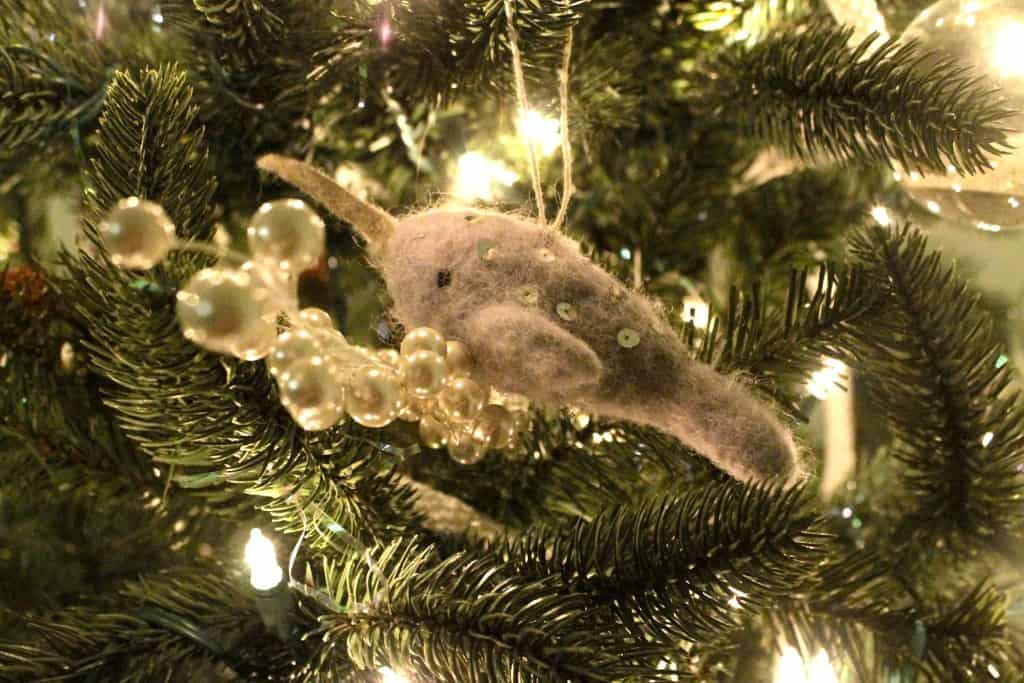
I love how they help fill in the bare spots of the tree and would definitely recommend them. Additionally, I grabbed 10 of these pearl picks, which we stuck throughout the tree. It adds a fun pop, and you know I love my pearls.
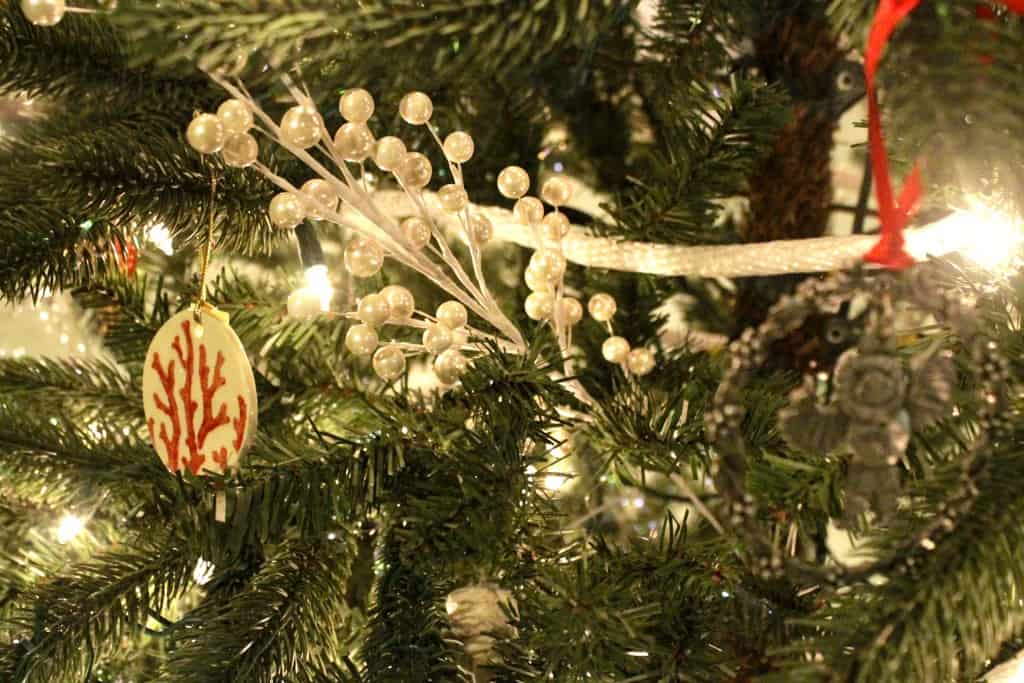
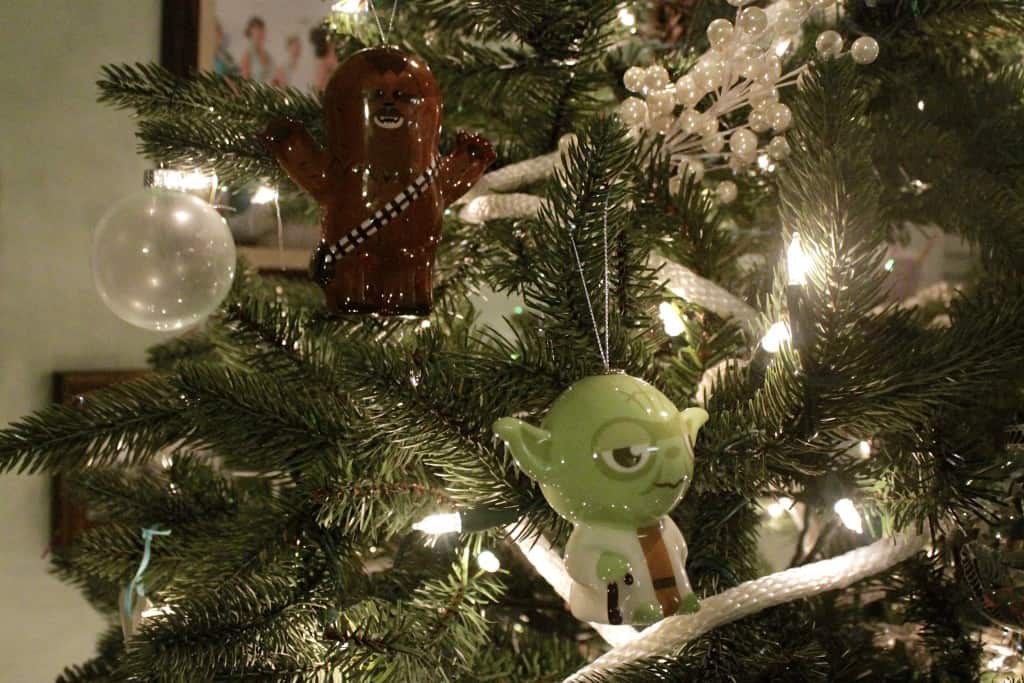
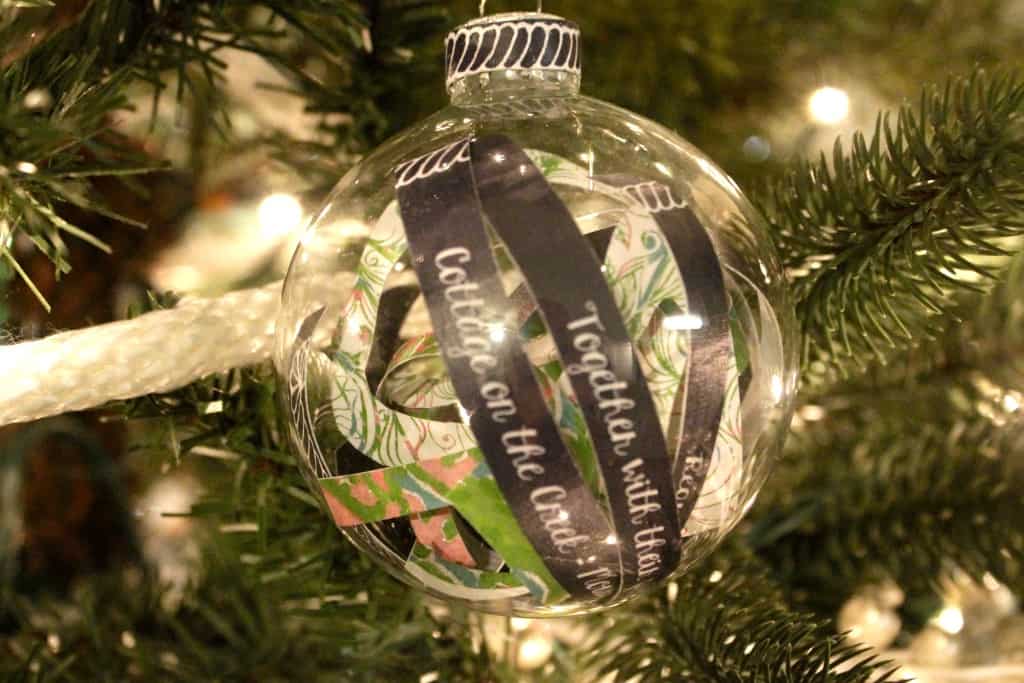
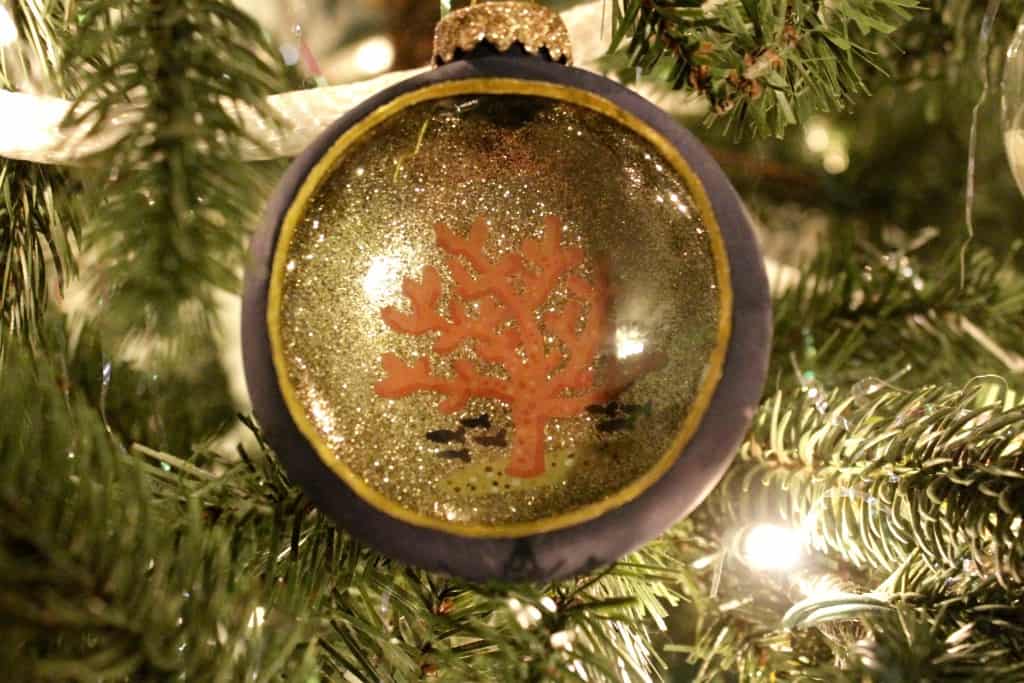
Finally, we added the ornaments. We went with the sea glass balls and sandscapes from a couple of years ago, some white shells tied on ribbons, and a bunch of miscellaneous ornaments that we have started to accumulate.
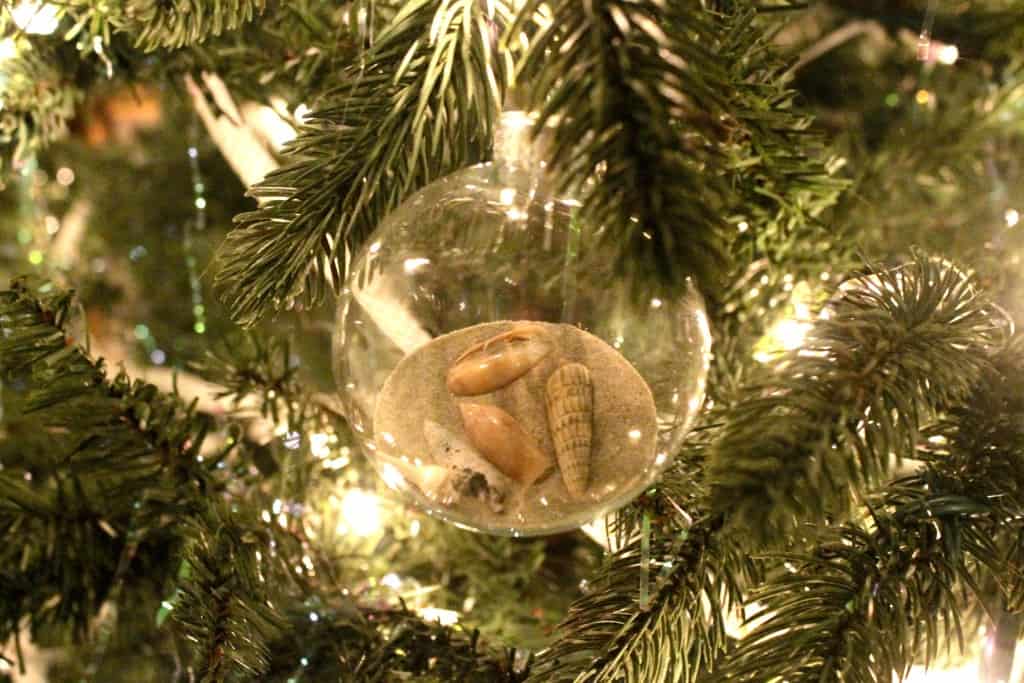
I grew up always having a themed tree and Sean is used to a more mish-mash one, so this will have to be a big compromise for us going forward!
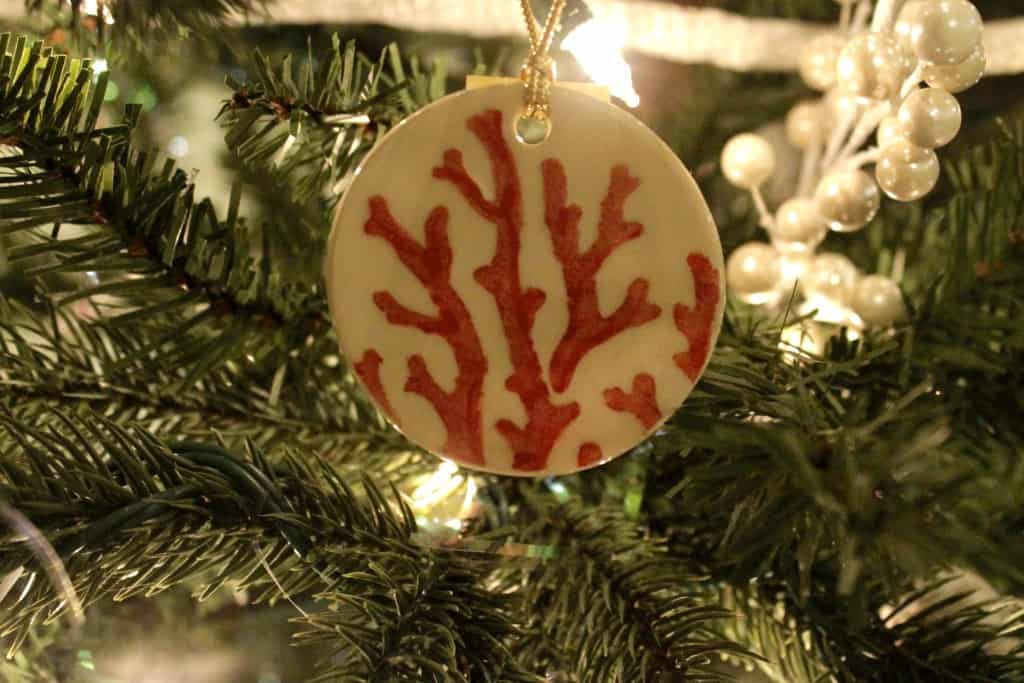
Also shout out to my two Weddingbee Coral ornaments! I love receiving one every year and can’t wait until I have enough to decorate a whole (mini) tree.
DIY tree skirt
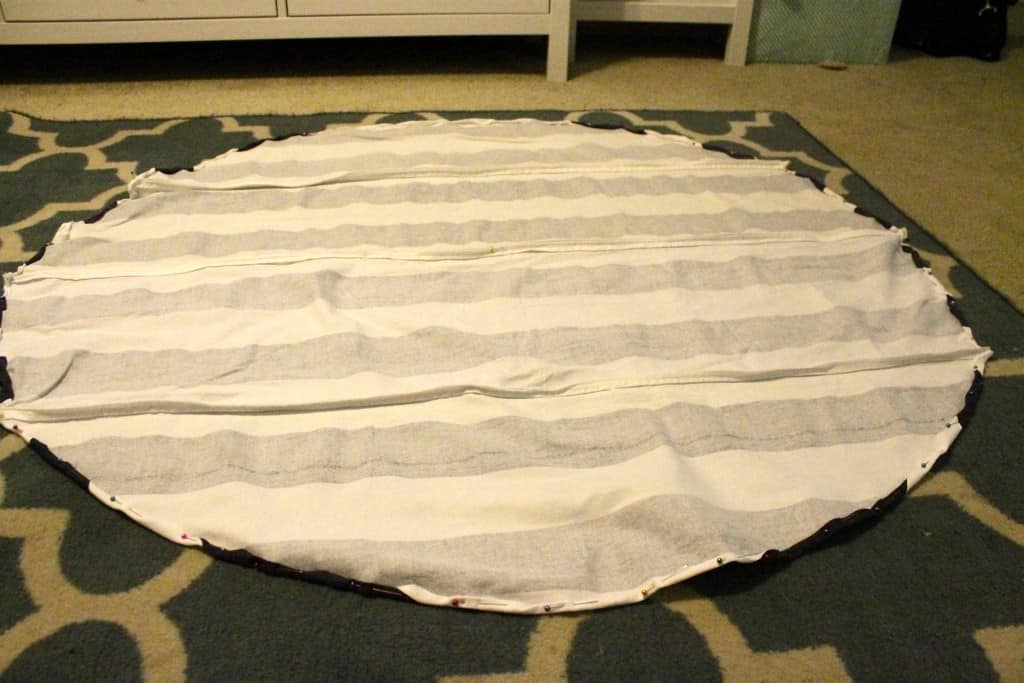
I whipped up this simple tree skirt the day before we left for Thanksgiving. It is actually made from four of the table runners from our wedding! I sewed them together to form a large square.
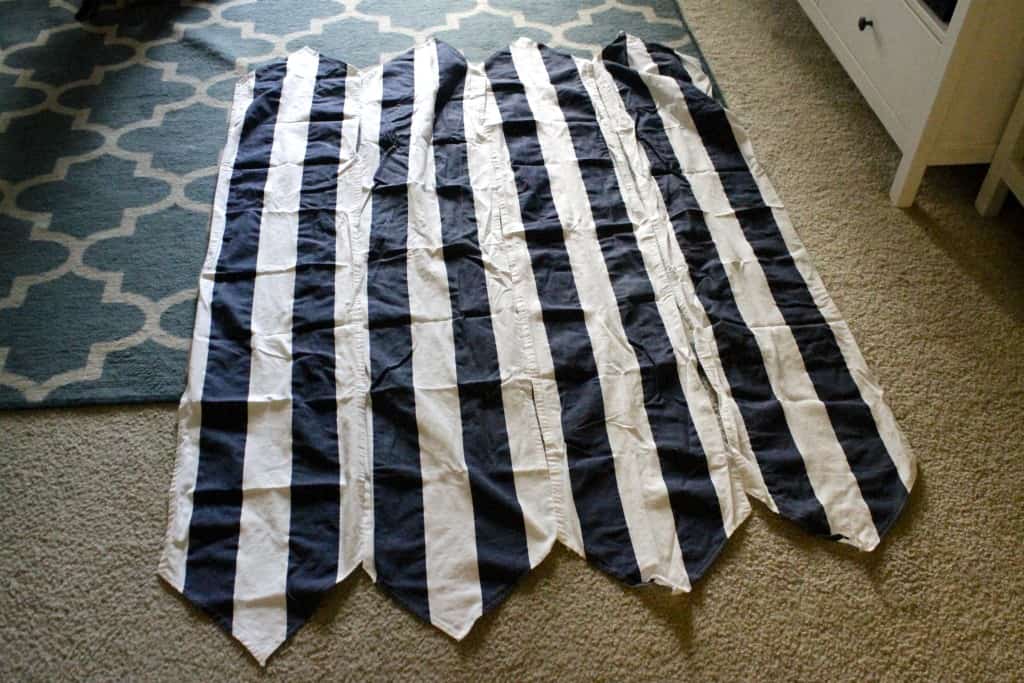
Then, I trimmed it to make a 4 foot circle. This was easy to do by marking the center and using a tape measurer to mark spots 2 feet from the center all of the way around.
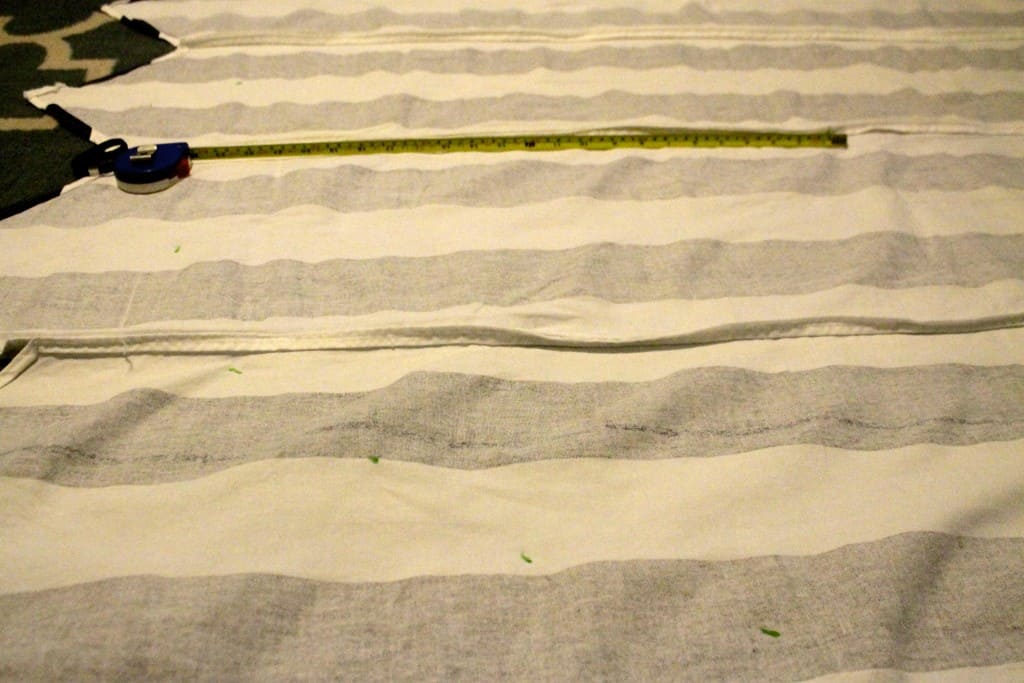
I cut out the circle shape and them hemmed it.
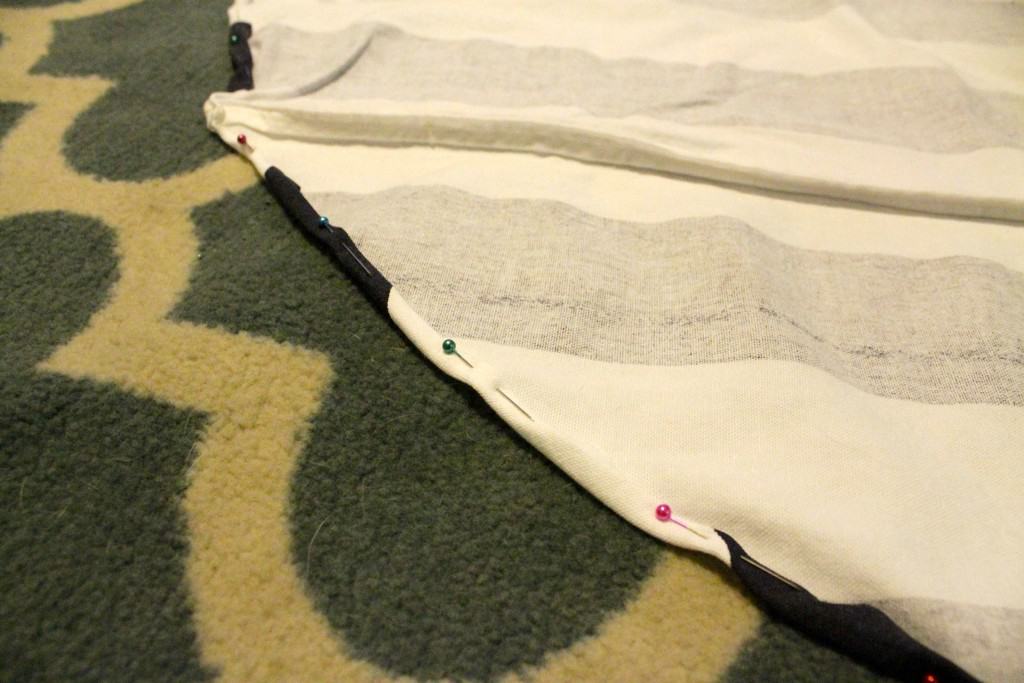
Finally, I cut out a circle in the middle and hemmed that, as well.
Most tree skirts have a slit up one side with ties to tie it closed, but I left this one a complete “doughnut”. I just slipped it over the tree stand before putting the base of the tree in and had no problems.
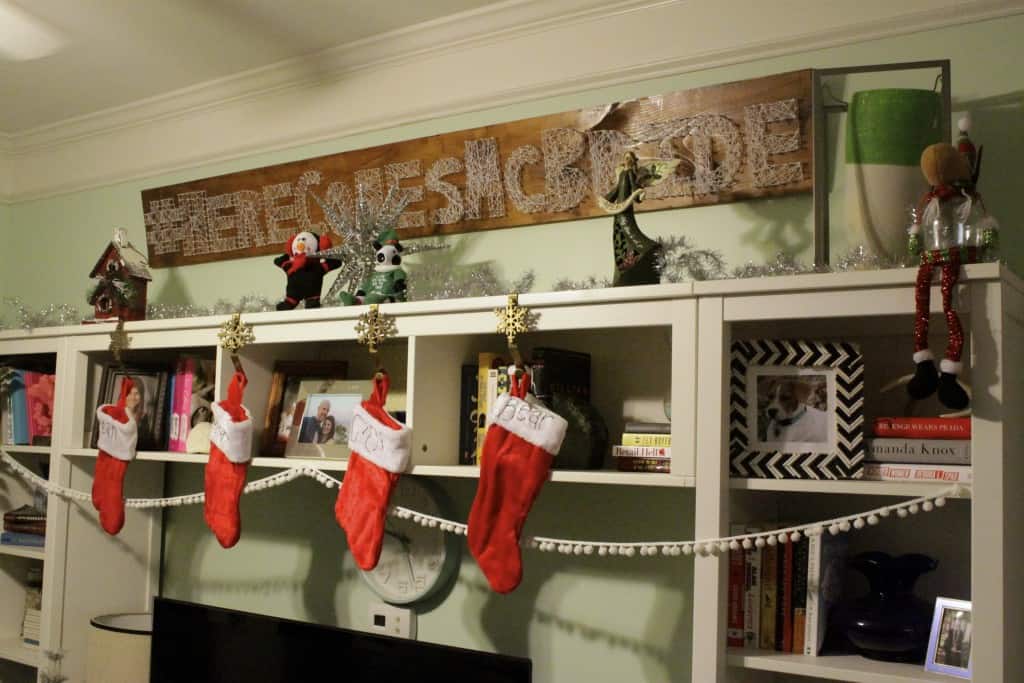
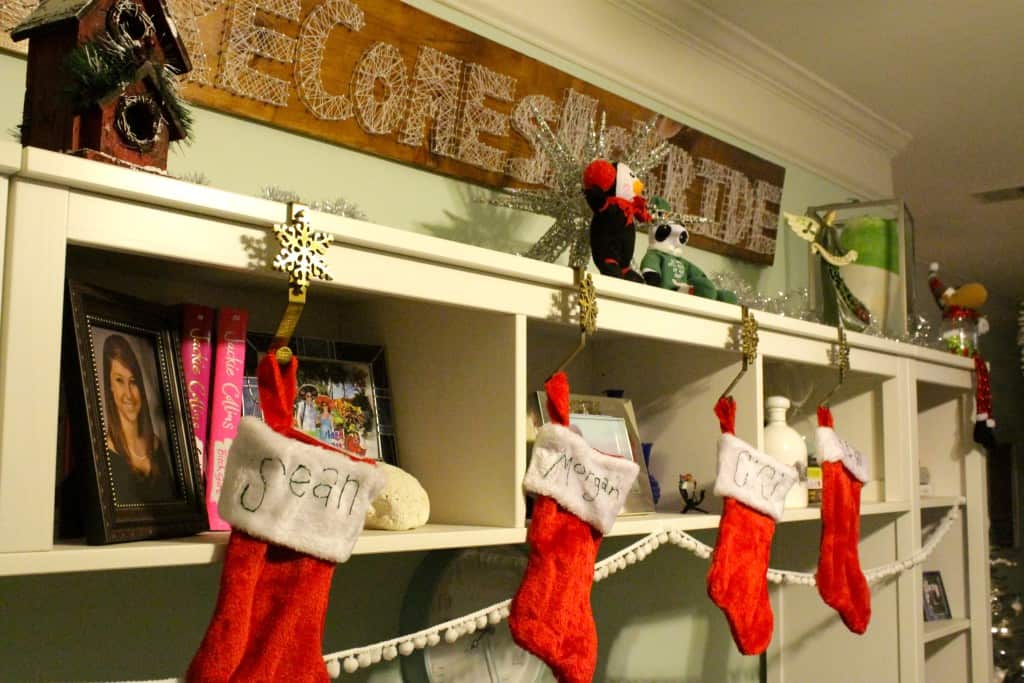
In addition to the tree, we once again decorated our TV stand in lieu of a mantle. We have accumulated a lot of little holiday nick nacks, and paired them with some silver tinsel (from a prior year's tree) and our stockings (hangers from Walmart last year).
Another new addition to our decor was a simple stand of garland over the porch door. I picked it up at Michaels when I had a % off the total purchase coupon.
Finally, Sean strung up our colored lights on the porch. He's had these light strands since college and I think they are about on their last leg (a lot of burned out bulbs) but we decided to make them work for one more year.
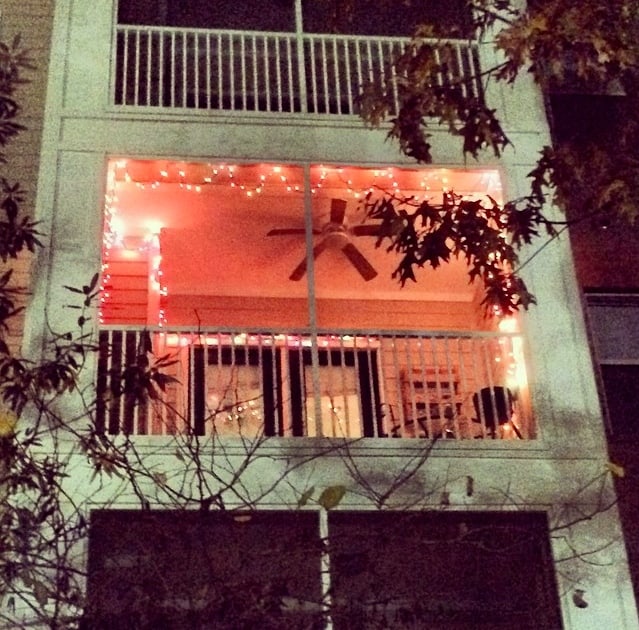
So, there you have it. Our fairly simple but very festive holiday decor! If you've shared yours, please link to it in the comments!
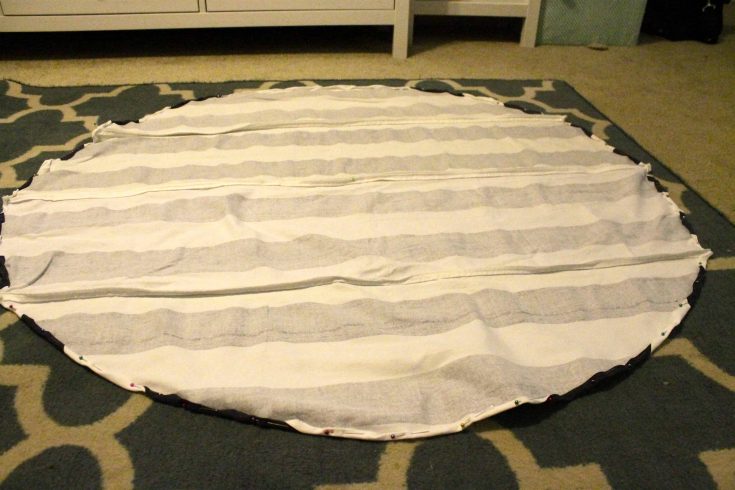
How to make a Christmas tree skirt
Check out my tutorial for how to make a simple DIY Coastal Christmas Tree skirt.
Materials
- 4 feet x 4 feet of fabric of choice
Tools
- Pins
- Scissors
- Sewing machine
- Tape measure
- Pen
Instructions
- Use pen to mark center of fabric.
- Use 2 foot measurement to mark 2 foot circle from center.
- Cut the circle.
- Cut a slit from the outside to the center.
- Cut a 3-4" hole in the center at the end of the slit.
- Hem all cut edges.
- Place around your tree and enjoy.
Looking for something?
We've been doing this since 2012 so we have a LOT of blog posts!
Search stuff like: Ceiling Projects | DIY Plant Stands | Thrift Flips


Hello, I'm Morgan, half of the creative force behind CharlestonCrafted.com! With a passion for DIY that dates back to 2012, I've transformed three homes and now I'm dedicated to helping others craft their dream spaces. Let's turn your house into a home together!


