We recently shared how we built a beautiful barn door that now hangs in between our master bedroom and bathroom. One final step in this process is to repair the door jamb. I waited a few days to make sure that we liked the barn door (we love it!) just because it makes it a bit more permanent and purposeful.
Click here to pin this project to your Pinterest board!
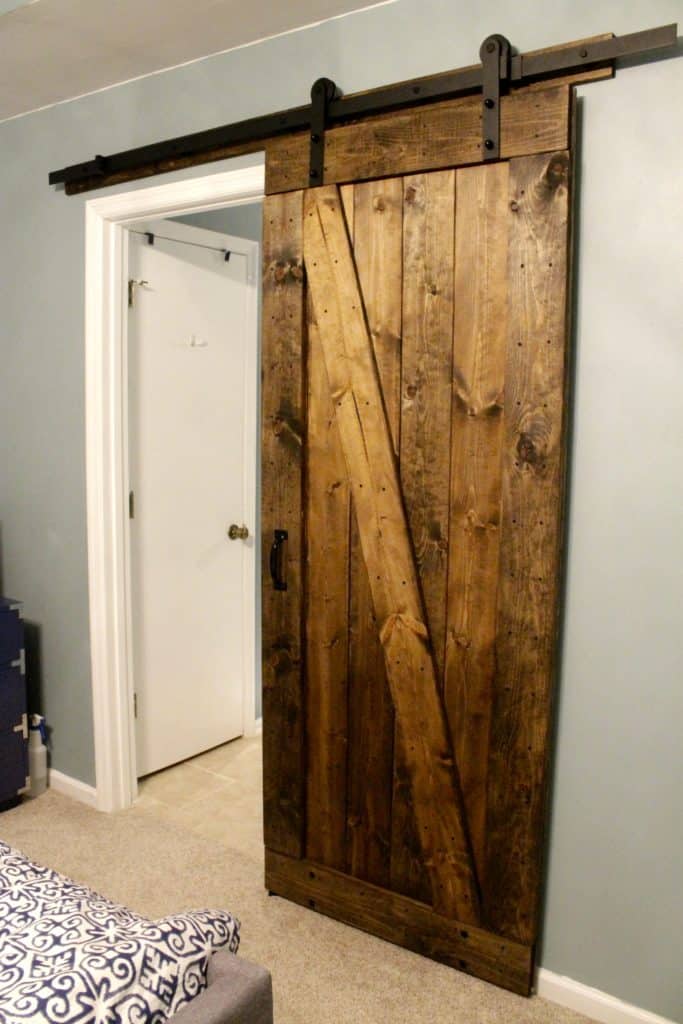
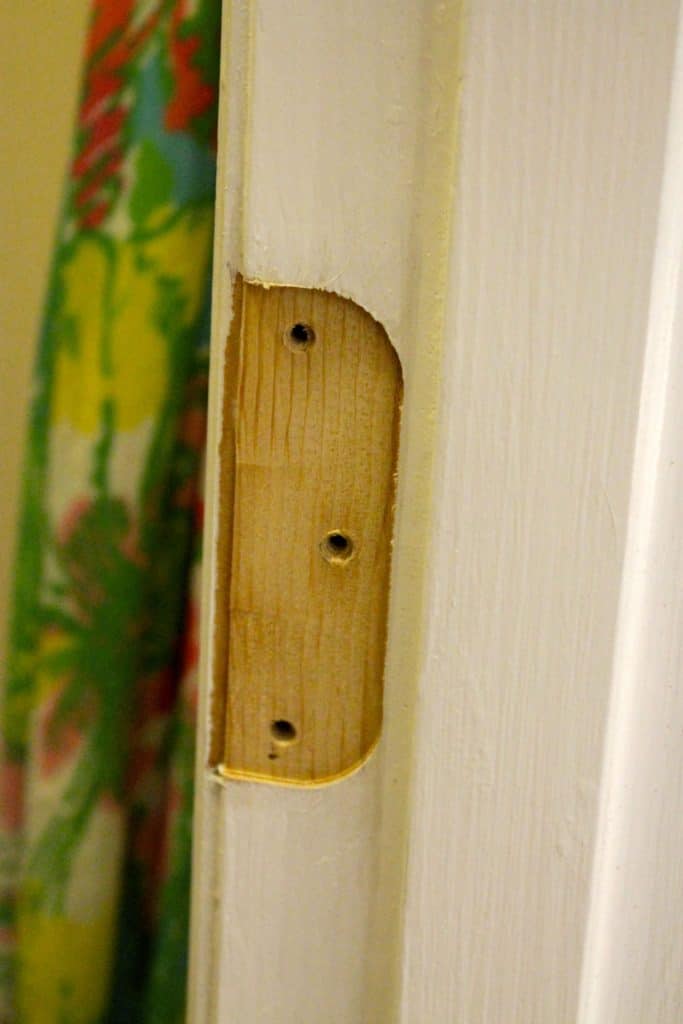
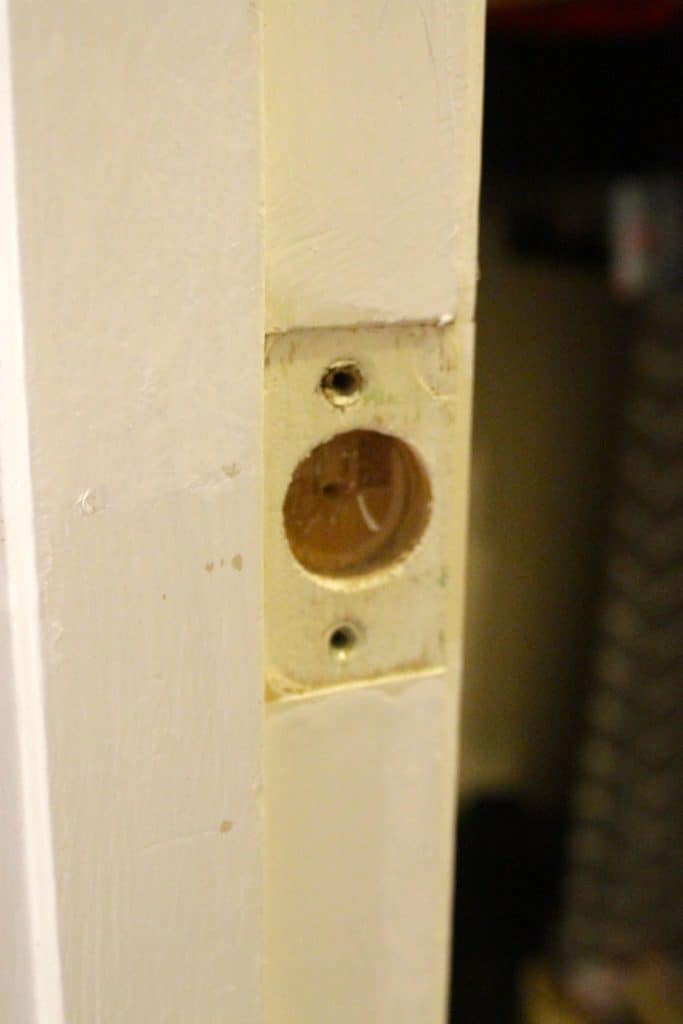
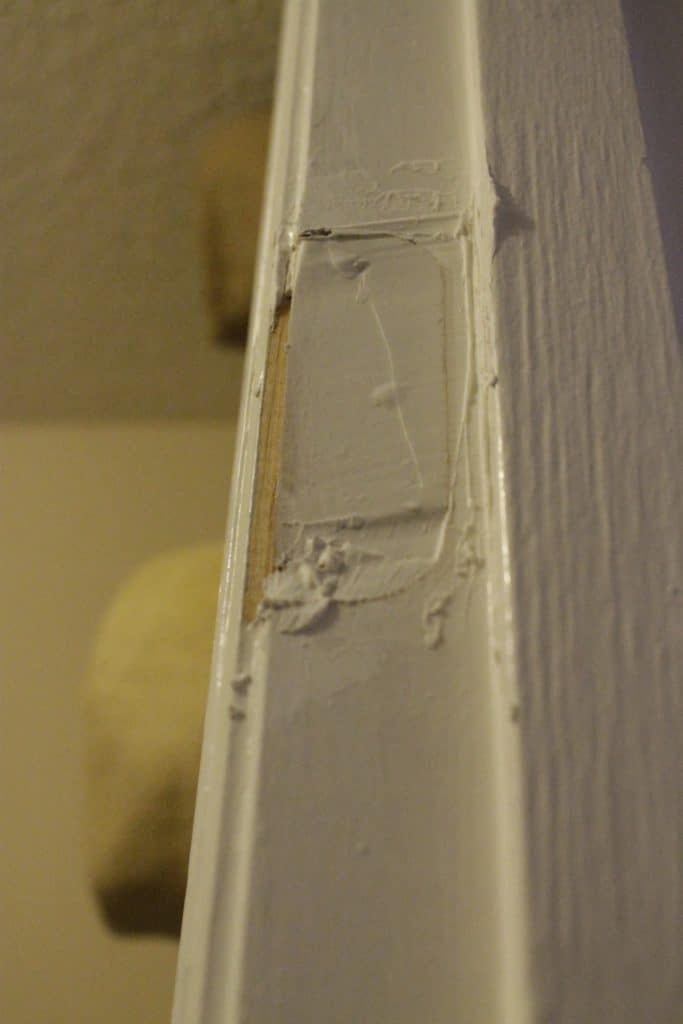
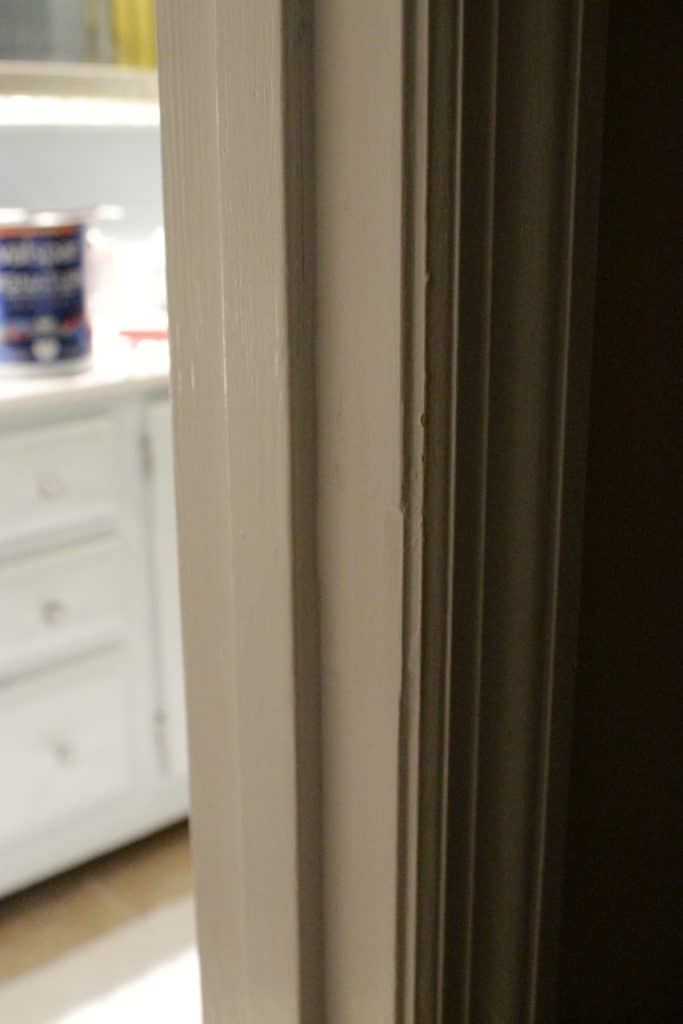
When we took the original door off it's hinges, it left the cut out indentations from each of the 3 hinges as well as where the ball catch was. So, the doorway had 4 spots to patch. I wanted to make it look like one smooth doorway without any indication that there was ever a hinged door here.
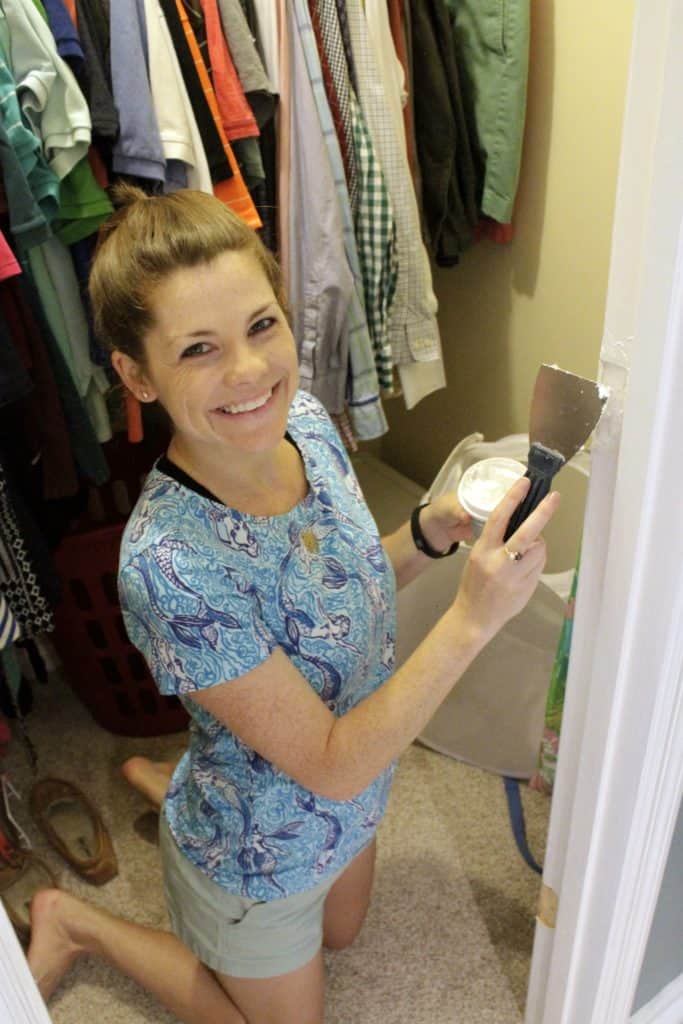
While I was at it, I also did this on the adjacent closet door. It opened into the closet and made the space very tight and the area behind the door non-accessible.
Long term, we'd love to add a pocket door here, but since that involves cutting open the drywall, we are holding off for now until we decide if we are going to redo the layout of this room completely, late 2017-2018.
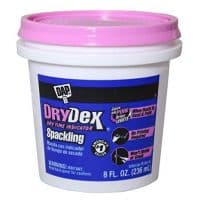
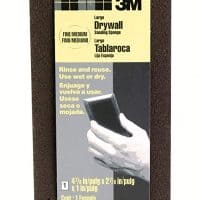
In order to do this project you need spackle, a flat edge knife or scraper, sandpaper or a sanding block, and paint in the color of your doorway trim.
How to Repair a Door Jamb After Removing the Door
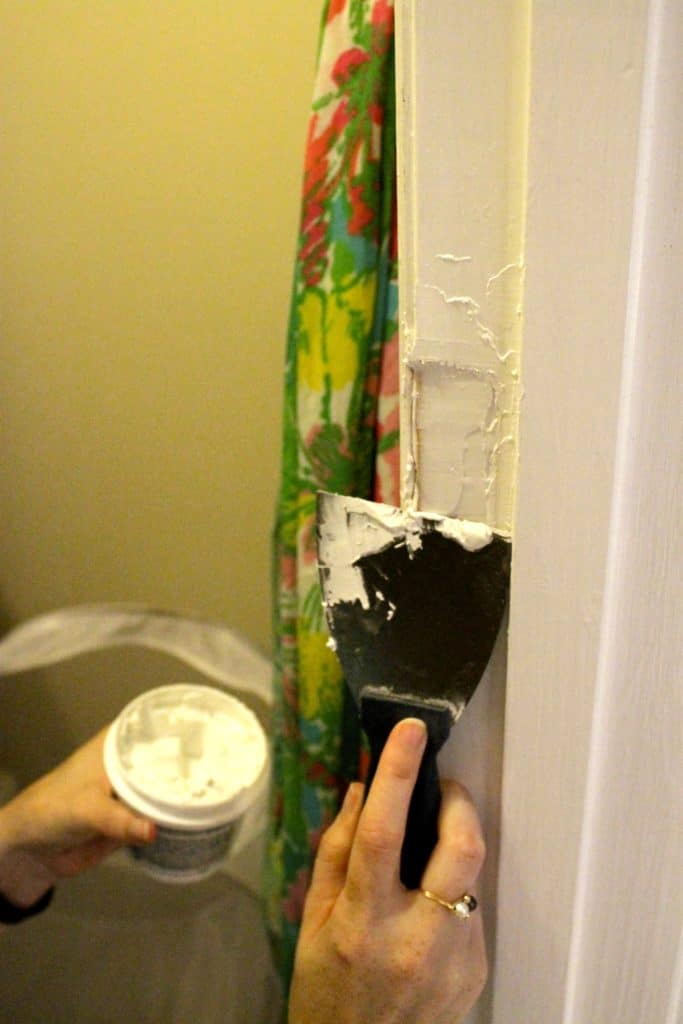
Use the putty knife to apply spackle to each cut out area. Apply it liberally and use the knife to flatten it as best as you can with the putty knife.
Allow to dry according to the directions on the spackle - for me it was about 2 hours. It's great if you get the color changing spackle that turns white when it is fully dry!
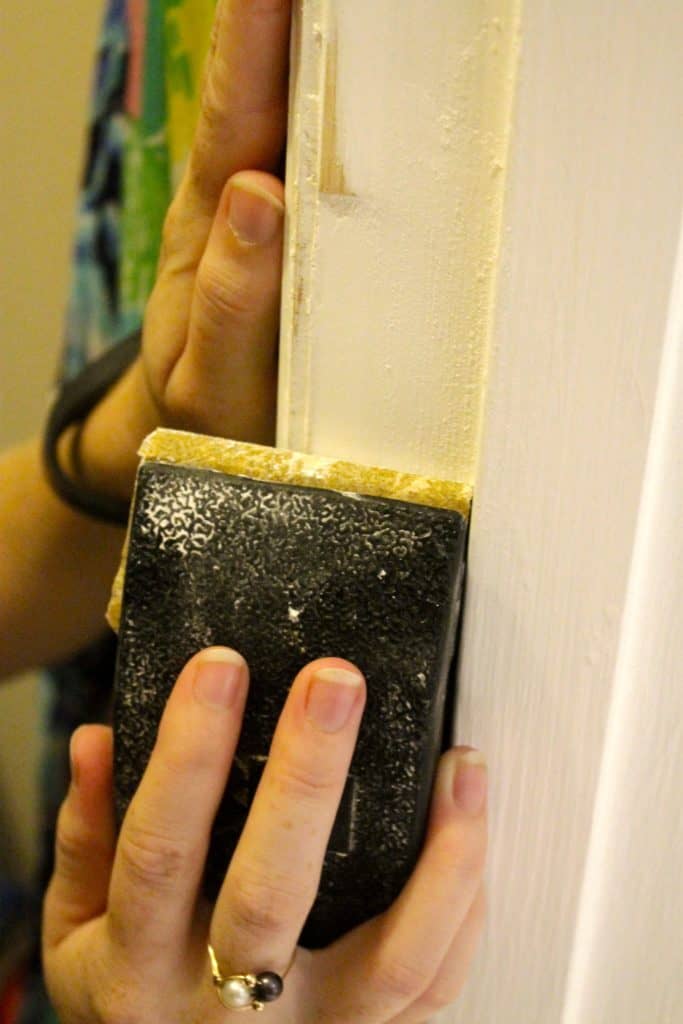
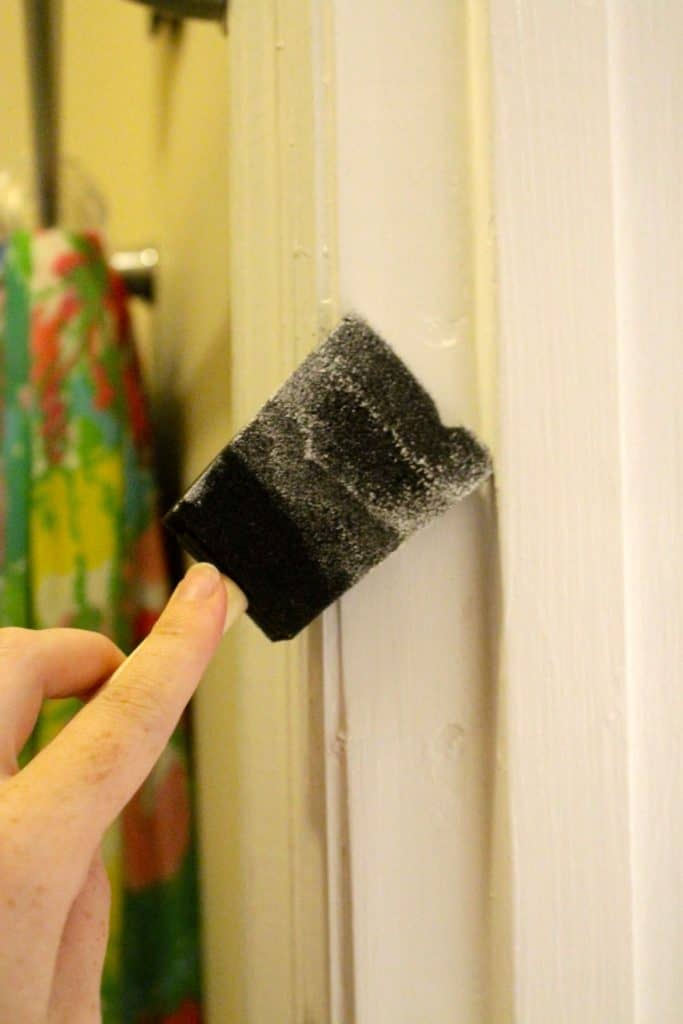
Use sand paper or a sanding block to sand the area smooth. Get out any bumps or imperfections now for best results!
You may want to repeat this process for a second time to get a smooth look. Since some of the areas (especially where the ball catch was) were pretty deep, it took me 3 layers of spackle-smooth-dry-sand to get it to the flatness that I wanted.
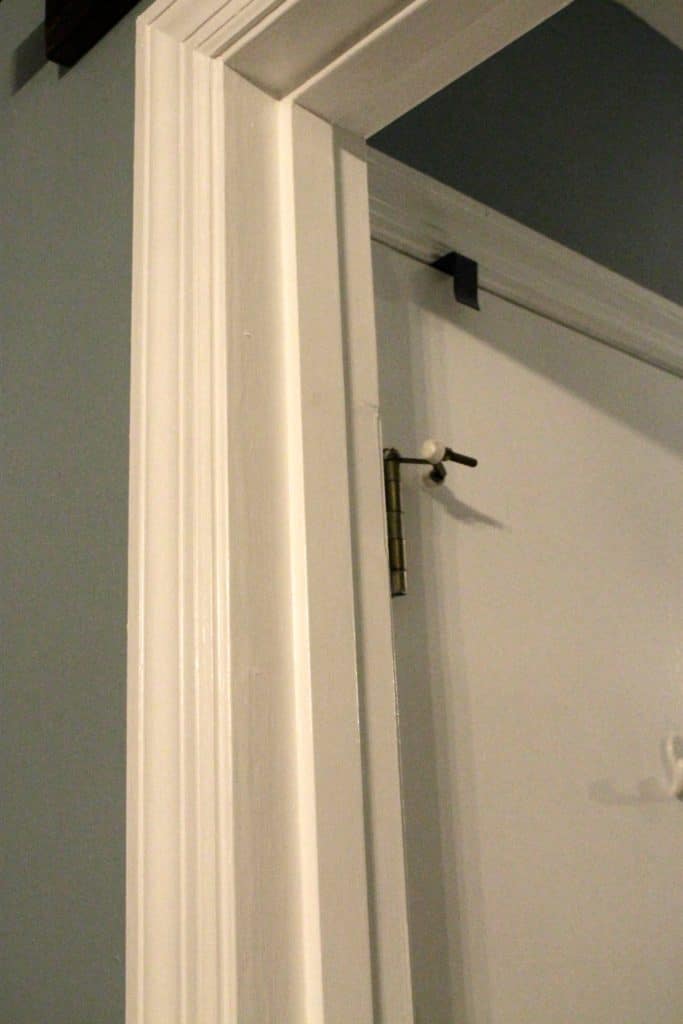
Once it is sanded and smooth, paint right over it. We have a can of paint that we got color matched to our doors and trim. I painted the entire door frame to get a perfectly consistent look.
Differences in color, sheen, and even the overall age and condition of the paint can make touch up spots stand out. In an area as small as this, it gave me more peace of mind to just paint the whole thing. It didn't take much longer than just painting the spackle spots and I already had the paint and brush out, so it was no big deal.

Ta-da! Now you would never know that there was a door hinged here!
If you remove a door and the hinges from a door frame, you will be left with unsightly holes in the molding. Here is the easiest way to patch and repair the door jamb after removing the door. As an Amazon Associate and member of other affiliate programs, I earn from qualifying purchases.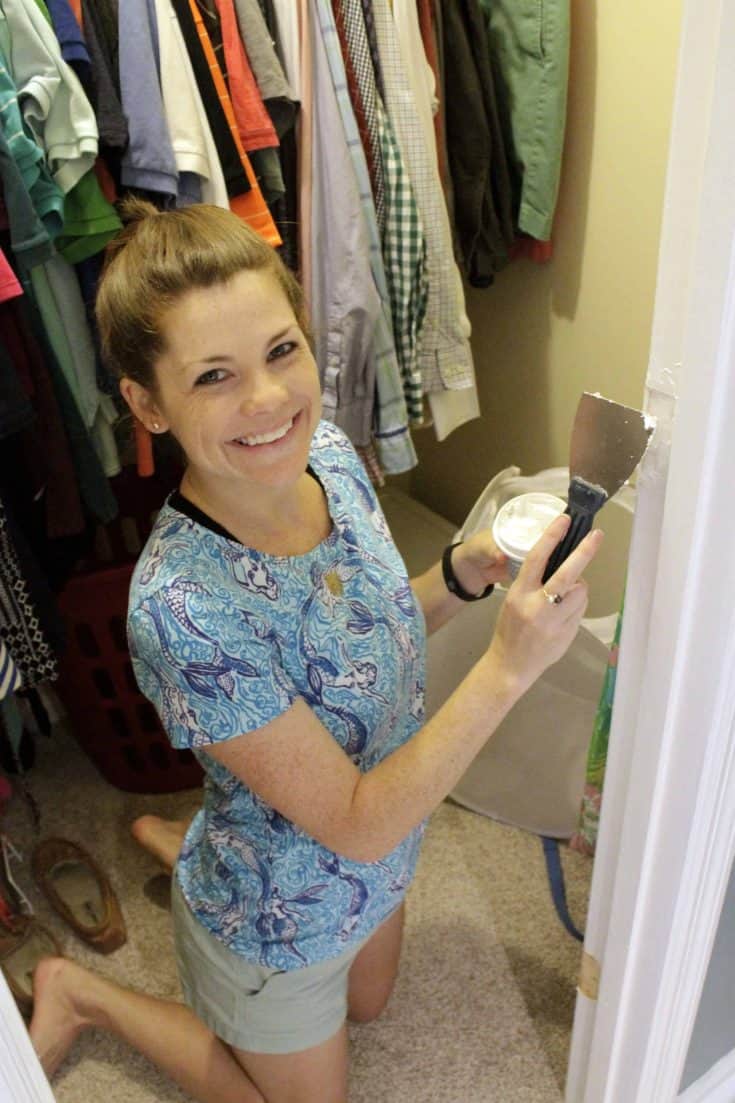
How to Repair a Door Jamb After Removing the Door
Materials
Tools
Instructions
Recommended Products
What projects have you been working on lately?
 |
|||
 |
 |
 |
 |

Hello, I'm Morgan, half of the creative force behind CharlestonCrafted.com! With a passion for DIY that dates back to 2012, I've transformed three homes and now I'm dedicated to helping others craft their dream spaces. Let's turn your house into a home together!




Joe Hall says
I really like that you talked about the tools we will need, like some sand-paper. My brother and I are going to do some repairs on his doors this weekend but we don't have the right tools. I think it would be a lot easier to hire some professionals that can do this properly for us.
Sean says
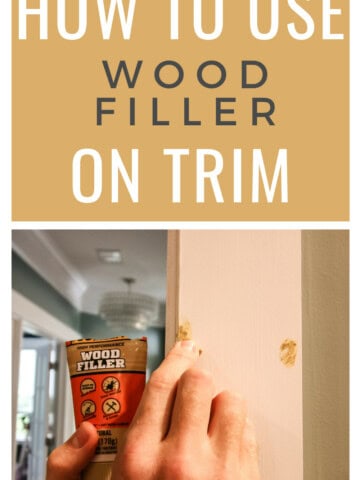
Professionals can get it done, but this is a really easy project that will cost way less to do yourself. It's just wood filler, paint and sand paper. But if you don't feel confident, then you know what's best for you!