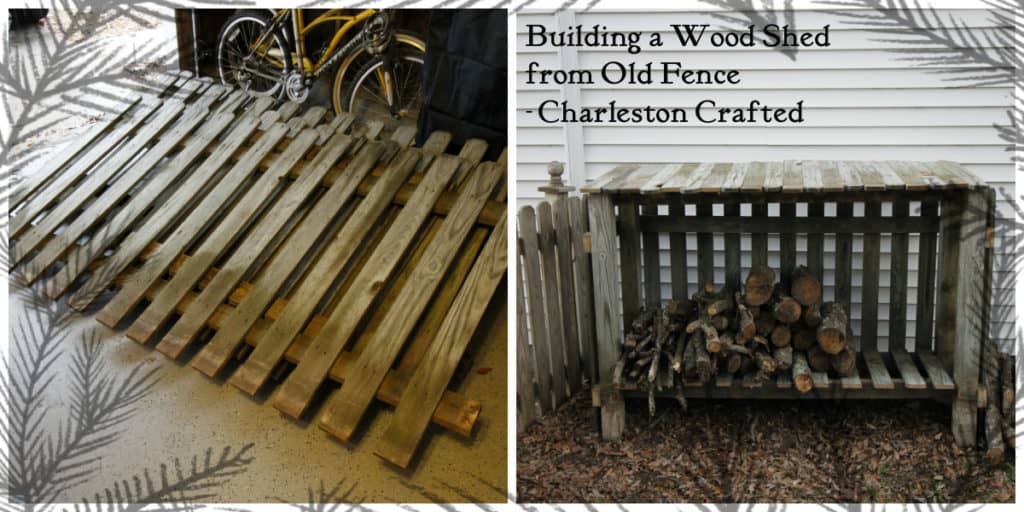
Here's how I built a firewood shed using old fence panels from my yard! This is a great way to reuse materials!
One of my favorite things about building projects is when I'm able to reuse wood or pieces from other things to create my new project, like when I built an industrial pipe bench and was able to use wood from the walls when we opened them up.
This time, I was able to use fencing from our yard after I removed a dog run and had a line of fence. I needed somewhere to store the wood that I collected after our two hurricanes last year, so I wanted to build a wood shed, and I was able to do it using 100% recycled materials of our old fence.
How to make a firewood shed from fence panels
I surveyed my stack of fence and started by taking one big piece and using it untouched as the back of the structure. Then, I used two of the fence posts and nailed them onto that piece. The posts would serve as the four posts for the shed too.
Then, I took one piece of fence and used my reciprocating saw to cut the fencing down to three slats and nailed that into fence posts on either side.
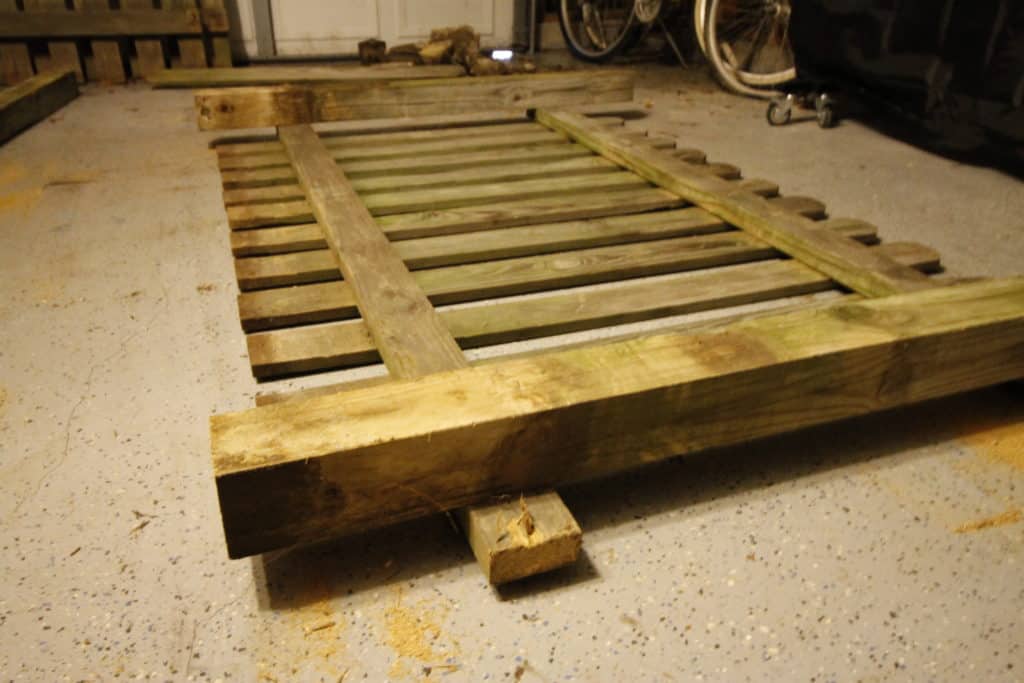
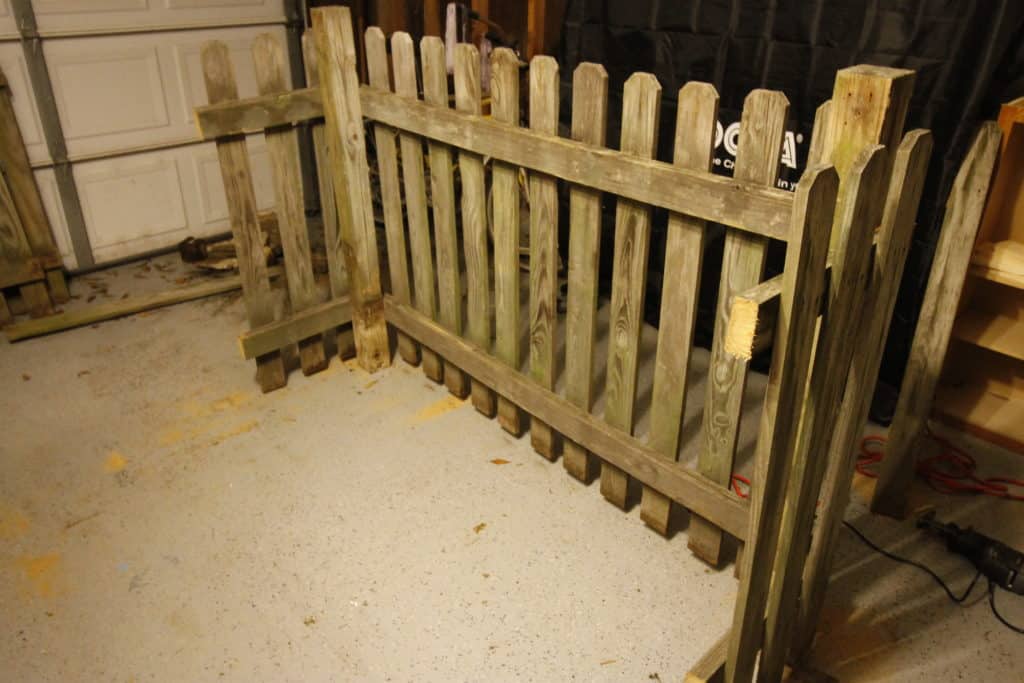
Next, I removed all the fence pickets off of another piece and used one of the 2x4's that held them together to attach two more fence posts to the front of the structure to secure it all together.
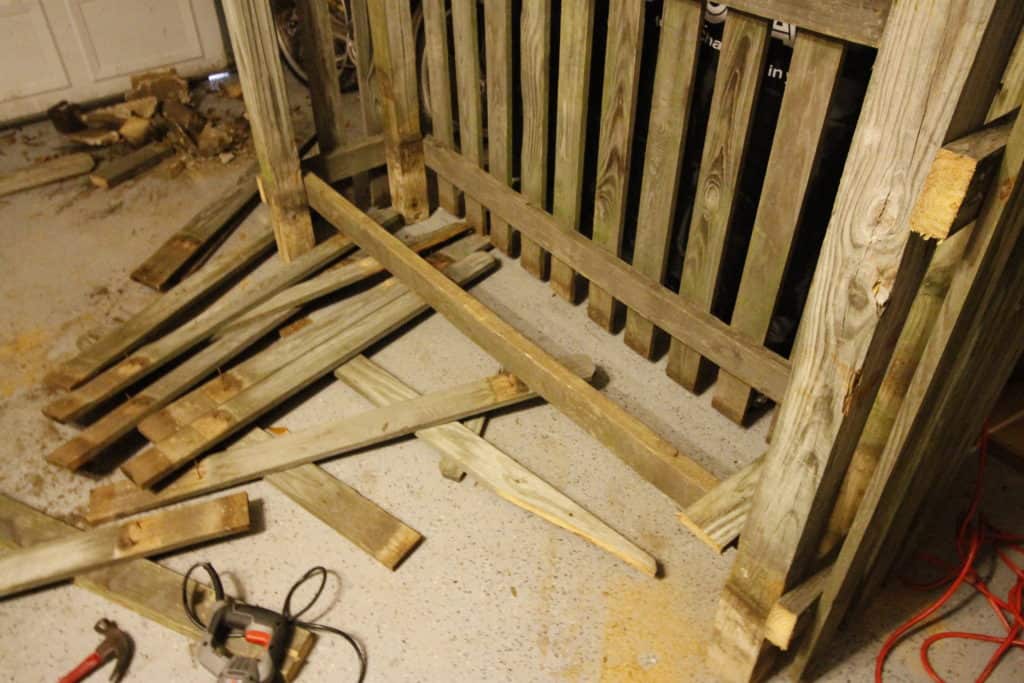
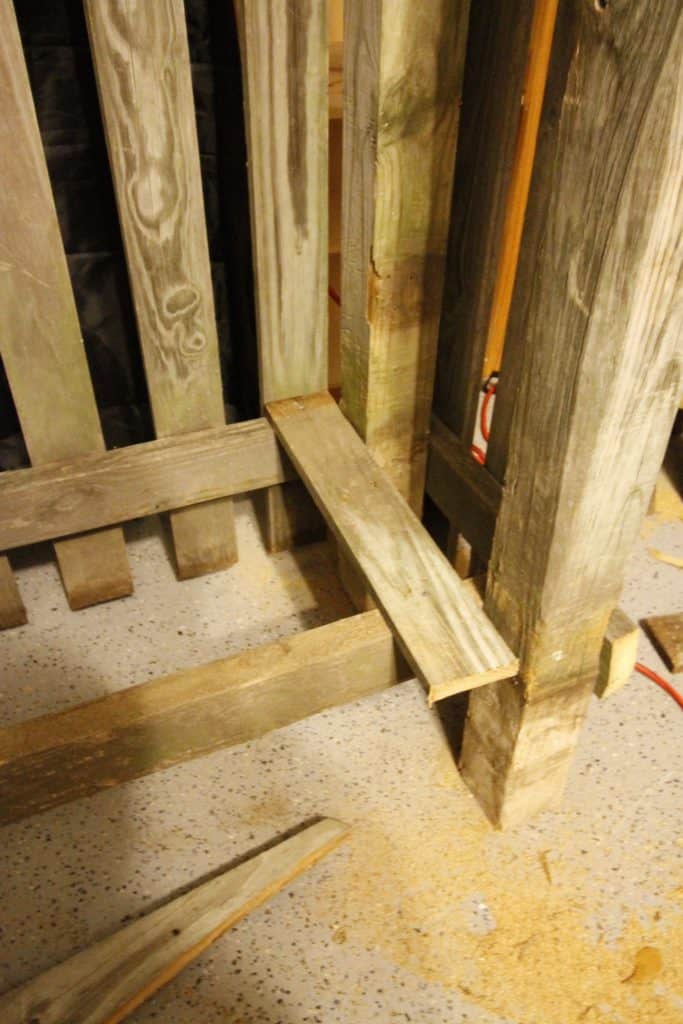
Now I had to build a base for the wood. I opted to cut pieces of fence slats in half and nail them to be even with the fence slats in the back. I wasn't worried about having a gap between them because none of the wood was going to be so small that it would slip through the cracks.
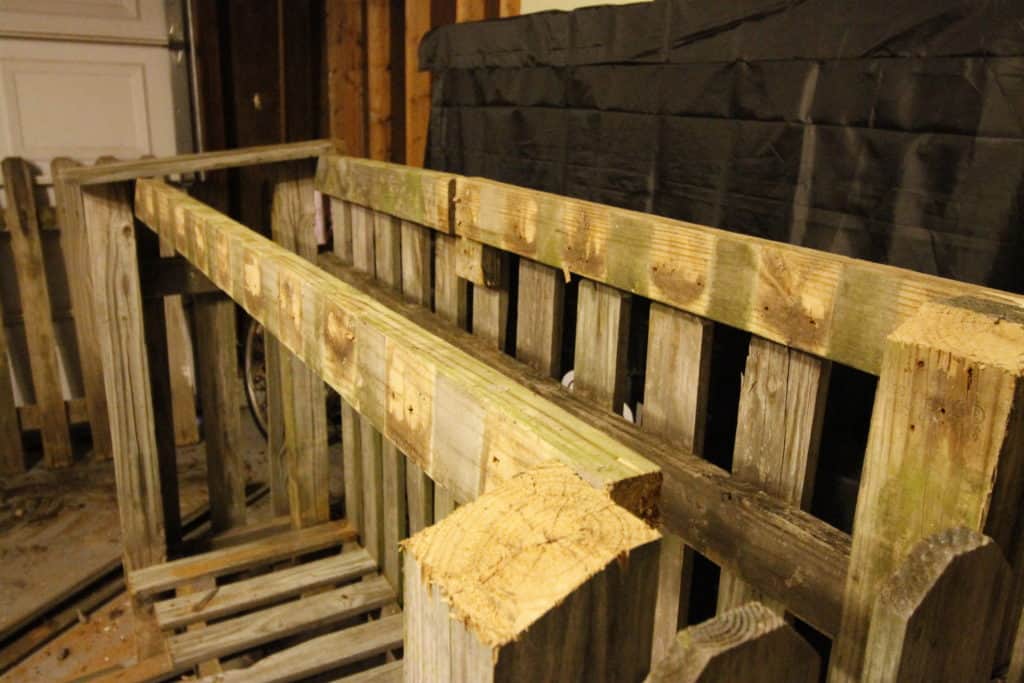
Then came the top. I nailed the other 2x4 to the top to nail the roof to. I attached it at a slightly lower position than the back side so that the roof could be slanted to help with rain runoff.
In the end, I think it looks great! And it really blends in well with the fence right next to it so you can hardly notice it.
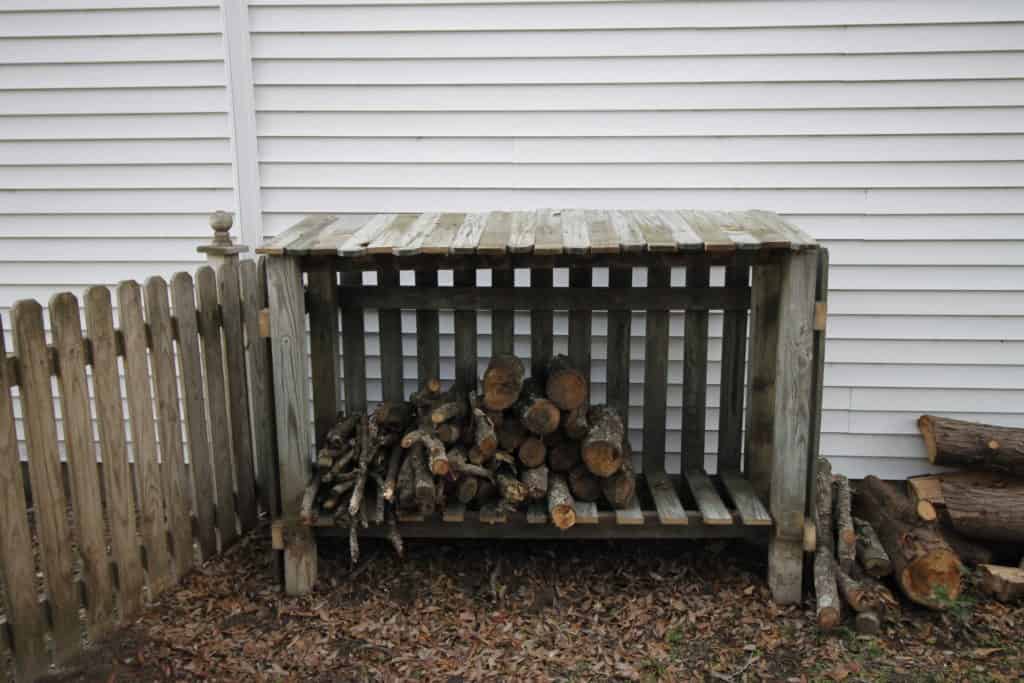
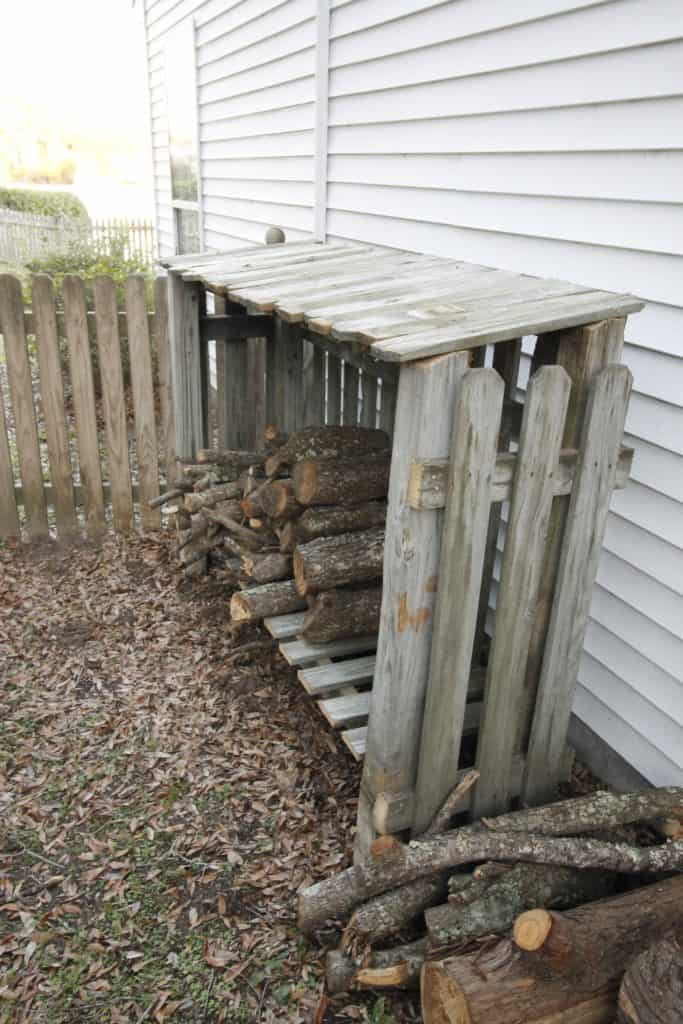
Obviously it isn't 100% waterproof, but the point is mostly to get the wood off the ground and store it in a concise location. It's water-resistant and that's pretty good.
I did end up adding roof shingles later!
But for now, I love that I was able to make this and not have to buy a single thing and used 100% recycled stuff from my yard! Now to chop the wood...
Looking for something?
We've been doing this since 2012 so we have a LOT of blog posts!
Search stuff like: Ceiling Projects | DIY Plant Stands | Thrift Flips


Hello, I'm Morgan, half of the creative force behind CharlestonCrafted.com! With a passion for DIY that dates back to 2012, I've transformed three homes and now I'm dedicated to helping others craft their dream spaces. Let's turn your house into a home together!


