Here's the process for how to repurpose an upper cabinet and turn it into an open bookshelf! We did this for our kitchen remodel project!
Seriously, one of my favorite things to do is find ways to use old materials to make new things.
When we had our walls taken down, we lost two upper cabinets. We asked the contractor to save them for us and they have been sitting in our garage for four months.
We had initial thoughts that we would put them up in the laundry room, but we found two better uses for them in the end.
The first is that we turned one of the cabinets into an open bookshelf to go on the end of our kitchen island!
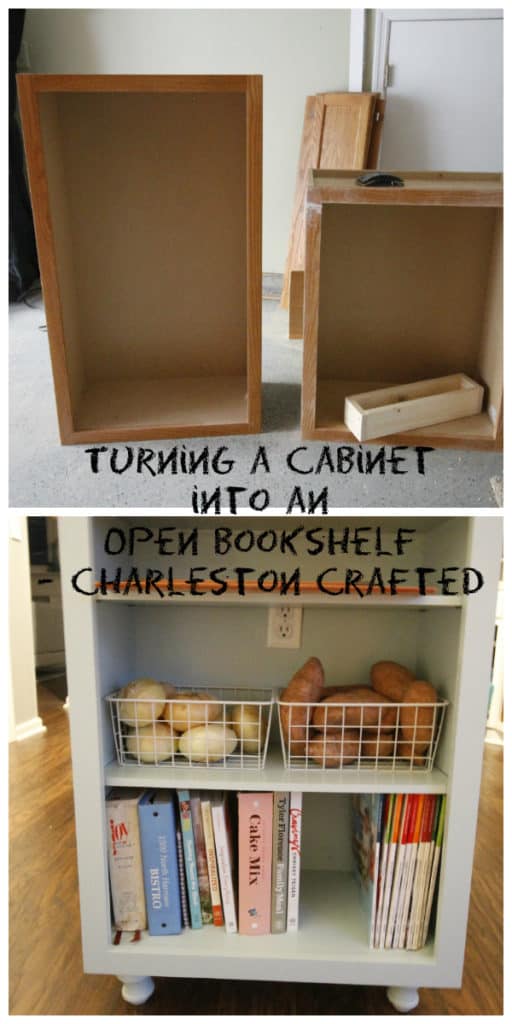
How to turn a cabinet into a bookshelf
First thing I had to do was to make it the right size. The upper cabinets are taller than the lowers, so they needed to be cut down.
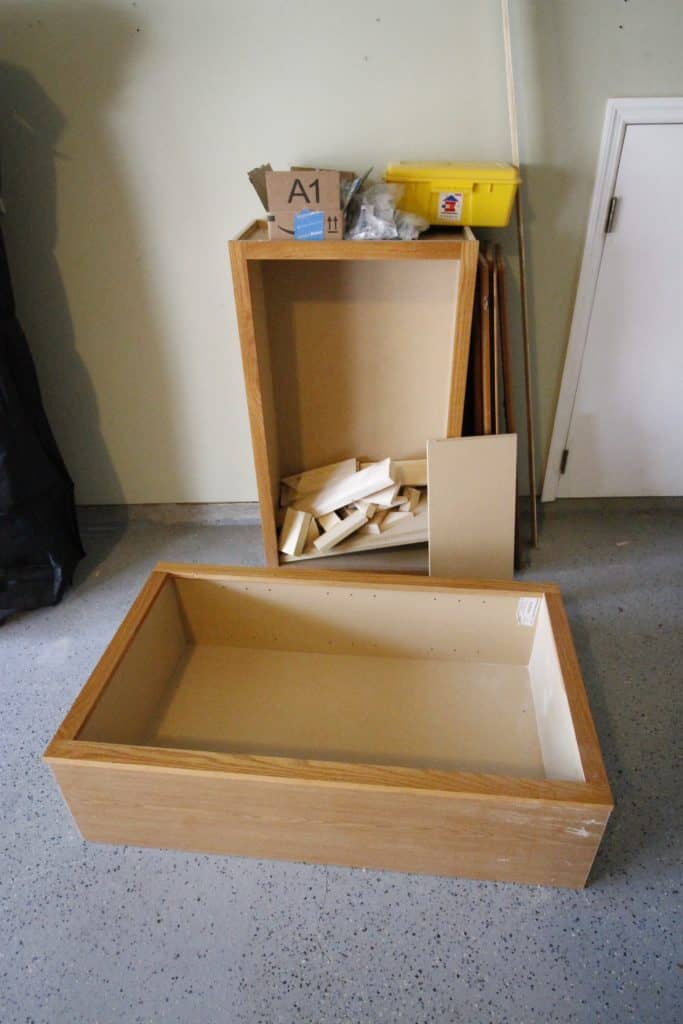
Step one: cut cabinet to size
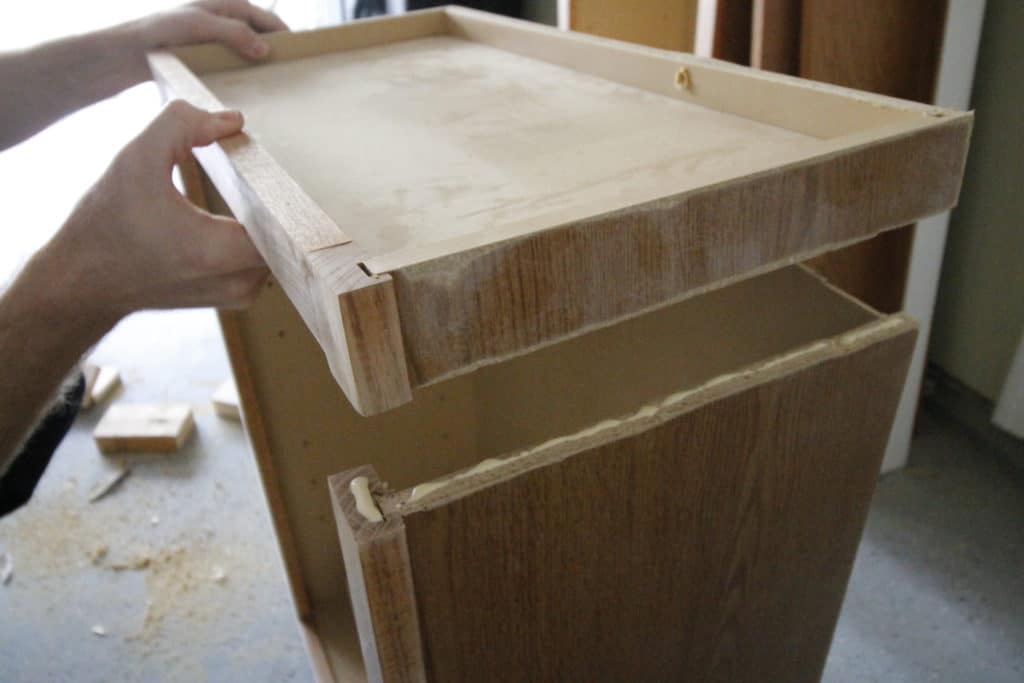
I used a combination of my circular saw and jig saw to cut the solid top part of the cabinet off to reattach later. Since it's solid, we needed that to rest the counters on.
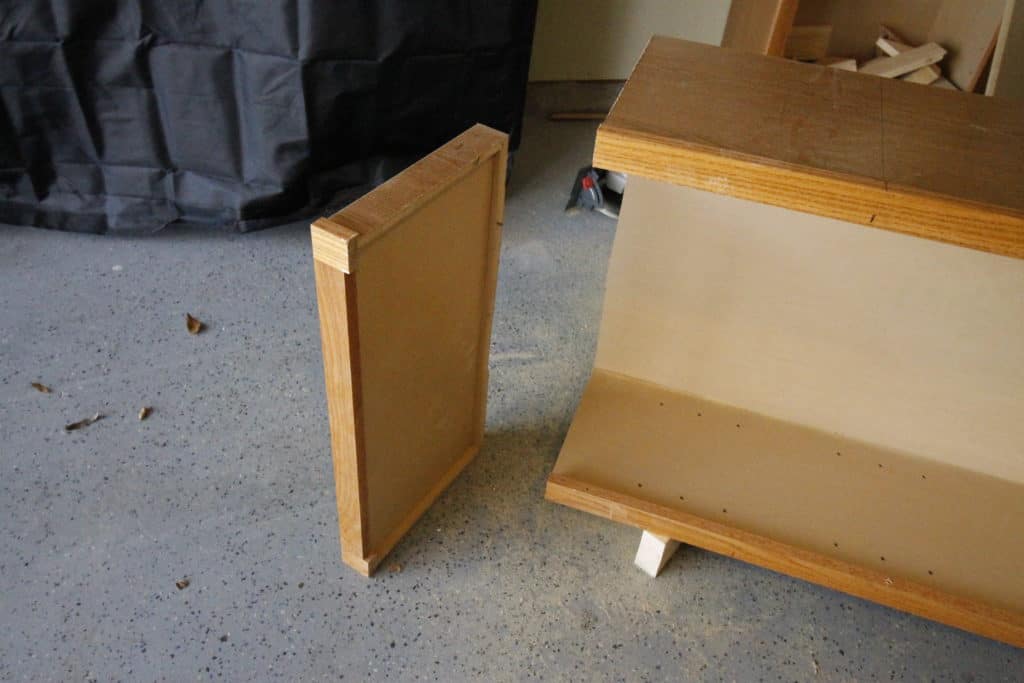
Then, I went down 13 inches and cut off another section of cabinet to make it the appropriate size. The top was going to be reattached, but we needed to remove the appropriate amount to make the cabinet the right height.
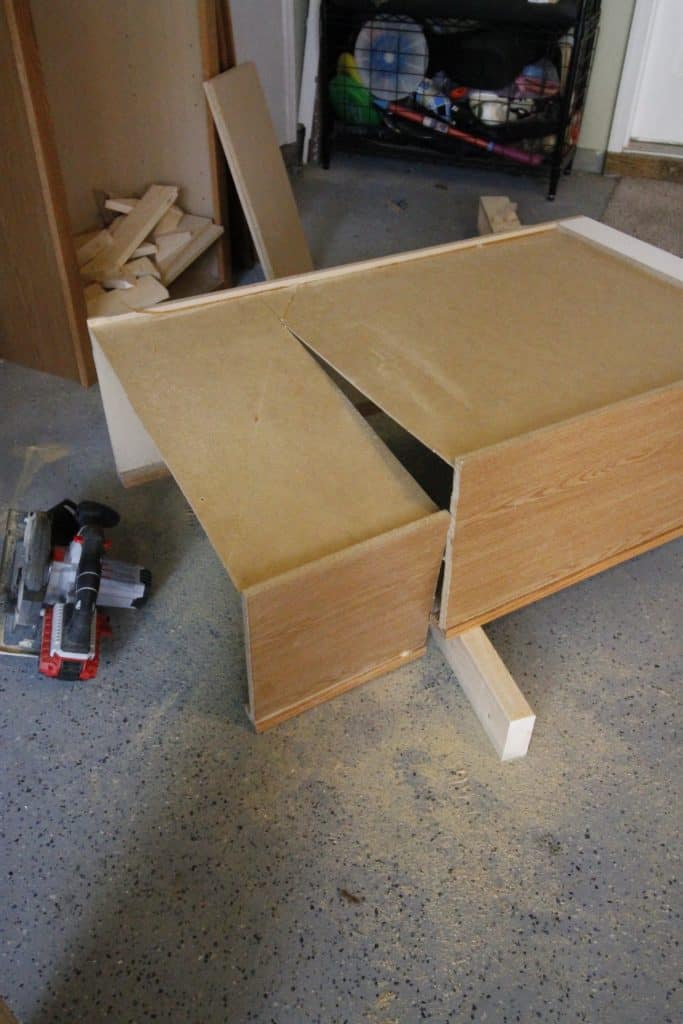
Step two: reattach top
The next step was to reattach the top piece that I cut off back to the main section of the cabinet. I used wood glue and caulk to make it look seamless.
Step three: build base
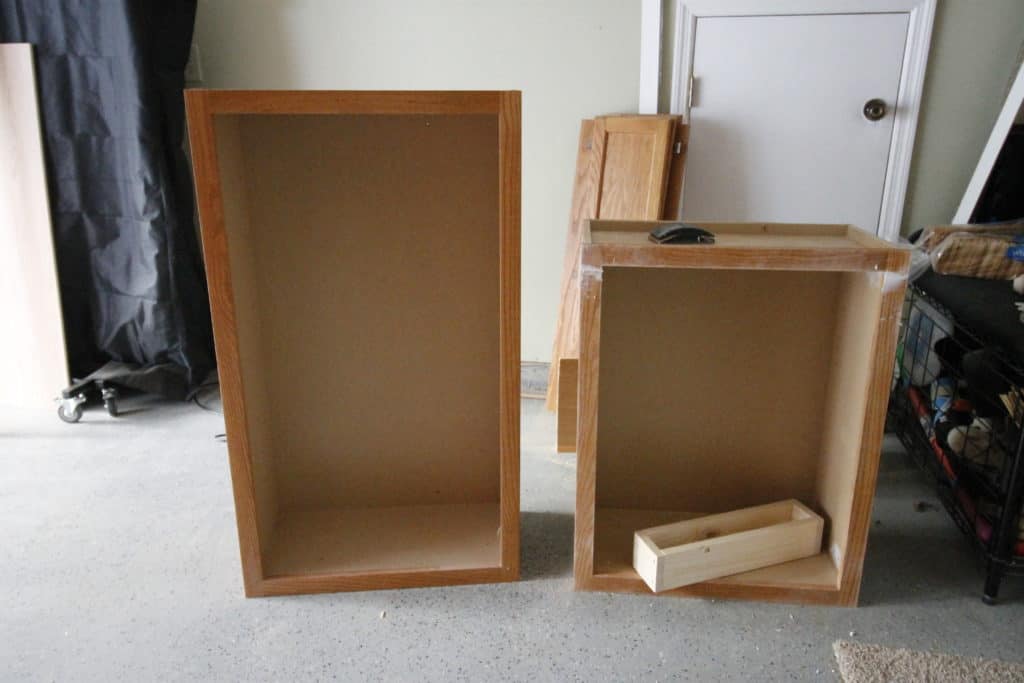
Now that the cabinet was the right size, I had to build the base. As you know, lower cabinets aren't flush on the floor.
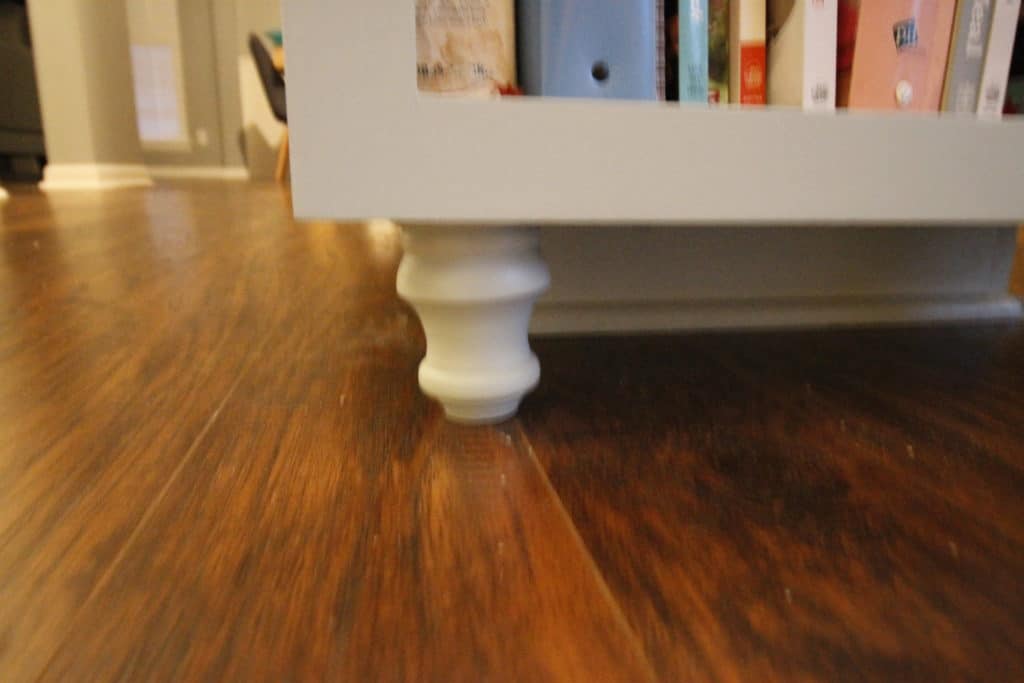
They have recessed bottoms, so I had to match that by building a new base. I used 1"x4"s to make a box frame on the back of the cabinet that would tie into the back of the existing island and added two stylish legs in the front to give it a modern look.
I had to add some extra pieces of 1x4 flat in order to compensate for the bottom lip of the cabinet, but this all worked out and created the base.
Step three: attach to island
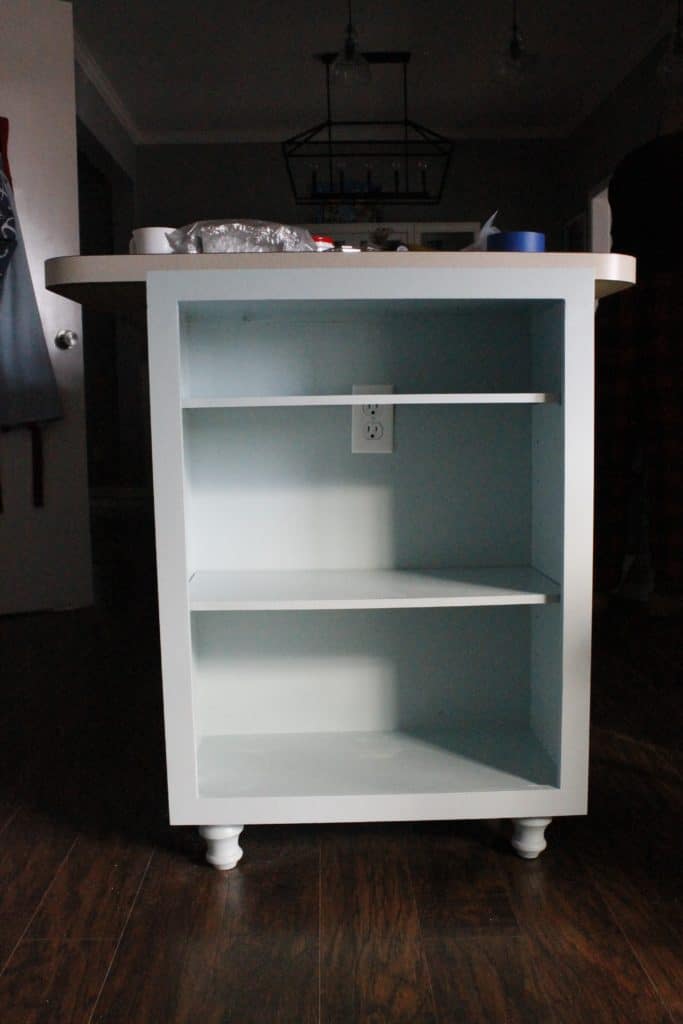
Finally, we screwed it into the island and patched over all the screws, then we painted it and our island a new color to get rid of that '90s light oak color.
Here's what we learned about painting cabinets!
I used a jig saw to cut out a hole for the island's electrical outlet and that was it. We popped in shelves and all the sudden we had turned an old cabinet into open shelving on the end of our kitchen island.
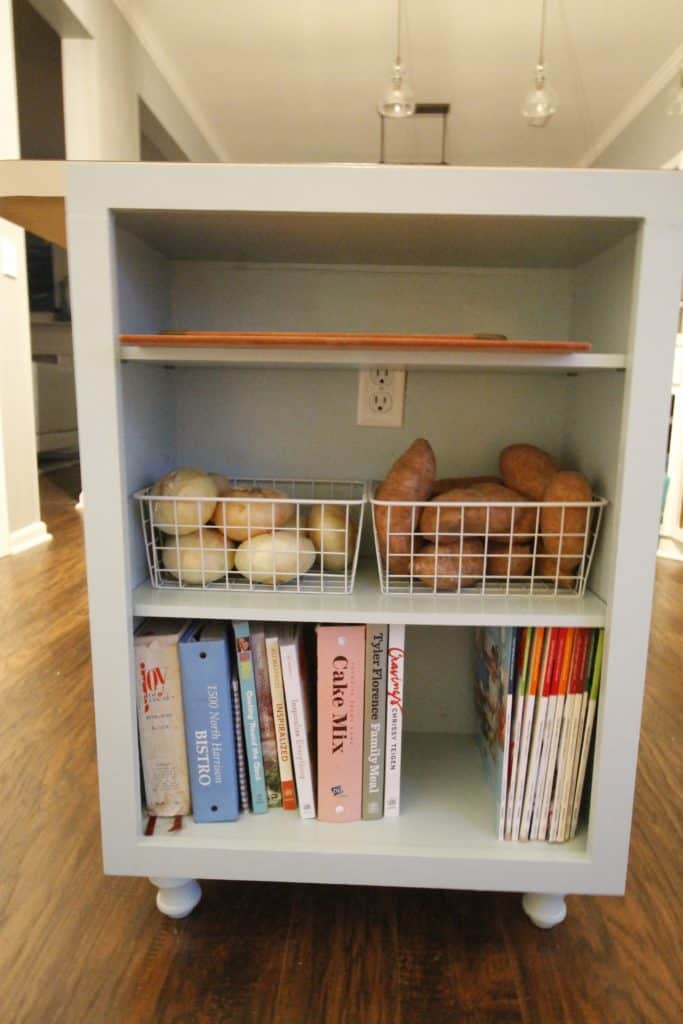
Step four: add new countertop
Finally, we got the new countertops installed and it looks like a seamless island!
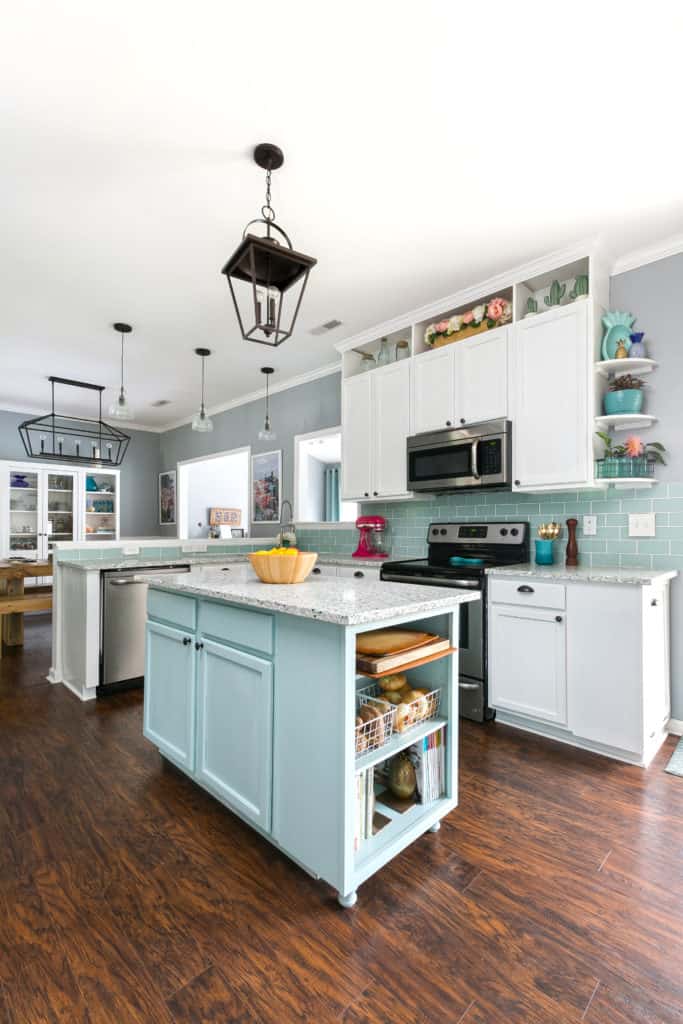
This is an easy project and a great way to reuse an old cabinet. Click here to see how we turned the other cabinet into a tilt out trash can!
Looking for something?
We've been doing this since 2012 so we have a LOT of blog posts!
Search stuff like: Ceiling Projects | DIY Plant Stands | Thrift Flips


Hey there, I'm Sean, the woodworking enthusiast and builder behind CharlestonCrafted.com! Since 2012, I've been sharing the magic of turning raw materials into beautiful creations. I love teaching others the art and satisfaction of woodworking and DIY. I try to inspire fellow crafters to make something extraordinary out of nothing at all.


[…] Source […]