Check out how to make a simple DIY cedar bathtub bench that comes in handy for parents bathing their children, or as a foot rest for shaving your legs. It's a simple build and we have free woodworking plans available!
There are a lot of things that you don't realize are problems until you have children.
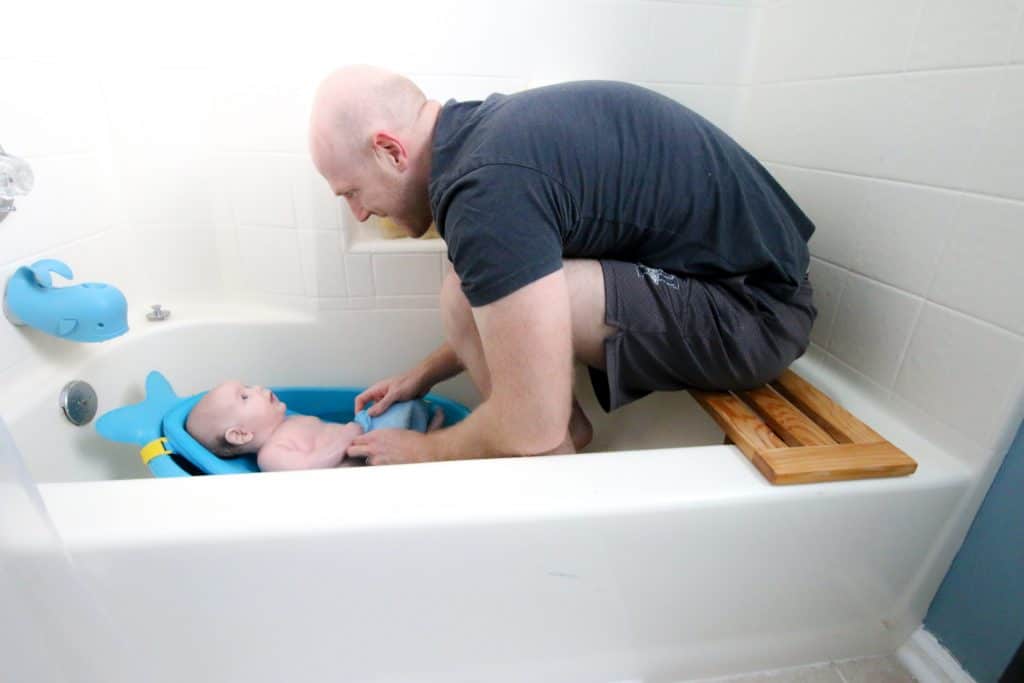
We recently built a simple DIY tub bench for using while bathing our son. We were squatting or kneeling in the guest bathroom tub and it was uncomfortable.
By adding a tub bench, we can sit and take pressure off our joints. It's easy to sit on and lean into the tub to help bathe the children.
This tub seat is based on our standard insert tub, but is customizable if your tub is not standard width. If you need your own shower seat, this will work as well as long as you have two sides to prop the seat on.
Click here to get the plans for our stand-alone shower stool!
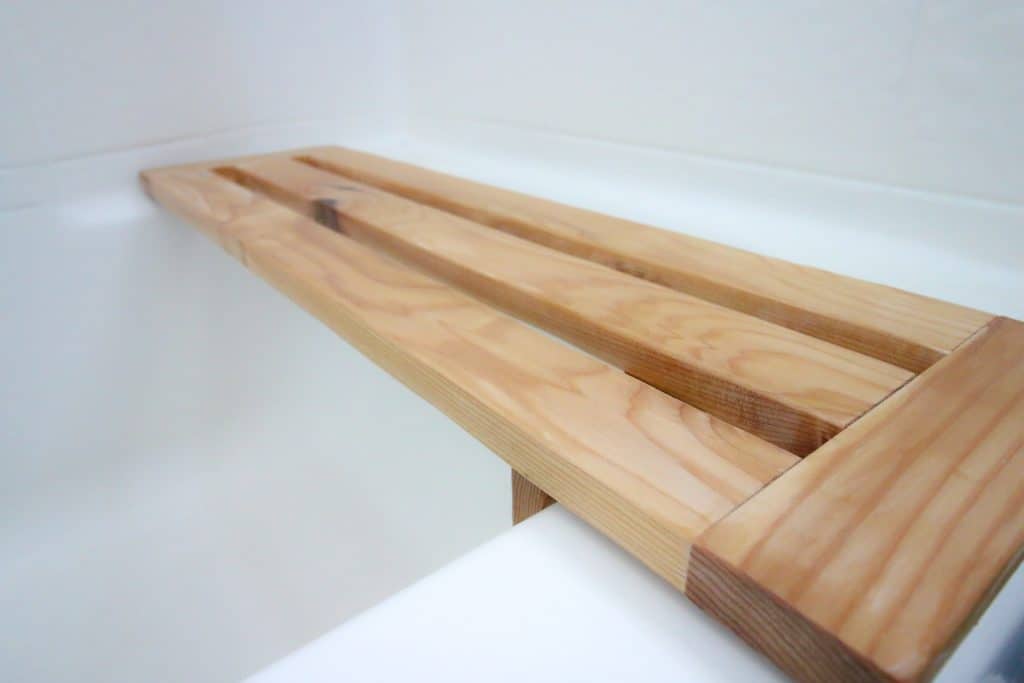
How to build a simple tub bench
I started by measuring the tub. It's a fairly standard shower/tub combo, but make sure to measure for your tub bench first.
I measured from the edge of the tub to the wall, being careful to take any curved areas into consideration.
My whole bench is 28" wide. I used ¾" thick cedar for this project because cedar holds up well in areas of high moisture. Makes a lot of sense for a tub seat.
Check out all of our DIY woodworking projects for the bathroom!
Making cuts for a tub bench
We like to start by making all the cuts, drilling holes and sanding before assembling. This makes it easy to build when ready.
First cut two 8"x2" pieces for the sides.
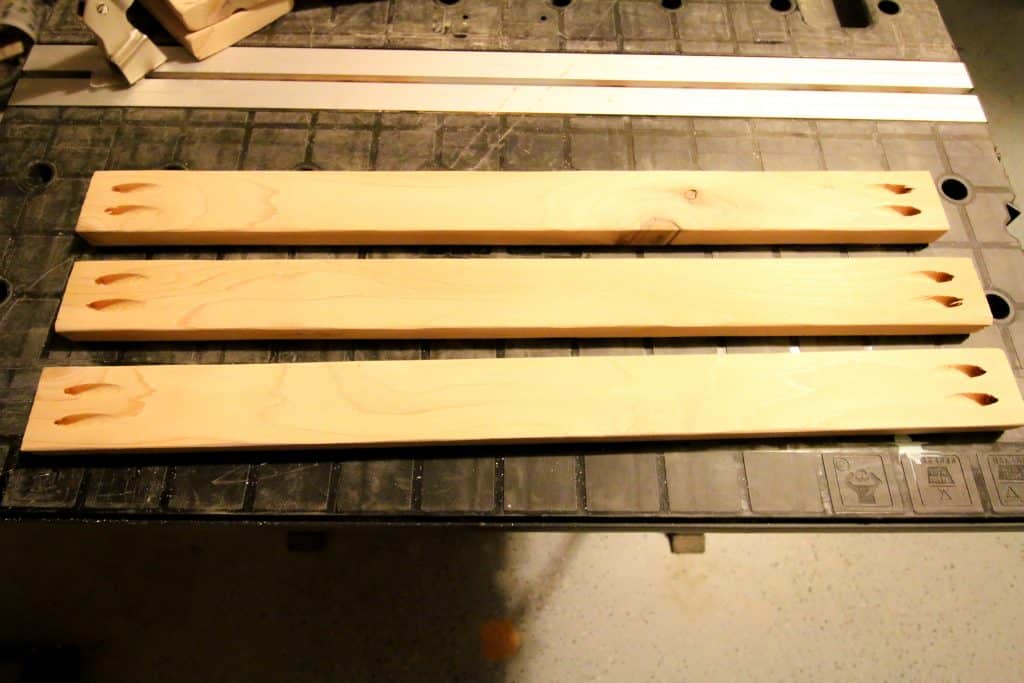
Then, cut three 24"x2" pieces for the slats. Add two pocket holes to each end.
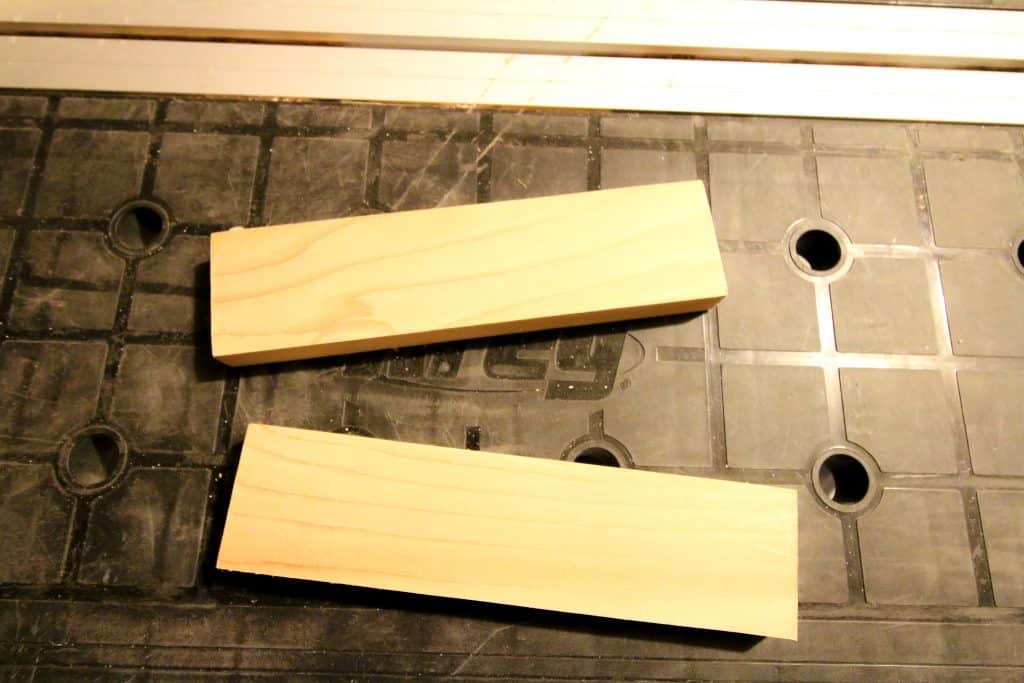
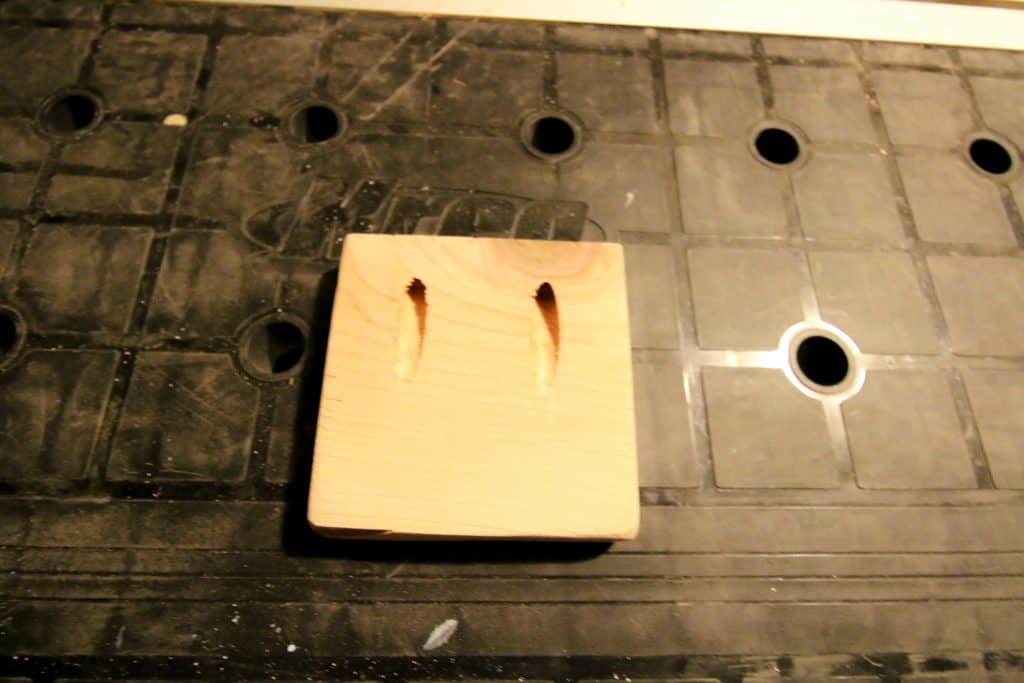
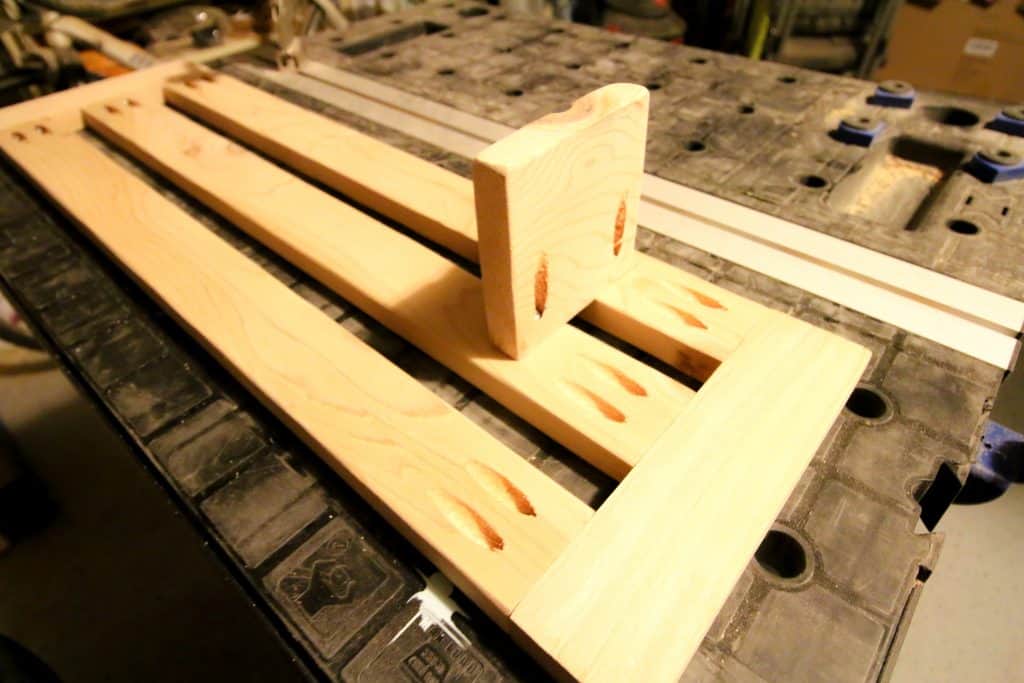
Finally, cut one 4"x4" support piece to hold the seat in place against the wall of the tub. Add two pocket holes to one side.
Assembly
Start by attaching a slat flush with each end of the side pieces. I used Kreg Jig pocket holes to attach them to make sure it was secure since I'd be sitting on it.
I then added another slat in the middle with a one inch gap.
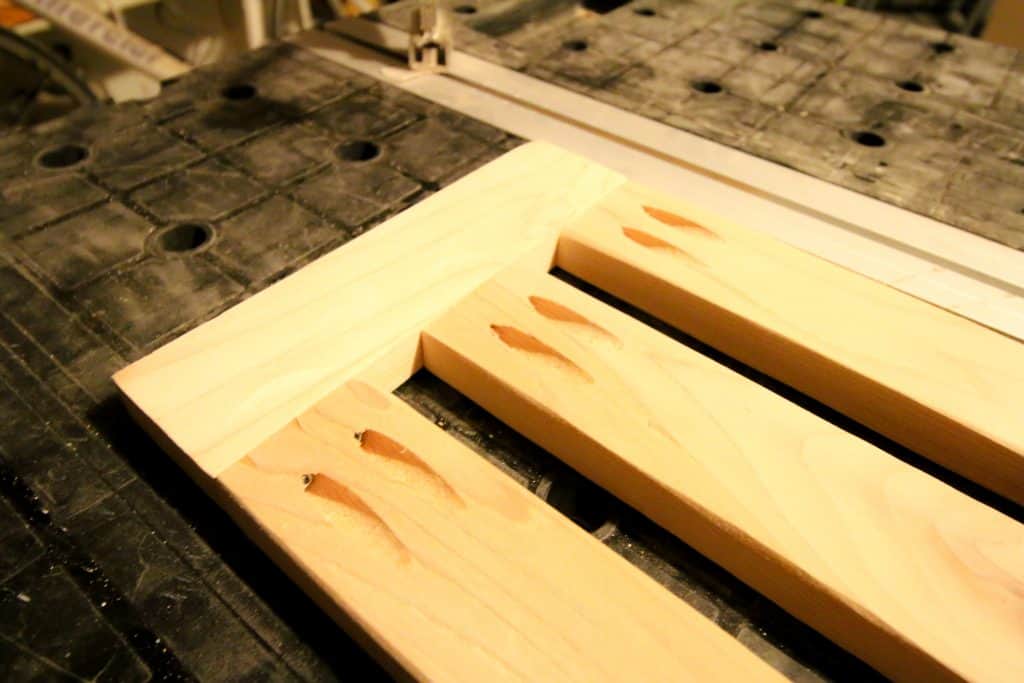
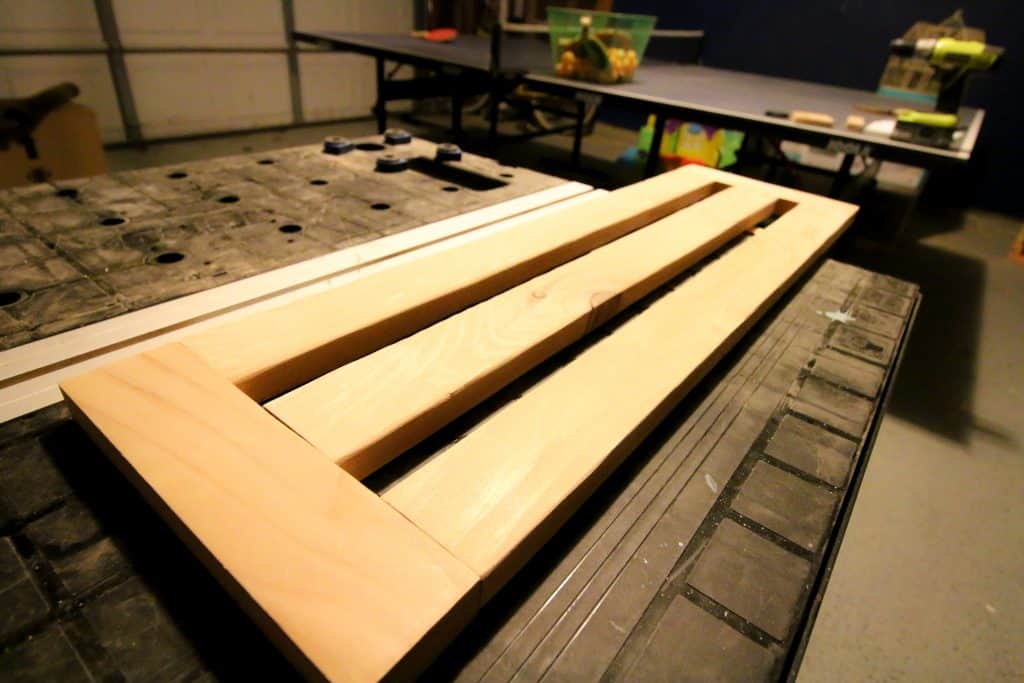
Once the top was built, I took it up to the tub to verify the placement of the support piece. I again used pocket holes to firmly attach this piece to the underside of the bench.
Even though it was cedar, I decided to finish off the whole thing with a coat of spar urethane for added protection.
Finished Product
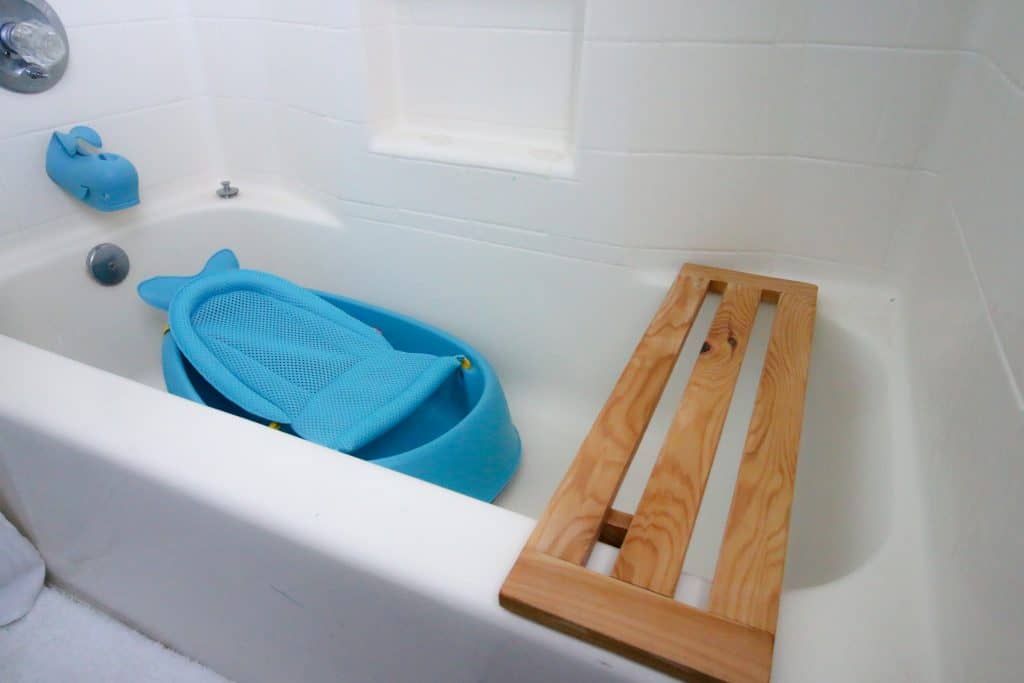
The bathtub bench turned out great!
I love that this is a removable tub seat that we can take out when guests use the shower. For us, this tub bench is perfect for sitting on when bathing our child in his baby tub.

Want to build a free standing seat for a shower? Get our free plans to build a DIY shower stool!
Interested in the Kreg Jig? Click here to read our full Kreg Jig review and to see all of our Kreg Jig projects.
New to the Kreg Jig? Here is a step by step guide on how to use a Kreg Jig!
OR grab our FREE Kreg Jig Cheat Sheet here! Download the cheat sheet!
Looking for something?
We've been doing this since 2012 so we have a LOT of blog posts!
Search stuff like: Ceiling Projects | DIY Plant Stands | Thrift Flips


Hey there, I'm Sean, the woodworking enthusiast and builder behind CharlestonCrafted.com! Since 2012, I've been sharing the magic of turning raw materials into beautiful creations. I love teaching others the art and satisfaction of woodworking and DIY. I try to inspire fellow crafters to make something extraordinary out of nothing at all.





Penny says
Wow Great idea, some of the best things in life are the simple things that are right under our noses, but we just don't see it. Good on you for thinking this one up, and sharing with us all
Scott says
I like this idea but your measurements are a bit confusing to me. 24"x4" I'm assuming 3 1x4 x 28", 4"x4" to me is a post. I'm also assuming 1 1x4x4"? Can someone clarify measurements? I guess I can figure this out but for new readers this might be very confusing.
Sean says
Sorry if you didn't think it was clear, Scott. Everything was made with common 1" boards, so actually 3/4" thick. When 4"x4", that was referring to the two sides, with the implication that the third length is the thickness, which is 3/4".
Ivory says
Amazing project. Amazing idea. This would have sooooo helped my knees when I would bath my kids when they were babies. Excellent idea. Thanks for sharing