Want to create a plant wall inside your home? You will love this tutorial for how to create a living wall on a budget! These DIY wall planters are a simple hack that make a big impact. Keep reading for more ideas!
Do you ever walk into a room or store and just feel overwhelmed with inspiration? That was me when I visited the Arhaus store in Raleigh with my mom last month.
They have the most beautiful little vignettes and styled "rooms" throughout the huuuuge store.
Seriously, so much inspiration.
Here are all of my favorite Large DIY Wall Decor Ideas!
DIY Indoor Plant Wall
I snapped tons of pictures on my phone, but one really stood out to me.
It was this outdoor scene with a sort of woosh of pots hanging on the wall, dripping moss.
It gave me vibes from my butterfly shell art and I was totally here for it.
So, I had to figure out how to replicate this plant wall decor in our home.
See all of my favorite living wall ideas here!
Selecting a wall
The first step was to select a wall to hang it on. Easier said than done, because most of the walls in our house are already fully decorated.
I also wanted to be sure to select a wall that got great indirect sunlight. That's important if you want to keep actual plants in the planters - they will need light.
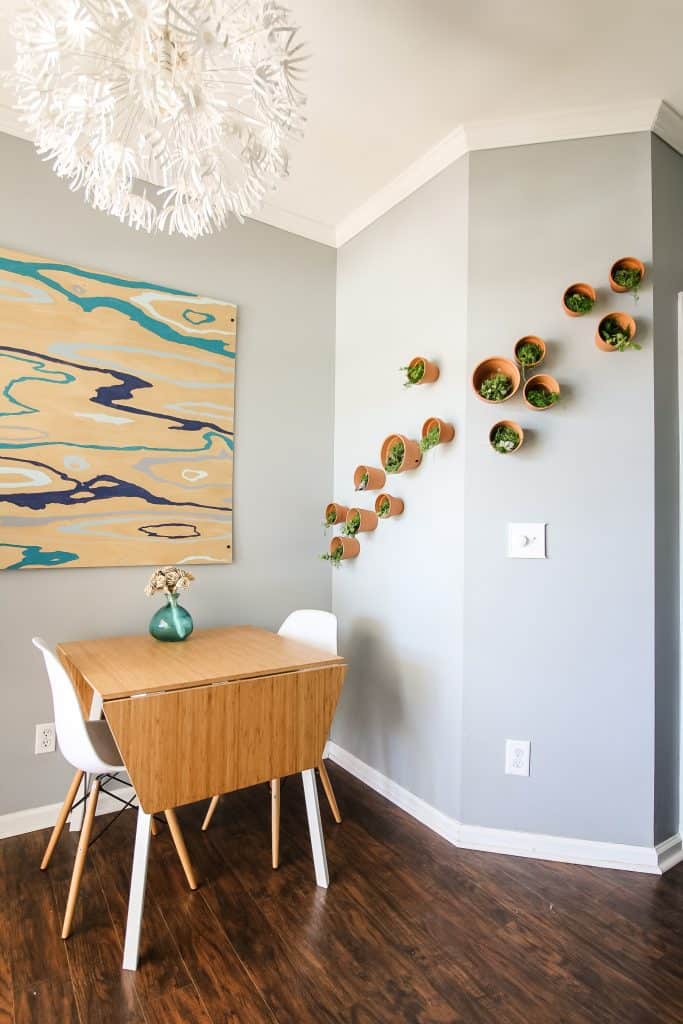
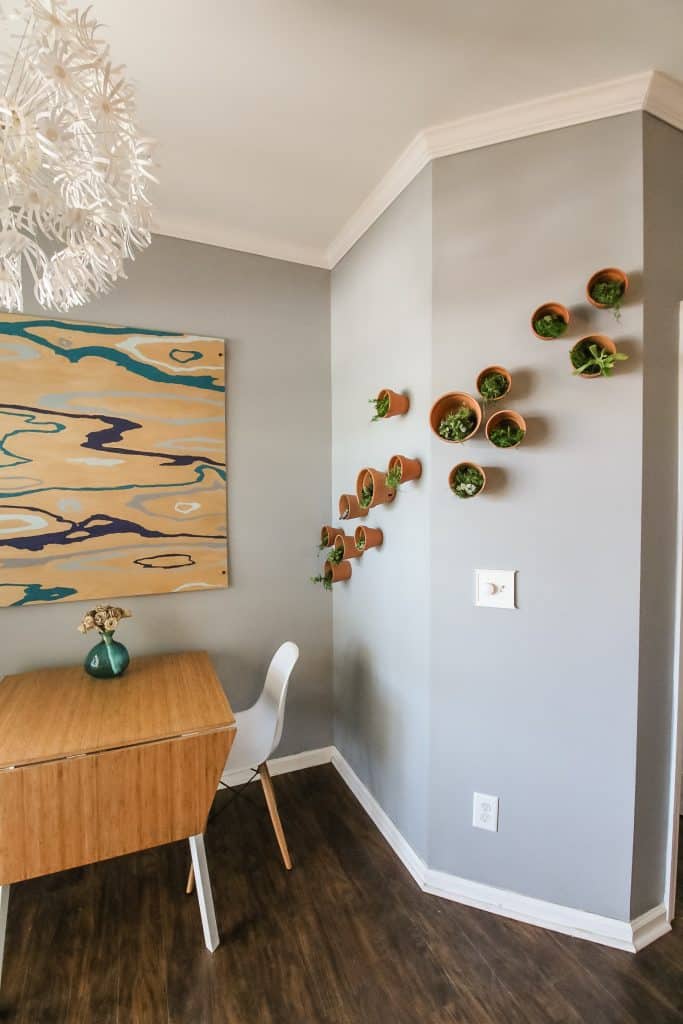
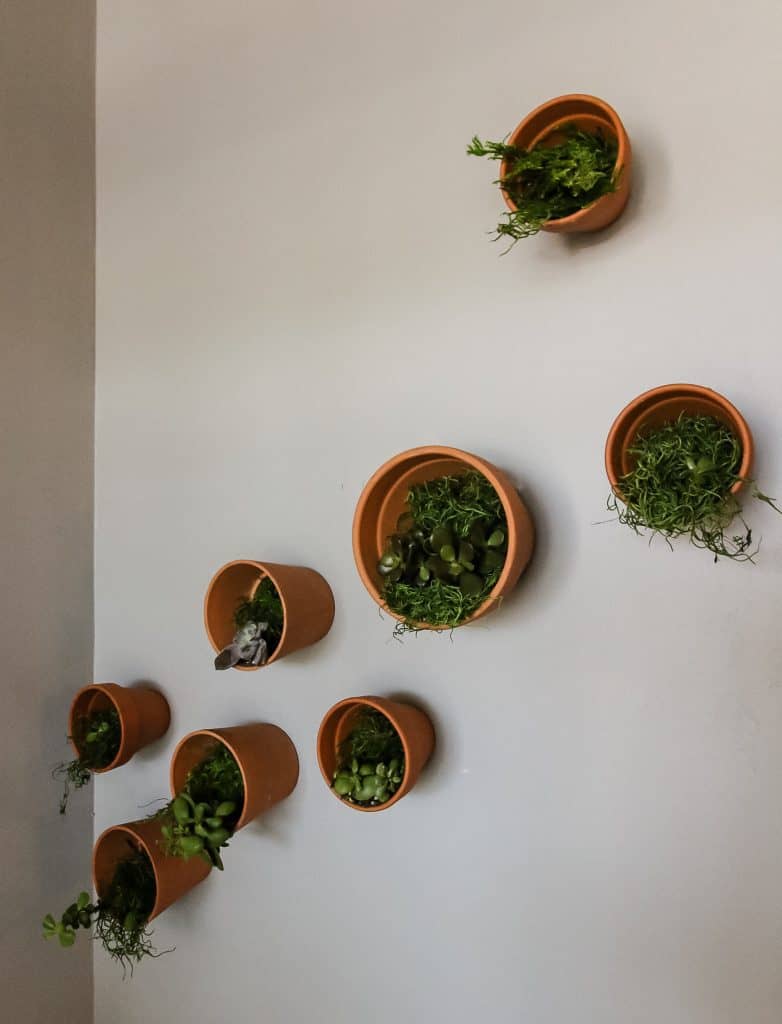
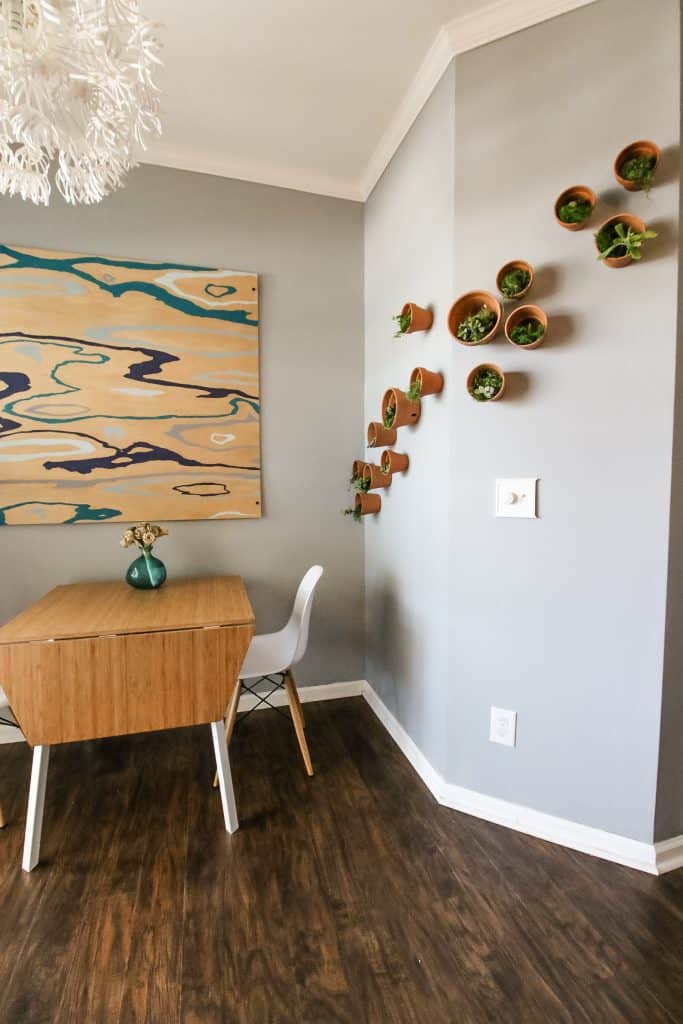
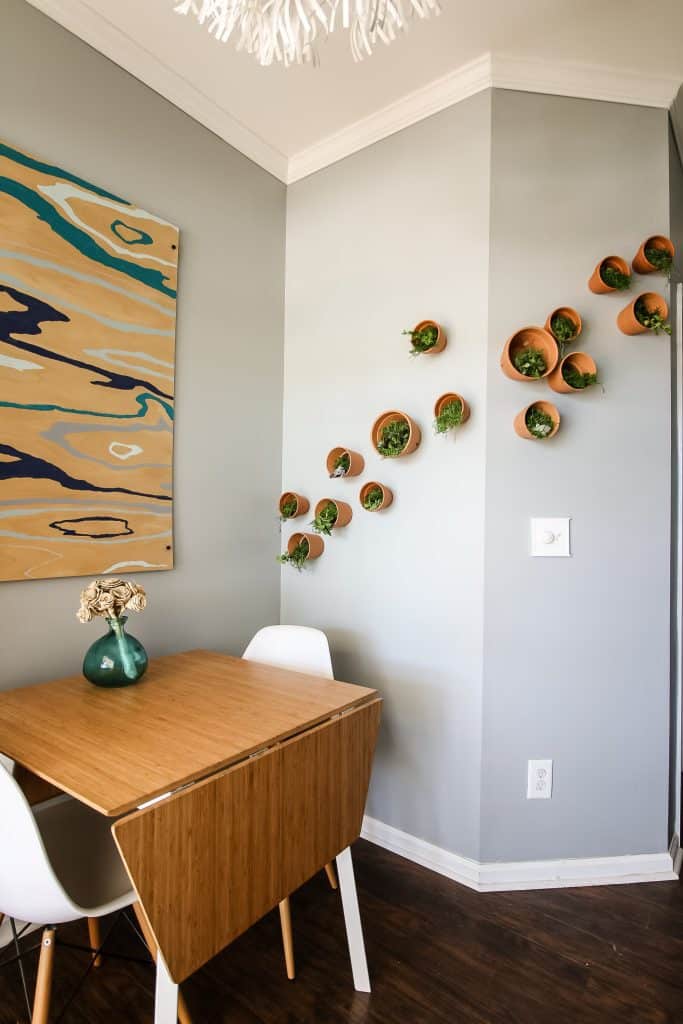
We decided to hang this plant wall on the wall in our breakfast nook. It's actually a bit diagonal which makes it really interesting, I think.
This wall is also right across from our sliding glass door, so it gets great light.
Shopping for supplies
The next step for this project was shopping for supplies. You will need:
- Pots
- Screws & washers
- Moss
- Succulents
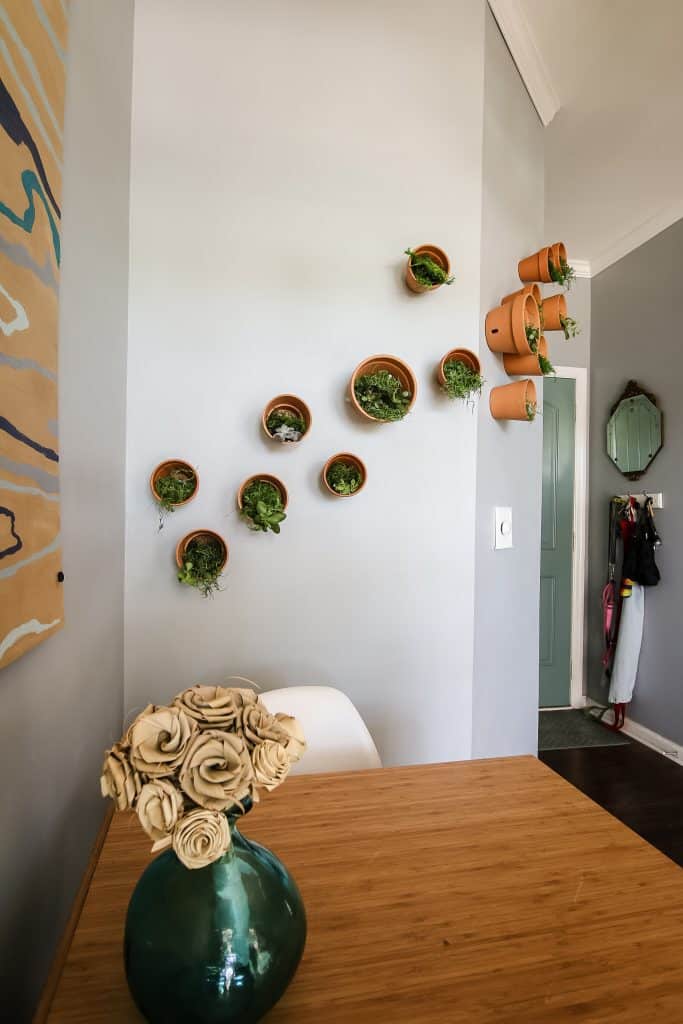
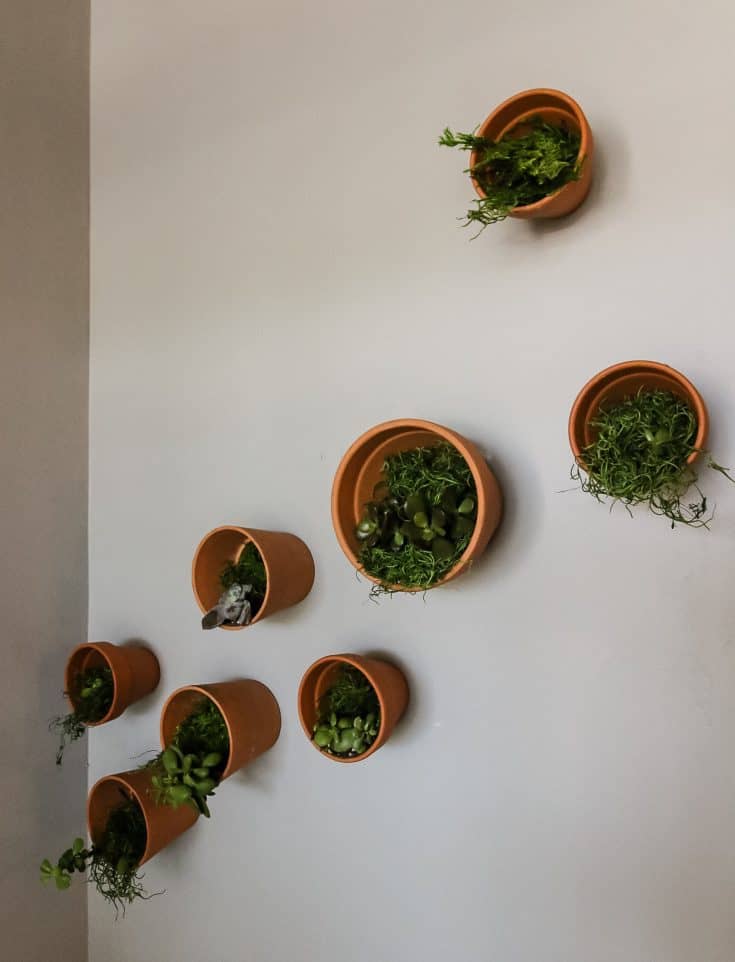
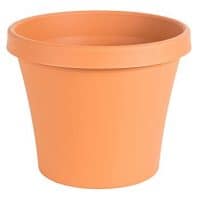
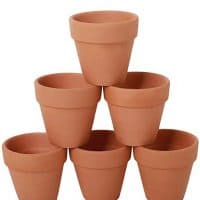
I wanted terra-cotta pots and got a mix of 3 styles - in 4" diameter and 6" diameter.
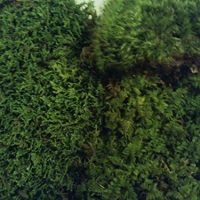
The moss I ordered from Amazon was brown and crispy which was not my favorite.
The floral section at my local Walmart actually had much better, green preserved moss.
The succulents I bought in one large planter at the Home Depot. My warning here is to buy very short plants only.
The tall ones are too top heavy to work in these planters.
Design the layout
The next step is to design your layout.
I used removable painters tape to add dots where I wanted the pots to go. I sat with this for a while to be sure I liked the overall look.
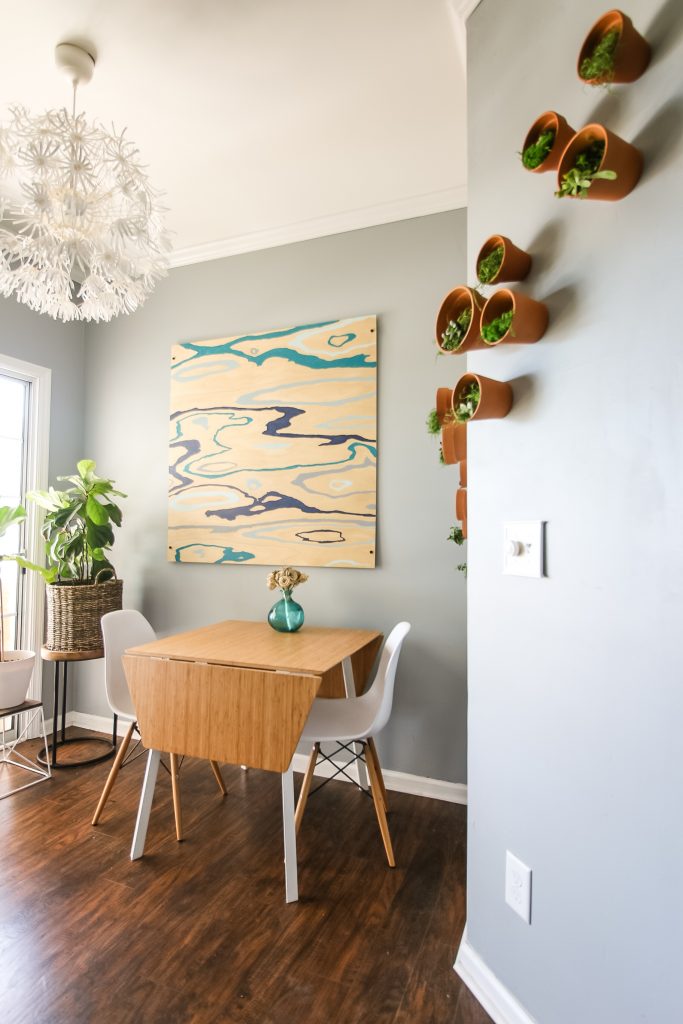
I designed the layout for 21 pots. However, once we got them hung, I decided I only wanted 15.
Sometimes, less is more. I liked having some irregular gaps for an amorphous look.
Hanging the wall planters
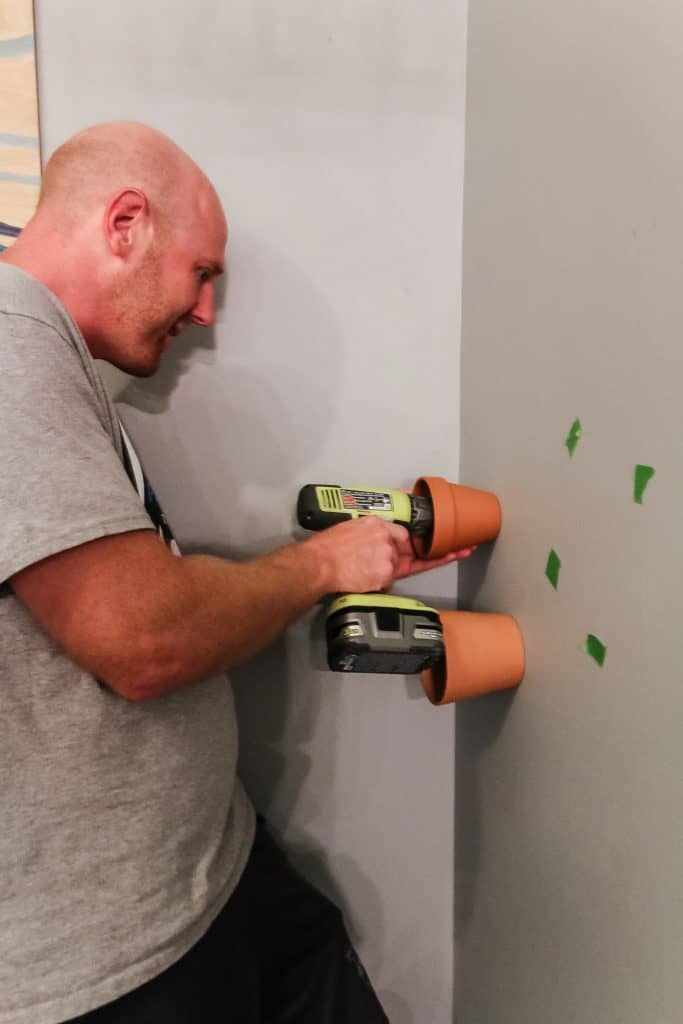
It was surprisingly easy to hang the pots on the wall.
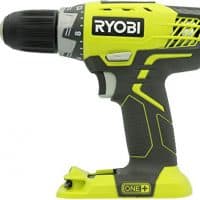
First, Sean drilled a hole and added an anchor for each pot that would not hang on a stud.
These ceramic pots are pretty heavy and so this was important to ensure that they are secure.
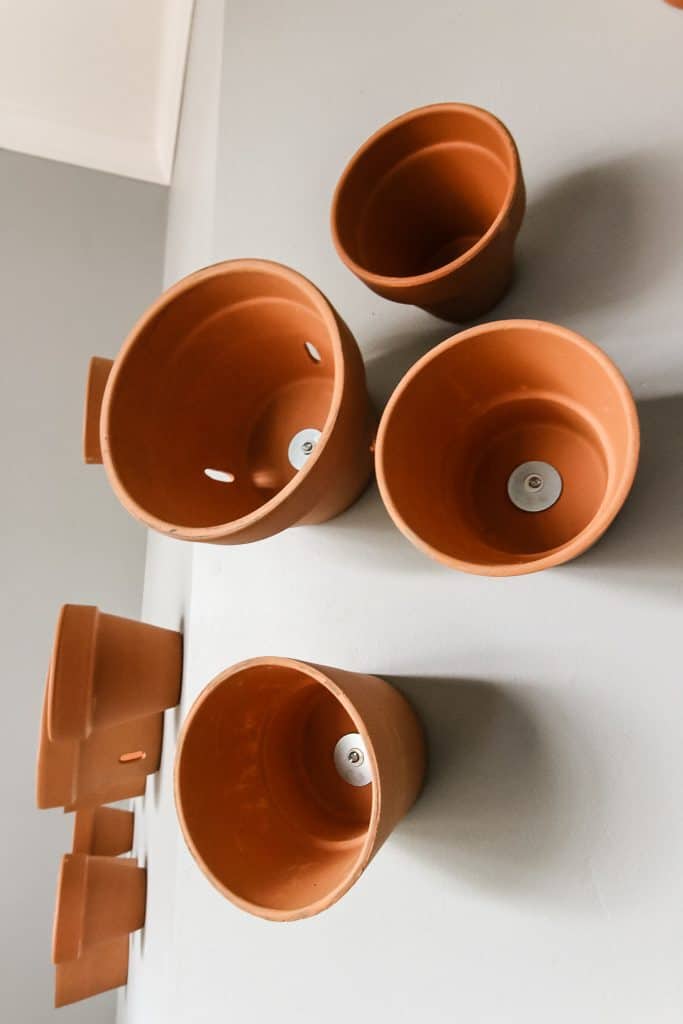
Then, screw the pot in through the drainage hole in the bottom of the pot.
Our pots had pretty large holes, so we added (one or two) washers to the screw before screwing them in. This held the pot secure.
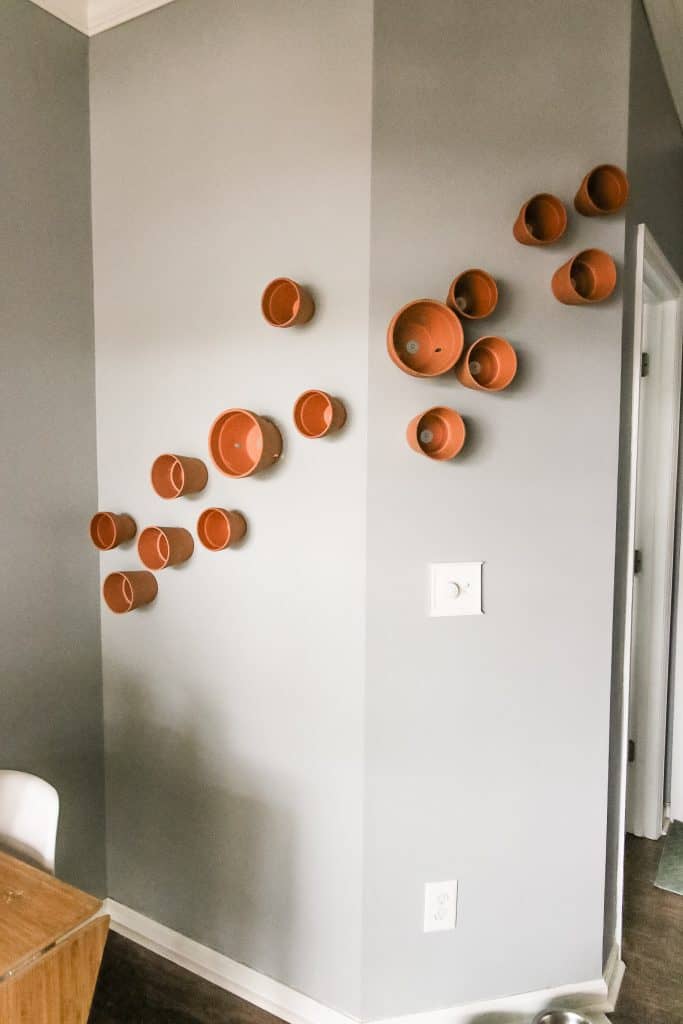
Don't screw in too tightly or you will risk cracking the pot. But, they should feel very secure.
Filling the pots
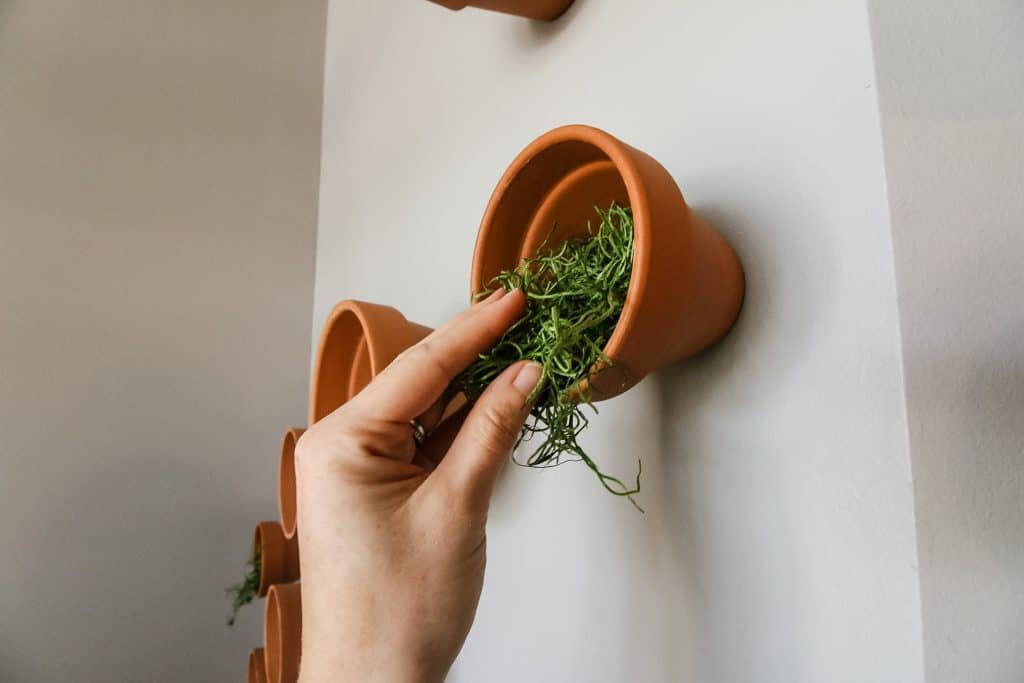
Next is the fun step - filling the pots! I added moss to about ⅔ of the pots.
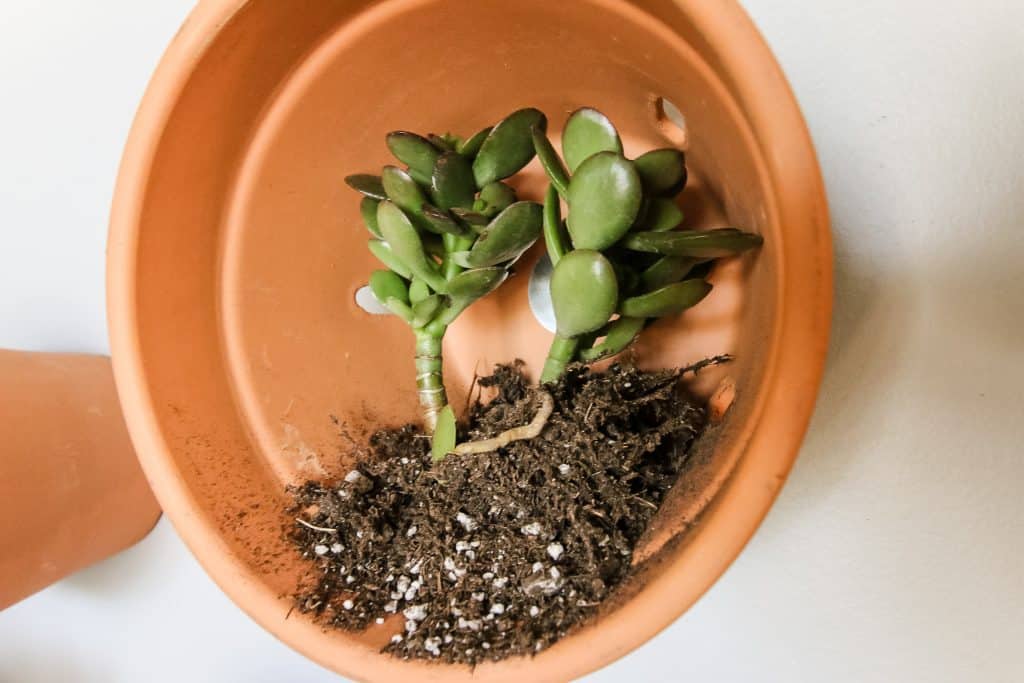
The remaining pots, I added small succulents lying on their sides with the dirt from their original Home Depot planter.
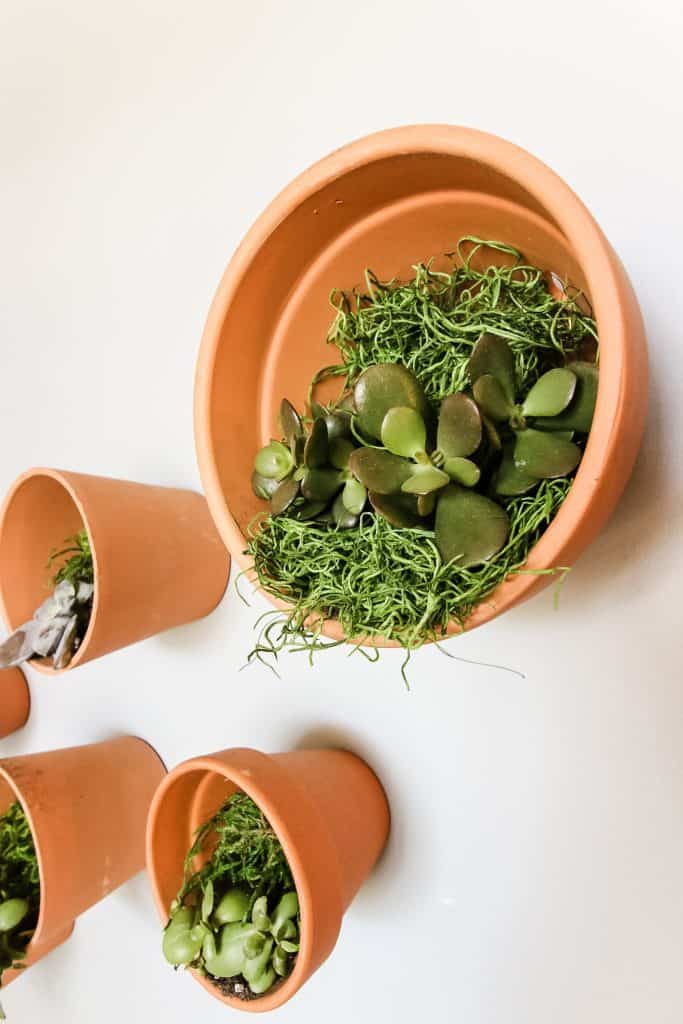
I covered the base of the succulents with moss for a cohesive look.
Some of the pots with just moss, I added small broken-off pieces from the succulents. We will see if they grow roots and survive!
Watering the plants
We have gotten a lot of questions about how we water these plants!
All we do is mist them with a spray bottle occasionally.
I went on to add a lot of air plants to these pots. Those, you just soak in water occasionally.
No water ever hits the drywall, or soaks into the terra cotta or drips down at all!
Can I do a Terra Cotta pot wall outside?
Yes! Doing this same terra cotta pot wall outside or on the porch would look great! Hang these from a fence or on your porch wall for a great accent look.
If you hang these on a fence, you could do any type of plant that needs sun and water, but just remember to keep them tucked in so they don't blow away.
Statement piece in the house
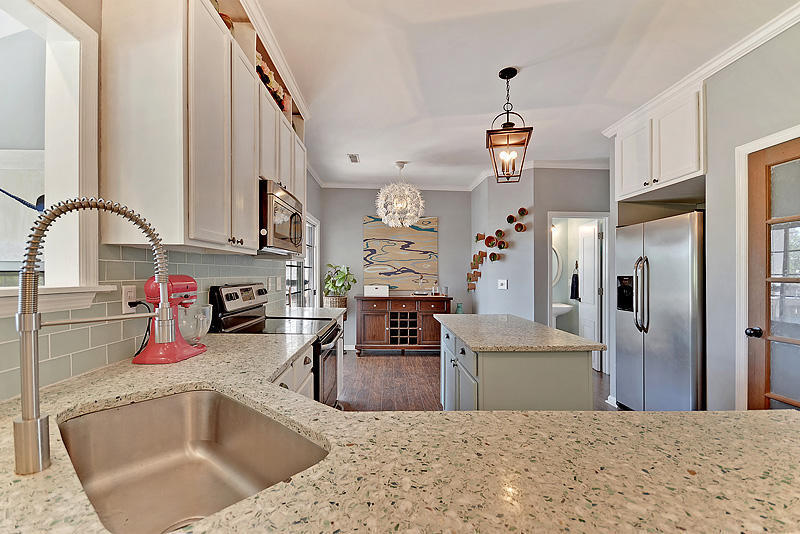
When we sold this house, we offered to take the pots down and patch the holes. Our realtor said we should leave them!
They were really popular at our showings and we left them when we moved out!
I am obsessed with how this plant wall turned out.
It was a really budget friendly take on a living wall and is an easy way to create a vertical garden inside your home.
How to hang a DIY Indoor Plant Wall
Love the look of a living plant wall? Here is how to get it on a budget by hanging terra cotta pots on your wall!
Materials
- Terra cotta pots
- Succulents
- Moss
- Screws
- Washers
Tools
- Drill
Instructions
- Select a wall - be sure it gets good indirect sunlight.
- Decide on a layout - use removable tape to determine the layout of pots on your wall
- Shop for supplies
- Hang the pots!
- First, drill an anchor into the wall for security.
- Then, screw a screw and then a washer and put that into the pot hole. Screw into the anchor.
- Once the pots are all up, fill them!
- Add moss or plants. Cover any soil with moss.
- You can spray with a spray bottle to water.
Recommended Products
As an Amazon Associate and member of other affiliate programs, I earn from qualifying purchases.
Looking for something?
We've been doing this since 2012 so we have a LOT of blog posts!
Search stuff like: Ceiling Projects | DIY Plant Stands | Thrift Flips


Hello, I'm Morgan, half of the creative force behind CharlestonCrafted.com! With a passion for DIY that dates back to 2012, I've transformed three homes and now I'm dedicated to helping others craft their dream spaces. Let's turn your house into a home together!





Shirley Fee says
Please reconsider using real plants as you will end up damaging your drywall from the moisture. Using artificial plants would be great, they have some now that look real.
Sean says
I could see that being an issue with things that need a lot of watering! Faux is definitely one way to go.