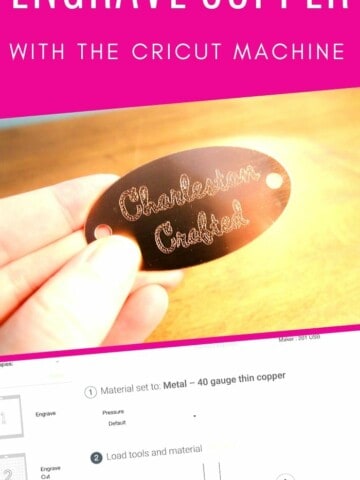
Considering purchasing the Cricut Engraving tool? Here is everything you need to know to get started!
One of the things that I was most excited about when I got my Cricut Maker was the ability to swap out the blades for their new, hyper-specific tools.
I ordered a few blades when I got started just to experiment with. One of them was the Engraving tip.
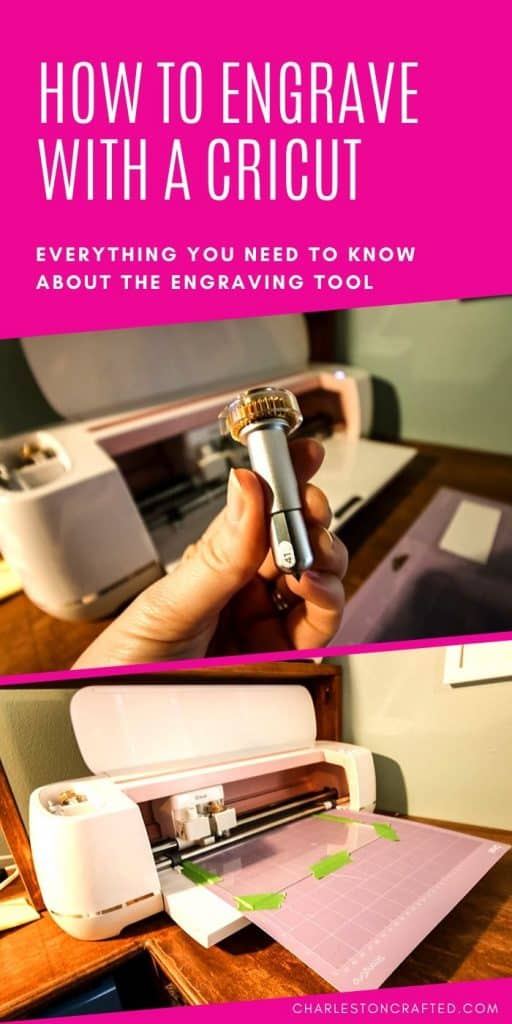
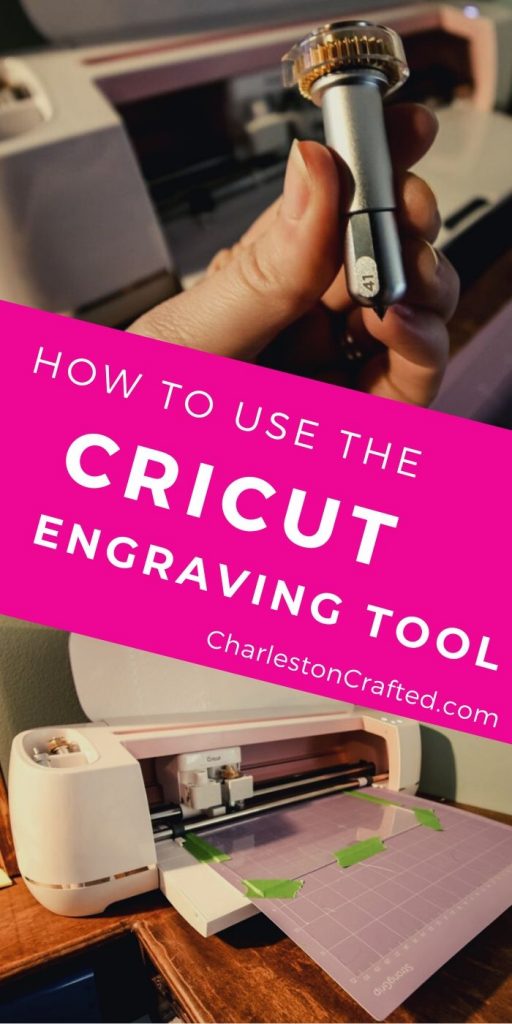
The Cricut Engraving Blade
The engraving blade is used to engrave things! It inscribes, etches, or makes a permanent imprint on your material.
What machines does the Cricut Engraving tip work on?
The engraving tip - like all of the quickswap housing blades - ONLY works on the Cricut Maker machines.
You can read my comparison of the Explore Air 2 and Maker, but the biggest benefit to the Maker is that all of the new blades that Cricut releases will be Maker-only.
Where can I buy the Cricut Engraving tip?
Click here to buy the Engraving tool on Amazon
The engraving tip is labeled with a "41" to help differentiate it from other blades.
What materials can the Engraving tool engrave?
It is important to remember that the engraving blade does not engrave very deeply. It also only engraves the outline of a shape or word - it does not fill it in.
The limit on your machine is 2.4mm thick. However, I was able to engrave 3mm acrylic - it's actually slightly less than 3mm, that's just what they call it. I would say that anything under 3mm will work!
The engraving tool works on:
- Acrylic sheets under 3mm thick
- Soft metal - like aluminum, copper, brass, stainless steel
- Acetate sheets
- Leather - real or faux
Cricut claims that you can engrave thick paper or thin wood with this tool, however, I have never been able to get it to really show up - it's just so, so faint.
How to design an engraving in Design Space
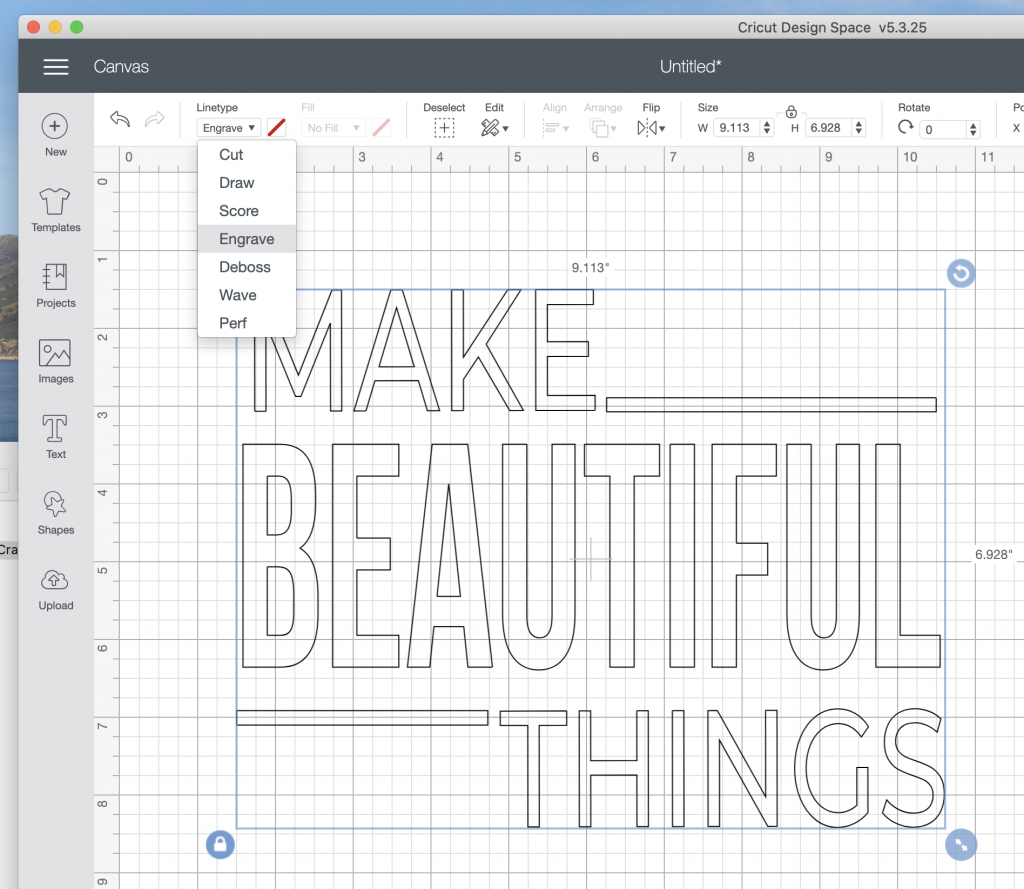
In design space, to change a design to engrave, all you do is:
- Select the design
- In the top left select LINE TYPE
- In the drop down pick ENGRAVE
REMEMBER - it will engrave an OUTLINE of the design. If you want a non-outlined font, you will need to select a WRITING font.
How to engrave acrylic with the engraving tool
I have used this blade to engrave acrylic several times. I actually prefer engraving to cutting vinyl or paper because there's no weeding and no applying it to anything - once your design is ready, it's so quick and easy!
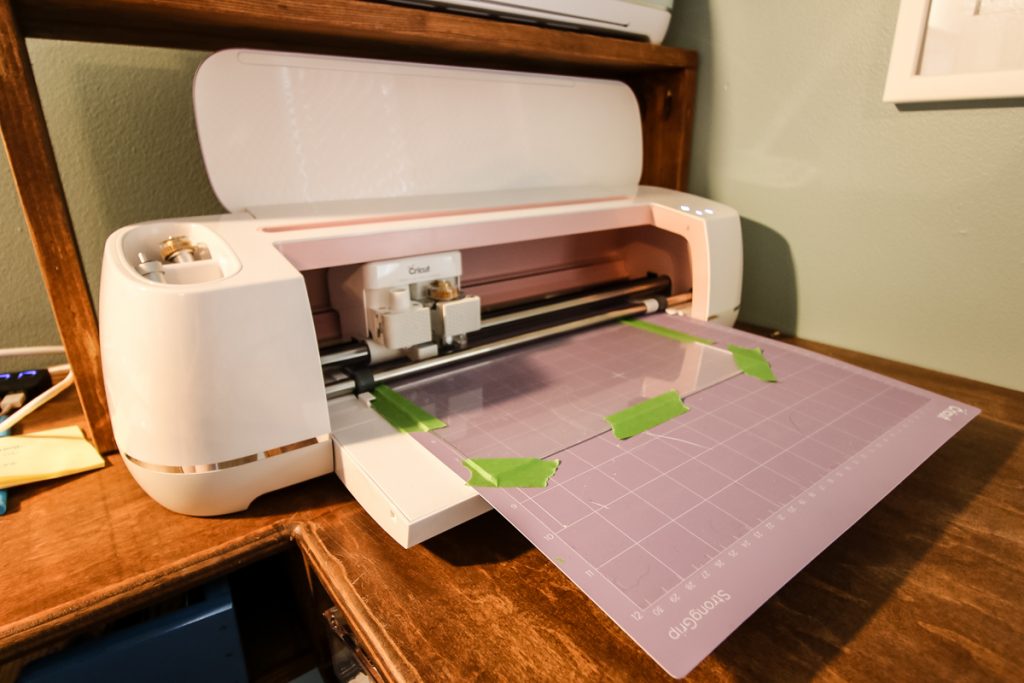
The most important step in engraving is to line up your material on the mat correctly. You want your engraving centered (or wherever you want it) and it will only be correct if you place the material precisely on your mat.
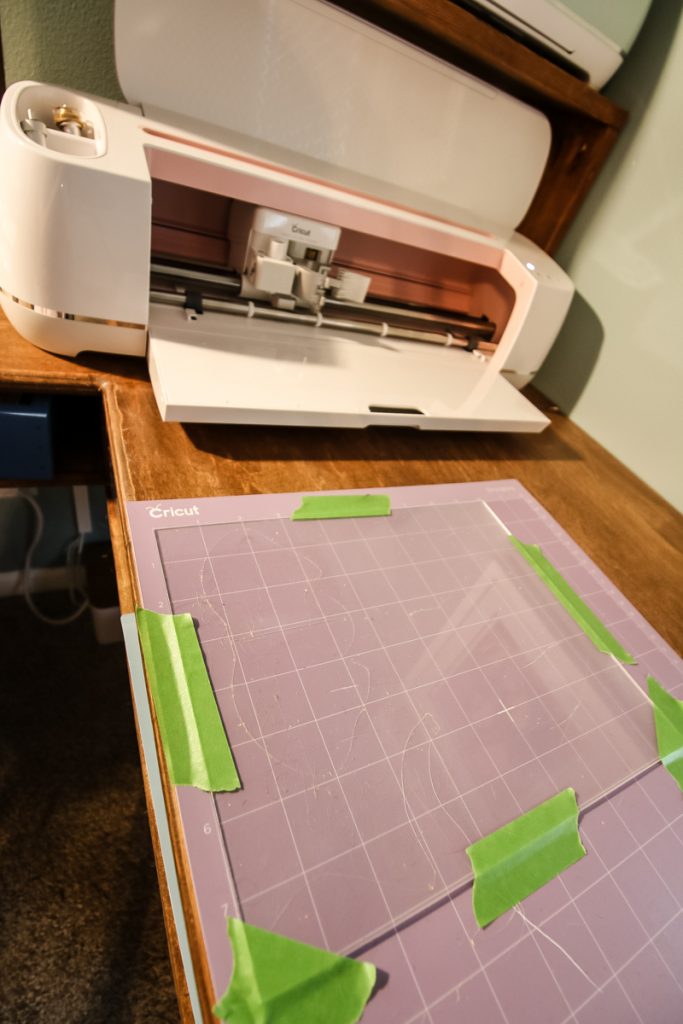
I use the purple mat and add tape to the sides to hole my acrylic in place.
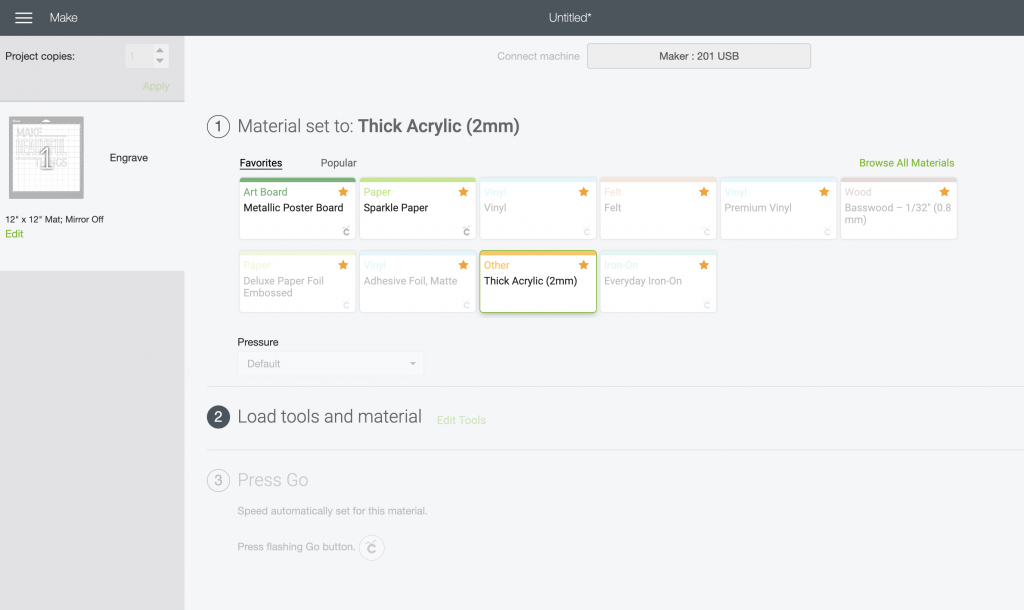
Design space has settings for acrylic. Just be sure to select the correct thickness that corresponds to your material!
Once the project has completed, You will need to wipe the tiny shreds of plastic off the engraving. I use a cloth or T shirt to do this!
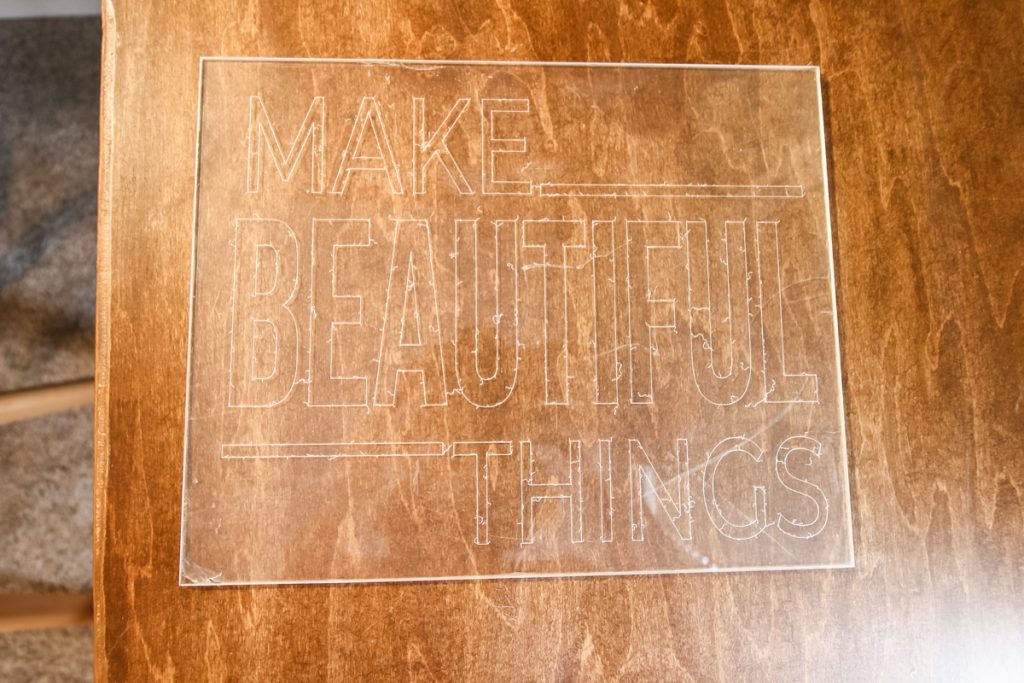
Cricut Engraving Tool Projects
There are tons of projects that you can engrave with Cricut.
- Engraved & painted acrylic sign
- Engraved leather tags
- Metal engraved bracelets
- Engraving stainless steel servers
Want to learn about more Cricut blades? Be sure to check out my review of the wavy blade?
Looking for something?
We've been doing this since 2012 so we have a LOT of blog posts!
Search stuff like: Ceiling Projects | DIY Plant Stands | Thrift Flips


Hello, I'm Morgan, half of the creative force behind CharlestonCrafted.com! With a passion for DIY that dates back to 2012, I've transformed three homes and now I'm dedicated to helping others craft their dream spaces. Let's turn your house into a home together!


