Want to build a custom closet system for your home? Here is the tried + true methods we have used to create a custom built closet shelving system in many closets in our home!
The worst thing about new homes is the single builder grade wire shelf in each closet. One of the biggest home improvements we've learned to do is build DIY custom closet systems in every closet.
We did this for each closet in our old home and plan to do that in every closet in our new home, starting with our son's room.
You can hire a closet company to make over your closet - but that is super expensive. It's actually easy and affordable to DIY your closet space!
We're making over our son's room and one of the first projects is to redo the reach in closet in there. Having a functional closet means good storage.
There are lots of ways to do a DIY custom closet system, so let's dive into the particulars.
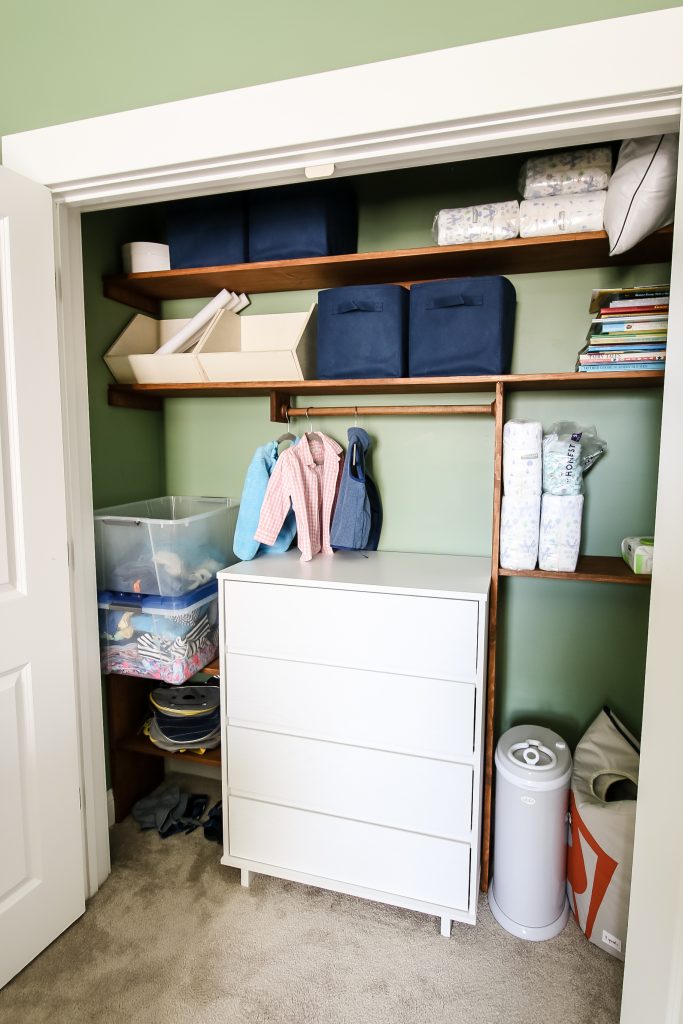
DIY custom closet system
We first did a custom closet when we made over the master closet in our old house. It was a huge closet with one wire rod/shelf across one wall. We made it so much more functional by more than doubling the storage space.
Since then, we've done a custom closet system in every closet whenever we've redone a room.
This has ranged from a custom nursery closet to an entryway closet to a craft supply closet.
DIY custom closet systems are so great because you can make them unique to your needs.
Whether you have lots of dresses or tons of shoes, you can make the closet system fit what you have.
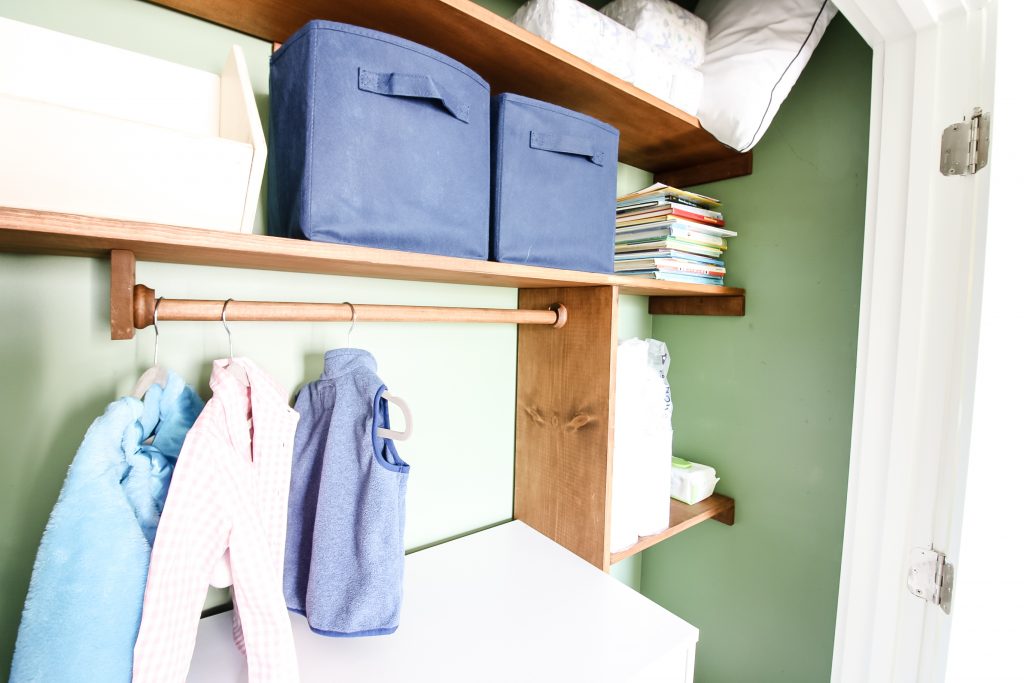
Now in our new house, the first room we're tackling with a closet is our son's room. Now that he's two years old, he has totally different needs than when he was a baby.
Here's how we went about planning and building his DIY custom closet!
How to plan a DIY custom closet
You can design your closet on paper or in a simple program like Excel.
When planning a DIY custom closet system for your space, there are a number of things to think about.
The biggest thing to remember when planning a custom closet is to maximize space.
Builders put one wire shelf about halfway up a wall. This is cheap and usually "good enough." However, it's not very functional.
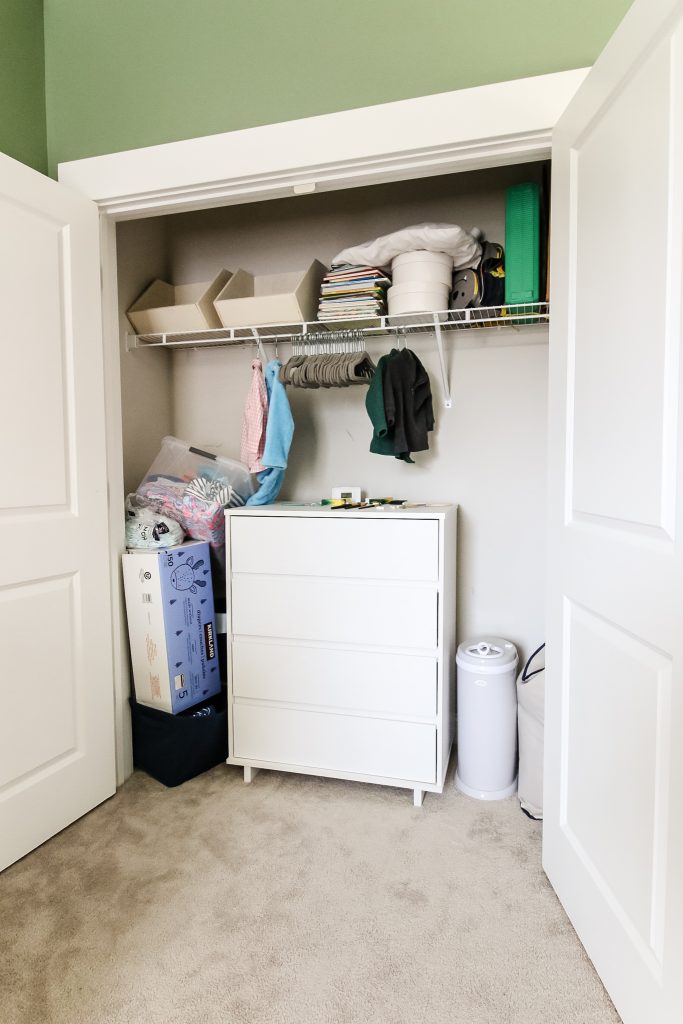
Closets are tall enough to be able to fit two levels on a single wall. This means you should consider building a closet system that is stacked so you can double your clothing storage.
Think about what your needs are and draw out a design that fits your clothing needs.
Other things to consider are the types of clothing you are going to store. Remember, long dresses need more vertical space than t-shirts. Make a list of things you will hang and use that to determine the height of the shelf in the closet.
Consider whether you want to store bins or shoes in the closet as well.
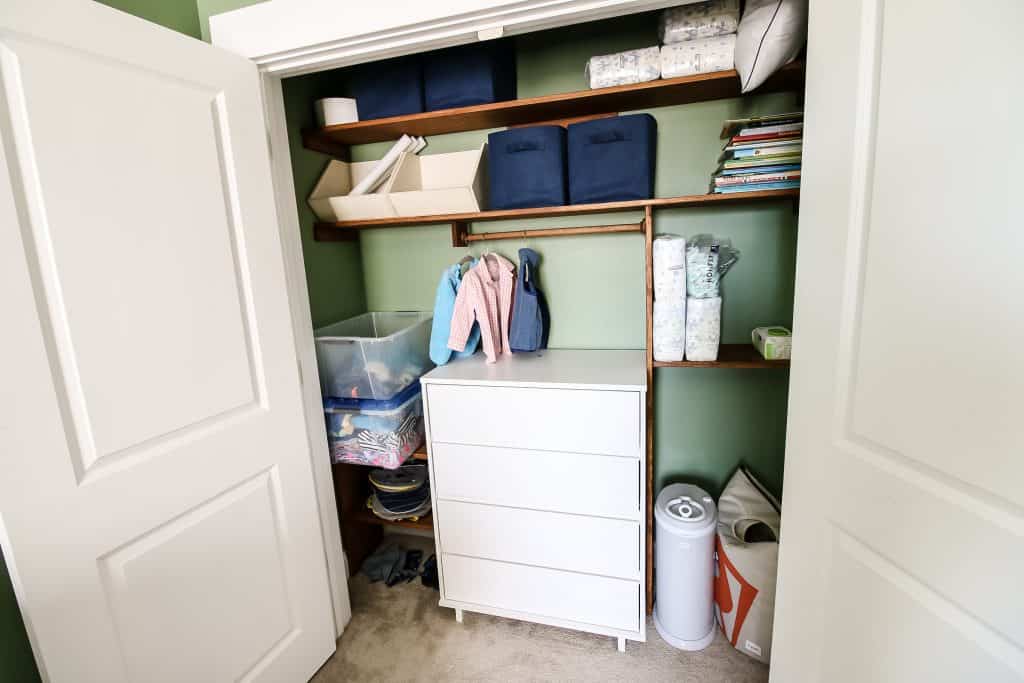
For our son's toddler closet, we needed a cubby for diapers, a space to hold his diaper pail and hamper, his dresser and shelves for small bins.
Since he's a toddler, he doesn't really have any clothes that need to be hung, so we only put up a small rod.
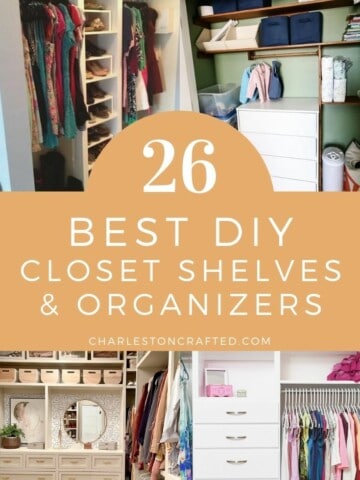
Check out 24 DIY closet system ideas!
What depth shelves go in a closet?
This can be 100% customized to fit your space, but we usually use 1x12 lumber which makes for 12 inches deep.
12 inch shelves pair nicely with hanging rods for bedroom closets, placing a shelf directly above a wooden rod.
How to build a custom closet from scratch
When building a DIY custom closet, draw out your sketch with measurements and use 1 inch x 12 inch boards to create the shelves.
You can also build closet shelves with plywood - select plywood that is at least 1" thick for custom shelves. You might want to consider adding edge banding to plywood shelves to hide the stacked sides of plywood.
These are thick enough to hold up and deep enough to hold items. It's also the depth of a standard wire shelf.
Make sure you plan for boards that go vertical as well as horizontal so you have support. Cut vertical boards the same length at the shelf height for perfect supports!
Clothes are heavy, so the rods and shelves need to be stable.
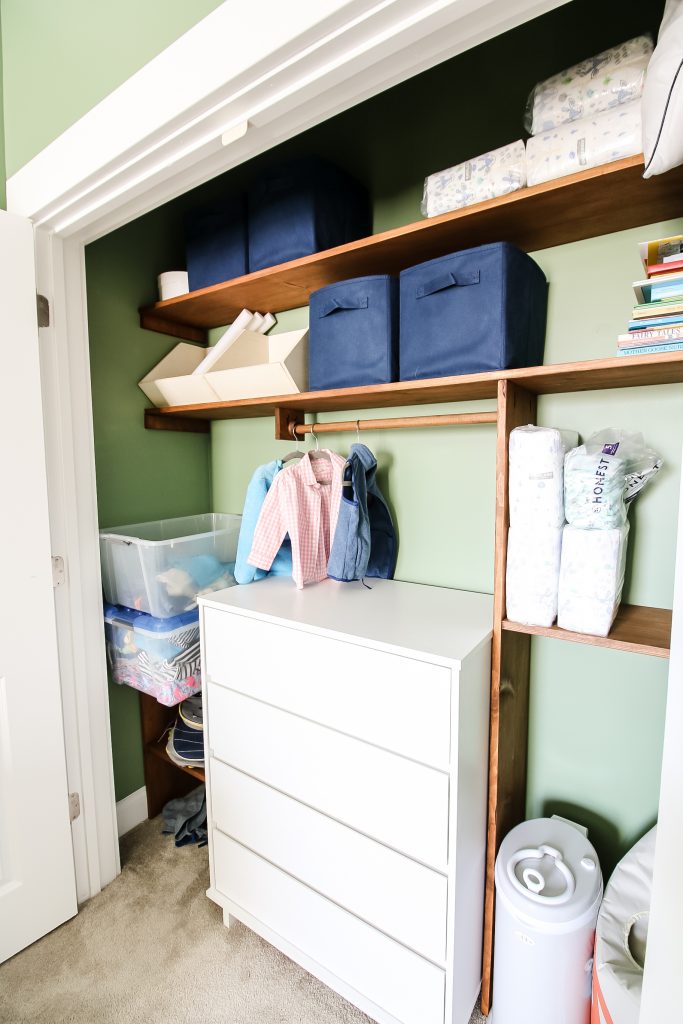
Plan to have support beams for the shelves and use anchors in dry wall.
Tools needed to build a custom closet system:
- Circular or table saw
- Drill or driver
- Orbital sander
- Pocket hole jig
- Level
- Measuring tape
We use pocket holes and wood glue to connect boards, but you can also use L-brackets and corner braces.
We prefer to use our Kreg Jig to connect all the boards because it's a very user-friendly system.
Also, remember to start with the main structural boards first, then add additional sectional boards.
Steps to build a custom closet system:
- Design your closet based on what you plan to store in each space
- Remove everything in your closet - including shelving
- Patch any holes in the wall and sand smooth
- Paint the walls inside your closet
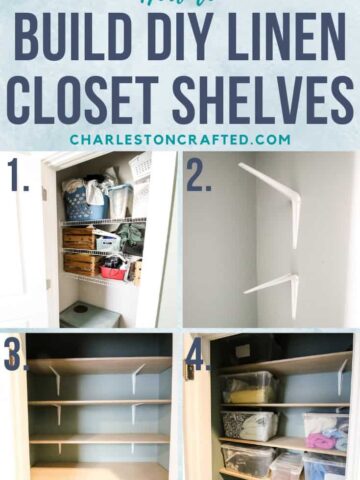
- If you want horizontal sheets, cut wooden strips (cleats) and nail or screw them horizontally into the walls to act as shelf braces
- For longer shelves, add vertical support boards
- Screw closet rod brackets directly into the wall or into vertical support beams
- Add additional hooks or accessories
Elements of a custom closet
Elements of a custom closet typically include space for each type of clothing to make closet organization super easy.
Design different spaces to be different heights to fit short dresses, shirts, long hanging dresses, or pants.
You can also include DIY wood closet shelves for bins or stacked items as well as hooks for hanging items.
I also like to put a half shelf (half the depth of other shelves) very high up in a closet. This is a great way to take advantage of wasted space way up high.
In our pantry, we even did a slim shelf inside and above the doorway - it was totally hidden but another way to add an extra top shelf.
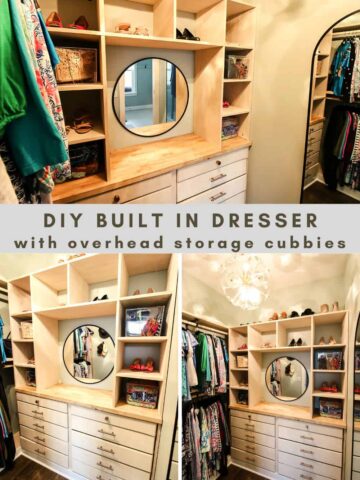
I really like adding the first base shelf six inched above the floor. This creates tiny cubbies, perfect for shoes! See what I mean in our old master closet.
DIY toddler closet system
With kid's closets and toddler closets, you want to remember to have storage space for bins for clothes that don't yet fit and they have outgrown.
You also don't need spaces to be as tall because the clothes are shorter.
Lots of hanging rods for hanging clothes are probably not as necessary because toddlers usually have mostly folded clothing.
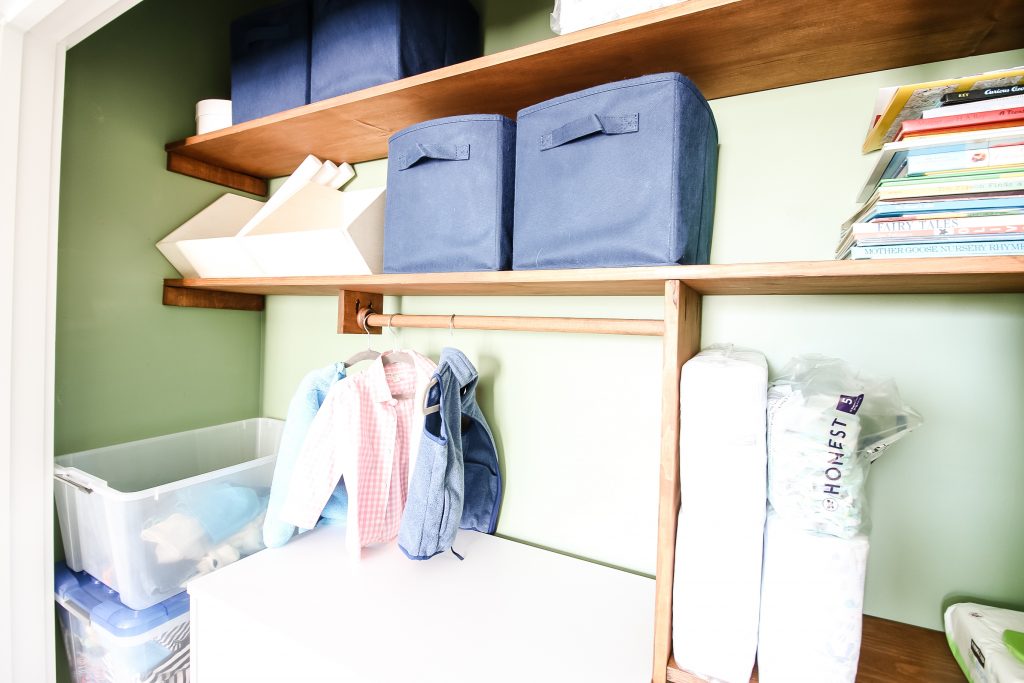
You probably want to have a shelf for your extra diapers and wipes if you are past having a changing table.
Consider extra shelves up higher as well for items that you don't use as often. But remember that you can only store smaller things that fit up through the gap.
DIY closet shelving ideas
We've done several custom closet build outs that have served different needs.
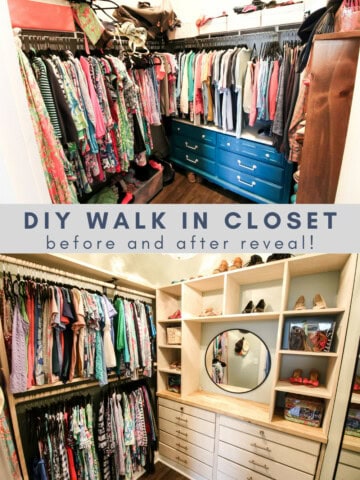
Our original master walk in closet was designed to have two main layers for shirts and pants, a long section on one side for formal dresses, and sections underneath for shoes and bins.
Our nursery closet had lots of little shelves for small bins and a taller area for clear bins for clothes that didn't fit at that moment.
When we did our entryway closet, we focused on coat storage, but also needed hooks for brooms, shelves for shoe bins and upper storage shelves.
How much does a DIY custom closet cost?
A DIY custom closet system doesn't cost that much money. The cost is almost exclusively based on the price of the wood you need.
A DIY closet system is probably going to cost you $100-200 depending on the size of your closet, what materials you already have on hand, and what accessories you want.
Compare this to a custom closet system that you purchase or have installed by a professional, which will cost thousands of dollars.
Any more questions about how to make your own custom closet?
Looking for something?
We've been doing this since 2012 so we have a LOT of blog posts!
Search stuff like: Ceiling Projects | DIY Plant Stands | Thrift Flips


Hey there, I'm Sean, the woodworking enthusiast and builder behind CharlestonCrafted.com! Since 2012, I've been sharing the magic of turning raw materials into beautiful creations. I love teaching others the art and satisfaction of woodworking and DIY. I try to inspire fellow crafters to make something extraordinary out of nothing at all.


Ivory says
Aww, so cute. I love the end results, very pretty and useful. Thanks for sharing