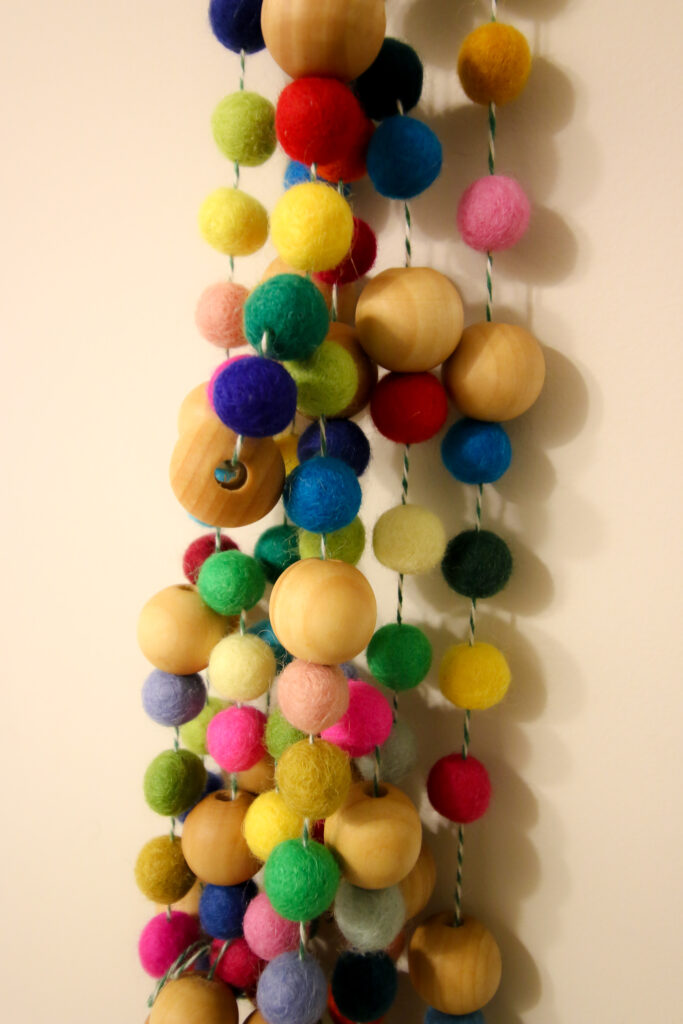
Want to add a colorful felt ball garland to your holiday or home decor? Here is the easiest way to make one yourself!
I am really loving decorating with bold colors in Luke's room.
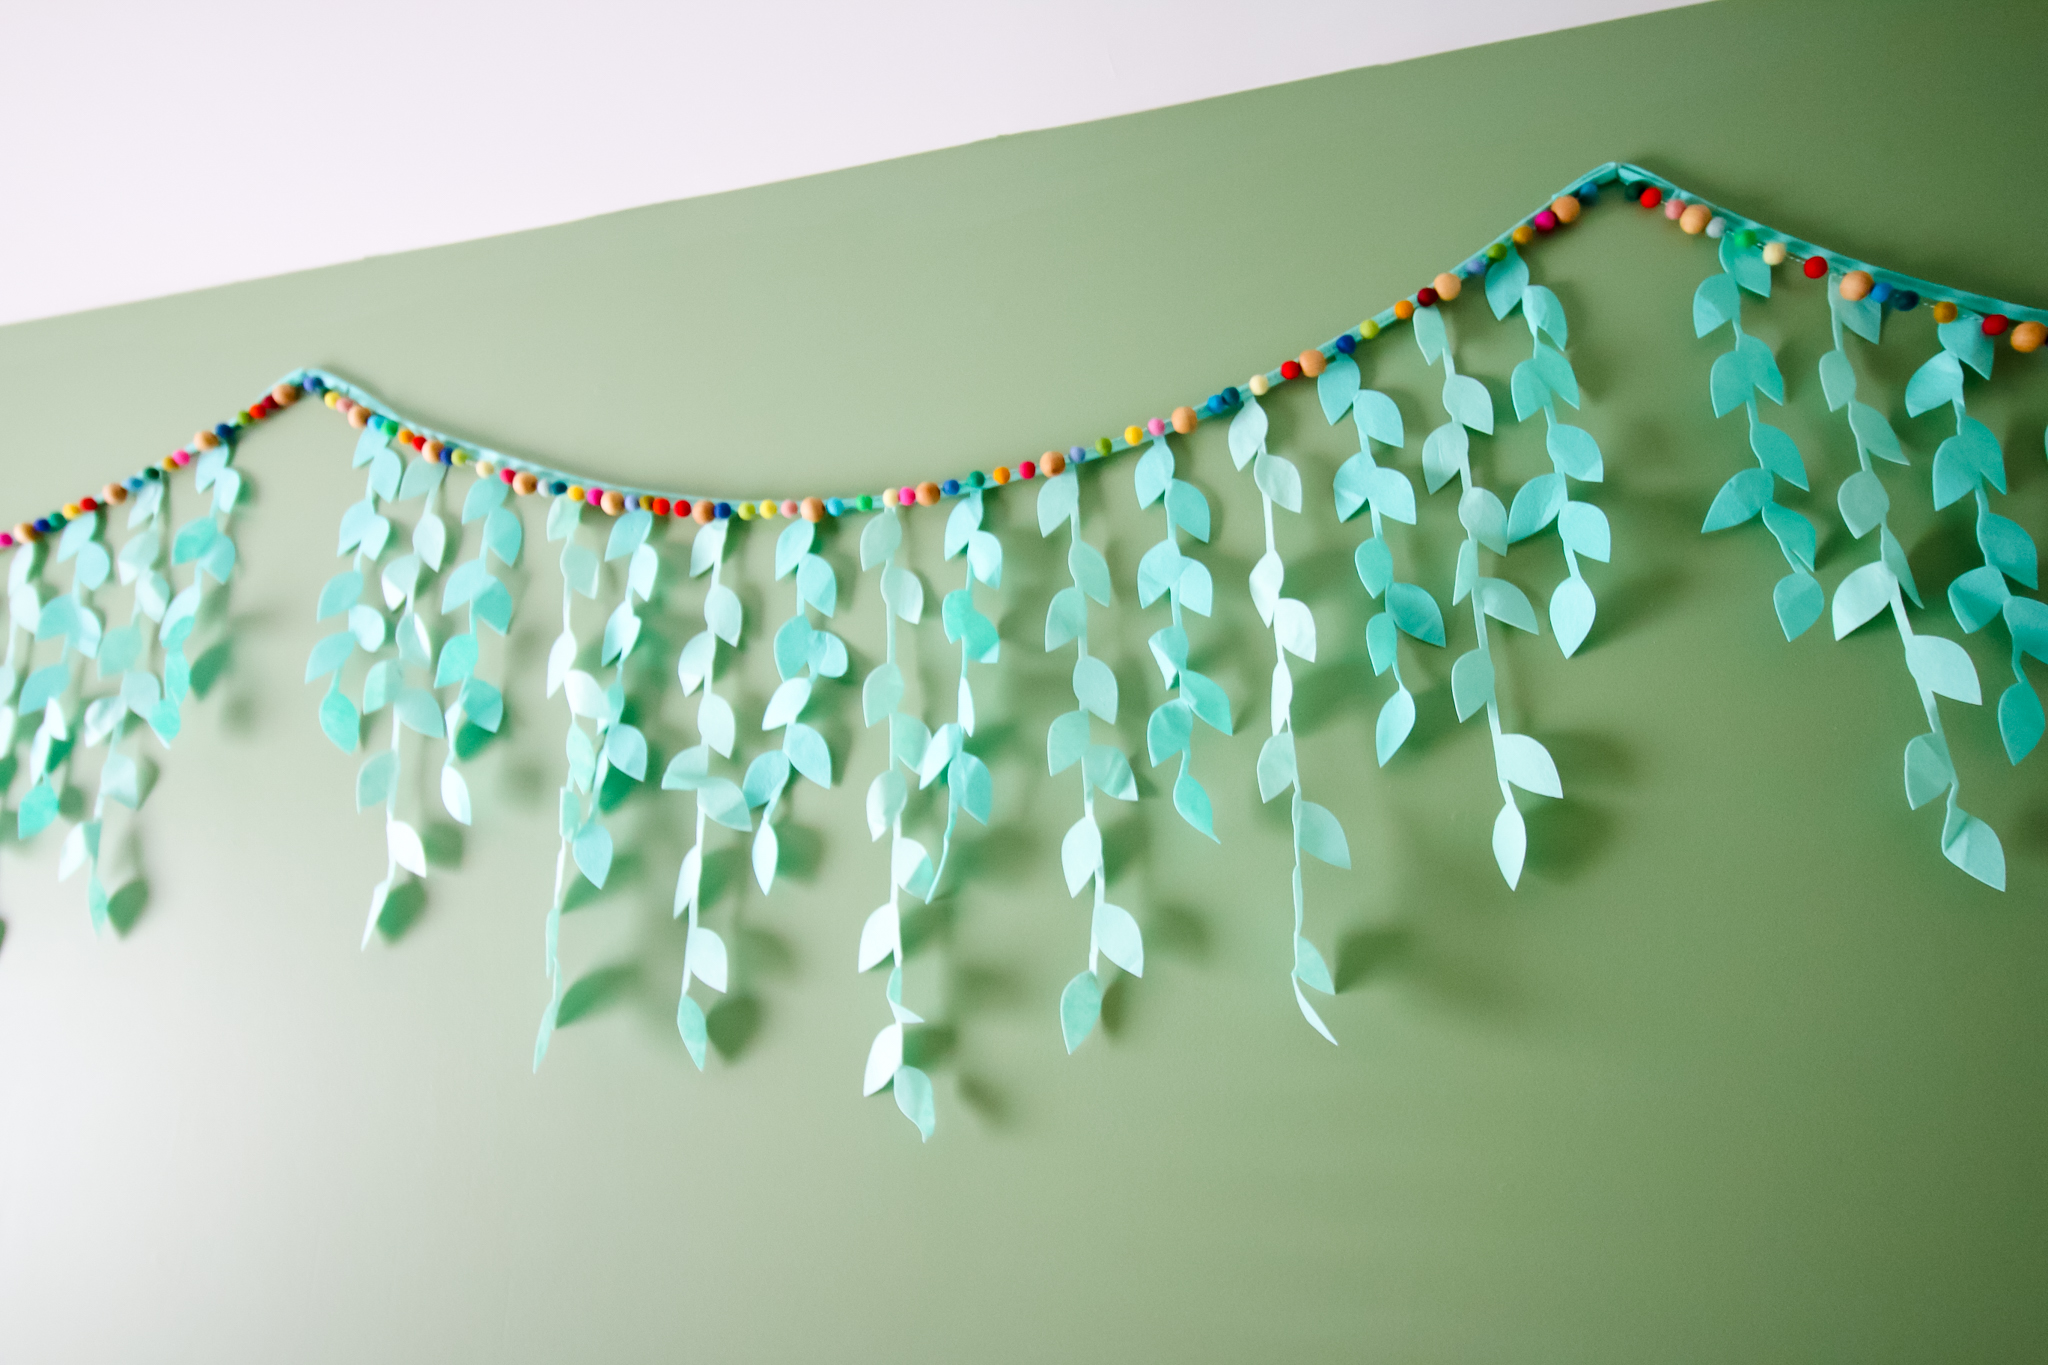
We recently hung a felt leaf garland over his crib, but being across from the extremely colorful mural, the green on green felt a little boring.
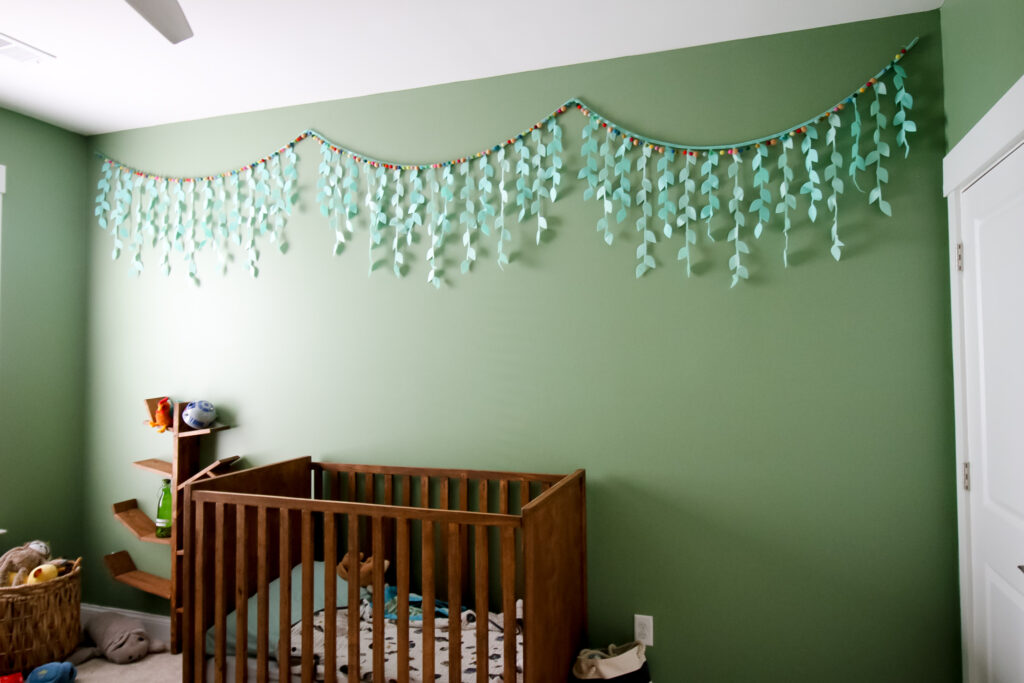
I decided to add a pop of color along the ribbon of the garland - in the form of a DIY pom pom garland!
Pom pom garlands are just pops of fun and color. I was excited to make one using felt pom poms in a rainbow of colors.
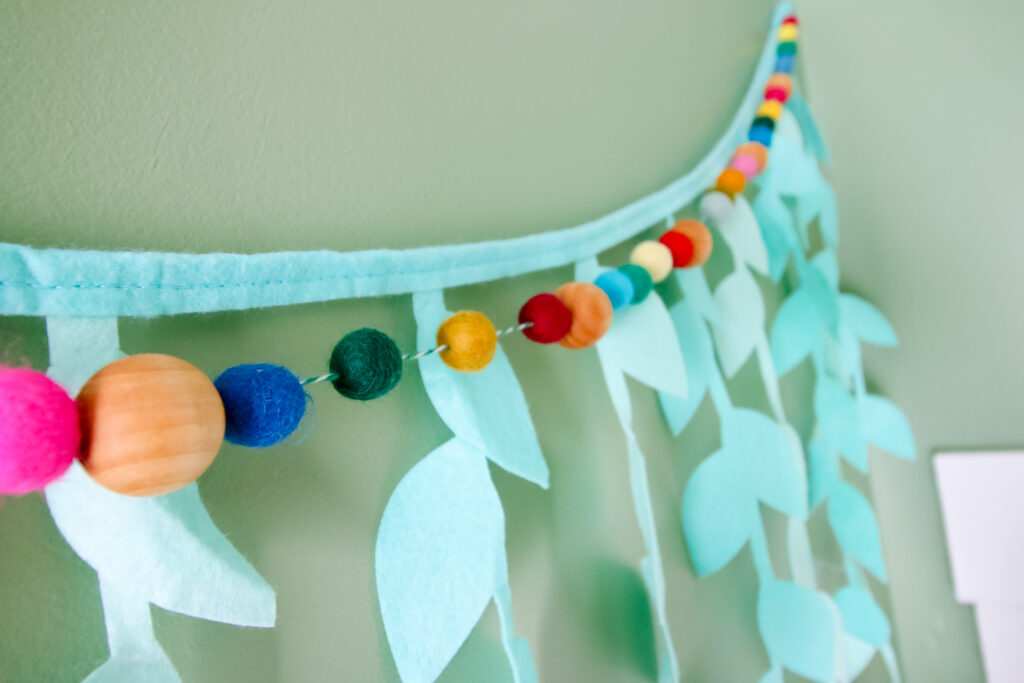
What type of pom poms do you use for a felt ball garland?
For this project, I didn't use regular craft store pom poms but felt pom pom balls.
These balls are made from wool felt and come in a variety of colors. This is the exact pack that I used.
If you want to make your own felt balls from roving, you can absolutely do that. Because I wanted a rainbow of colors, it made more sense for me to buy them.
If you want just one or two colors, you can definitely try making them from scratch!
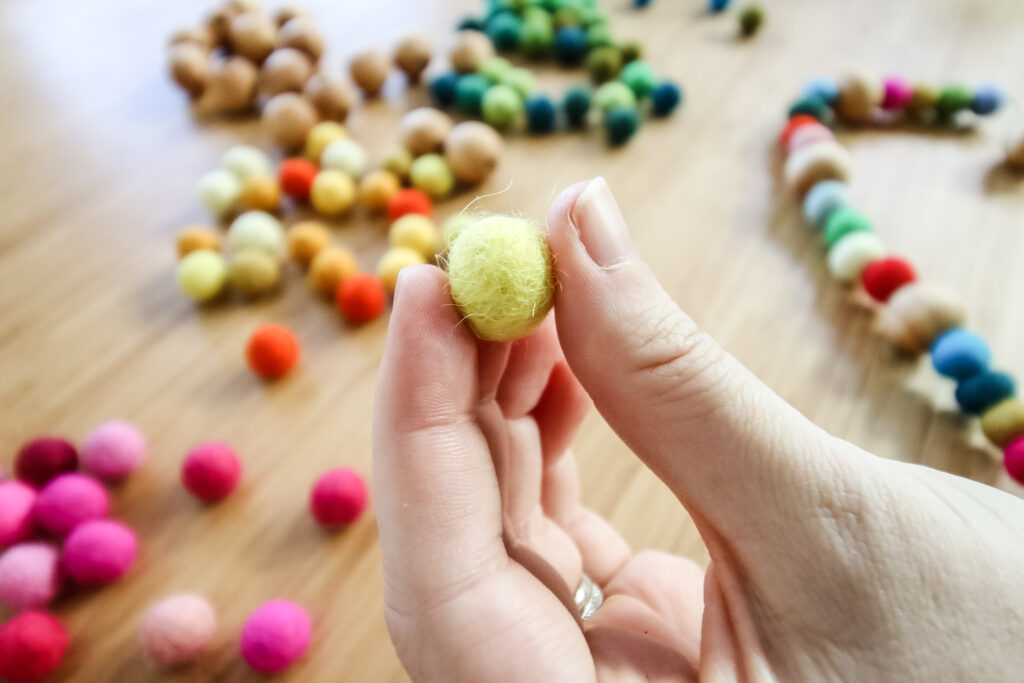
How to make felt balls from roving
To make roving into felt ball pom poms, you do wet felting.
Dip the roving into warm, dish soapy water and then form it into a ball.
Allow it to dry fully before stringing into a garland.
Read more about that process here!
How to make felt balls from yarn or felt
You can also do wet felting using wool felt or wool yarn. Yarn and felt are basically roving that's been manipulated into a shape.
You will just have to work harder to break it up when warm and wet before shaping into a ball.
Why can't I use craft store pom poms?
This is important to note because regular pom poms won't work for this. They need to have a solid core that can be pierced wit a needle and not pull off the string.
What type of string do you use for a felt ball garland?
You can use a variety of string types. However, since I planned to space my pom poms out, I wanted a pretty, color coordinated string.
Baker's twine comes in a variety of colors and is perfect for stringing up felt pom pom ball garlands of any size!
How to make a felt ball garland
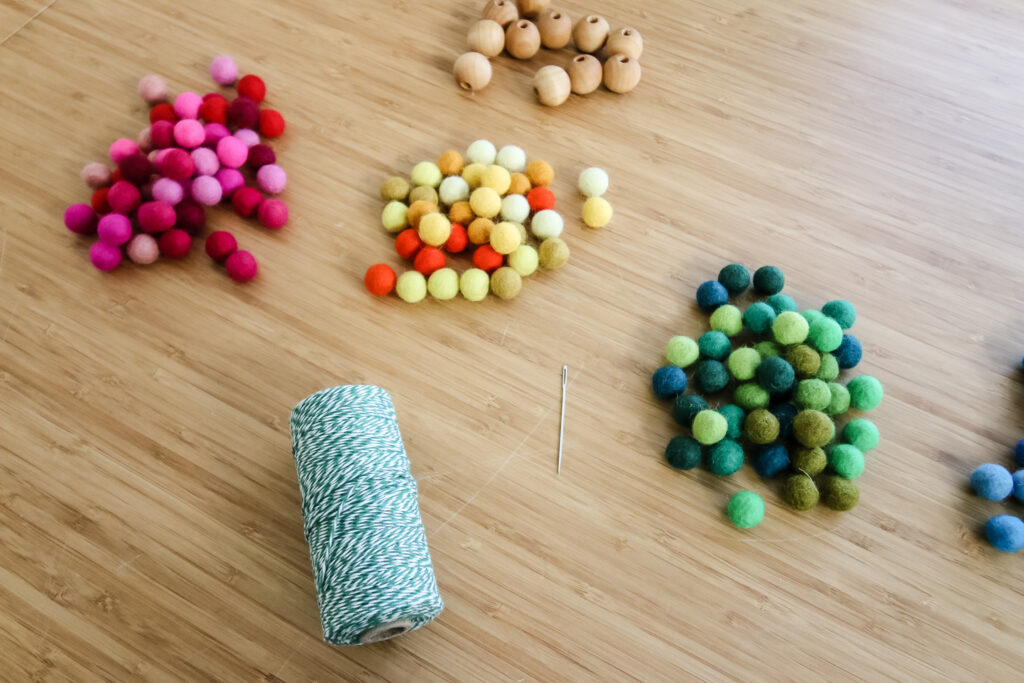
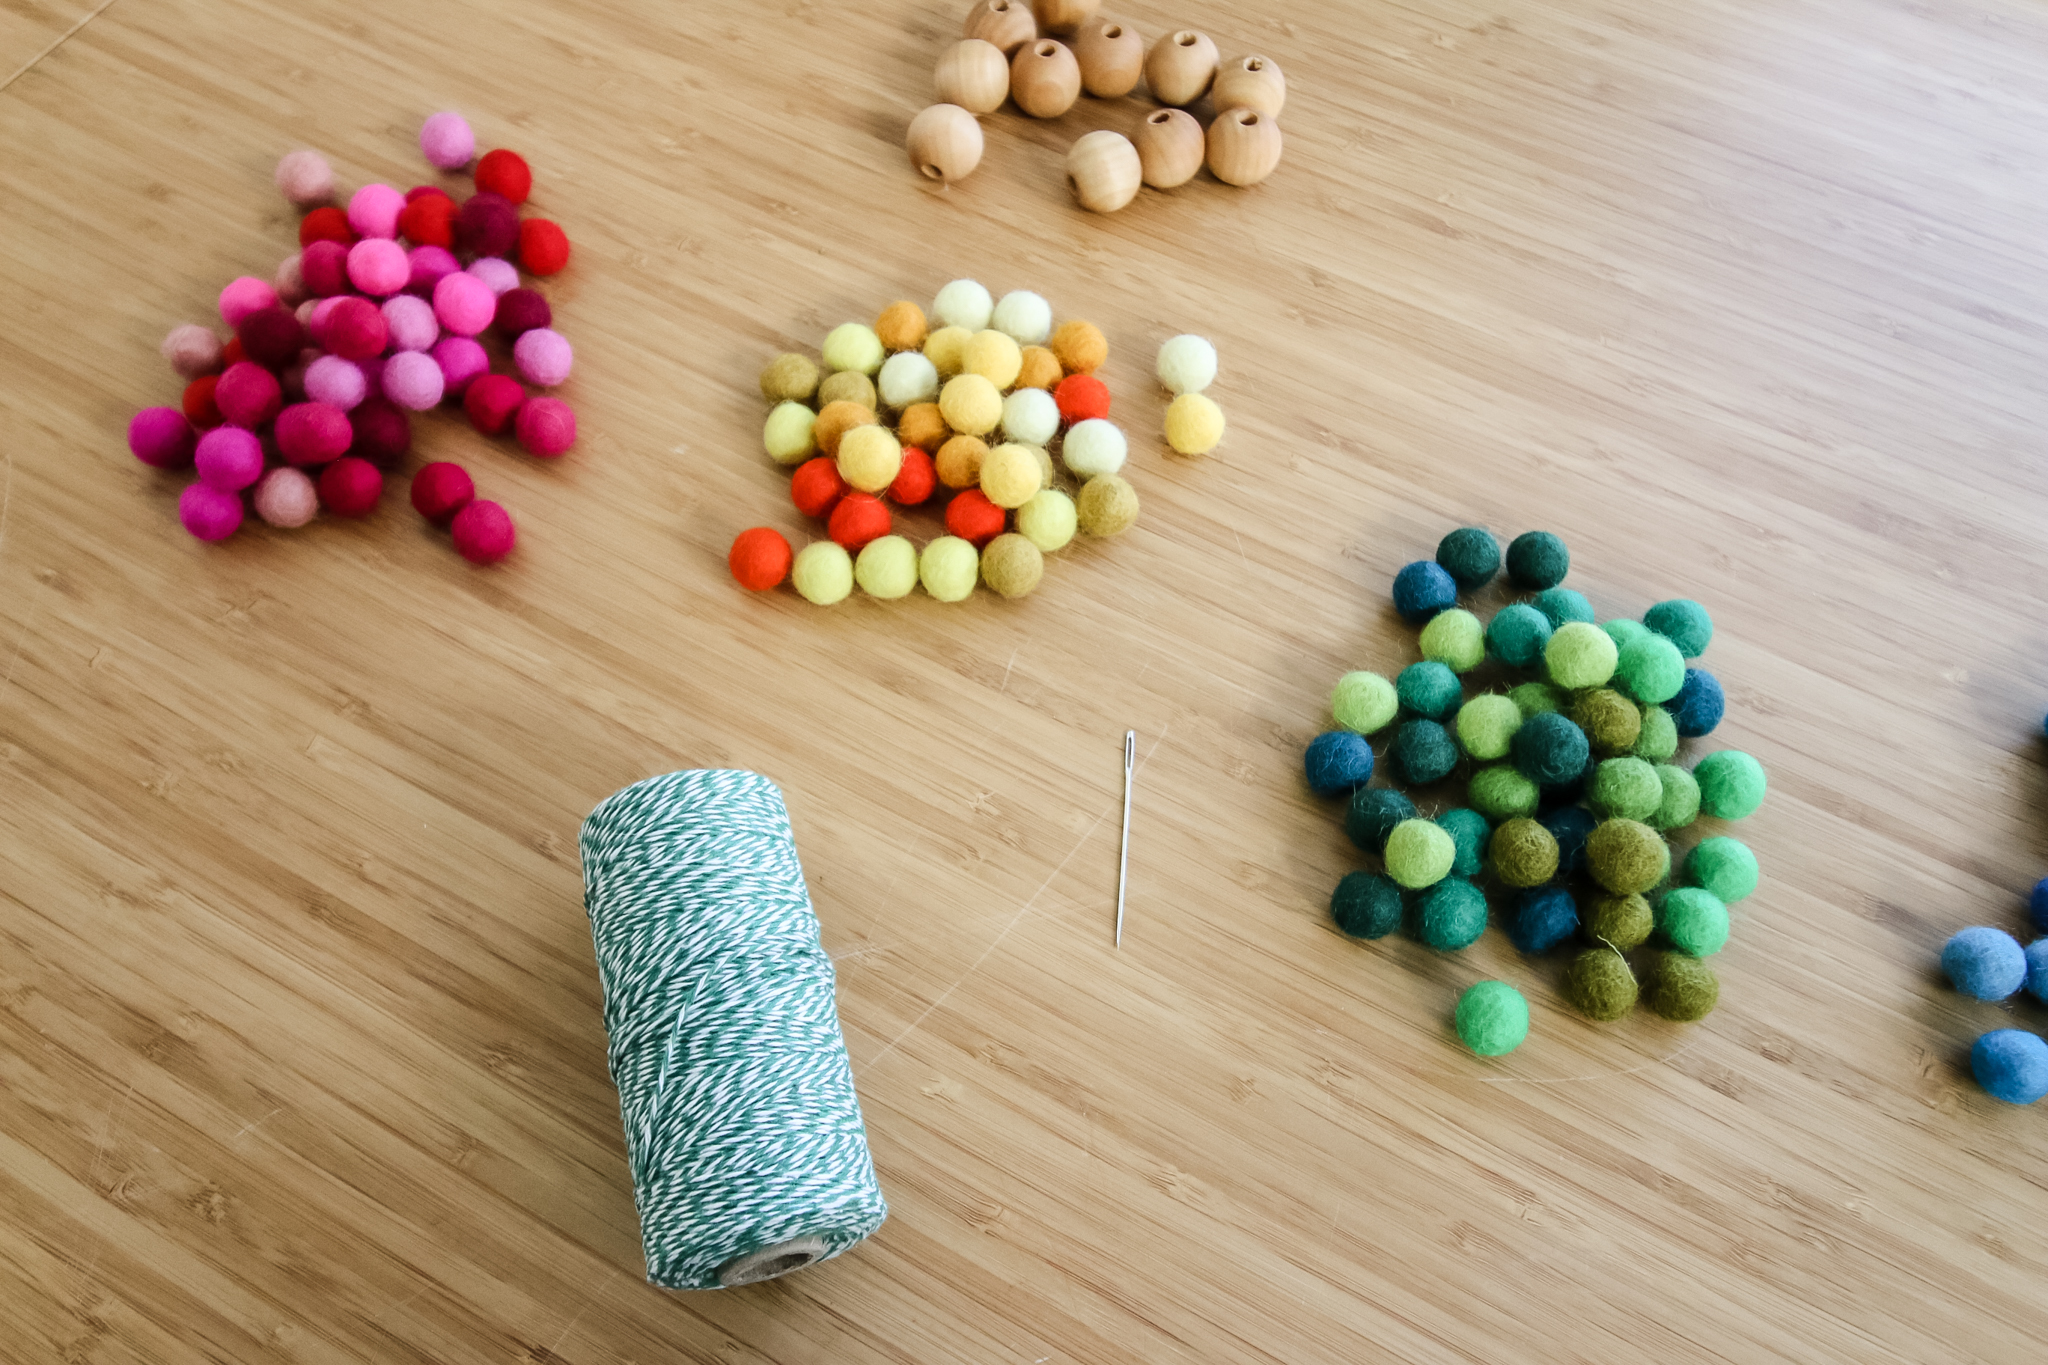
Supplies:
- Felt balls
- Baker's twine or similar string
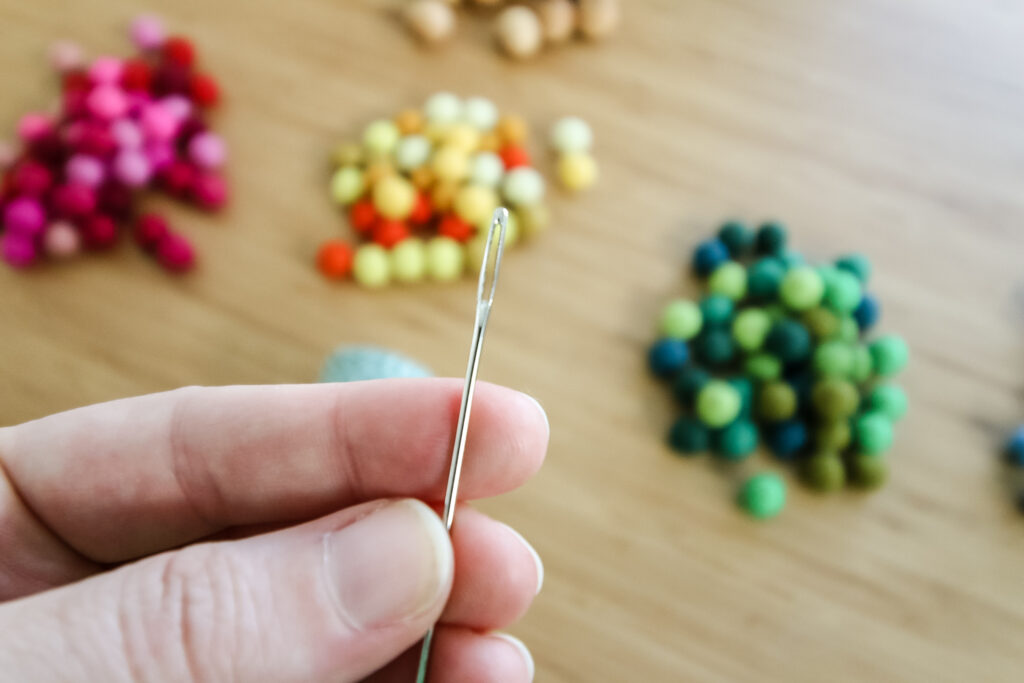
- Large eye sewing needle
- Scissors
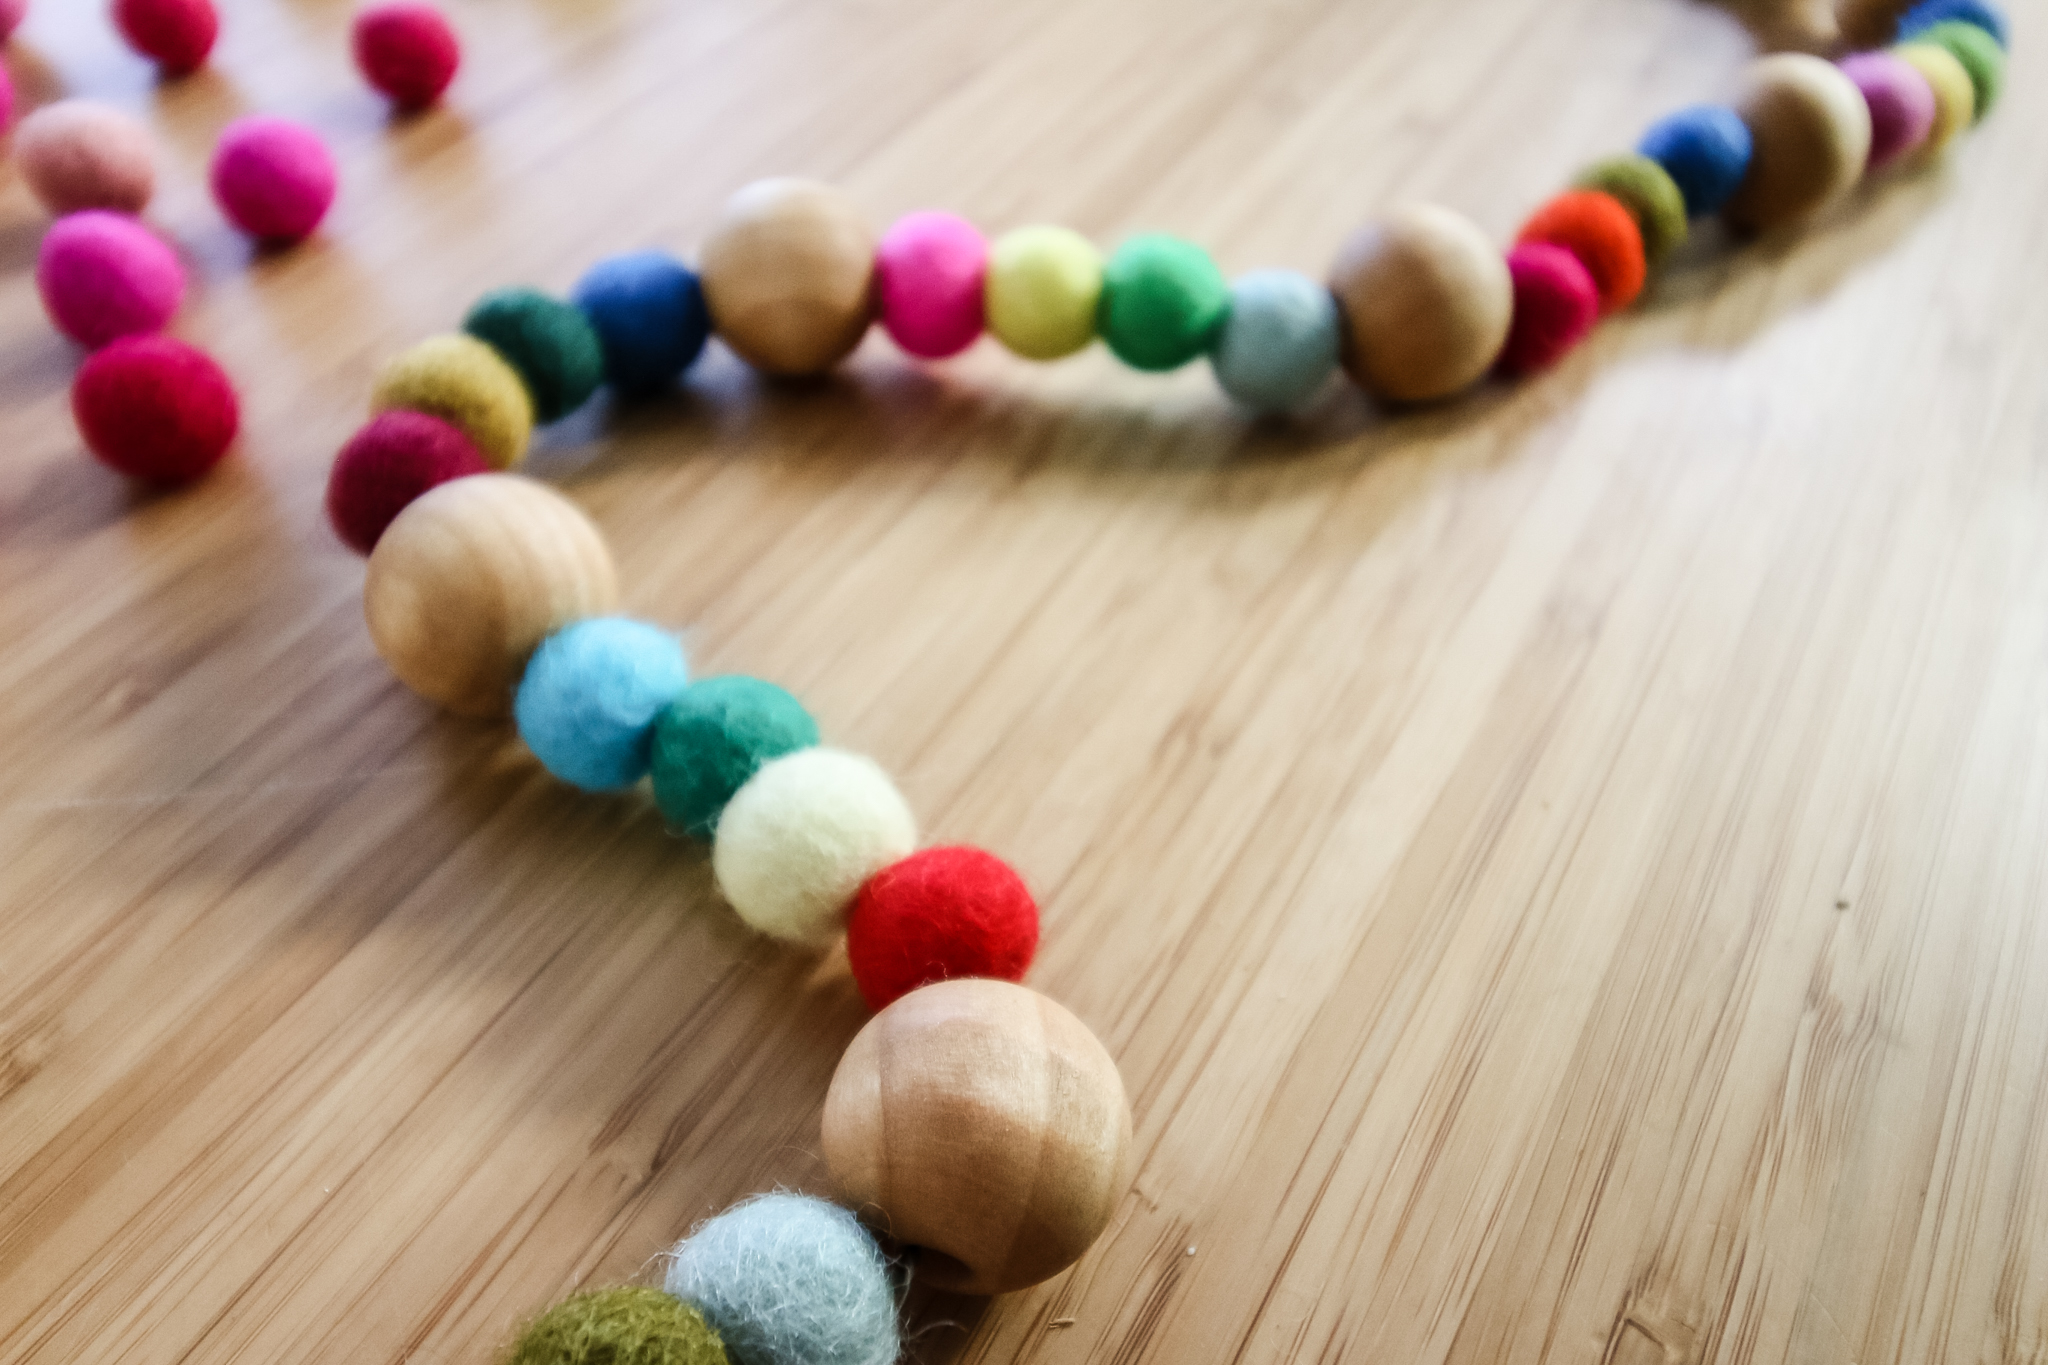
- OPTIONAL: I added these wood beads just to give another size and texture!
Steps to make a felt ball garland:
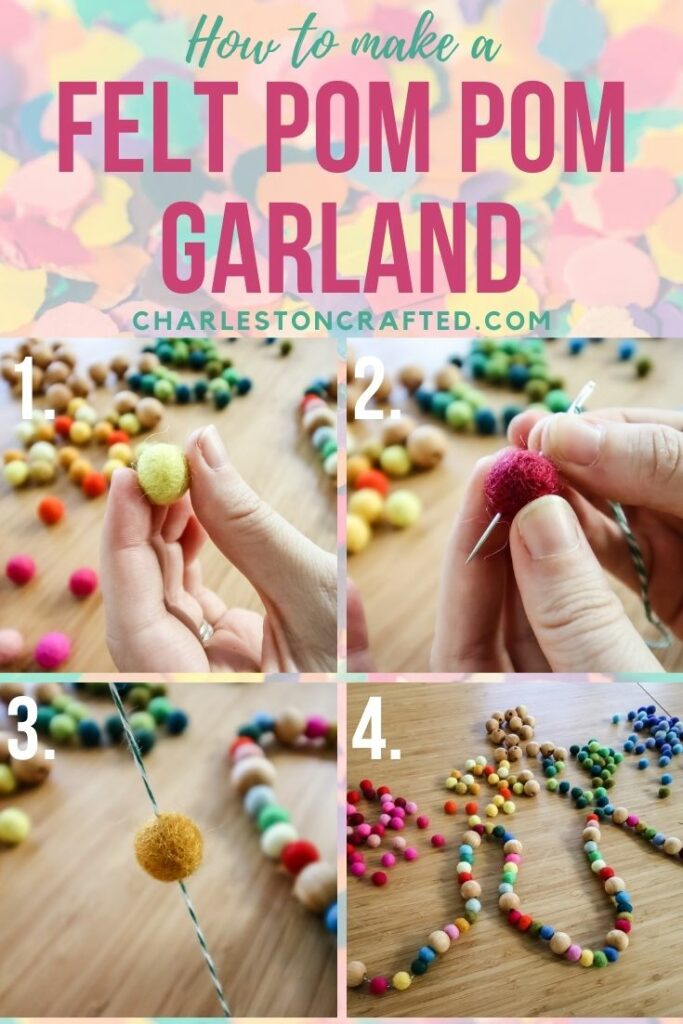
STEP 1: Select your balls
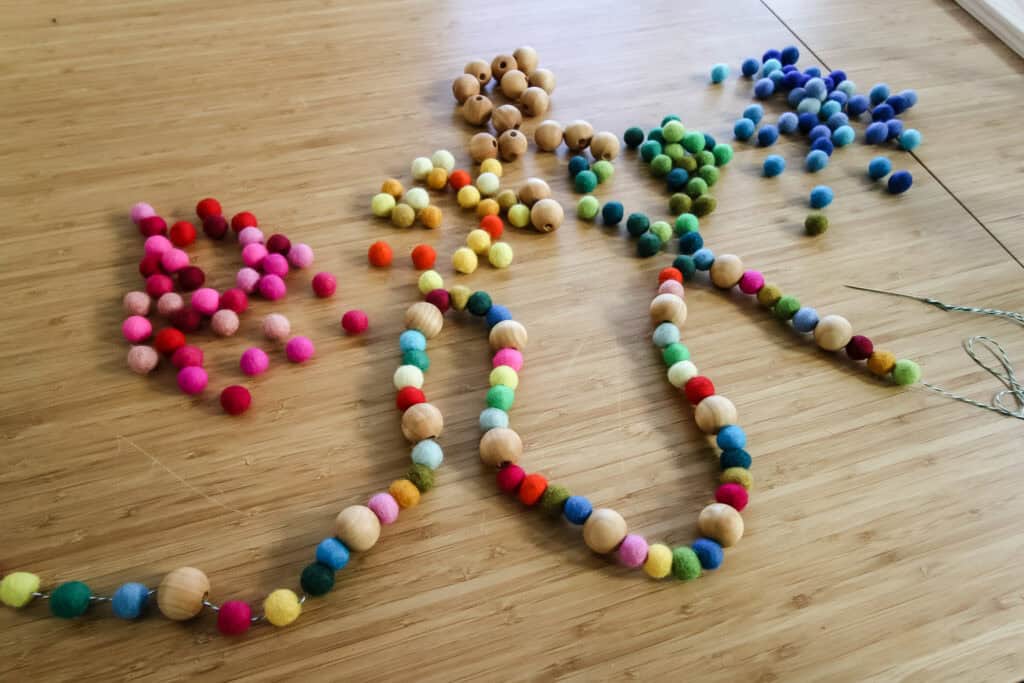
If you get a variety pack of felt balls like I did, you might have a big variety of colors.
Go ahead and go through the selection and identify which you want to use.
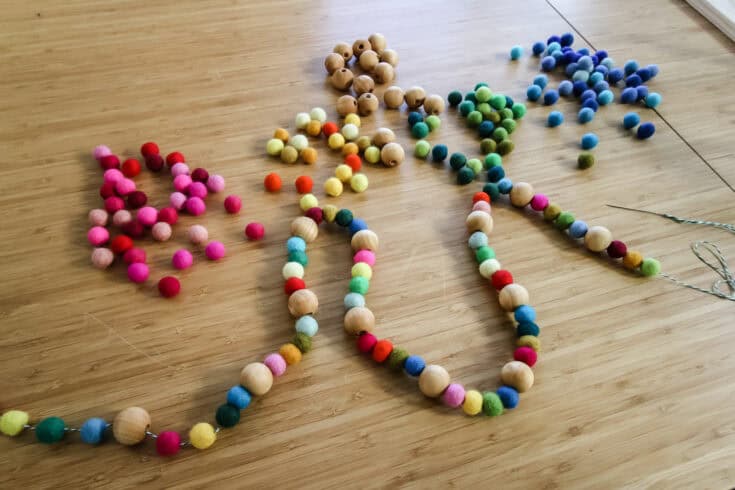
I sorted mine by color family so I could have an alternating pattern - even if the colors were not exact matches.
STEP 2: Set up your needle & thread
If you have a set length you want the garland to be, you can go ahead and cut it.
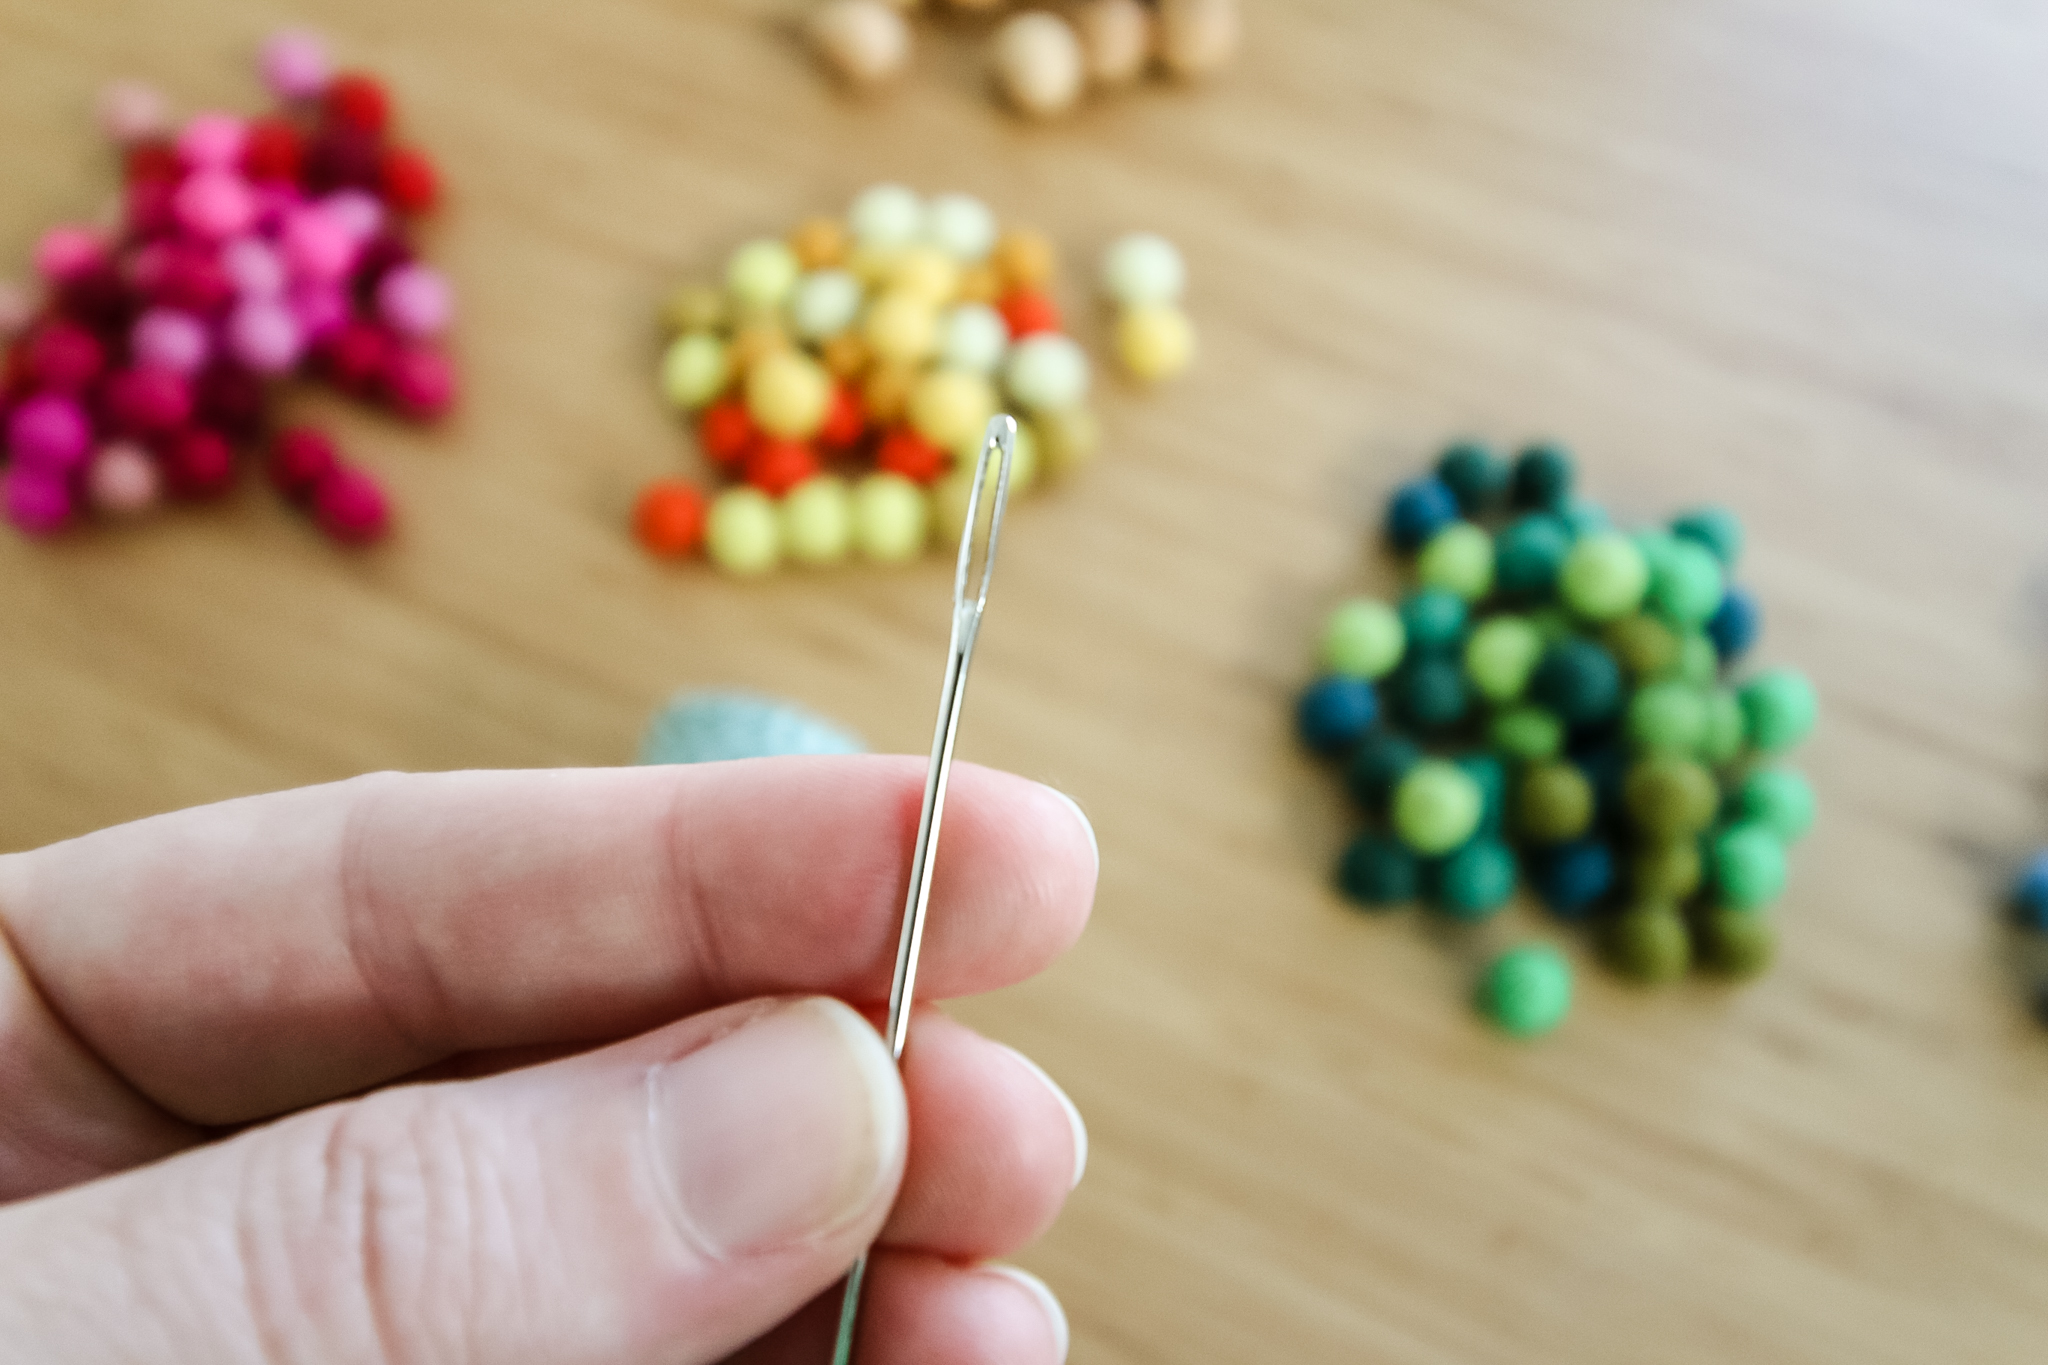
Otherwise, just leave the thread on the spool and thread the loose end of the string onto your needle.
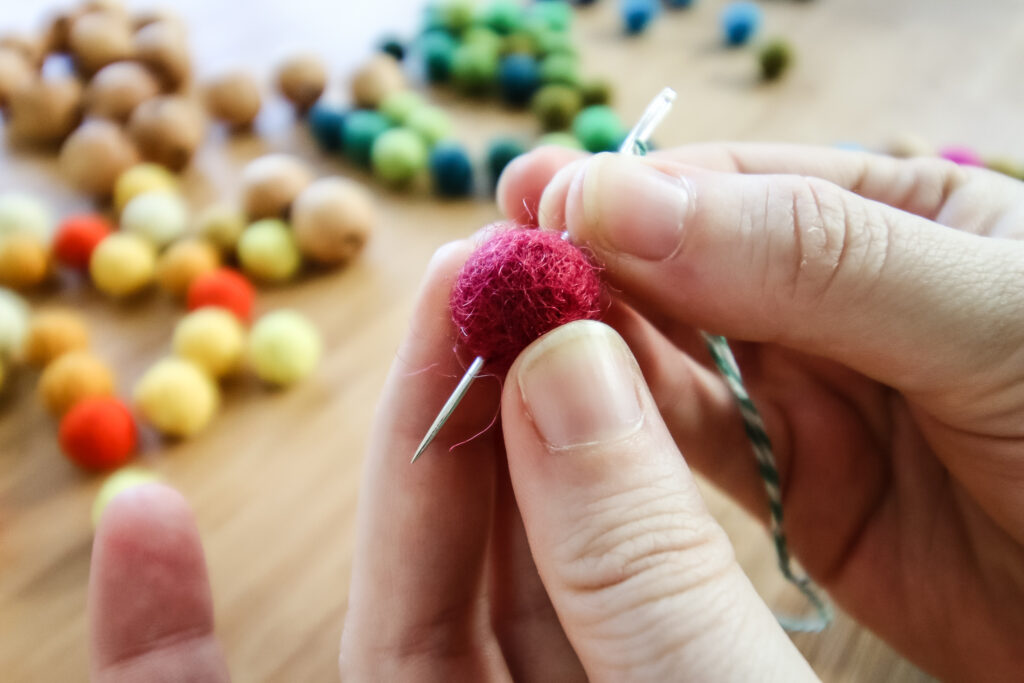
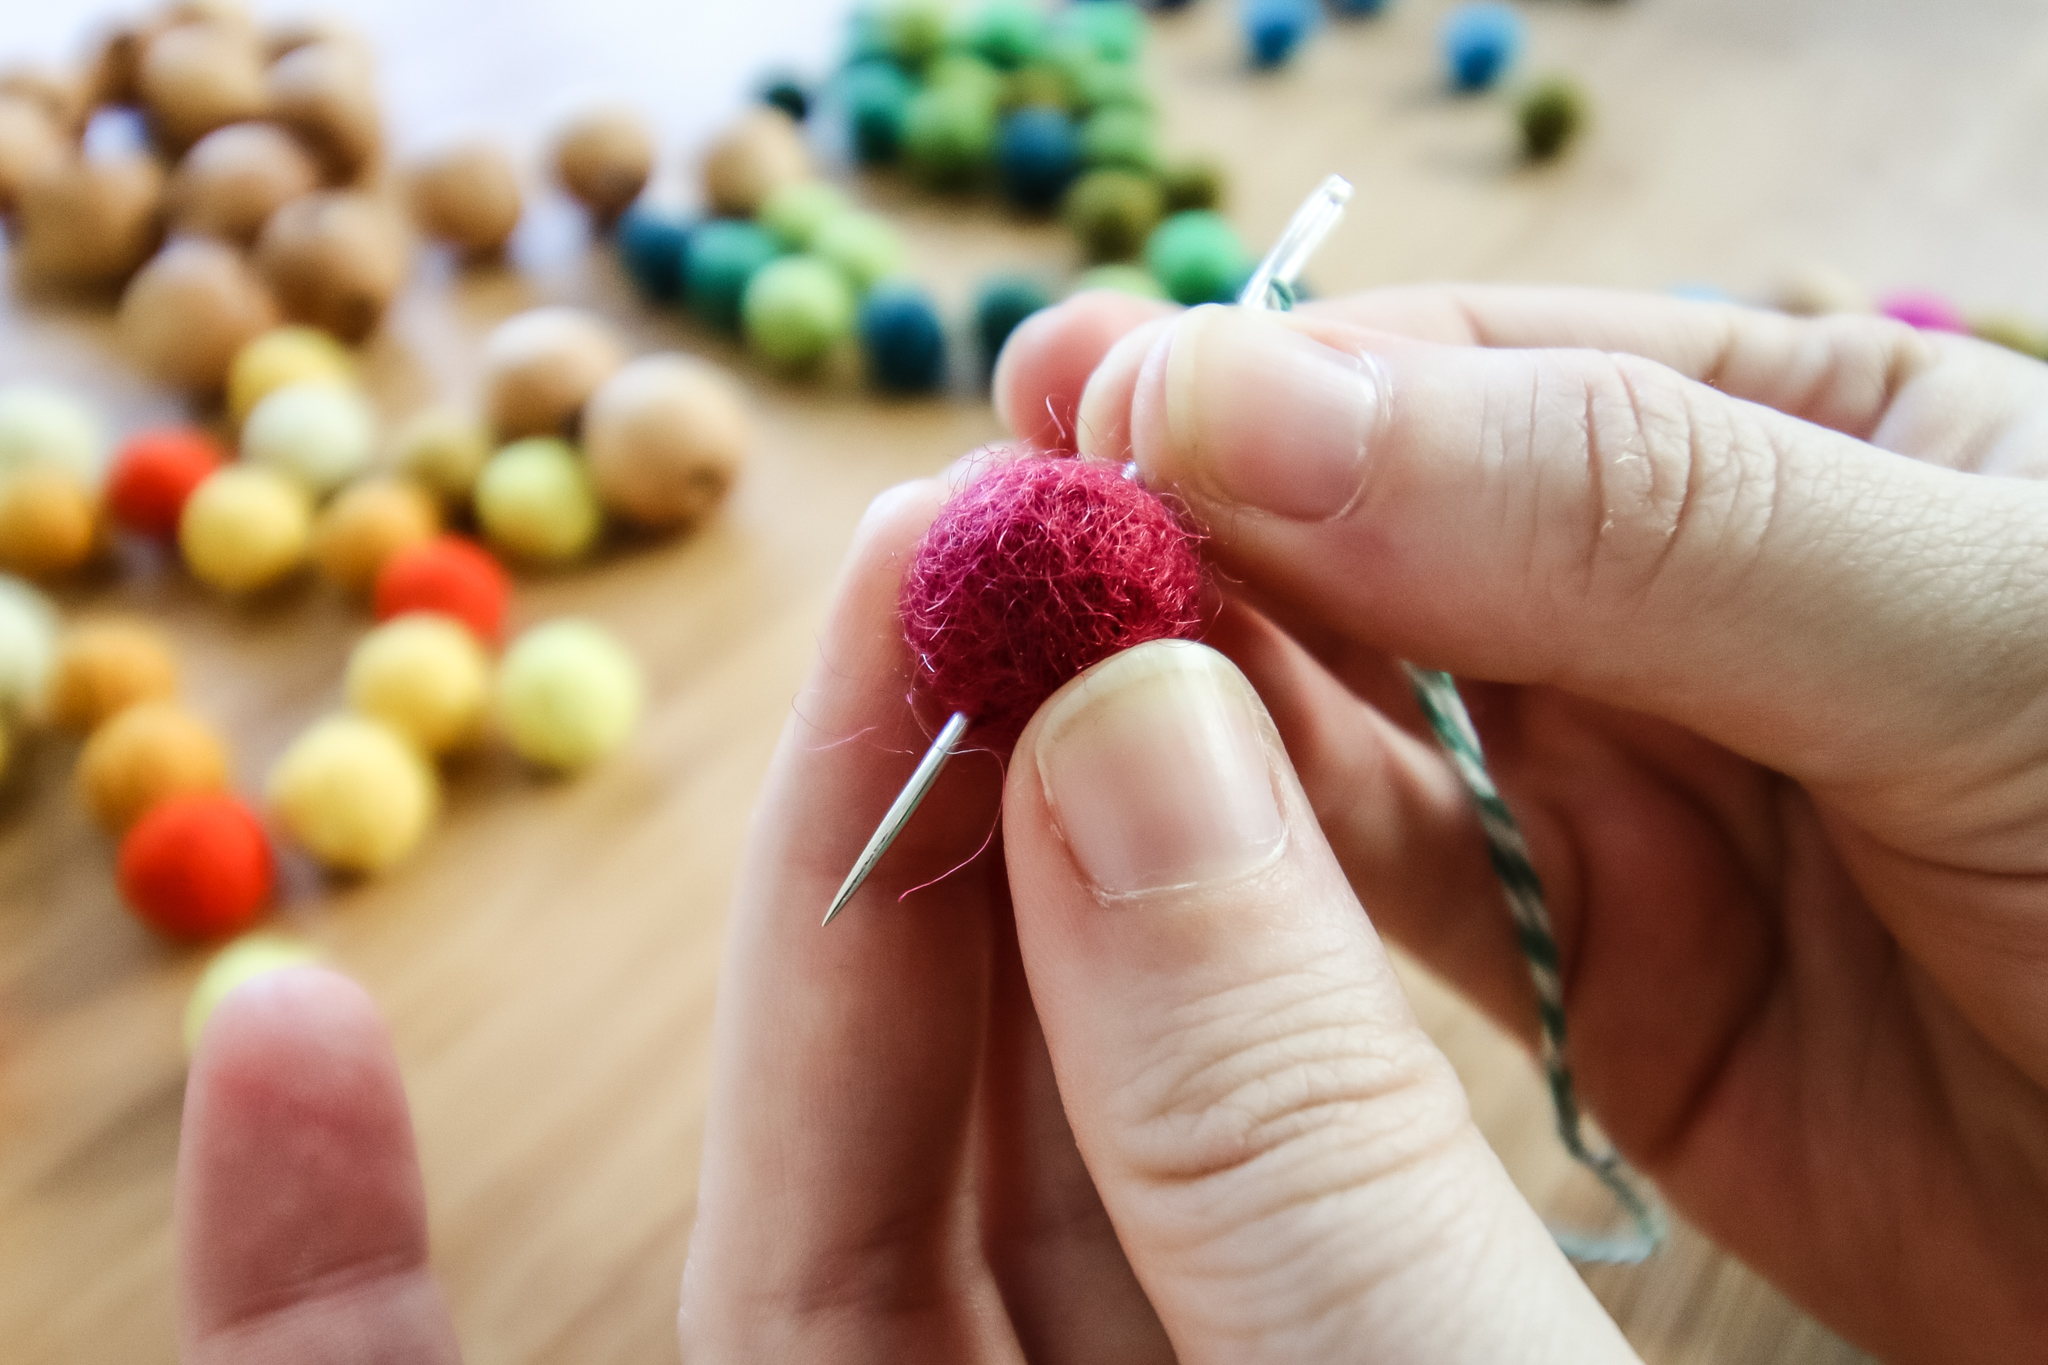
STEP 3: Pierce the felt balls
Drive the needle through the center of each ball and then pull it down the length of the string.
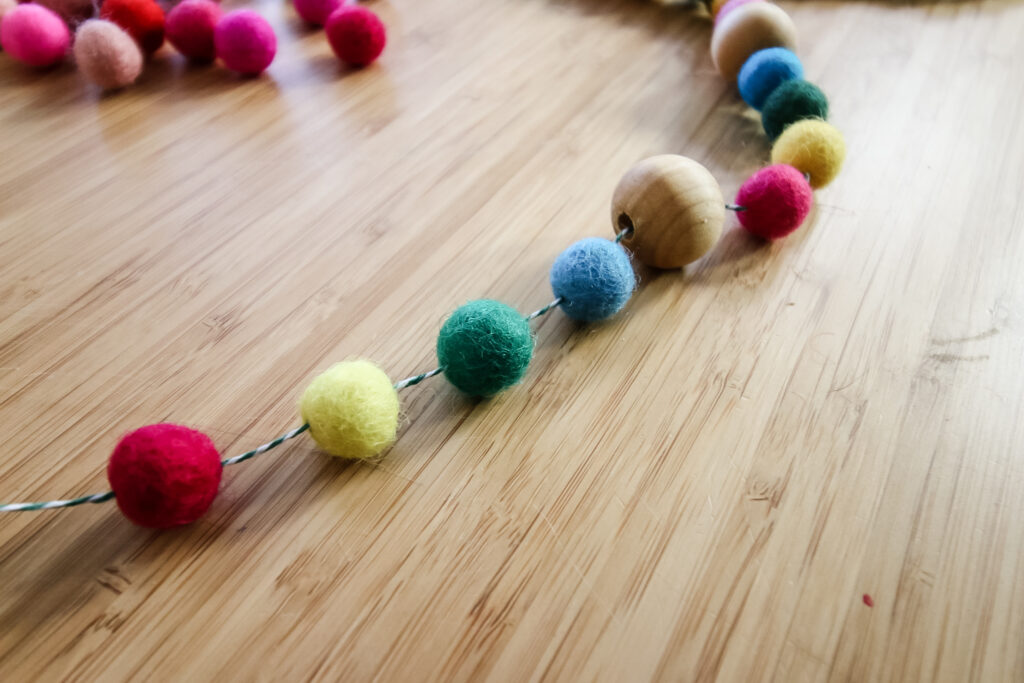
STEP 4: Arrange your pom poms
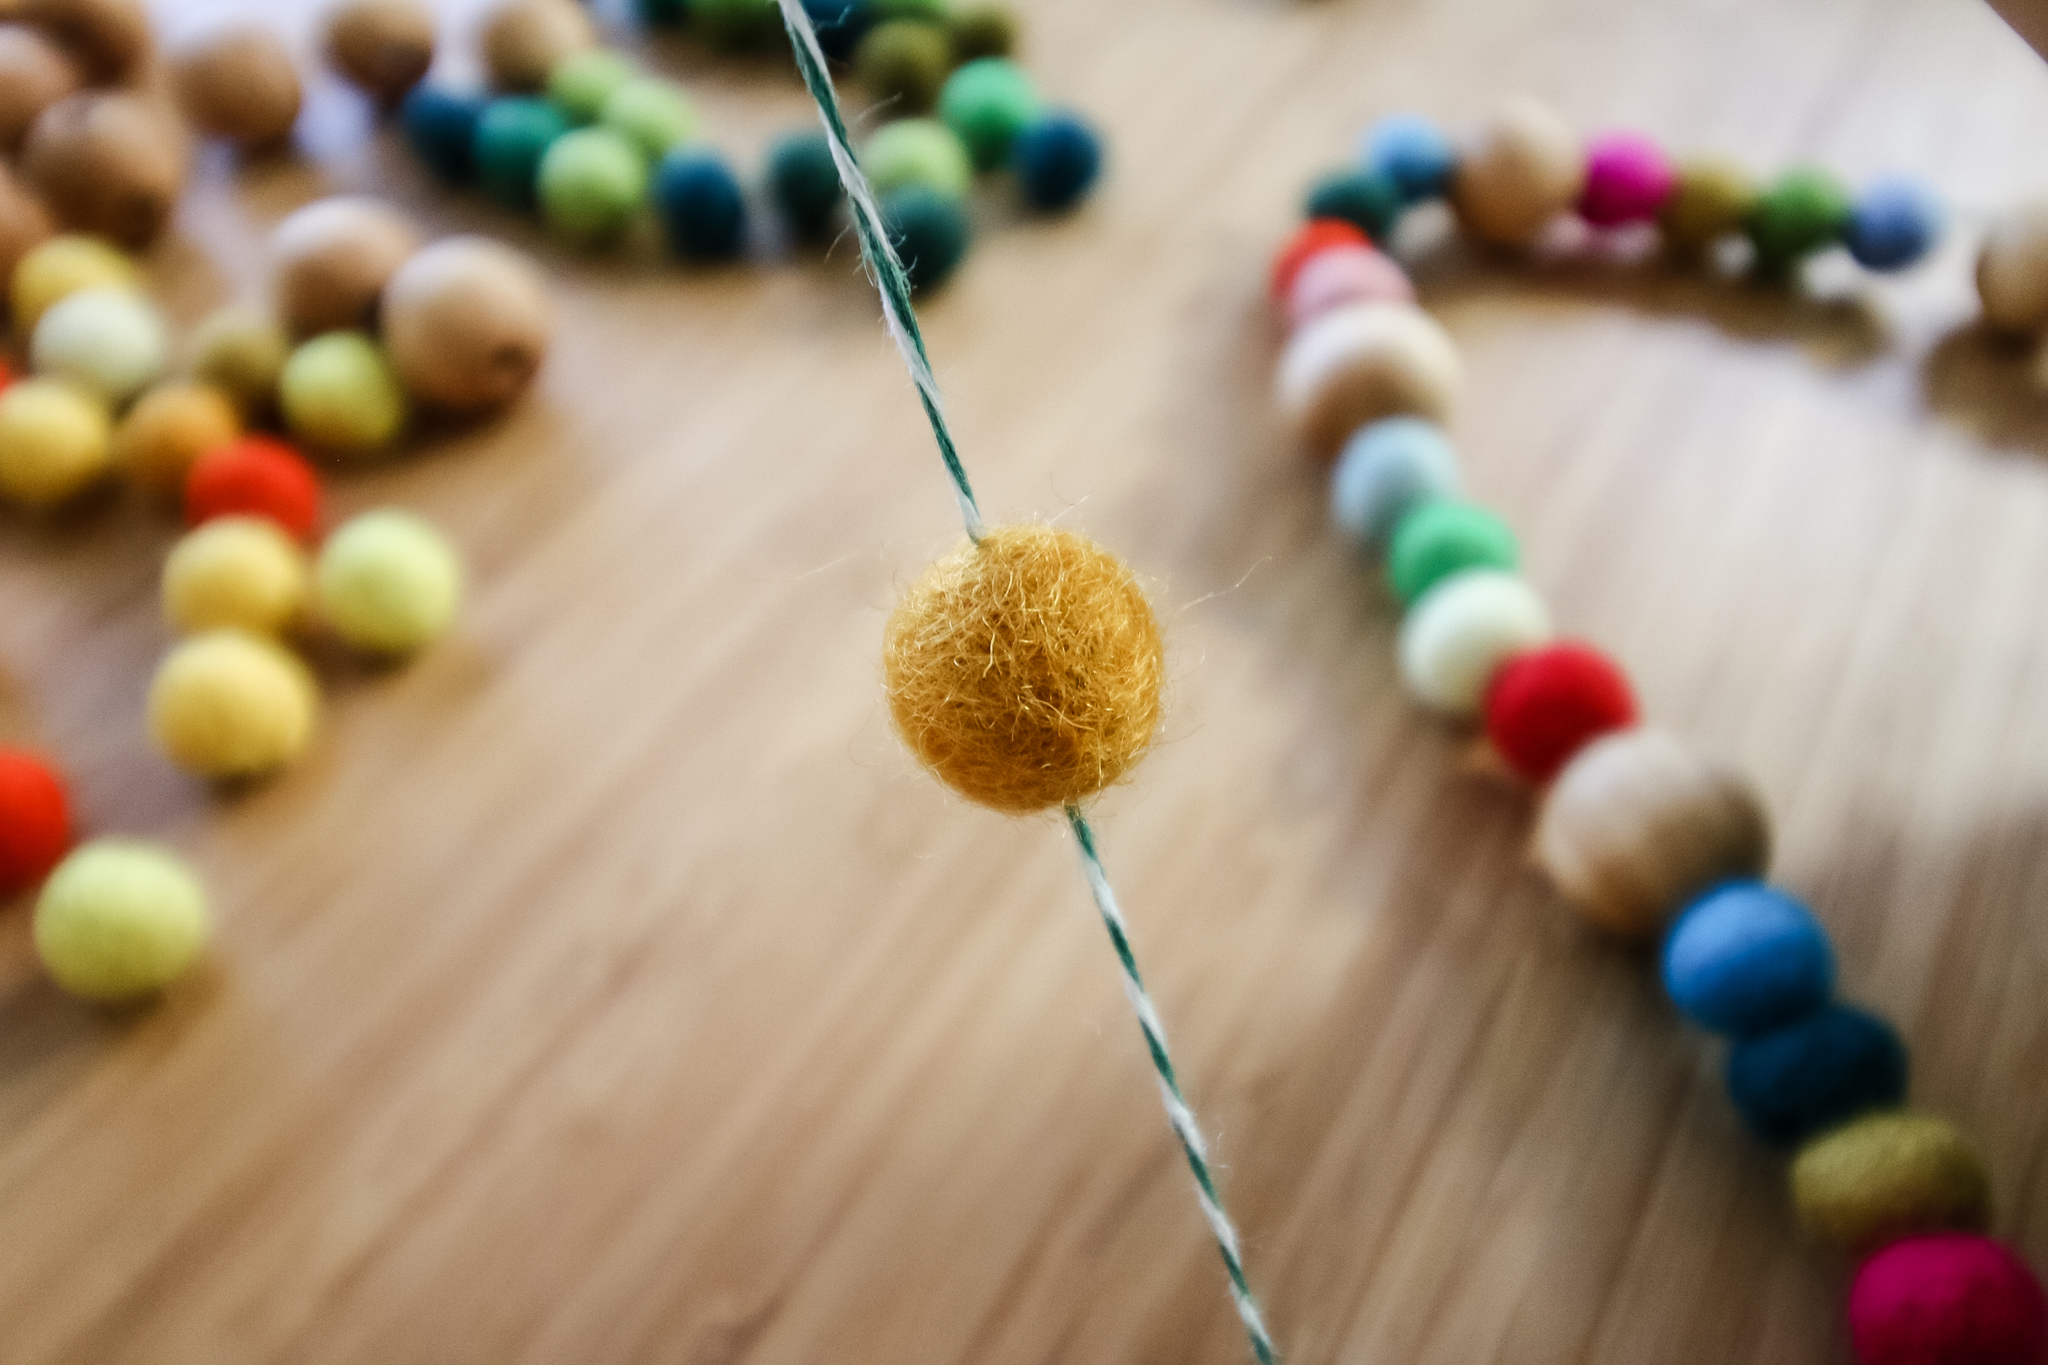
A great thing about felt pom poms is that they are not loose on the string like beads. They hold very tightly in place.
So, you can either have the beads very close together or space them apart. They will stay wherever you place them!
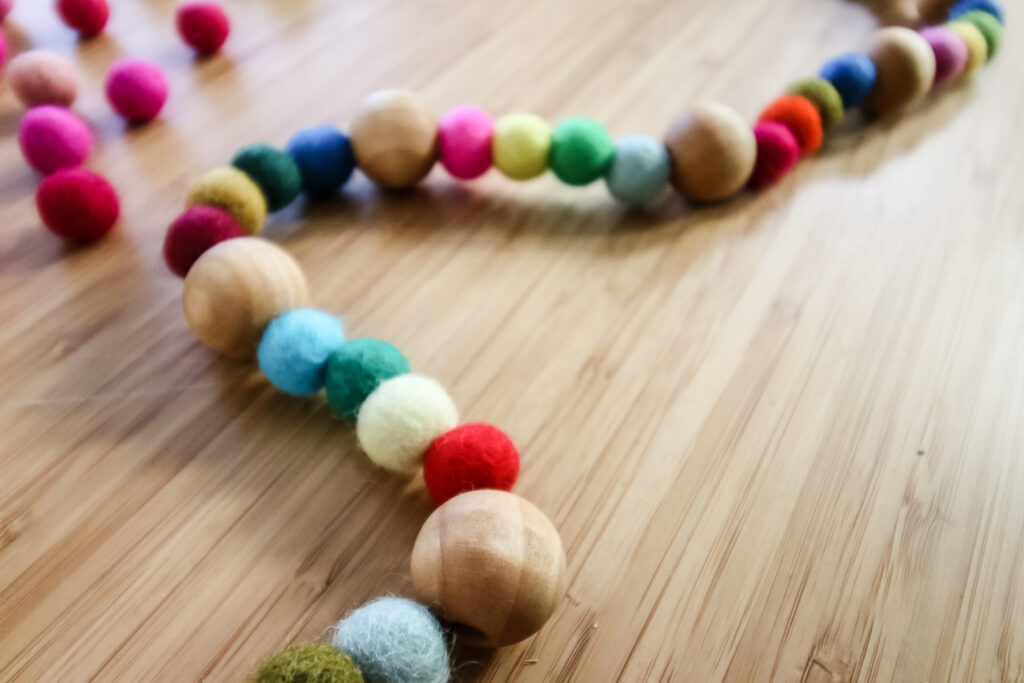
If you have a set length of string to fill, I suggest stringing all of the pom poms and then spacing them out evenly.
If you prefer a certain spacing, then position the pom poms as you go!
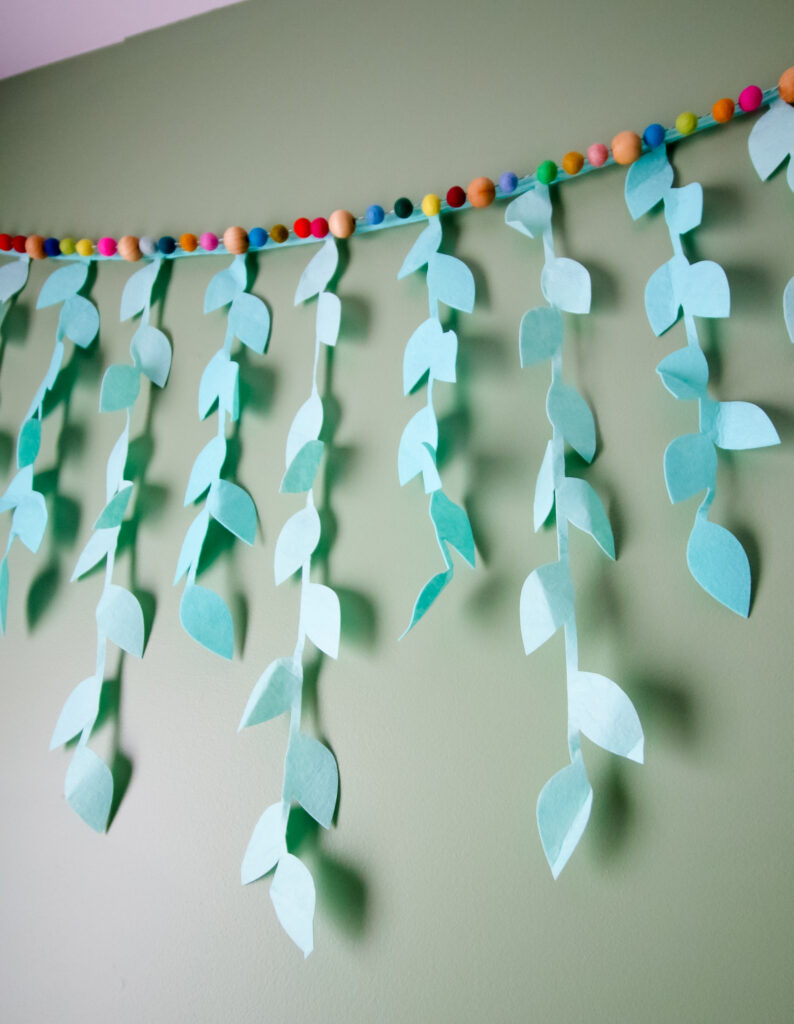
STEP 5: Finish off the garland
If you want, you can simply tie a double knot on each end of the garland to keep the pom poms from being pulled off.
I tied a small loop on each end to make it easier to hang them from nails on the wall.
Enjoy your pom pom garland! It's so addicting - I am planning to make them for every color scheme and holiday now!
How to make a quick & easy felt ball garland
Felt ball garlands are a beautiful way to add color to your home or holiday decor. Here's the easiest way to make one!
Materials
- Felt pom poms
- Baker's twine
Tools
- Scissors
- Large eye sewing needle
Instructions
- Arrange your pom poms by color or size and pre-plan your pattern
- Cut the desired length of string. Thread your needle onto the end of the string
- Thread the needle through the center of the felt ball
- Place the ball where you want it on the garland - they can be flush together or with spacing
- Repeat to finish
- Tie a knot or loop on each end to finish
Recommended Products
As an Amazon Associate and member of other affiliate programs, I earn from qualifying purchases.
Video tutorial:
Be sure to check out the whole video tutorial!
Any questions about this DIY felt ball garland?
Looking for something?
We've been doing this since 2012 so we have a LOT of blog posts!
Search stuff like: Ceiling Projects | DIY Plant Stands | Thrift Flips


Hello, I'm Morgan, half of the creative force behind CharlestonCrafted.com! With a passion for DIY that dates back to 2012, I've transformed three homes and now I'm dedicated to helping others craft their dream spaces. Let's turn your house into a home together!




Ivory says
Amazingly beautiful! I love this cute diy. Thank you for sharing. You nailed this.