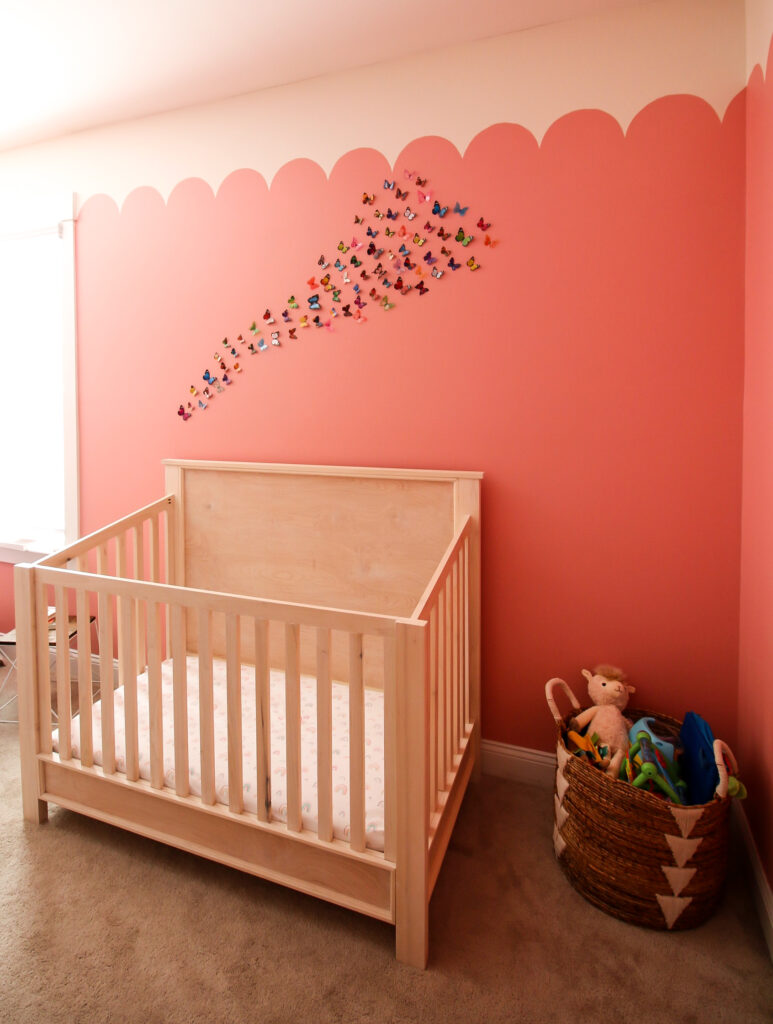
Love butterflies? Here's how I hung 3D butterflies above our daughter's crib!
As we were planning Rory's room makeover, I had a vision of butterflies flying over her crib.
Her nursery doesn't really have a theme except "happy". And what is more happy than butterflies?
Nothing!
My original plan was to do a hanging of silk butterflies in flight. But, I wanted a lot of butterflies and thought that that much hanging string - even clear fishing wire- would look too busy and bad in this space.
So instead I opted to hanging butterflies on the wall.
I was really excited to find this pack of 80 butterflies for well under $10.
These particular butterflies are rainbow colors and feature 2 creases - one at the base of each wing - so they can easily be folded for a 3D effect.
How to hang butterflies on the wall
These butterflies came with double sided sticky tape tabs, but I wasn't sure how that would effect the wall paint.
So, instead I used Blue Stik. I've used Blue Stik my whole life to hang posters and similar things when I don't want to mark up the wall.
It does a great job of holding but is also adjustable, movable, and doesn't leave a greasy stain or damage the paint.
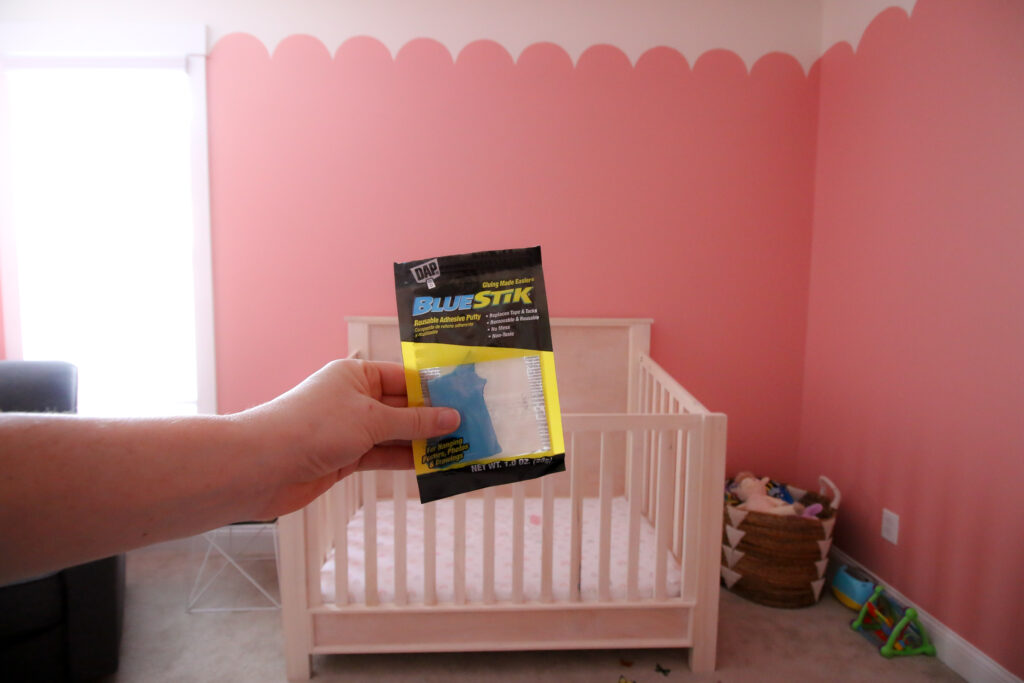
I hung up a butterfly and let it sit with the Blue Stik to be sure it would be secure before doing them all.
I didn't want to risk them becoming a choking hazard in her crib! Though it is worth noting that these butterflies are a thick plastic-y material - almost like laminated poster board - and not paper that would be easy to chew on.
How do you arrange butterflies on walls?
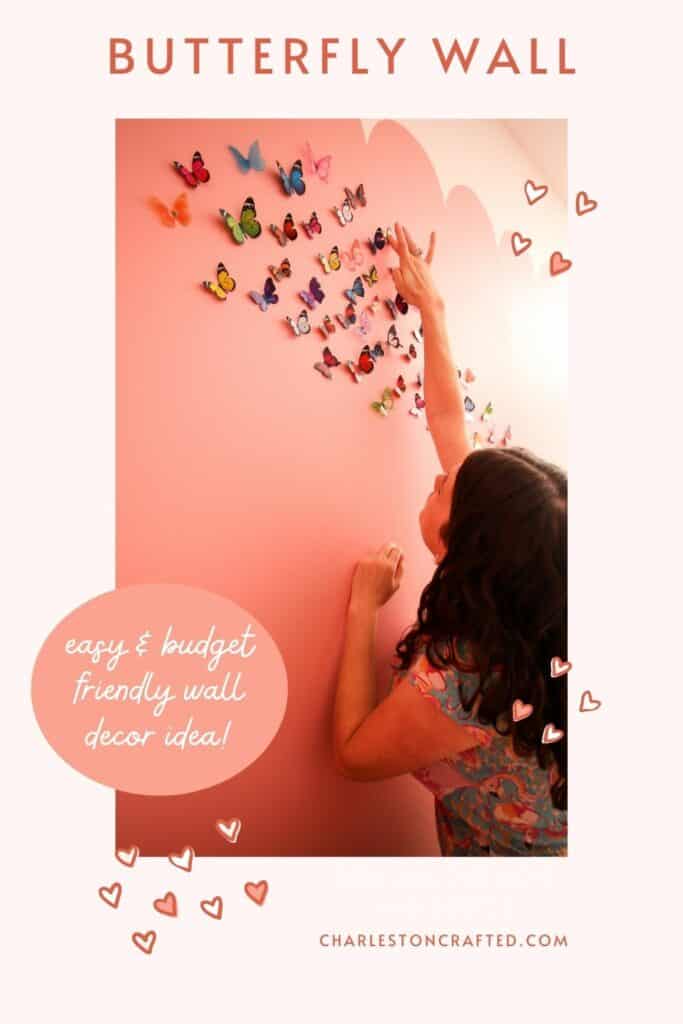
I like to arrange things like this in a "flight" shape. You can see another example with the bats on our front porch for Halloween!
Start in one corner with a thin line of butterflies, one or two wide.
Have them go around 45 degree angle up for ¼ of the height of your space.
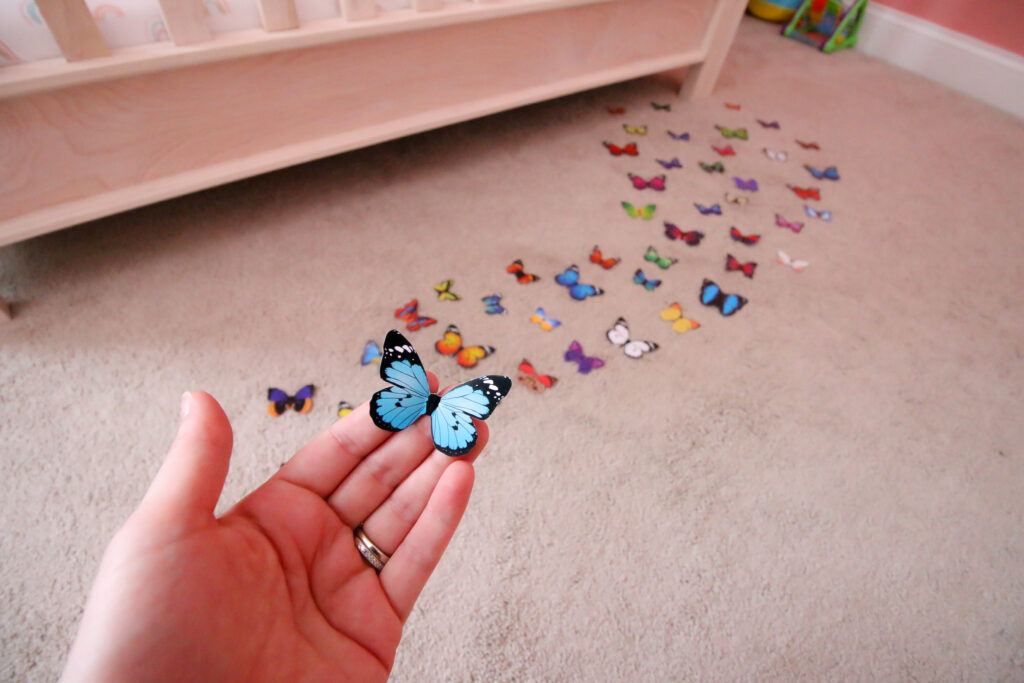
Then, have them go close to flatline for half of the remaining width. Make the grouping more like 3-4 butterflies wide.
Then, turn the butterflies back up to a 45 degree angle and expand the butterflies so the pack gets wider and wider as they climb upward!
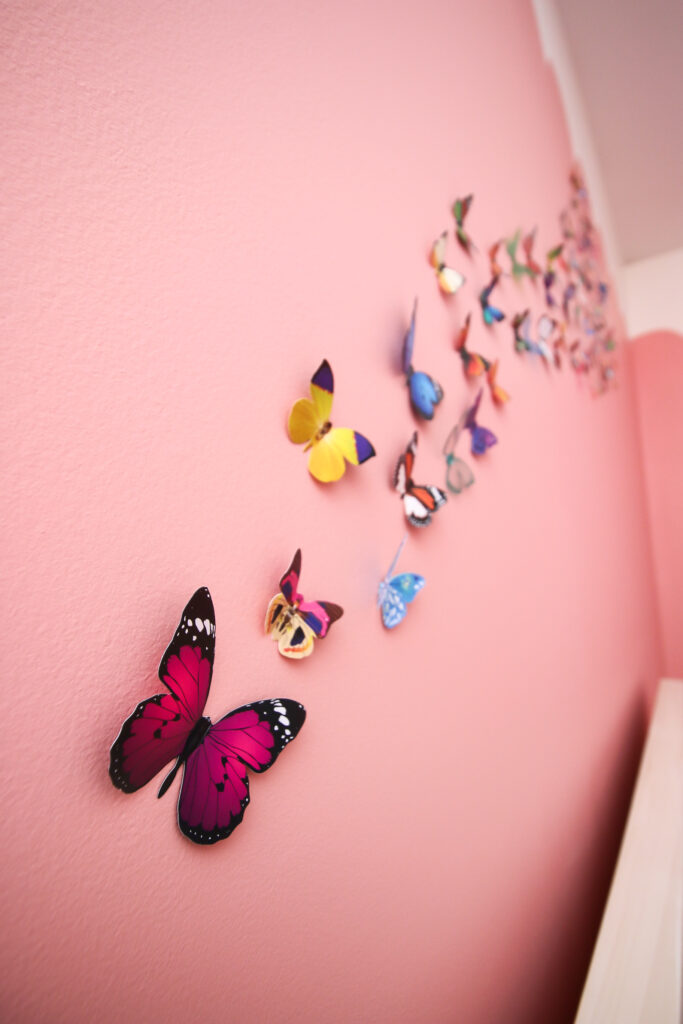
I started with my lower most and highest most points and then filled in butterflies in between.
This helped to establish the right spread while being sure it was balanced with the number, colors, and sizes of butterflies in my pack.
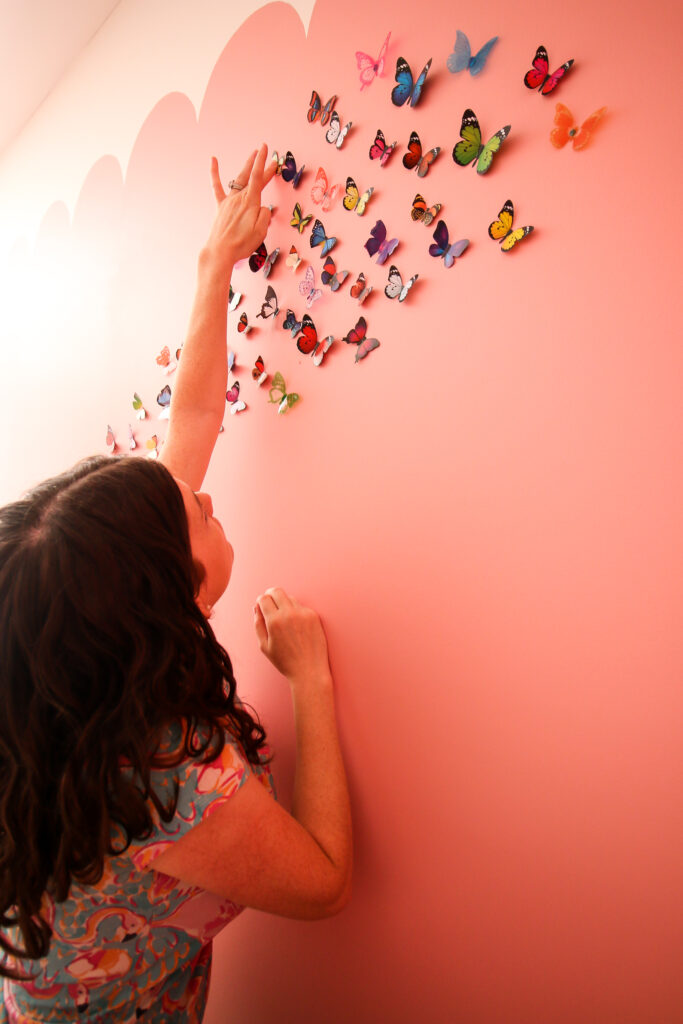
Video demonstration
Be sure to check out my video showing exactly how we hung this butterfly accent wall!
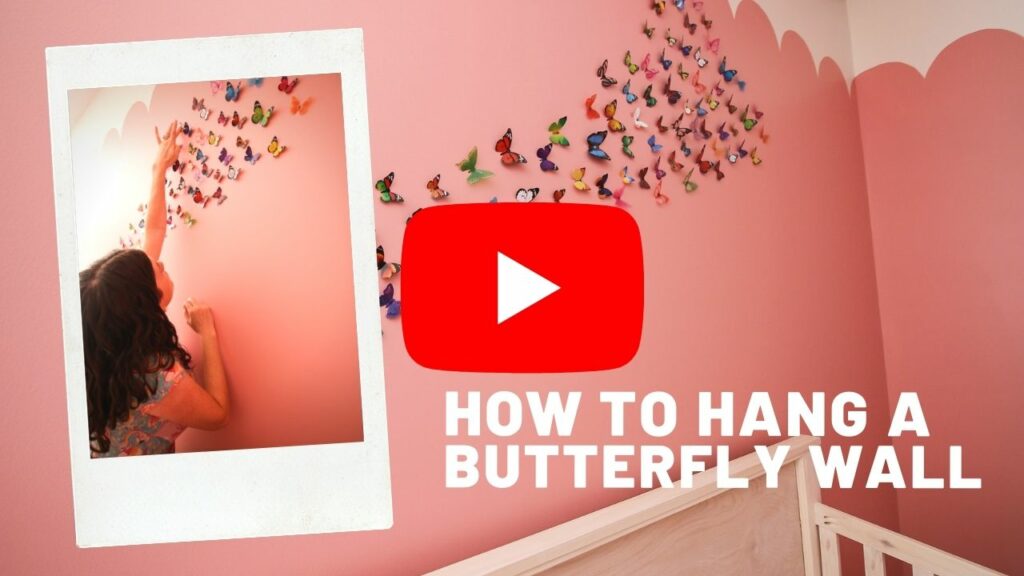
I love how this butterfly accent wall turned out and think it adds the perfect touch to Rory's room!
Looking for something?
We've been doing this since 2012 so we have a LOT of blog posts!
Search stuff like: Ceiling Projects | DIY Plant Stands | Thrift Flips


Hello, I'm Morgan, half of the creative force behind CharlestonCrafted.com! With a passion for DIY that dates back to 2012, I've transformed three homes and now I'm dedicated to helping others craft their dream spaces. Let's turn your house into a home together!


