Ready to paint a room in your home but unsure where to start? Here is the step by step process that I use to pick paint colors for my home!
Since moving to a new house, I am so excited to pick new paint colors! Don't get me wrong - the builder basic Agreeable Gray isn't offensive - but it's boring and definitely not our personality!
I've been diving deep into how I pick the paint colors for our home and I've gotten a lot of questions about how to pick paint colors for your house. So I wanted to share the exact process that I use with you today!
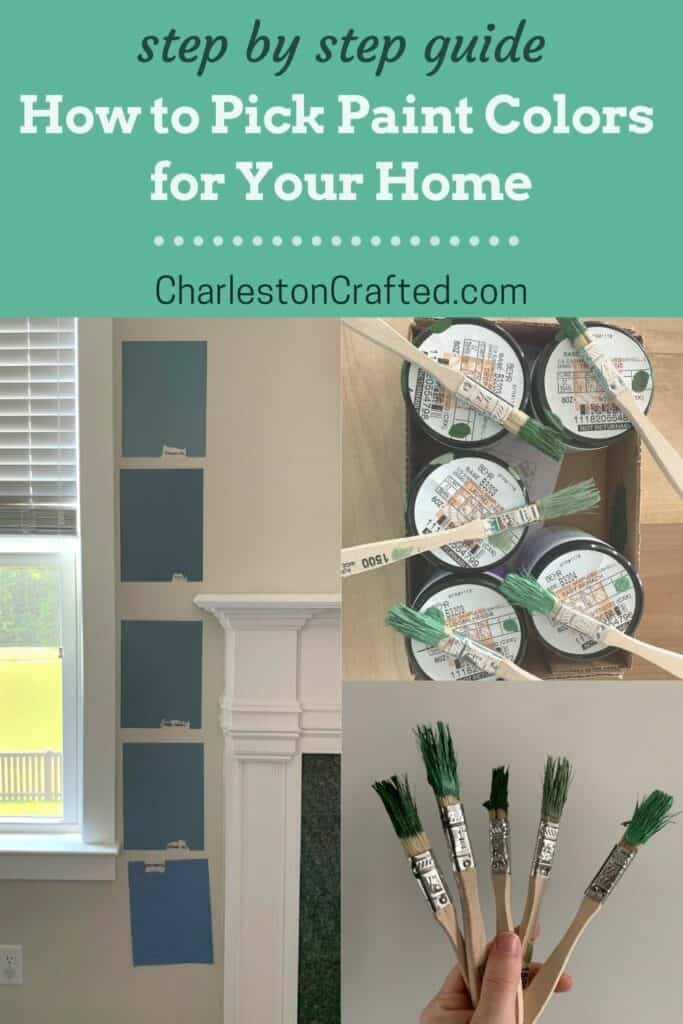
How do I pick the right paint color for my house?
Picking the perfect paint color can be overwhelming, so I've broken it down to a step by step guide.
Remember to take your time through this process. Do not rush any one step.
STEP 1: Pick a general color vibe
The first thing that you need to do when you are going to pick a paint color for your home is pick some other things first!
The thing is - you can get paint tinted to literally any shade in the rainbow - and beyond. Paint color choices are infinite.
So, what I am saying is DON'T pick a paint color and plan a room around that.
Pick something like a rug, sofa, piece of artwork, even a pillow - something that you love that brings you joy. Something that makes you smile!
Then, you will choose a paint color that coordinates with the things that already exist in your room.
Take a look at these items and pick a general color scheme. I mean - just narrow it down to something like: light blue, dark green, warm gray, light neutral colors.
Things to keep in mind:
- Think of things that can't/won't change like flooring, trim color, your sofa color, etc and make sure you pick a color vibe that coordinates with that
- What are your favorite colors? What colors do you love wearing?
- If there is anyone else who will use this space, it's good to get their general input at this point in the process, too!

STEP 2: Get swatches
Once you have determined a basic paint color vibe, head to the paint store. I tend to shop at Home Depot so this usually means the Behr counter for me but anywhere you buy paint works.
Grab a BUNCH of paint swatches. Look at the papers on the wall like a giant color wheel and pick those that match the color palette you picked in step 1.
I like to get at least ten paint swatches. I know that's a lot. But, they look VERY different at home than they do in the giant warehouse with stark lighting.
When you get home, pull out your paint swatches in the room where you want to paint. This is important!
Look at the swatches day and night, with the blinds open, with the blinds closed, with the overhead light on and off.
Lighting makes a huge difference in how interior paint colors look. Natural light vs artificial light will transform a color!
If you are confused about a color's undertones - for example, will this gray look purple, is this green too yellow - look at the darkest color on the swatch. That will be the most obvious!
I also suggest using painter's tape to tape the swatches to the wall so you can get a better idea for how they look. You might do this once you narrow it down to a few choices.
Stare at the swatches for a few days - don't be impulsive! Then narrow it down to 2-4 choices.
STEP 3: Paint samples
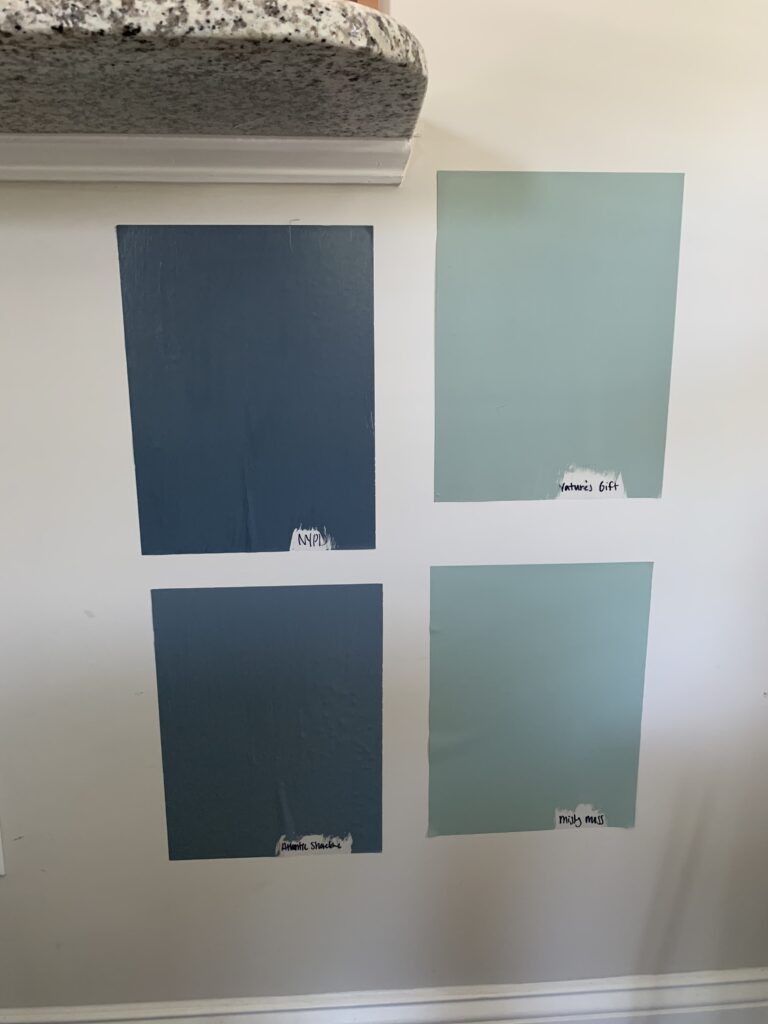
Now it is time to get paint samples. These samples run $4-5 each, so be selective, but don't be cheap. It's better to waste $20 on samples you hate than to spend $50 (and hours of work) or more on gallons of a color that is all wrong.
If you don't want to paint on your walls, you can get SureSwatch sample paper (about $4 for 3 at the Home Depot paint counter) or order peel and stick samples directly from Samplize (for certain brands only).
When painting samples on the wall, paint at least a 8"x8" square. Anything smaller makes it really hard to visualize.
Paint or apply peel and stick samples in any spot that is next to something that won't change. This could be: flooring, trim, countertops, cabinets, a fireplace, tile, or a piece of furniture.
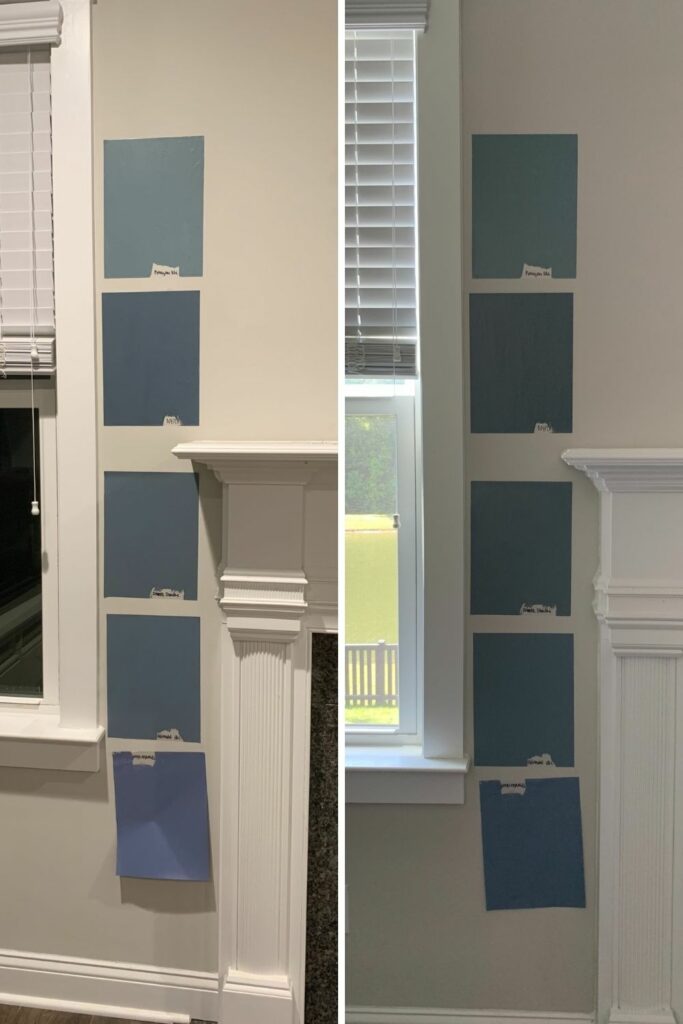
Apply sample paint on each wall because different angles bounce light differently and can make a wall color look lighter or darker.
Look at the samples during the day, at night, with the lights on and off, with the blinds open and closed.
Take a photo of the samples on your phone and see how it looks in pictures.
Now comes the hard part - making a choice. Choosing a color is hard but at this point you should be able to select one of your samples as your favorite!
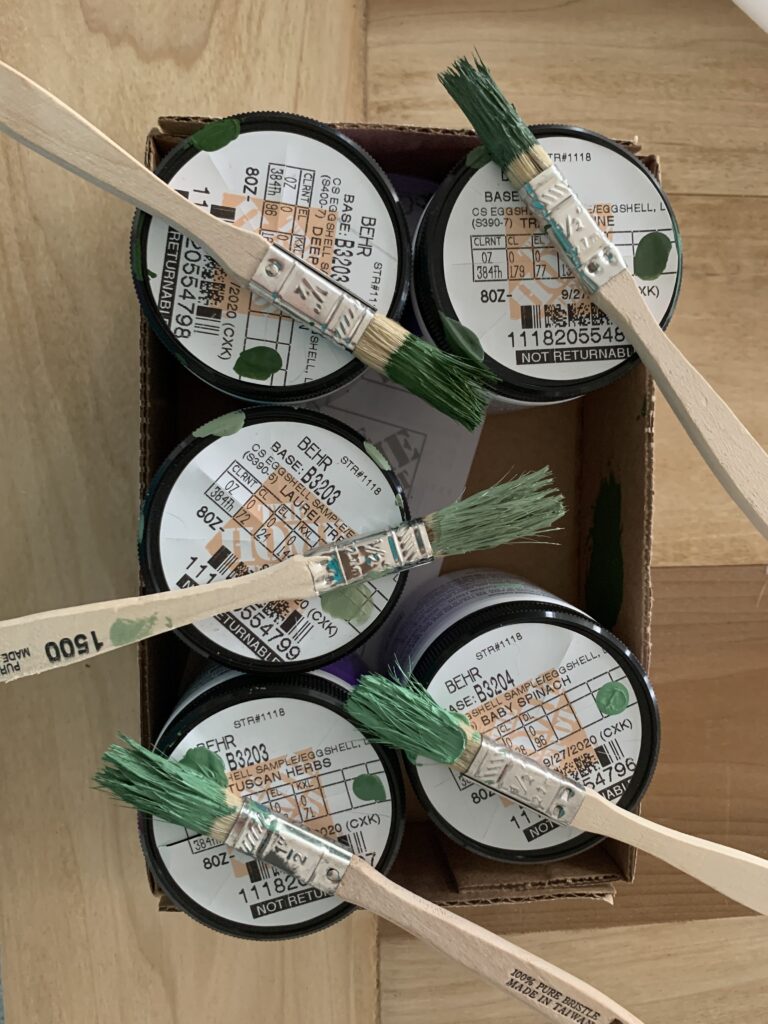
STEP 4: Get painting!
Go get the paint that you need and get painting. Painting the walls in your home is one of the easiest and cheapest ways to completely transform the space.
Good luck!
What paint finish should I use for my interior walls?
I always suggest either matte/flat or egg shell for walls. The days of needing a shiny paint so it is "wipeable" are behind us. Modern paints have technology to make them easy to clean at all sheen levels!
I like a semi-gloss for doors and trim work.

Get paint samples!
Samplize will send you 12"x12" peel and stick samples of paint colors from many popular brands so you can see exactly how they will look in your home!
Love paint colors? Be sure to check out:
- The Paint Color Formula - my complete guide to picking paint colors!
- My guide to paint sheens
- My guide to paint undertones
Painting for the first time? Check out my video tutorial on the easiest & cleanest way to open a paint can!
What paint color are you vibing lately?
Looking for something?
We've been doing this since 2012 so we have a LOT of blog posts!
Search stuff like: Ceiling Projects | DIY Plant Stands | Thrift Flips


Hello, I'm Morgan, half of the creative force behind CharlestonCrafted.com! With a passion for DIY that dates back to 2012, I've transformed three homes and now I'm dedicated to helping others craft their dream spaces. Let's turn your house into a home together!


