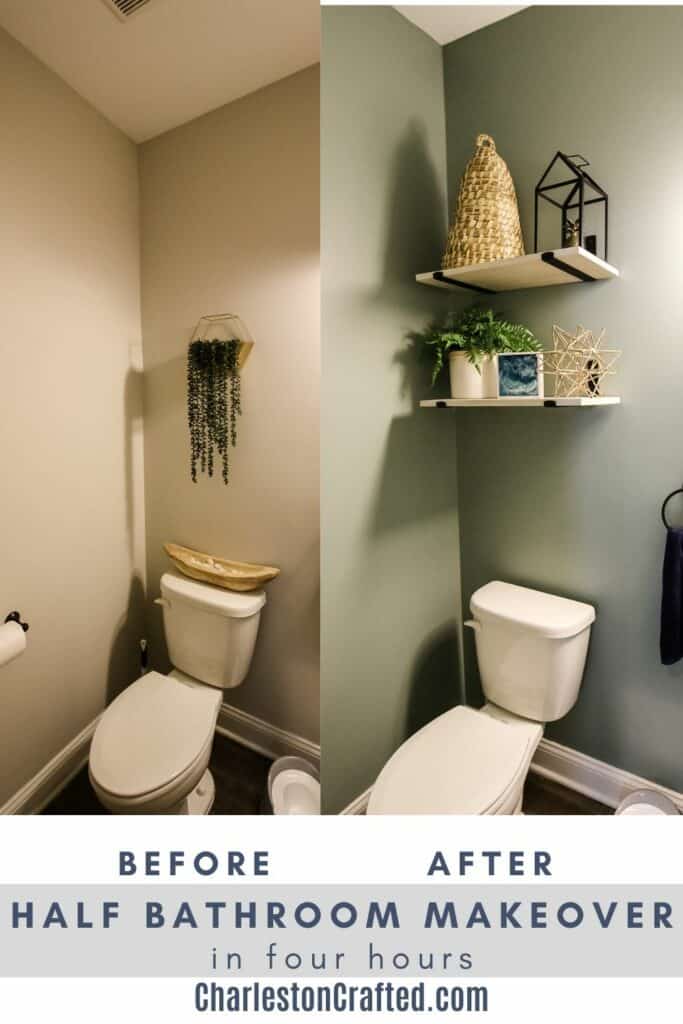
Check out the quick & easy - but dramatic - makeover we gave our half bathroom in just four hours!
This post was sponsored by National Hardware and uses their Made By Me Floating Shelf Hardware Kit. All opinions are our own. Thank you for supporting the brands that make Charleston Crafted possible!
Sometimes I get an itch. An itch to just makeover a room.
A lot of the times, we are really busy and room makeovers take a lot of work, so it isn't possible.
But the stars recently aligned for us.
We were fresh back from vacation, so we didn't have any projects going yet. It was the week of Rory's birthday, so we didn't want to really have too much going on.
And I decided to make over our half bathroom.
The half bathroom is downstairs and serves as a bathroom for guests to use (they have to shower upstairs) and to use while... downstairs.
It's a small space, so I ordered a few things on Amazon and decided to spend one day making over the space.
Check out my tips for how to make a small bathroom feel luxurious!
Now, let's be real. This wasn't a 12 hour day or anything. It was a morning - while Sean took the kids - and then it was supposed to be the afternoon but no one napped. So we went to the pool. And then Sean and I tag teamed finishing it after bedtime!
So, all in all we spent less than 4 hours on this makeover.
But we totally transformed the space!
Check out how we transformed our owner's bathroom in one weekend!
It's important to remember that our long term plan is to convert this to a full bath so our guests can shower downstairs (and add a door to the adjacent guest bedroom).
If it was up to me, we'd do that in 2022. Sean seems more apprehensive (it's gonna be $ since we'll have to hire a contractor to move walls and plumbing). So, this is a simple makeover to hold us over in the process.
Here's what we did.
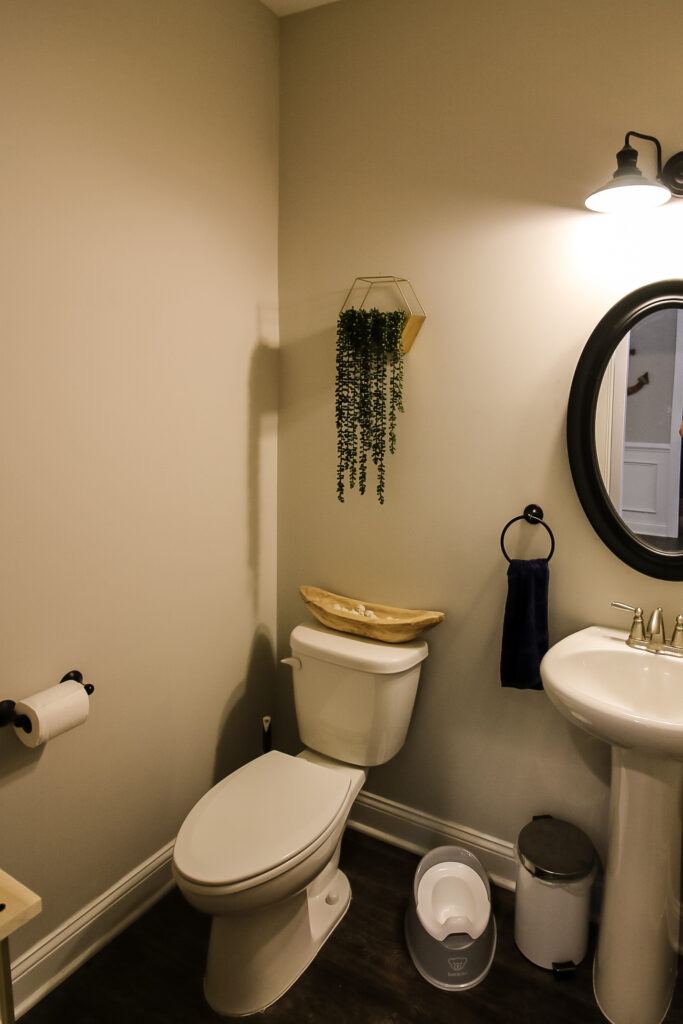
Our 1 day half bathroom makeover
The first thing that I did was paint. Honestly, this was harder than anticipated! It's a small room but there were a lot of things to paint around (sink, toilet, I for some reason left up the light fixtures and TP/towel holders), so it just was a lot of brush work.
It also got hot and stinky in the tiny space. I was sweating and complaining by the end of it!
The color is Behr's Nature's Gift. We got a 5 gallon bucket of this paint since it's for our whole great room, so we already had it on hand.
Floating Shelves
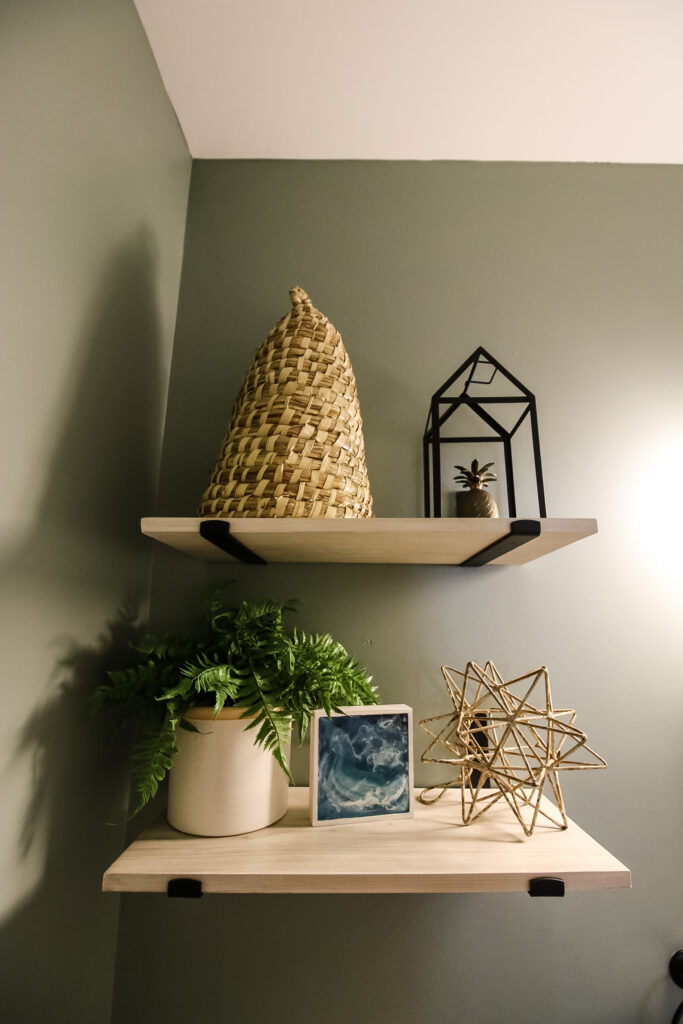
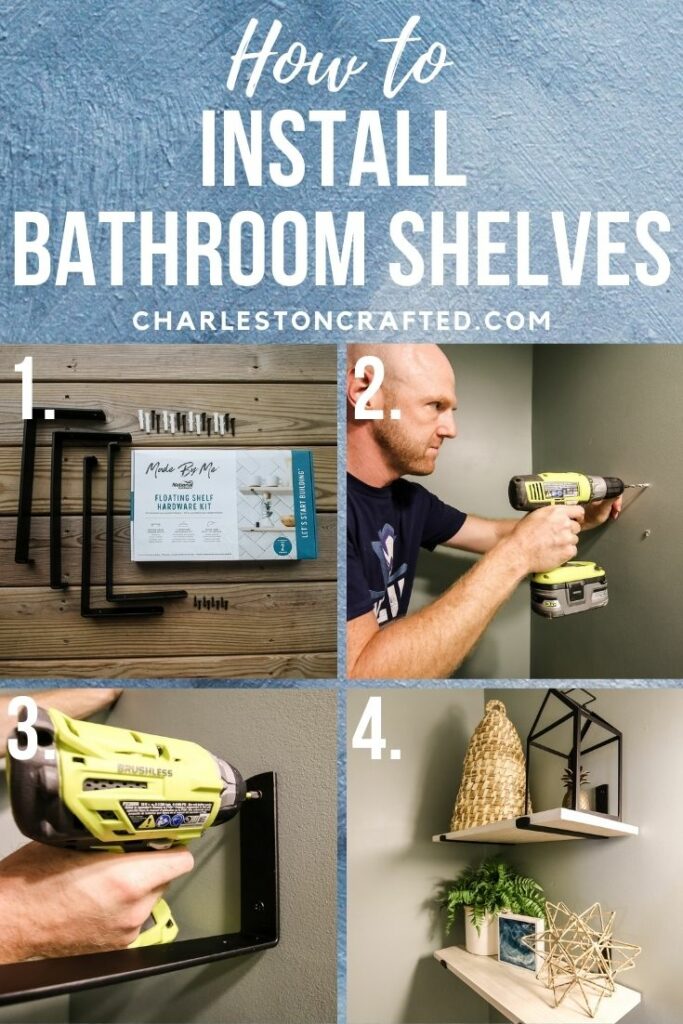
Once the paint was dry, we installed two floating shelves over the toilet. We used the National Hardware Floating Shelf Hardware Kit.
National Hardware just came out with two DIY kits to make projects in your home more manageable. They're called "Made By Me" and are designed to help homeowners do simple projects with minimal tools and experience and end up with a great result.
This kit includes 4 black metal brackets, plus all of the screws + anchors needed to hang them.
We paired the brackets with 1x12 lumber (11.25" wide actual) cut to 24 inches in length and stained with White Wash.
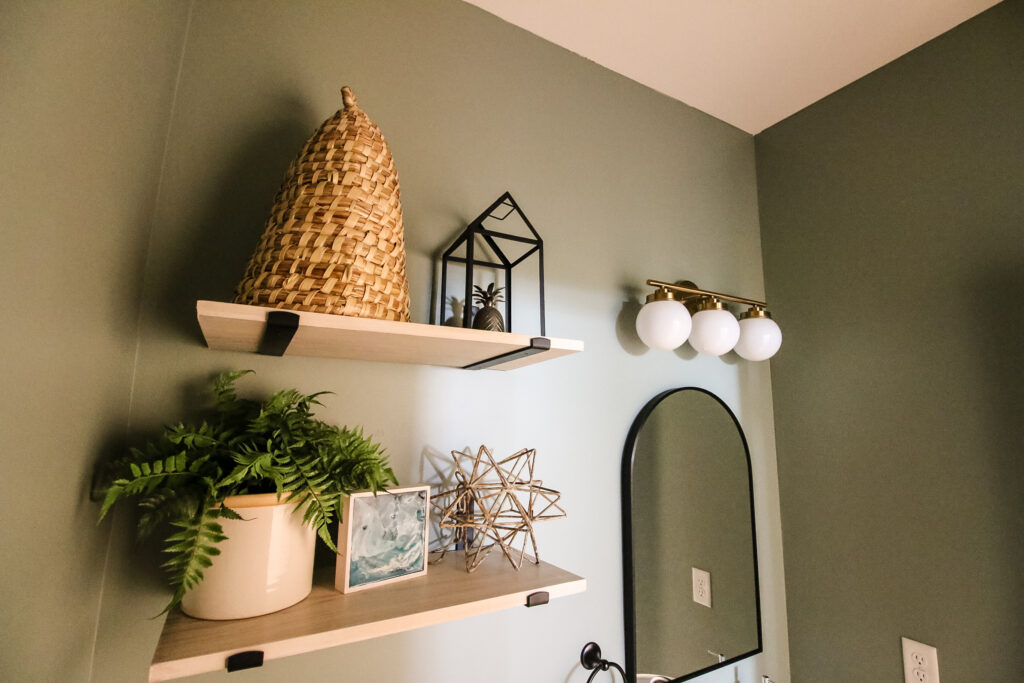
I love how deep and chunky these shelves look - they really give the space a modern look!
I then styled the shelves with some of the finds from antiquing in Asheville.
Honestly, this will probably change a lot once we finish the great room (we are putting new shelves out there, too). I'd love something tall and gold for this top shelf. We will see what I can find!
The mirror
I swapped out the old mirror for this arched one. Arches are really having a moment and this mirror feels so much bigger than the old one! They are the same width - that one just had a 4" wide frame.
Plus, I sold the old one for $15 on Facebook Marketplace. Huzzah!
You can also refresh the grout if you have a tiled bathroom by using a grout pen, here's how!
The lighting
Finally, we swapped out the light in here for this new one. I picked this light because it coordinates with our kitchen pendants. We have primarily brushed gold finishes on our lighting downstairs now, and this is just much more my style.
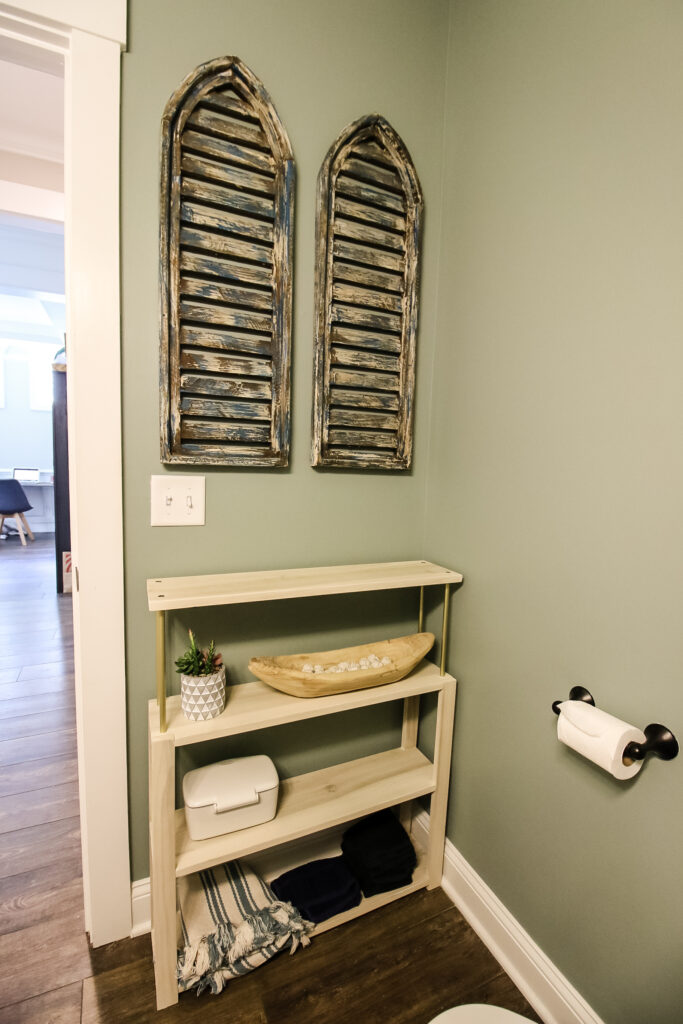
Don't forget the shelf that Sean built for this space! It was already here, we just added the wooden shutters above it. Beautiful!
All in all, we spent just over $200 on this room. Pretty good if you ask me!
Any questions about the bathroom makeover?
Looking for something?
We've been doing this since 2012 so we have a LOT of blog posts!
Search stuff like: Ceiling Projects | DIY Plant Stands | Thrift Flips


Hello, I'm Morgan, half of the creative force behind CharlestonCrafted.com! With a passion for DIY that dates back to 2012, I've transformed three homes and now I'm dedicated to helping others craft their dream spaces. Let's turn your house into a home together!


