Tired of having your mismatched spice jars banging around loosely in the drawer? Build this simple wooden spice drawer organizer and get everything in order before dinnertime tonight!
This post is sponsored by Kreg Tool, which offer a wide variety of cutting and joinery solutions. All opinions are our own and our opinion is that we love Kreg Tool products. Thank you for supporting the brands that make Charleston Crafted possible!
Ever since we moved into our house last year, we have been working on different organization projects by need of importance.
For instance, we had to get cabinets for crafting supplies immediately, then we worked on the laundry room since we use that all the time, and we've done the garage/workshop since we live down there, and the pantry where all our food is, etc.
The kitchen, even though we use it three or more times a day, has never been worked on and remains how we dropped stuff the day we moved in.
One of the worst looking places in the kitchen is our spice drawer.
At our old house, we had the spices neatly stacked in alphabetical order on small little shelves we custom made for that pantry.
Here, they were literally just dropped in a drawer to rumble around every time we opened it with no consistency whatsover.
Be sure to check out our tutorial on how to make wooden kitchen drawer dividers!
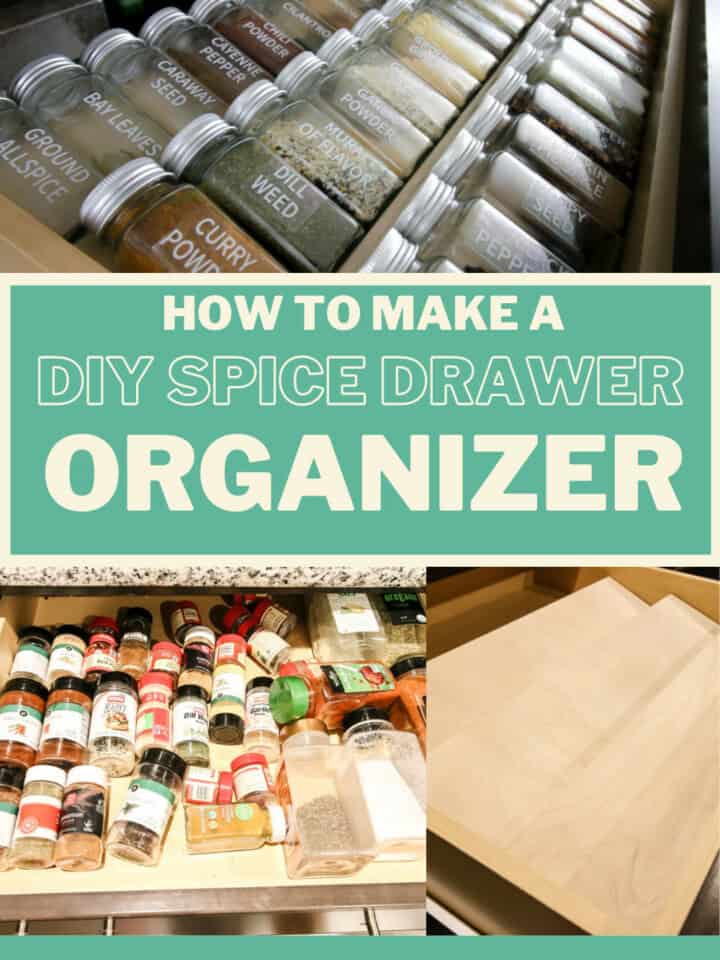
We are big cooks, so we use the spices all the time and we finally decided we needed to take control of our spice drawer situation.
To do that, we built a custom DIY spice drawer organizer and bought matching spice jars to fit.
This is a great project for anyone that needs to fix their spice situation and is easily scalable for whatever size drawer you have.
How to organize your spice drawer
Our DIY spice rack fits perfectly into a standard kitchen drawer and keeps everything in line.
Being a tiered spice drawer allows you to be able to see all of your spices in order and know exactly where each is, without them sliding around.
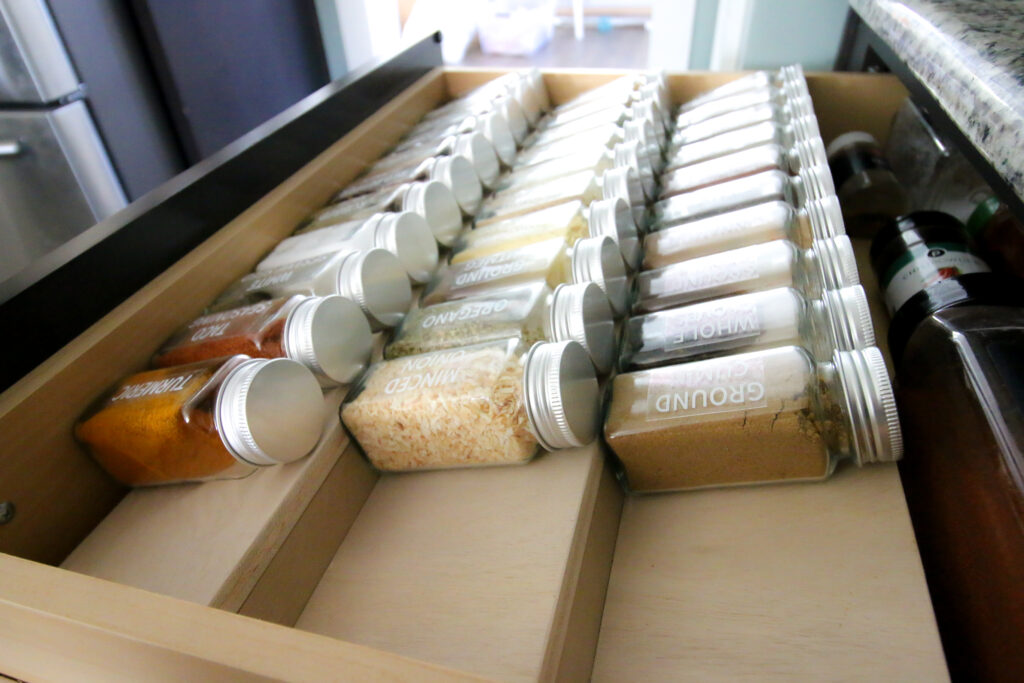
To make this spice drawer organizer work, we first had to buy a set of glass spice jars to adapt the plan around.
We settled on these glass jars that are very popular on Amazon because they looked standard and you can buy them in different quantities, meaning you can adapt this plan for your needs.
These glass jars also come with hundreds of preprinted labels of different spices, so each one can look great in the drawer when you're done.
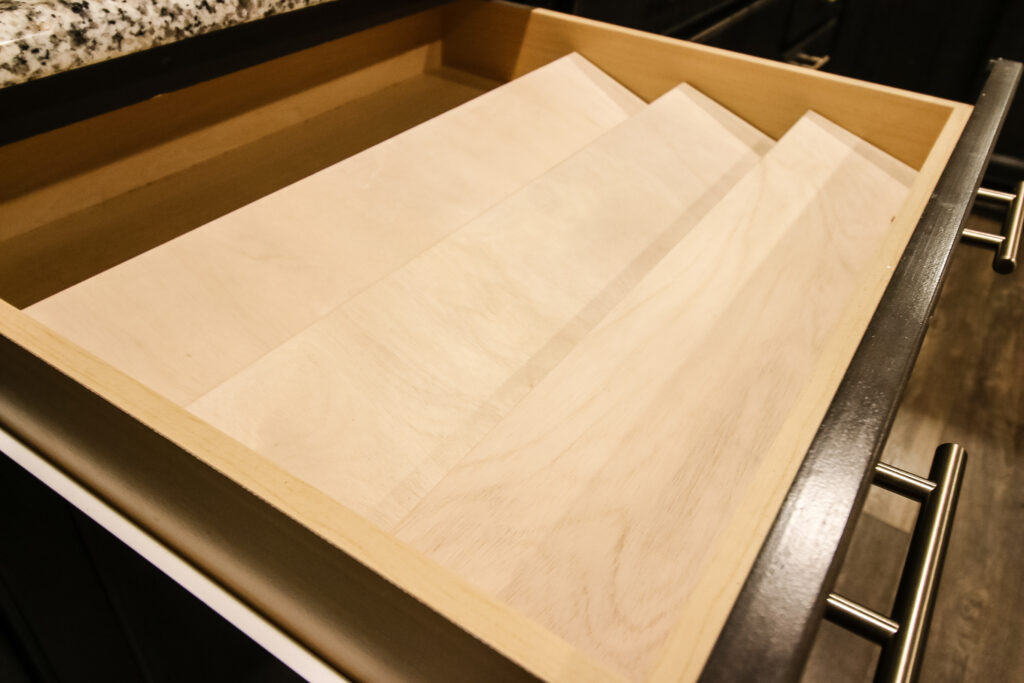
This DIY spice drawer organizer is a simple project thanks to the use of Kreg jig pocket hole joinery. We used our Kreg 720 Pro jig to drill all the pocket holes for this project, making it sturdy and simple to build.
Let's dive into the basics of what you need to do and get the free plans at the end!
How to build a DIY spice drawer organizer
What you need to build a wooden DIY spice drawer organizer:
- (1) 2'x4'x½" plywood
- Glass spice jars
- 1" Kreg pocket hole screws
- Table saw and miter saw
- Sander
Step one: make cuts
We have a full cut list for each piece in the woodworking plans below, but there really aren't that many!
The best thing about this spice drawer organizer is that it can be customized no matter how wide your drawers are. The most important thing is to just measure your inner drawer width.
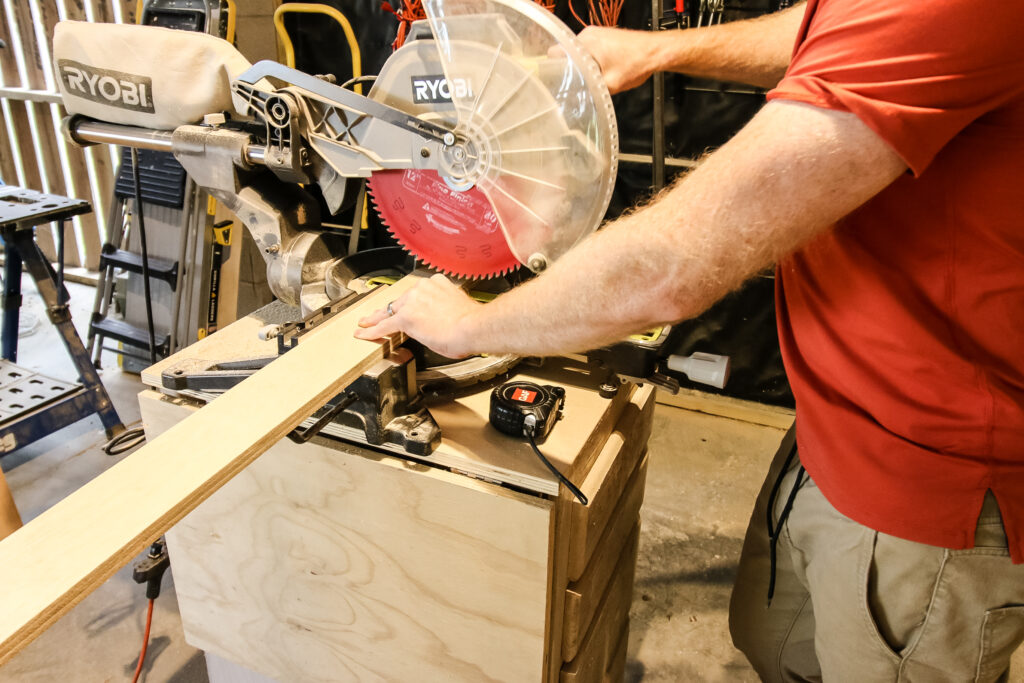
We used ½" plywood so that there would be enough stability, but also so that the wood itself wouldn't take up too much space in the drawer.
Step two: drill pocket holes
Depending on what you have, you can assemble the tiers for the spice drawer in a couple of ways.
We chose to use pocket holes because they are easy to use, a common joint, and create a strong bond.
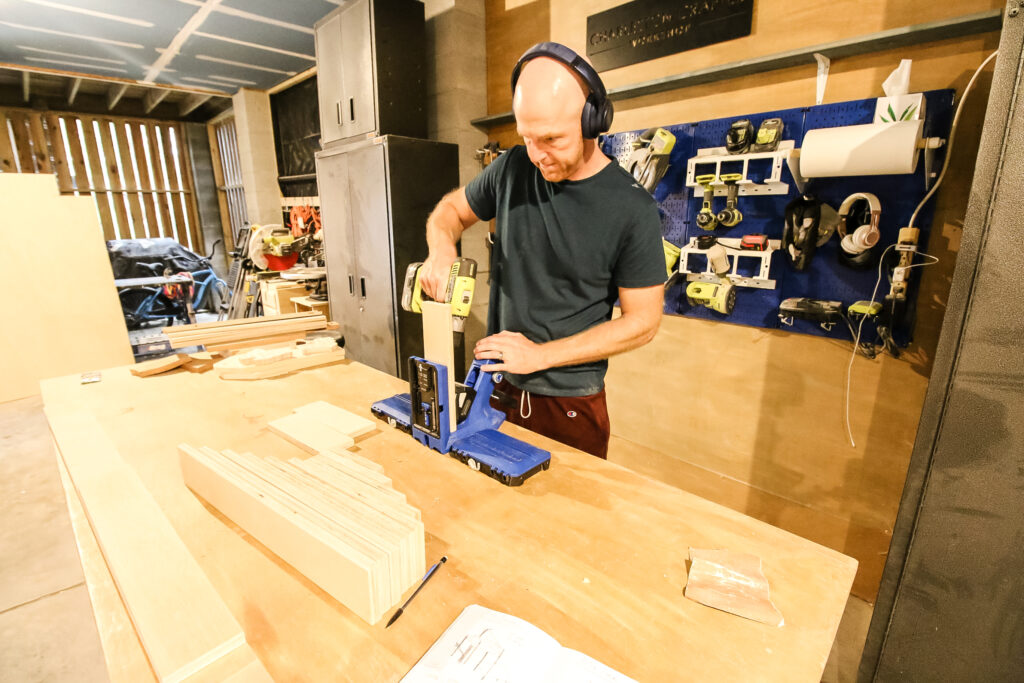
We drilled the pocket holes using our Kreg 720 Pro pocket hole jig. It was so simple to use!
Click here to read our full review of the Kreg 720 Pro; our favorite tool!
Thanks to the simple functionality of the Kreg 720 Pro, we drilled all the holes needed really quickly. Full pocket hole placement is in the plans!
Step three: assemble tiers
It was actually pretty important to assemble the tiers in a certain order. We didn't realize this when we were building it and ended up having to take some screws out and start assembly over again.
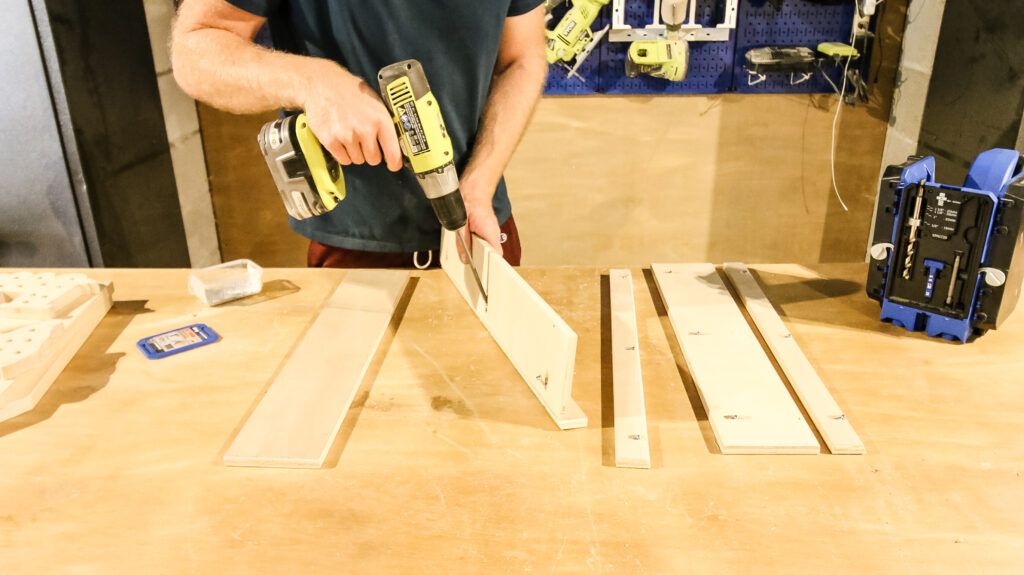
The plans call for three tiers, but if you have super deep shelves, you could do more.
Assembly was quick and easy with the pocket hole joints.
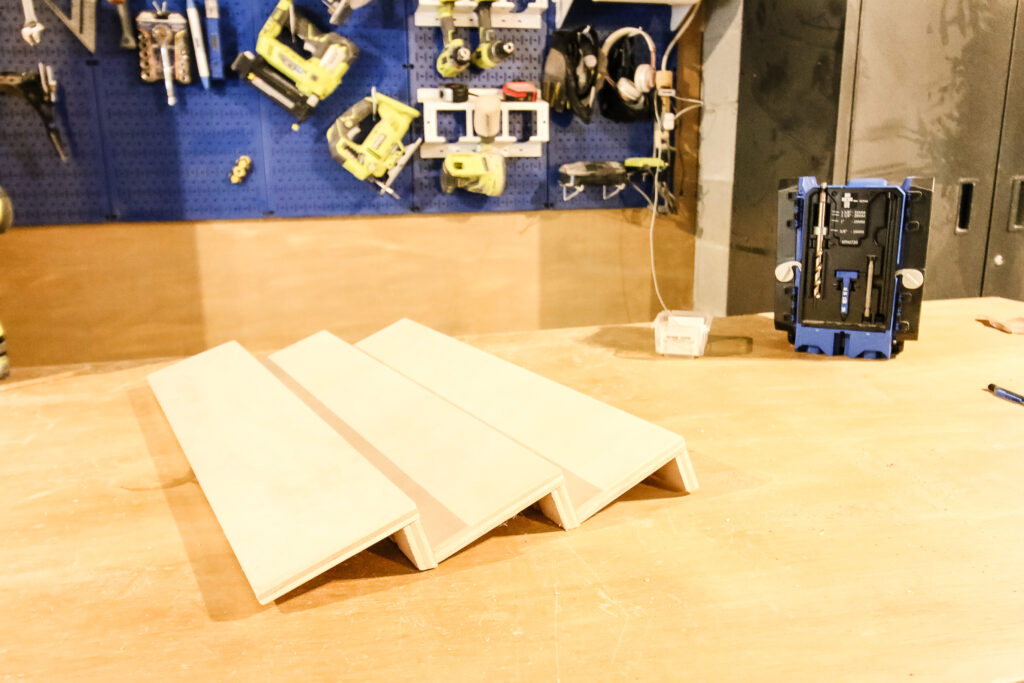
With it all together, you could stain or paint the organizer to stand out or match a certain type of decor in your kitchen, but we opted to leave it natural because it blended really well with the inside of the drawer.
Then, we just dropped it in place!

If you need to keep it from sliding, you could add rubber pads underneath, or adde a simple bracket.
Ours stays snug in place in the drawer between the sides and also the extra Costco-sized spices are stored in the back, keeping the organizer in place.
Step four: transfer spices
Once the organizer was in the drawer, we had to transfer all our spices to the new jars.
The jars came with a funnel, but we didn't like the cross mingling of spices, so we ended up just pouring them directly. It was no problem at all.
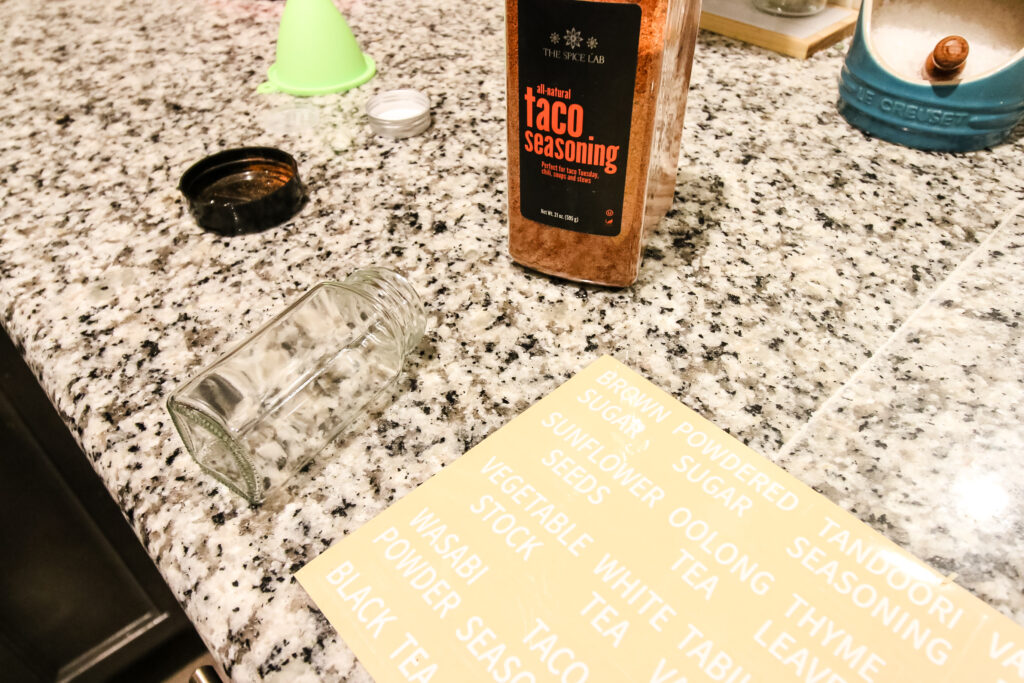
Each of the labels stuck on nicely and they look great lined up in the drawer!
Step five: enjoy peace and harmony
Now, storing all your spices is a breeze and makes cooking that much more enjoyable.
All our spice jars are neat and organized and look incredible. They are visible and angled right toward us thanks to the organizer.
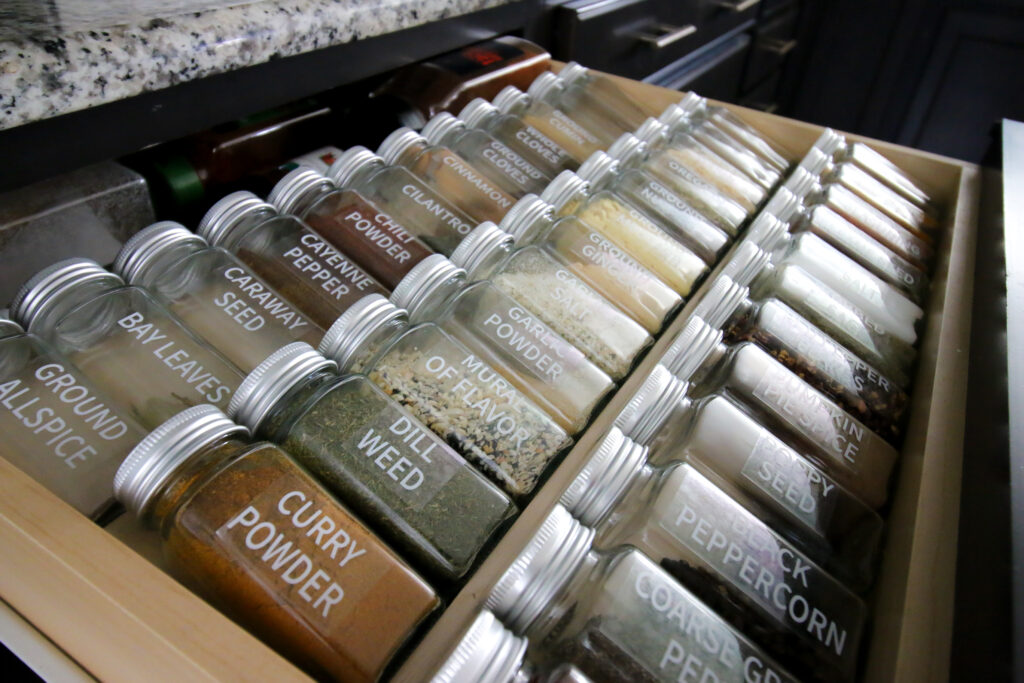
This was an incredibly simple project with an incredibly amazing result!
Spice drawer organizer woodworking plans
Want to build this DIY spice drawer insert for yourself and make your life easier? Our woodworking plans are available for free!
Thanks to our friends at Kreg Tool, these plans are available to you for free. The plans are available in the Projects and Plans section of their website for free today!
The plans have the full material list, cut list, and step-by-step instructions with computer images so you can organize your spice cabinet this weekend!
Remember that these plans can be customized to fit your drawer, so just measure your space before you get started!
Video tutorial
Want to see the process of how to build this spice rack in video form? That's a great idea if you got confused with any angles or steps.
We've got the whole process for you over on YouTube and would love for you to check it out and subscribe!
Basic woodworking information for every project
Here are some of our most popular woodworking articles!
Shopping for wood:
Woodworking project ideas
- 100+ of the best woodworking project ideas!
- 62 easy beginning woodworking projects
- Woodworking project ideas to make and sell
See all our printable PDF woodworking plans!
Our favorite tools + supplies
- See all our favorite tool reviews
- How to use a Kreg jig
- The ultimate wood stain guide
- The best wood fillers for your project
Remember to also always use safety equipment while woodworking and using tools. Make sure you have proper eye protection, ear protection and a good mask to keep yourself safe.
Looking for something?
We've been doing this since 2012 so we have a LOT of blog posts!
Search stuff like: Ceiling Projects | DIY Plant Stands | Thrift Flips


Hey there, I'm Sean, the woodworking enthusiast and builder behind CharlestonCrafted.com! Since 2012, I've been sharing the magic of turning raw materials into beautiful creations. I love teaching others the art and satisfaction of woodworking and DIY. I try to inspire fellow crafters to make something extraordinary out of nothing at all.


