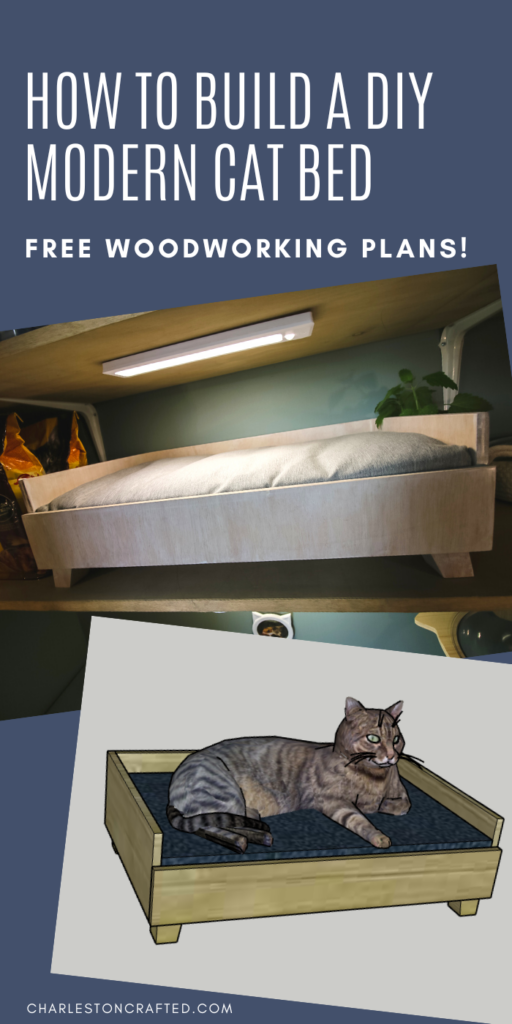
Want to give your cat a nice new place to rest after a long day of... resting? Build this simple DIY modern cat bed that is perfect for your feline friend to take another nap.
Our cat, Bear, is always being tortured by our toddlers and is constantly trying to find a safe zone in our home.
She finds spots underneath the bed, in the closet, in the covers or under the dresser. She really doesn't like the noise our kids make.
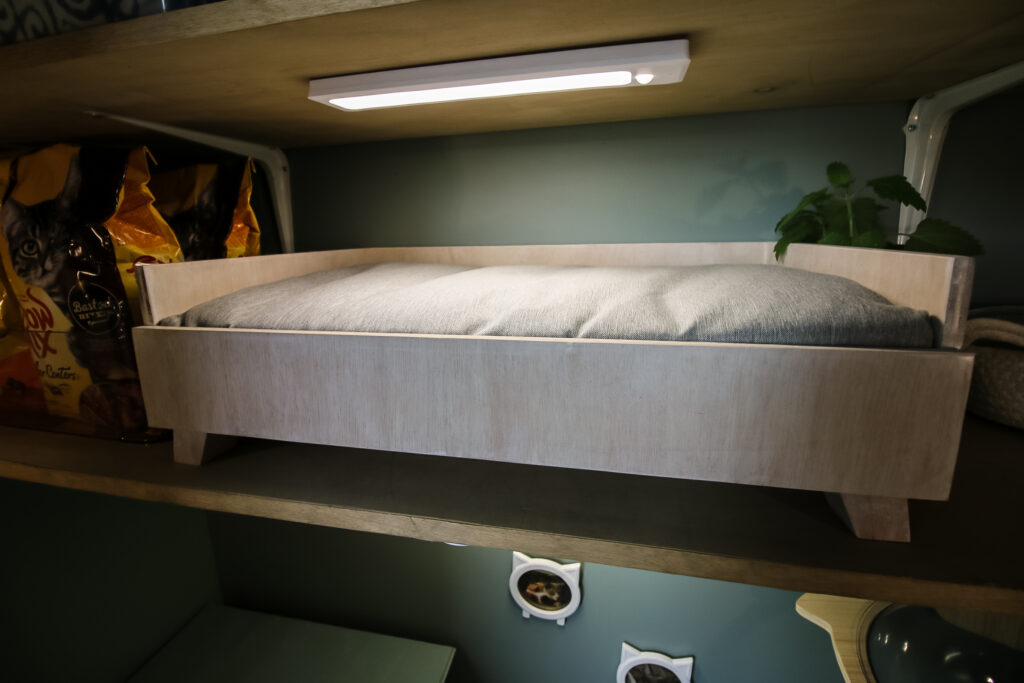
When we first moved into this house, we installed a cat door into the linen closet and put her food and and hidden litter box in there. Then last year, we renovated that space with new wooden shelving.
We decided to add one more element into the closet- a DIY modern cat bed!
This cat bed is great on the lower shelf and our cat can hop up and take a nap in peace! No one is going to bother her in here!
In this post, we'll show you how to make a stylish cat bed that can be tucked away, but can also be put out on display in your home. Check out all the steps and then get our FREE modern cat bed plans at the end of the post!
Check out our plans for a self-filling cat feeder!
How to build a cat bed
Our DIY wooden cat bed can be made with just a couple pieces of wood and simple tools. This cat bed is even a great scrap wood project!
There's only one "large" piece of wood and it's for the base of the bed. Everything else is strips that you might have laying around.
DIY cat beds are a great idea because they are usually simple and much cheaper than the off the shelf versions at your local store. Cat owners are always looking for new things for their cats, so this modern design for a cat bed is going to make you happy!
DIY wooden cat bed
Here's the overview and materials needed for how to build a DIY modern cat bed!
Materials needed to build a modern cat bed:
- ½" plywood
- 2x2 board
- Wood glue
- 18 gauge brad nails
- Stain of choice
Tools needed to build a modern cat bed:
- Table saw or circular saw
- Nail gun (or hammer or drill, just substitute nails above)
- Sander
Step one: make cuts
The first step to building a cat bed is to make all the cuts you need. Except for the feet, the whole bed is made from ½" thick plywood and the cuts are straight and easy.
All the cuts you'll need for this project are laid out in our free woodworking plans, which you can download below!
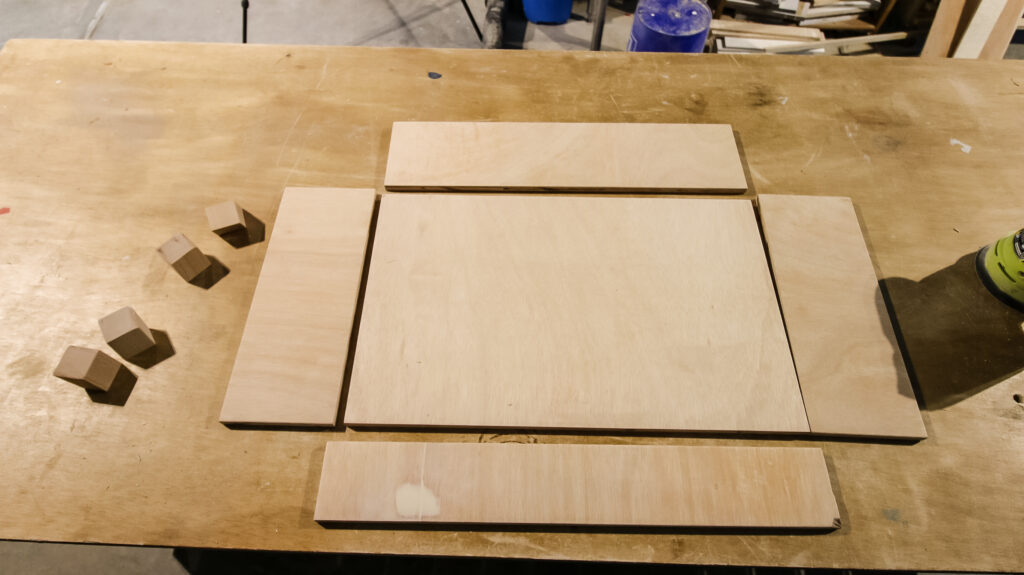
Use a table saw or circular saw to make all the cuts, then sand everything smooth and move on to step two!
Step two: attach back
Start by attaching the back to the base. This is easiest to do with wood glue and nails.
Step three: attach sides
Next, attach the sides. These go on flush with the edges on the back piece and base to create a three-sided box.
Step four: attach front
Finally, you'll attach the front. The front board is shorter in height than the other sides to give it a more modern look.
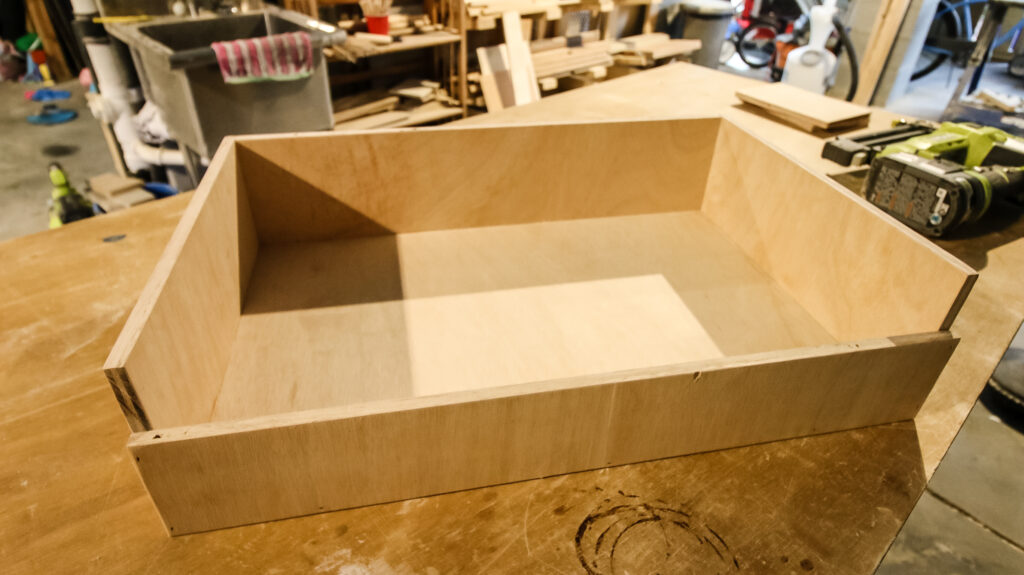
Step five: cut and attach feet
The feet for this modern cat bed have a midcentury modern taper to them to give them an interesting look. All the details for tapering the legs are in the woodworking plans!
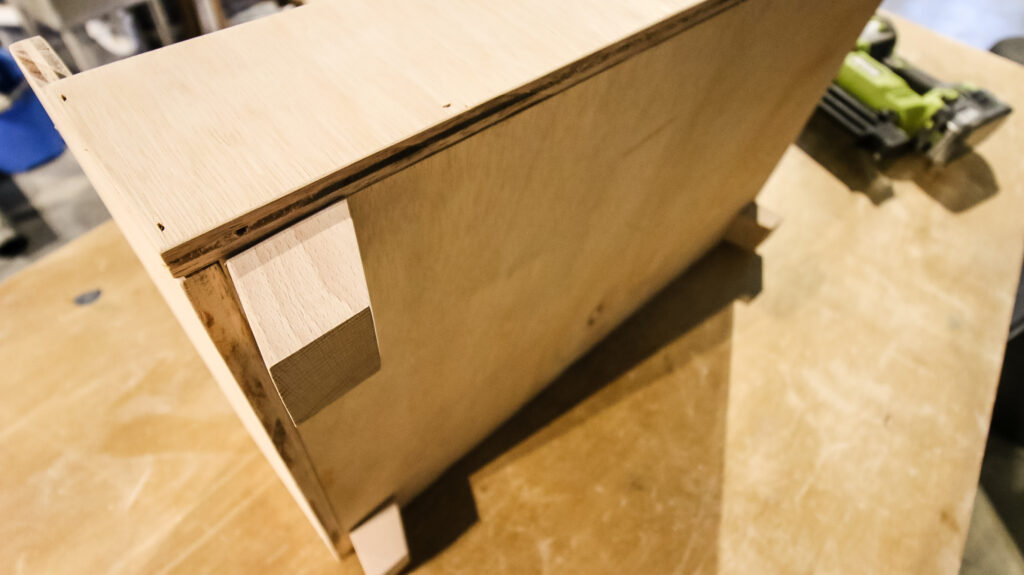
Once you have the feet cut, you attach them to the underside with wood glue and nails just like the rest!
Step six: final touches
Once the cat bed is assembled, do the final touches!
Fill all the holes with wood filler and then sand smooth. Choose a stain or paint that matches your decor style and go to down.
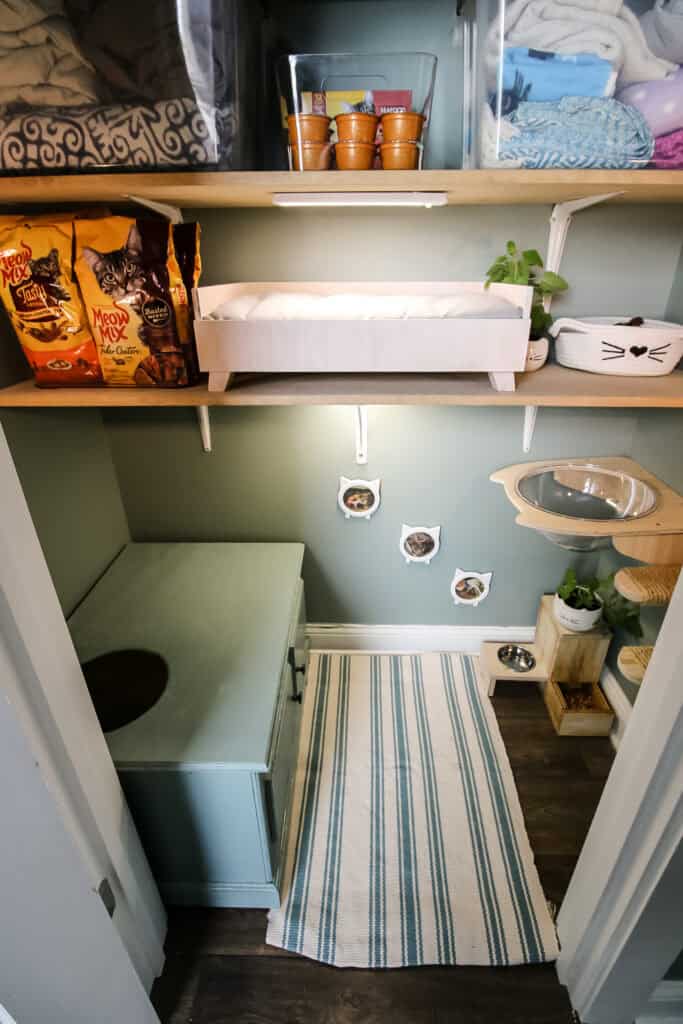
Finally, add the bed cushion inside the box and place it where your cat likes to dream!
FREE cat bed plans!
Love this project and want to make it for your feline friend? We've got free plans for our DIY modern cat bed available to you!
The plans include a material list, cut list and step-by-step instructions with computer images to help you build this cat bed in an afternoon!
Grab these plans for your cat and then they can thank you (or, more likely, ignore you later!).
Looking for something?
We've been doing this since 2012 so we have a LOT of blog posts!
Search stuff like: Ceiling Projects | DIY Plant Stands | Thrift Flips


Hey there, I'm Sean, the woodworking enthusiast and builder behind CharlestonCrafted.com! Since 2012, I've been sharing the magic of turning raw materials into beautiful creations. I love teaching others the art and satisfaction of woodworking and DIY. I try to inspire fellow crafters to make something extraordinary out of nothing at all.


