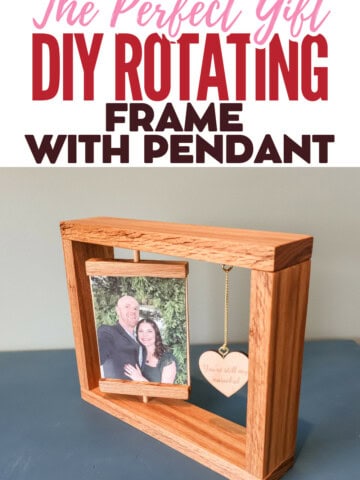
Want to make money from your woodworking hobby? Here's a step by step guide on how to sell woodworking projects!
Woodworking is a fun and rewarding hobby. It makes sense to try to turn your passion for woodworking into a money making venture.
There are many ways to sell your woodworking projects both in person and online. Either way, it's important to pick the right products, differentiate yourself, and price correctly.
Today we are going to explore the steps to successfully sell your woodworking projects. Whether you want to sell your wood projects as a side hustle or build a complete business, we want to help you get started on your way!

Can you make money selling woodworking projects?
Wondering if woodworking is profitable? This comes with a big fat "maybe". The most important parts of making money woodworking are controlling your costs and finding the right audience.
Watch your costs
Costs can creep up quickly. This might include materials - lumber, glue, screws, stain, etc - or time.
It's extremely important to track your costs and usage of materials and time before setting your prices.
If you spend too much making an item, it's going to be really hard to turn a profit. Or, you will have to price your items so high that you really turn off many buyers, or can't beat the competition.
Now, sure, you don't want to be fighting for the lowest price. But, you also have to price realistically for your audience.
Find the right audience
A huge part of creating a woodworking business plan is identifying your target audience. Are you producing a product that many other people are creating, with no big differentiator? Or are you creating something very specialized?
I think that one of the best ways to turn a woodworking side hustle into a full fledged business is by really niching down and becoming "famous" - locally or otherwise - for a very specialized product or suite of products.
The importance of niching down
Whether you choose to sell online or in person, you will have the most success and be the most profitable if you choose a specialty.
Specializing allows you to perfect a product or suite of products and get "famous" for it. You want buyers to be able to glance at your booth or page and immediately get your vibe and know if they are interested or not.
Be sure to check out our list of the best woodworking projects to make + sell!
Where to sell woodworking projects
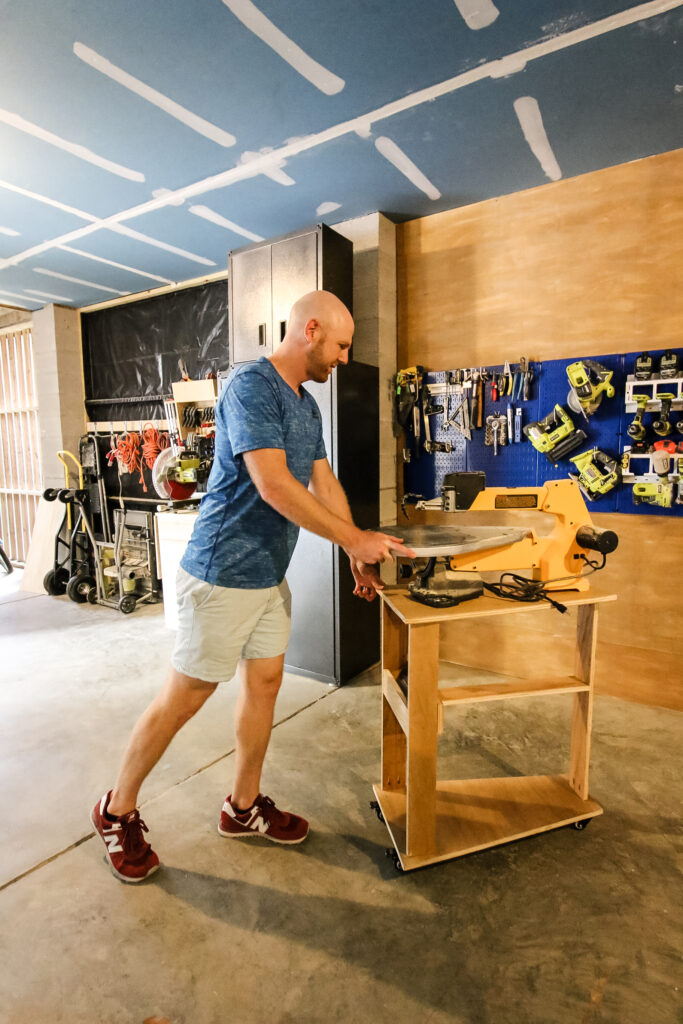
Once you have your woodworking projects ready to sell, you will need to decide where to sell them. Your main choices are to sell wood projects online or in person.
You can read our complete breakdown of the pros and cons of each in our guide on where to sell woodworking projects!
Where to sell woodworking projects online:
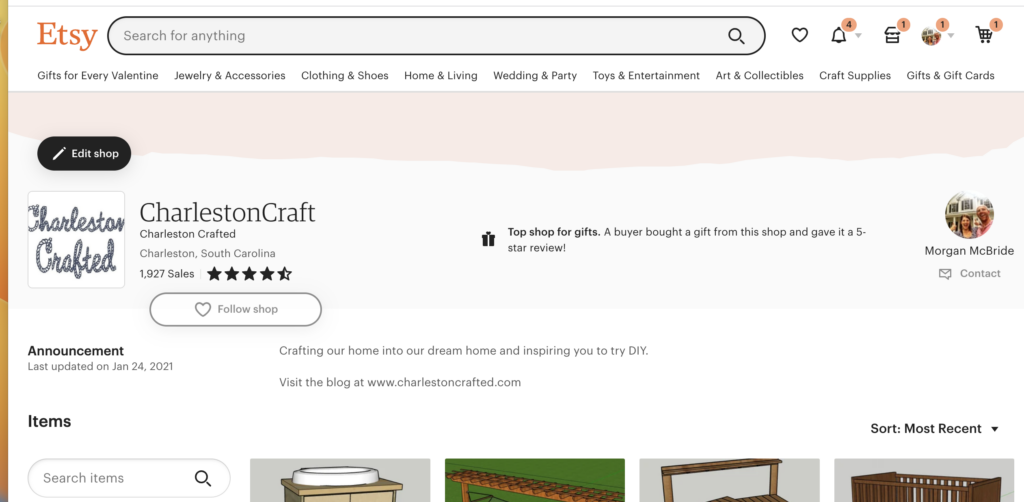
- Etsy
- Shopify + your own website
- Amazon Handmade
- Facebook marketplace
Where to sell woodworking projects in person:
- Flea markets
- Craft fairs
- Consignment stores
- Facebook marketplace
- Word of mouth
How to sell woodworking projects
Here are the steps to take to sell your woodworking projects!
STEP 1: Decide what to sell
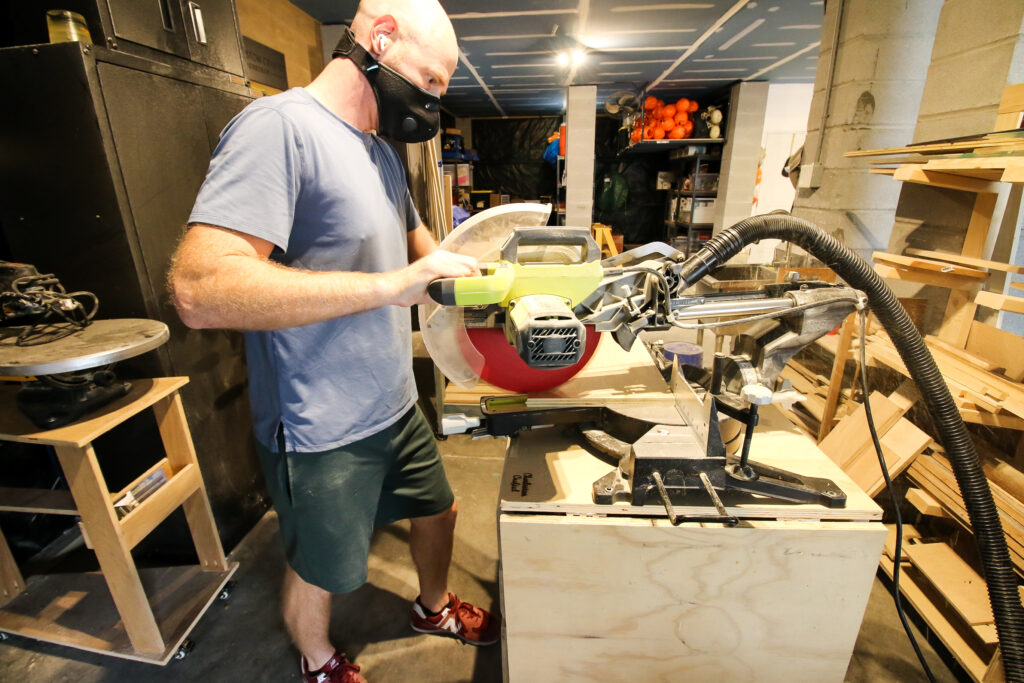
It's super important to pick the right product, and the truth is that it's just going to take a while to find out exactly what works best with your target market.
Make sure that what ever you pick is affordable in materials, scalable - easy to batch build, and in demand in your area.
Keep in mind what you want to do. Do you want to build large furniture or do you not mind making lots of smaller items? Larger items sell for more but can take way more time, and be slower to sell.
Search places like Etsy or Facebook marketplace to see what is already being sold and for how much. It's super important when you start a woodworking business to be aware of the competition and their pricing and quality!
STEP 2: Determine delivery
How will you deliver items? Shipping? In a truck? Local pickup?
If you need to accumulate shipping materials, do so. You might want to do a test ship to a friend to be sure the packaging is sufficient.
Remember to keep it professional - you don't want to be shipping your products out in recycled costco boxes. Look for something neutral and consider investing in branded stickers or colored tissue paper as appropriate.
If you plan to ship items, check out some flat rate boxes from USPS. This is often the best way to ship heavy wood items. Grab a few of the boxes and see if your products will fit inside.
You might even want to scale your design specifically to fit in a flat rate box - it really can save a lot shipping heavy items!
STEP 3: Don't skip branding
On that note, branding is what will set you apart from the competition, especially online. Create a brand name (check that the URL and social handles are available first, if that matters to you).
Create a logo - you can hire one out on fiverr or make a simple one on canva. We personally use Canva and if you have even a small amount of an eye for design, it's easy to customize one of their premade templates!
Place your branding everywhere you can to help establish your business.
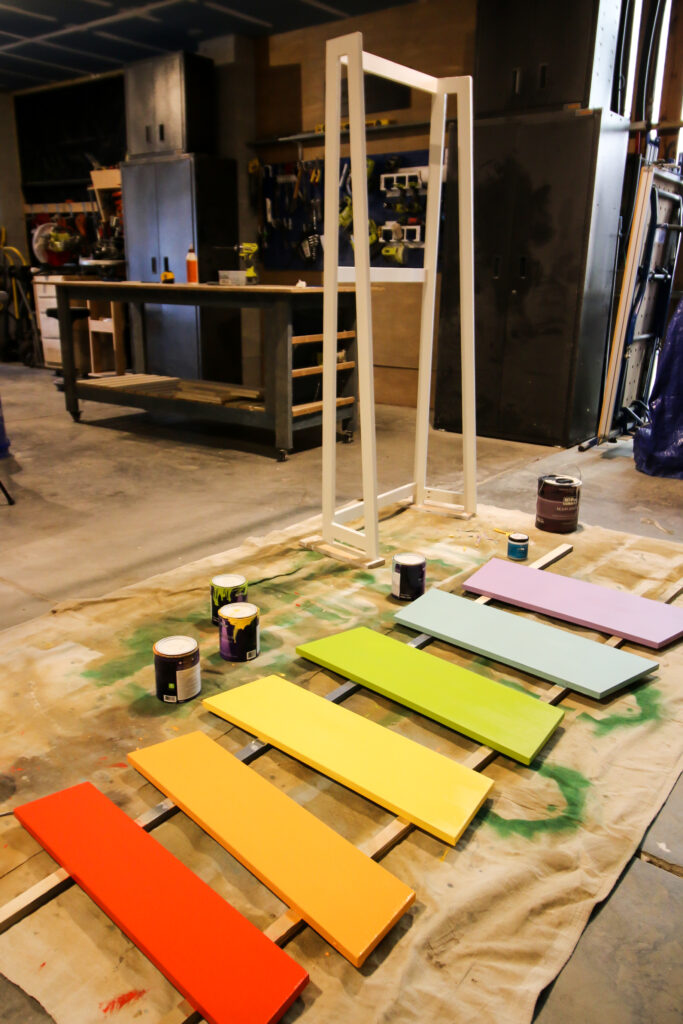
STEP 4: Batch your work
As you select items to build and sell, think about what would be easy to make 50 of at a time - and what you wouldn't get sick of making.
When building, determine when it's best to batch your work. For example, if you want to make ten of something, don't repeat your process ten times.
Do all of the cuts, sanding, assembly, and staining as a group. This will save you on time and materials!
STEP 5: Track your costs + time
Track everything when you are getting started. This way you can look back at each product to determine what was worth your time and what was a bust.
This will help you to better narrow down your product line to the most profitable items as you grow.
STEP 6: Price properly
Pricing is super hard. You should always pay attention to the market and what is currently available. If you want to charge way more - you should be able to clearly and easily differentiate why your product is better.
I suggest you try to always get at least a 30% profit margin. This is after your materials, time cost, and any cost to sell like Etsy fees or cost of a booth at a craft fair.
STEP 7: Photography matters
When listing online, photography is the #1 most important thing. Photos need to be light and bright.
If possible, take photos outside on an overcast day or in the shade on a sunny day. Have a solid background with no distractions.
If you want to style an item - such as show your cutting board with something being cut on it - that's fine, but be sure to get plenty of clear, unobstructed photos as well.
STEP 8: List your items
List your items if you plan to sell online or prepare them for in-person sales.
Remember to include the keywords that people might be searching for in your listings. This could include the item type, the style of the item, the room it might go in, or the material name.
Don't forget phrases like "great mother's day gift!" or whatever is seasonally relevant.
Your listings should include:
- What the item is
- Dimensions
- Materials used
- Colors such as stain or paint
- Lead time if it's not pre-made
- Delivery method, shipping costs, etc
STEP 9: Over deliver
Do your best to surprise and delight your customers. Take care with packaging and delivery. Deliver early, if possible. Always have a good outward attitude, even when faced with an annoying customer.
As my grandma says, people might not remember what you did, but they will remember how you made them feel. Leave customers feeling great!
STEP 10: Ask for referrals
One of the best ways to grow a new woodworking business is by word of mouth. Always include a business card or two with your products and specifically - verbally or in writing - ask your happy customers to tell their friends.
We have seen so many business grow and thrive locally after getting positive reviews and shout outs in our (large) neighborhood facebook group!
Any questions about selling woodworking projects?
Looking for something?
We've been doing this since 2012 so we have a LOT of blog posts!
Search stuff like: Ceiling Projects | DIY Plant Stands | Thrift Flips


Hello, I'm Morgan, half of the creative force behind CharlestonCrafted.com! With a passion for DIY that dates back to 2012, I've transformed three homes and now I'm dedicated to helping others craft their dream spaces. Let's turn your house into a home together!


